Photoshop
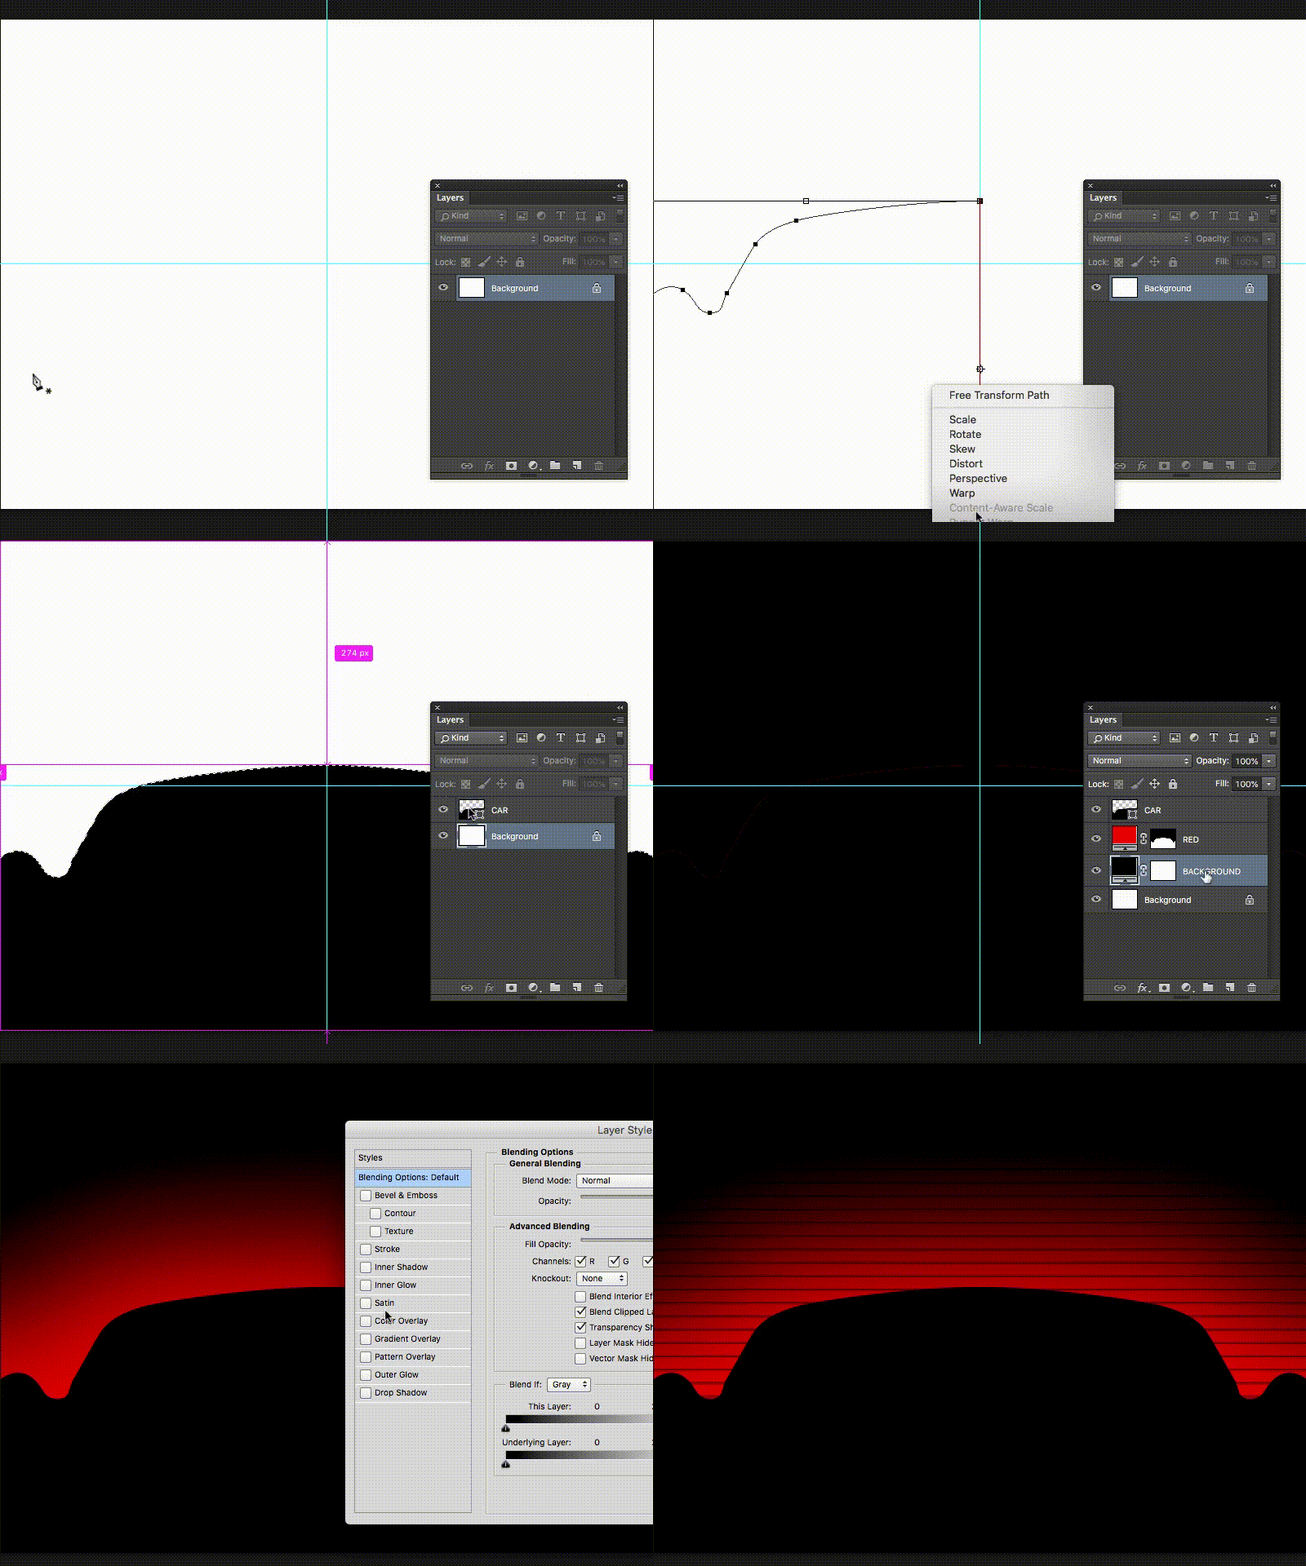
- Pen Tool: draw the half of the car
- Shape Selection Tool: select the path > Copy > Paste > Transform from the right side > Flip Horizontal
- The path must be united, use the pen tool join the bottom points outside the file
- Create a black Solid Color Layer > name it CAR
- Pressing Cmd (Mac) / Ctrl (Win) click on the CAR layer to load the selection
- Create a red Solid Color Layer > name it RED
- Select the background layer > Create a black Solid Color Layer > name it BACKGROUND
- Activate the RED layer Mask
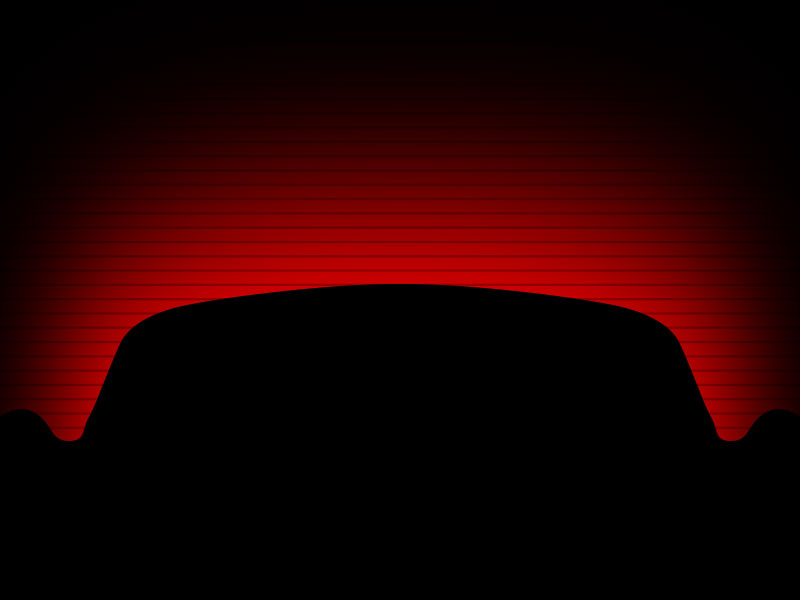
- Menu Filter > Other > Maximun to increase the red resplendence
- Menu Filter > Blur > Gaussian Blur
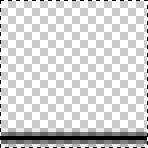
- Double click on the RED layer to apply an effect > Pattern Overlay* (move opacity, size and Multiply as blending mode)
*The pattern is a transparent square with a thin black line at the bottom


