added 182 characters in body
Source Link
Billy Kerr
  • 89.5k
  • 6
  • 83
  • 179

Unfortunately, it's going to take rather a lot of manual painting to fix damage like that. To begin the process of repairing it, you need to reduce the effect of the damage, since I don't think it will be possible to remove it completely in one step.

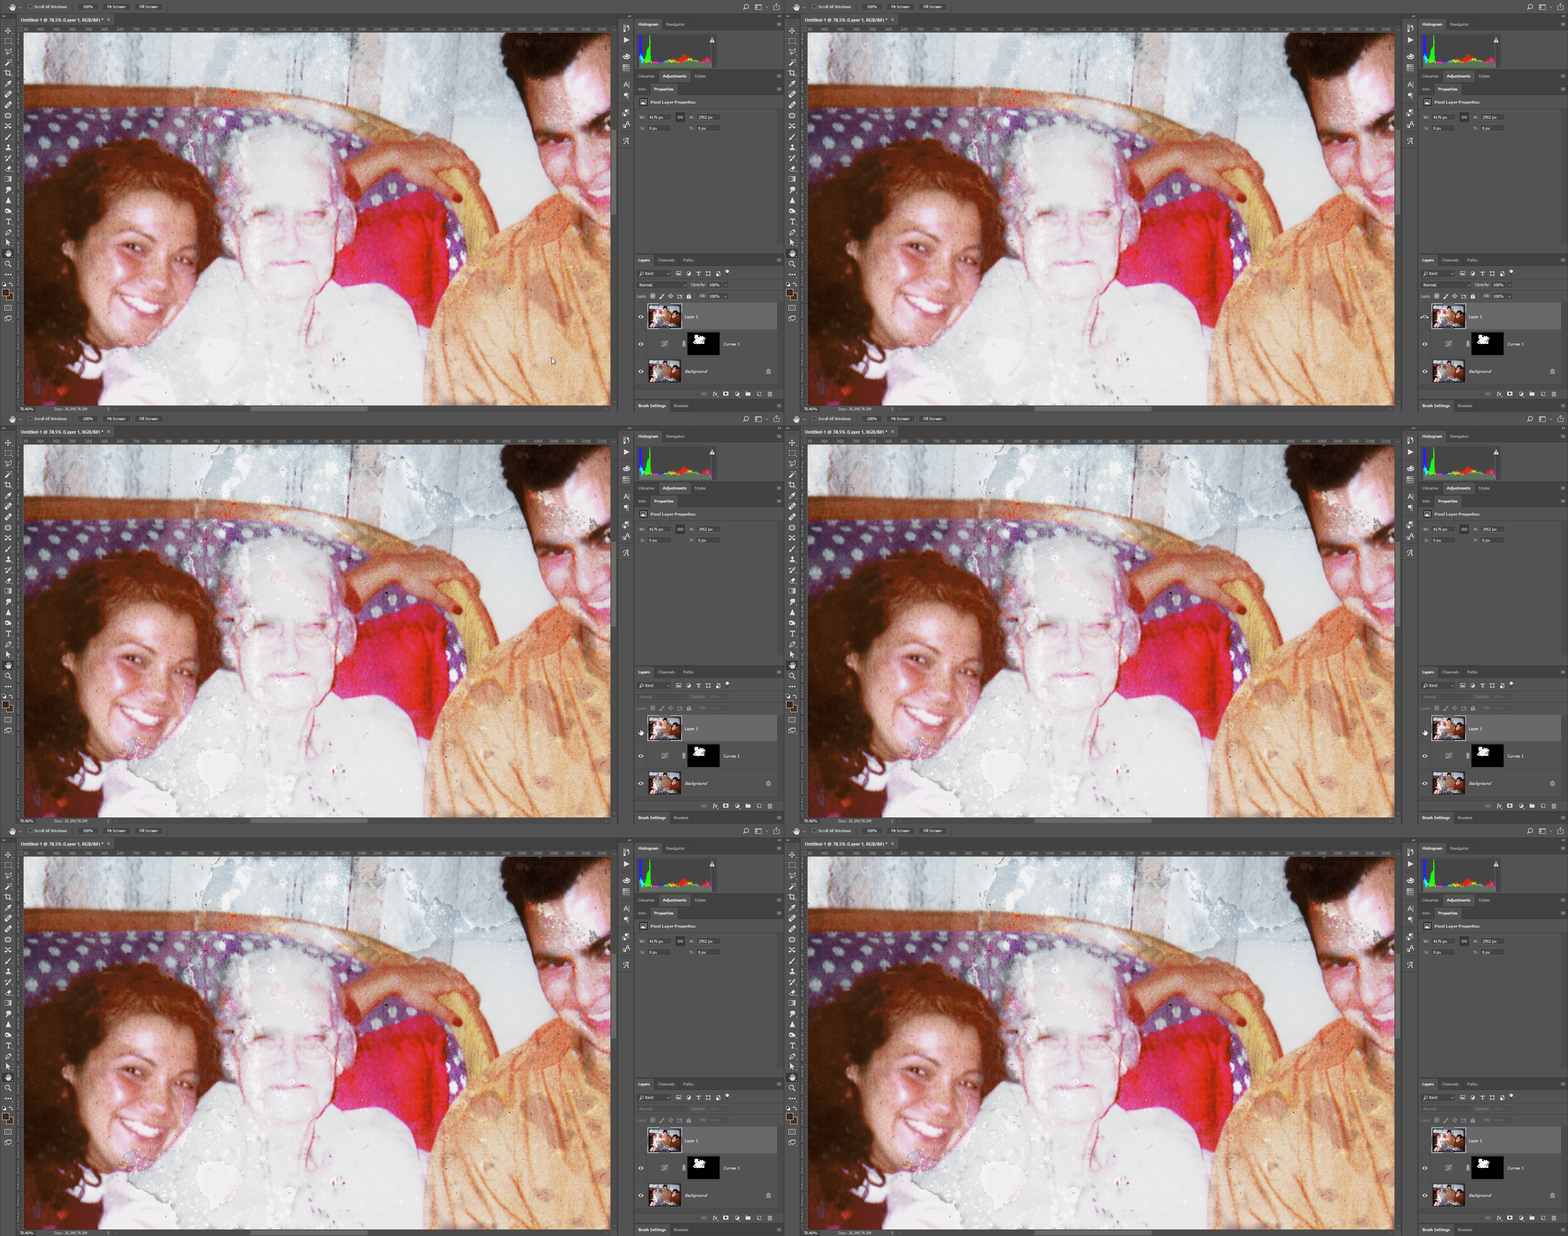
One method might be to create a curves adjustment layer, fill the mask black, and paint in the curves adjustment using white on the mask.

For example:

enter image description here

Obviously this is only a first step.

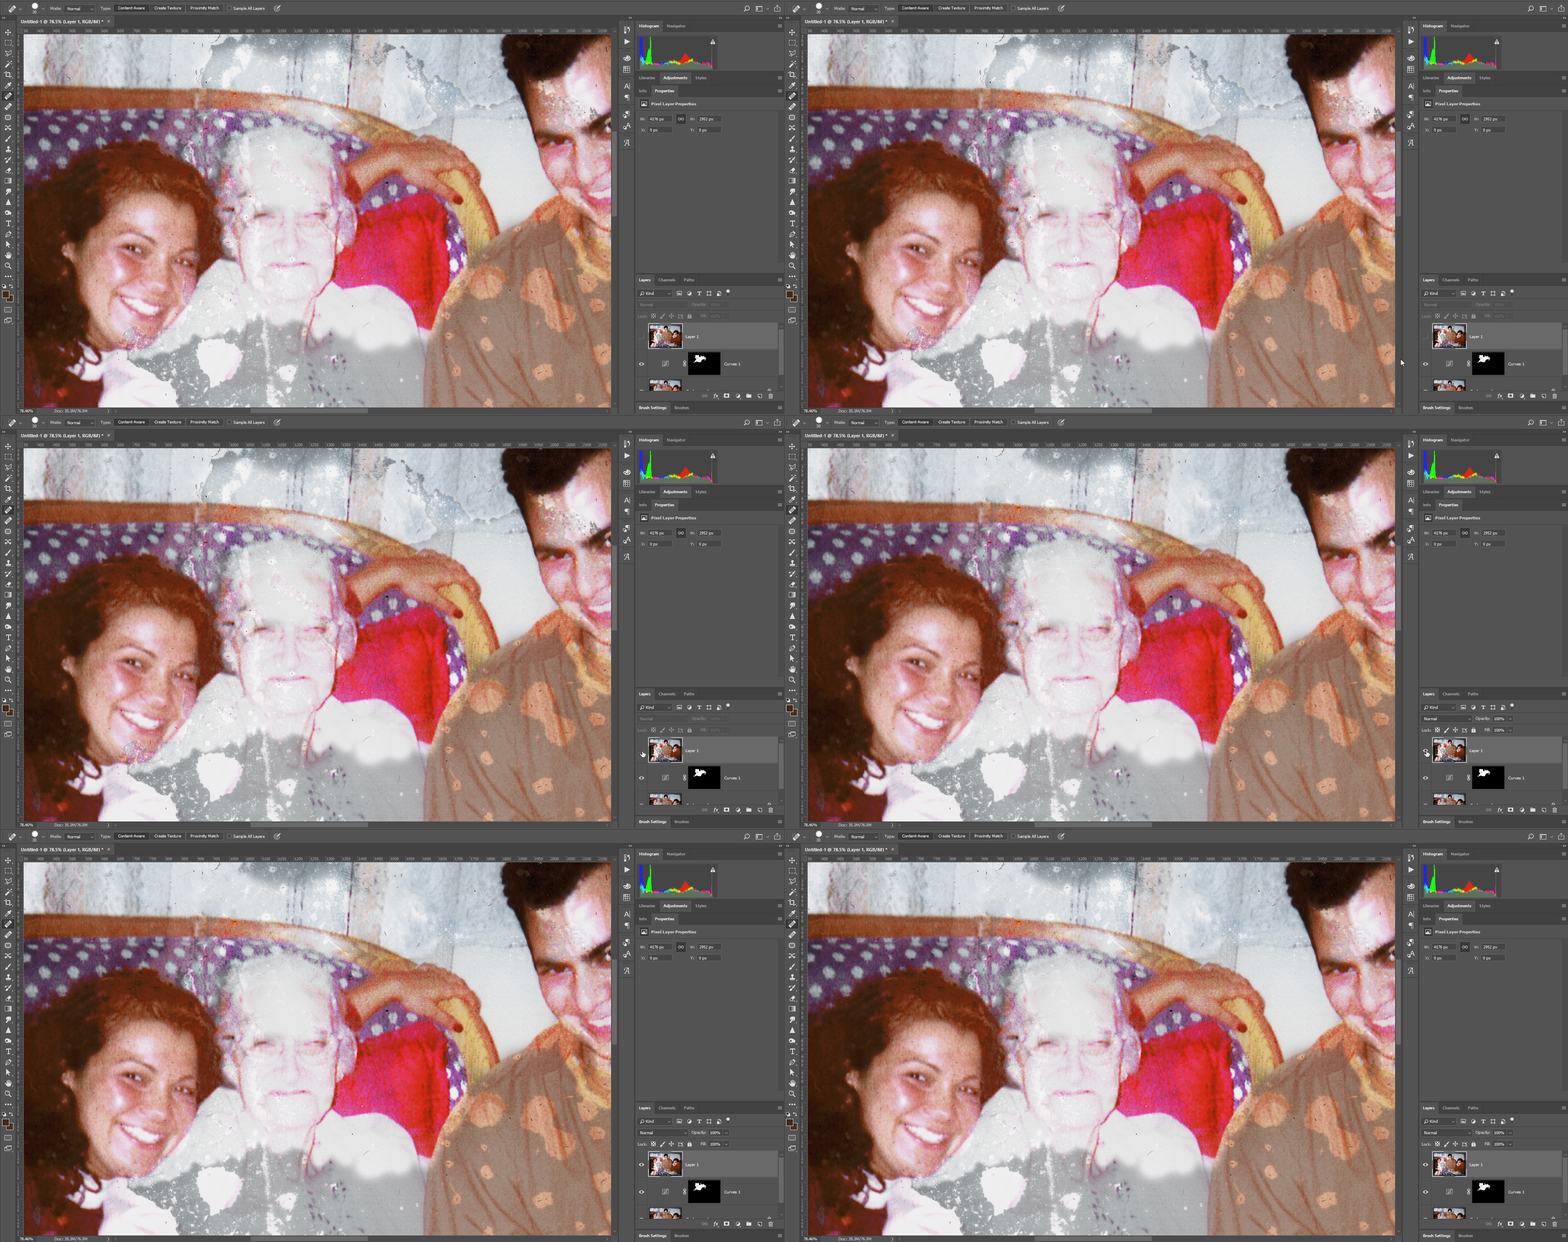
Once the majority of the damage has been removed, you could create a new layer - a copy of the visible layers (using Shift+Ctrl+E), and then begin to do more detailed repairs on that, perhaps using the Spot Healing brush.

For example:

enter image description here

And finally, a bit of Dodging to remove leftover dark areas, and some cloning, to clean up.

enter image description here

Unfortunately, it's going to take rather a lot of manual painting to fix damage like that. To begin the process of repairing it, you need to reduce the effect of the damage, since I don't think it will be possible to remove it completely in one step.

One method might be to create a curves adjustment layer, fill the mask black, and paint in the curves adjustment using white on the mask.

For example:

enter image description here

Obviously this is only a first step.

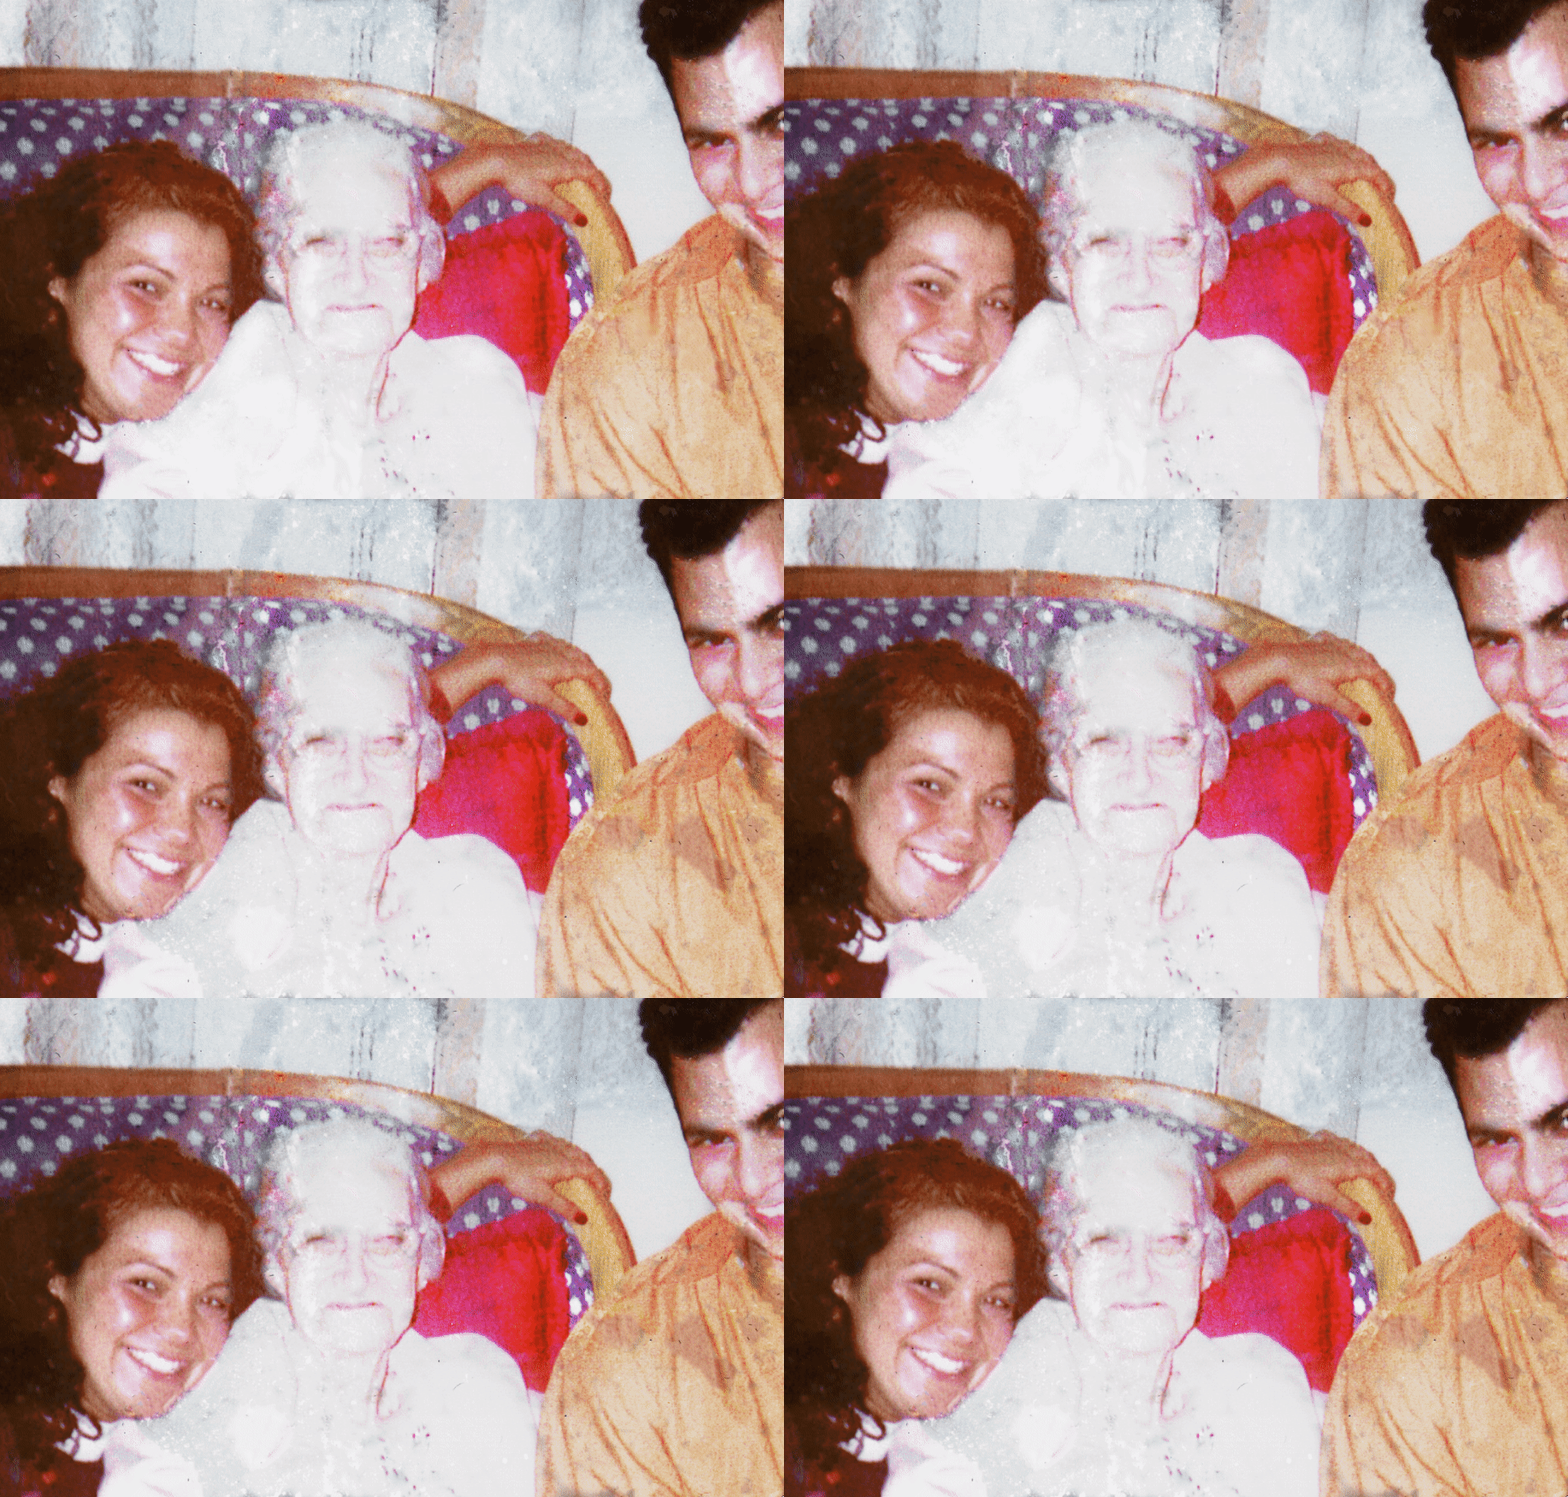
Once the majority of the damage has been removed, you could create a new layer - a copy of the visible layers (using Shift+Ctrl+E), and then begin to do more detailed repairs on that, perhaps using the Spot Healing brush.

For example:

enter image description here

And finally, a bit of Dodging to remove leftover dark areas, and some cloning, to clean up.
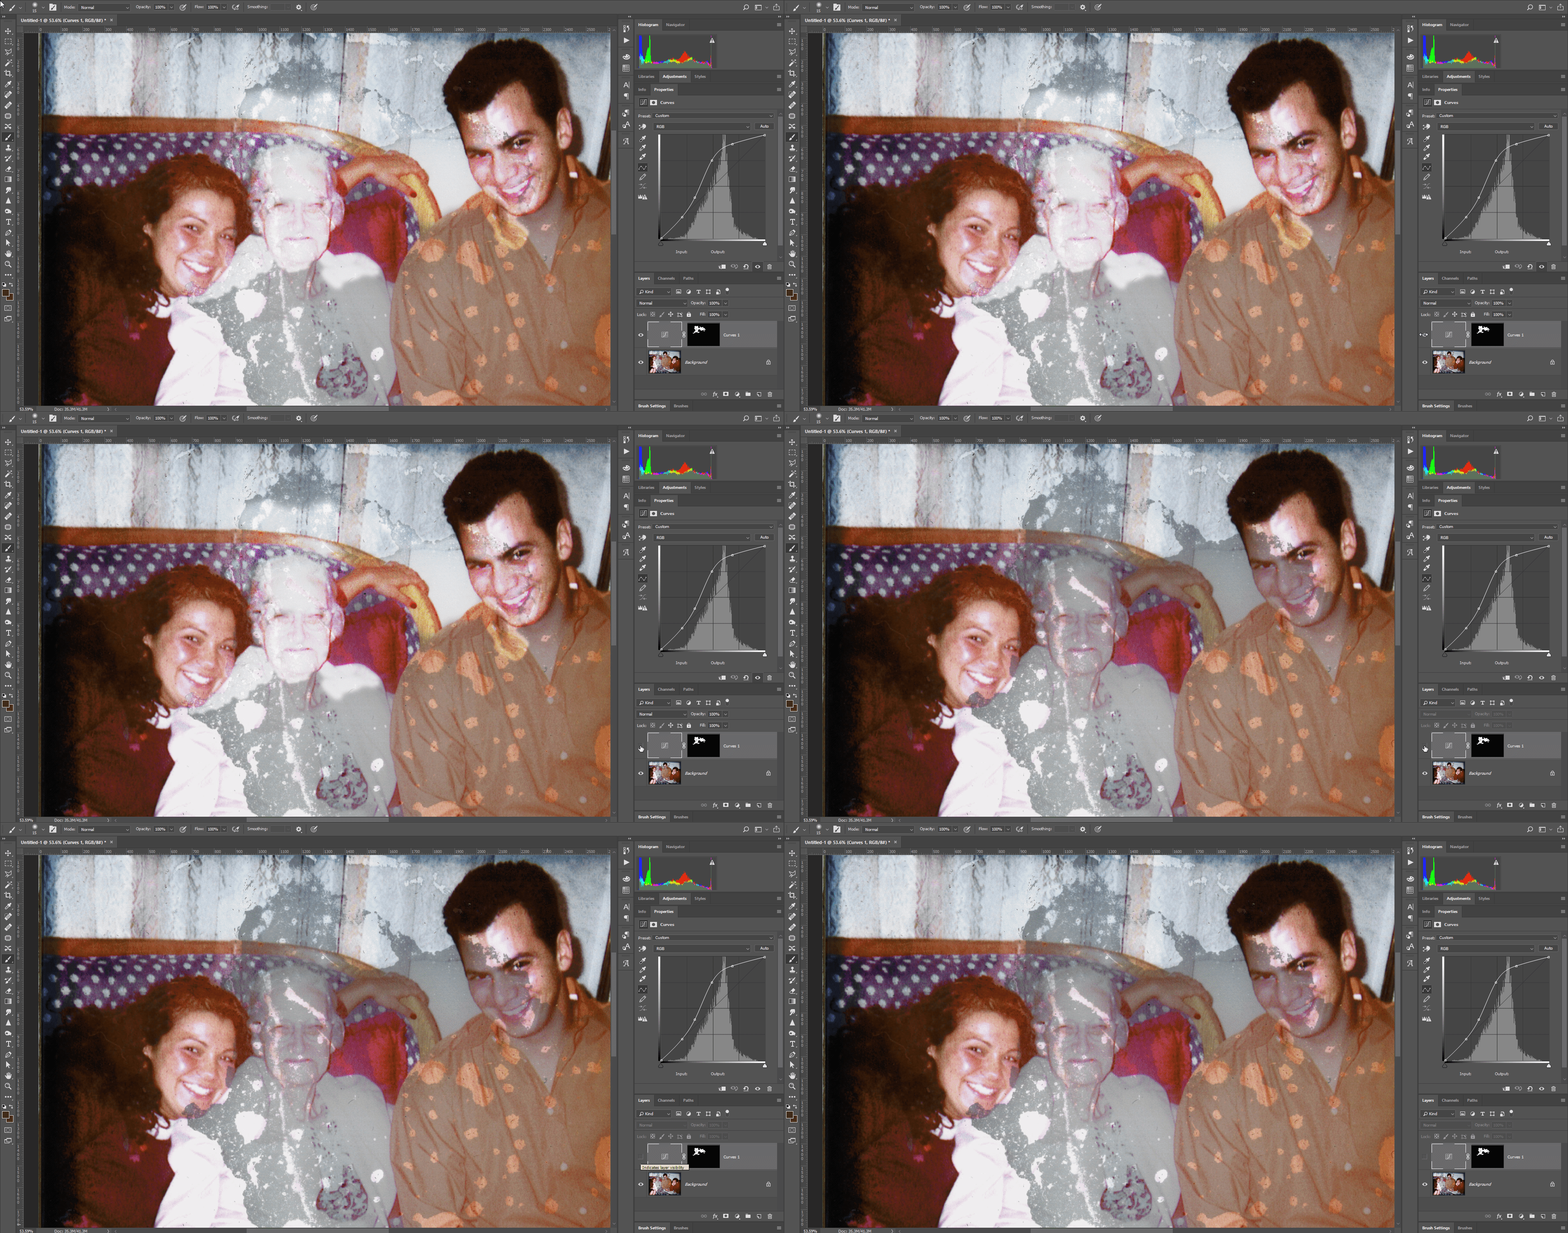
enter image description here

edited body
Source Link
Billy Kerr
  • 89.5k
  • 6
  • 83
  • 179

Unfortunately, it's going to take rather a lot of manual painting to fix damage like that. To begin the process of repairing it, you need to reduce the effect of the damage, since I don't think it will be possible to remove it completely in one step.

One method might be to create a curves adjustment layer, fill the mask black, and paint in the curves adjustment using white on the mask. Obviously this is only a first step, further manual repairs will be required to fix the edges between the painted adjustment and the undamaged parts of the photograph.

For example:

enter image description here

Obviously this is only a first step.

Once the majority of the damage has been removed, it's possible toyou could create a new layer - a copy of the visible layers (using Shift+Ctrl+E), and then begin to do more detailed repairs on that, perhaps using the Spot Healing brush.

For example:

enter image description hereenter image description here

Unfortunately, it's going to take rather a lot of manual painting to fix damage like that. To begin the process of repairing it, you need to reduce the effect of the damage, since I don't think it will be possible to remove it completely in one step.

One method might be to create a curves adjustment layer, fill the mask black, and paint in the curves adjustment using white on the mask. Obviously this is only a first step, further manual repairs will be required to fix the edges between the painted adjustment and the undamaged parts of the photograph.

For example:

enter image description here

Once the majority of the damage has been removed, it's possible to create a new layer - a copy of the visible layers (using Shift+Ctrl+E), and then begin to do more detailed repairs on that, perhaps using the Spot Healing brush.

For example:

enter image description here

Unfortunately, it's going to take rather a lot of manual painting to fix damage like that. To begin the process of repairing it, you need to reduce the effect of the damage, since I don't think it will be possible to remove it completely in one step.

One method might be to create a curves adjustment layer, fill the mask black, and paint in the curves adjustment using white on the mask.

For example:

enter image description here

Obviously this is only a first step.

Once the majority of the damage has been removed, you could create a new layer - a copy of the visible layers (using Shift+Ctrl+E), and then begin to do more detailed repairs on that, perhaps using the Spot Healing brush.

For example:

enter image description here

added 284 characters in body
Source Link
Billy Kerr
  • 89.5k
  • 6
  • 83
  • 179

Unfortunately, it's going to take rather a lot of manual painting to fix damage like that. To begin the process of repairing it, you need to reduce the effect of the damage, since I don't think it will be possible to remove it completely in one step.

One method might be to create a curves adjustment layer, fill the mask black, and paint in the curves adjustment using white on the mask. Obviously this is only a first step, further manual painting/cloningrepairs will be required to fix the edges between the painted adjustment and the undamaged parts of the photograph.

For example:

enter image description here

Once the majority of the damage has been removed, it's possible to create a new layer - a copy of the visible layers (using Shift+Ctrl+E), and then begin to do more detailed repairs on that, perhaps using the Spot Healing brush.

For example:

enter image description here

Unfortunately, it's going to take rather a lot of manual painting to fix damage like that. To begin the process of repairing it, you need to reduce the effect of the damage, since I don't think it will be possible to remove it completely in one step.

One method might be to create a curves adjustment layer, fill the mask black, and paint in the curves adjustment using white on the mask. Obviously this is only a first step, further manual painting/cloning will be required to fix the edges between the painted adjustment and the undamaged parts of the photograph.

For example:

enter image description here

Unfortunately, it's going to take rather a lot of manual painting to fix damage like that. To begin the process of repairing it, you need to reduce the effect of the damage, since I don't think it will be possible to remove it completely in one step.

One method might be to create a curves adjustment layer, fill the mask black, and paint in the curves adjustment using white on the mask. Obviously this is only a first step, further manual repairs will be required to fix the edges between the painted adjustment and the undamaged parts of the photograph.

For example:

enter image description here

Once the majority of the damage has been removed, it's possible to create a new layer - a copy of the visible layers (using Shift+Ctrl+E), and then begin to do more detailed repairs on that, perhaps using the Spot Healing brush.

For example:

enter image description here

deleted 55 characters in body
Source Link
Billy Kerr
  • 89.5k
  • 6
  • 83
  • 179
Loading
edited body
Source Link
Billy Kerr
  • 89.5k
  • 6
  • 83
  • 179
Loading
Source Link
Billy Kerr
  • 89.5k
  • 6
  • 83
  • 179
Loading