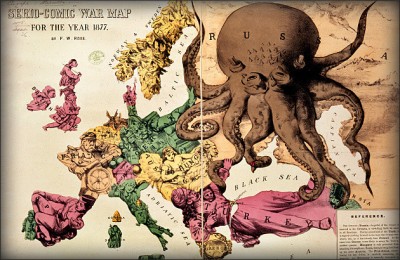
Make the original image into a Symbol by dragging it into the Symbols window. Ideally the image should be short and wide.
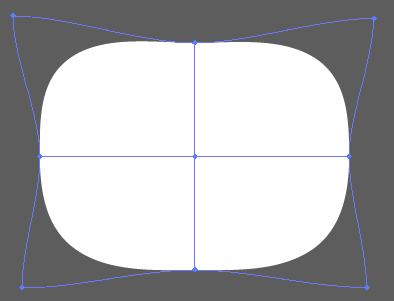
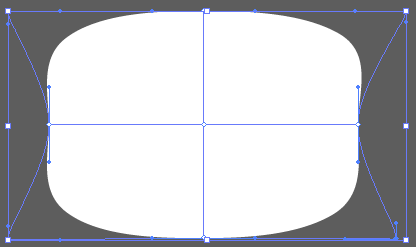
Create a 'sphere'. Make a half-circle (create a circle, then select and delete one of the points on one side). No fill, no stroke. Select it, then Effects > 3D > Revolve.
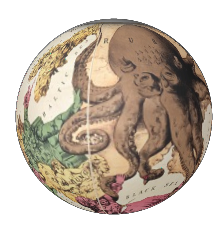
In the box for the Revolve effect (you can access it from Styles window if you've closed it), click Map Art at the bottom. Choose your image from the drop-down list of symbols, and scale it for the best fit.
Tick 'Preview' in the Revolve settings, and rotate the sphere using the big cube until the face you want is facing forward. Experiment will all available settings, particularly Perspective (I find 110 works pretty well), and try different scalings and placements of the image.
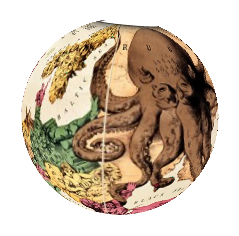
Experiment will all available settings, particularly Perspective (I find 110 works pretty well), and different scalings and placements of the image.
You'll notice this works pretty well, but maps the image to a perfectly flat somewhat artificial and lifeless looking sphere. You'll probably want to use this as a base and a guide, and draw details and add effects over the top of it - definitely don't just use this as a finished product. It also gives slightly nasty jagged (un-antialiased) edges around the circle - you might want to add a no-fill circle over the top with an outline stroke.
If you want to use Illustrator's in-built 3D shading effects, give the original image less than 100% opacity or a blending effect influenced by underlying shading / highlighting like multiply or screen before making the symbol, then tinker with shading options under 'More options' in revolve.
