English is not my native language, so feel free to comment on the exact term used.
Offset print is a process of several steps, which involves 2 basic steps, prepress and press.
I will start with the press which is the direct question.
I will also mention some errors in the file itself, which is not part of the print but the design.
And finally, I will mention some things that regard administrative decisions like the budget.
I am trying to simulate the errors with some images.
I. Press
Some of these errors are part of the process, meaning that they are tuned at the start of the project and corrected as the press rolls. If they persist is when we have "bad quality".
Although I put these in the press chapter, if an error exists, you need to look at the plates, which are part of the prepress part.
1. Alignment, registry
When one ink (or more) does not match the exact location where it is supposed to be.

We use registry marks to facilitate the alignment.

But sometimes, on old machines or too much force is applied to the rubber cylinder, a bulge is formed in the middle, and, although the registry marks are aligned, the center is not.
This happens more on big press machines because the rubber plate is bigger.

It is very rare that the plates do not align, but it can happen.
2. Dust
Either the environment is not clean or the paper has dust, sometimes is dust from the paper itself. If the press buys the paper, they should talk to the paper provider to change the stock.
This is a really bad image.
Check also the plate to see if the information is washed out.

3. Uneven flat zones
Probably it is as simple as adding more ink.

Check also the plate to see if the information is washed out.
4. Gain
The zones look smeared around the edges. This can happen when you have too much pressure when the plate does not have the right amount of water or for some other reason.

Also, compare the plates if the problem persists.
5. Ink density
You either have too much ink or too little.

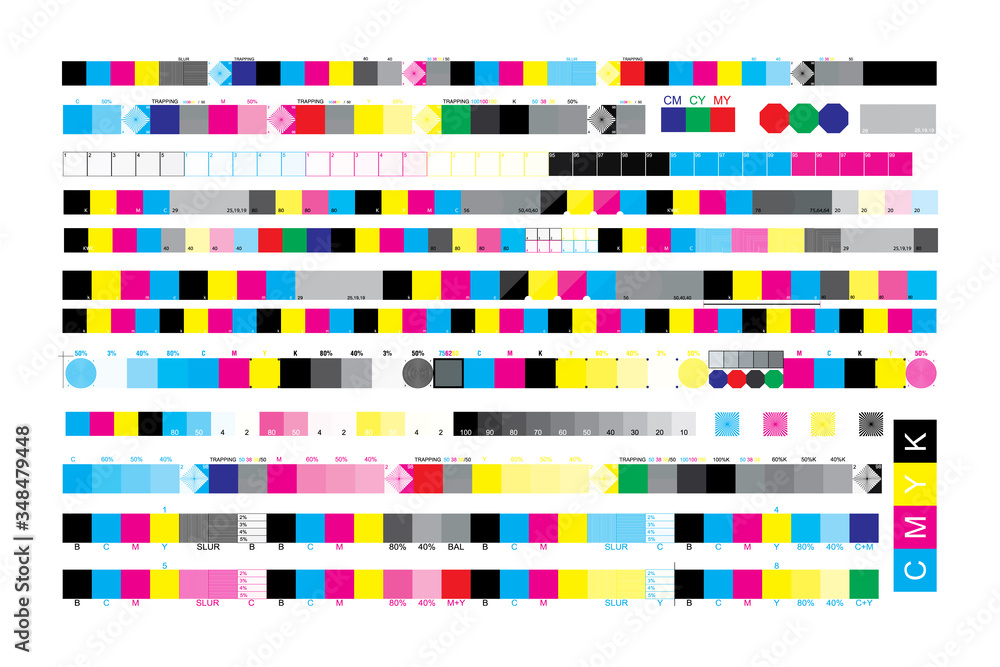
To control the gain and Ink density we use color bars. The specific model depends on what the provider uses. There are some that need to be read by a densitometer and others can be used with the bare eyes.

https://stock.adobe.com/es/images/cmyk-print-test-control-scales-vector-set-color-bar-cmyk-and-test-chart-offset-print-control-strips-color-cmyk-for-prepress-and-print/348479448
6. Uneven ink on the horizontal axis
It is important to differentiate the horizontal axis regarding the press itself. Each zone has ink regulators that need to be opened or closed.

7. Washed out on the vertical axis
The design is demanding much ink. Probably the machine is running too fast.

II. Prepress
I mentioned that you need to check the plates to detect any of the above errors.
8. Bad lineature
The lineature depends on the paper used and the project itself, but there can be a case where the specification needed let us say 150 LPI, and the prepress delivered 133 LPI for example.
9. Overprint
This is not an error by itself. It is an instruction that needs to be clearly stated and most of the time is overlooked. (see point 13)
10. Wrong color profile
Again this is widely overlooked. The color profile must ba defined by the press, and informed to the prepress and the designer. I put this on this chapter because the main actor that can check it is the prepress department.
III. Design
These are not part of the press or prepress process.
11. Pixelation
The images have insufficient resolution.
12. Rich black
Especially when you do not want it. For example on normal black text. It demands a perfect registry wich is almost impossible.
13. Overprint
When you add blocks of color, especially black, over a photo. The black will be overprinted so a ghost of the photo below can be shown.
13. Thin lines
Which will not be printed consistently. Specially white or light colors over dark.
14. Many others
I can go on and on with this chapter. :)
IV. Administrative
Some things that could be considered "bad quality" can be attributed to cutting corners or budget constraints. For example the quality of the paper.
This will produce a "bad" result. It can be compensated in some steps, like choosing the correct color profile, but sometimes the low quality is "inevitable".


