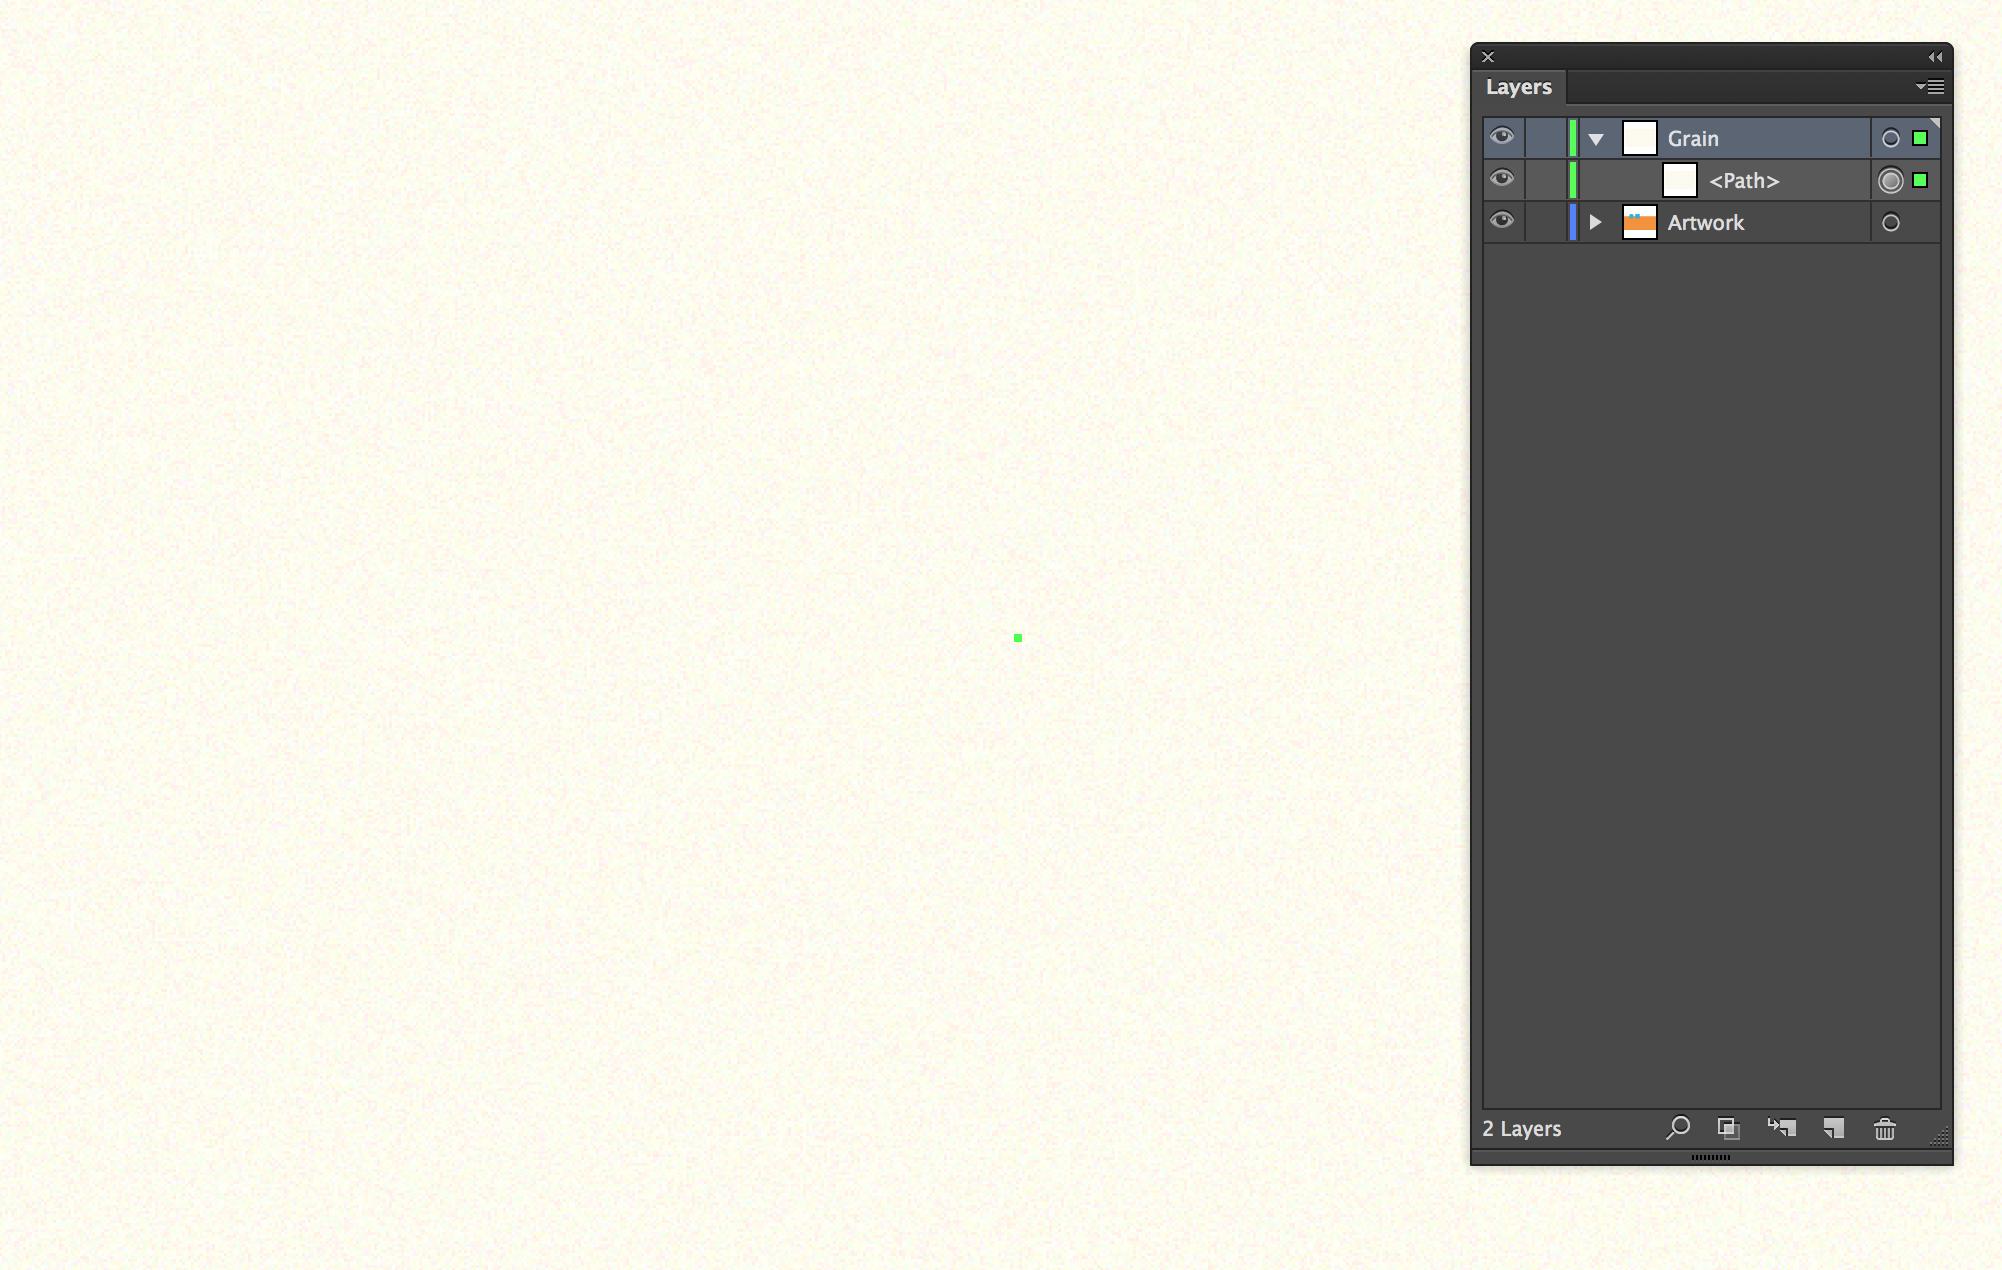
##1. Create a new layer above your artwork.
1. Create a new layer above your artwork.
##2. Create a shape over the whole artboard (or the area you want the texture applied to).
2. Create a shape over the whole artboard (or the area you want the texture applied to).
##3. Apply your Grain (Effects → Texture → Grain).
3. Apply your Grain (Effects → Texture → Grain).
##4. With your textured shape selected, open the transparency palette (Window → Transparency) and change the blending mode.
4. With your textured shape selected, open the transparency palette (Window → Transparency) and change the blending mode.
Different blending modes will have different results. I suggest starting with Multiply.
You can use whatever color layer you want, white will work but I usually go for a slight off-white but it completely depends on the effect you want.
If you only want the texture applied to a certain area just mask off the texture.
The file size is increasing because Grain is a raster effect, you are basically embedding a raster image in your Illustrator file. You can just as easily (and I often do) create the image in Photoshop (or your preferred image editing program) and place it in your Illustrator file as a linked file. This solves the file size problem, but you now also have 2 files to worry about.
You can achieve the same effect by using a textured image.


