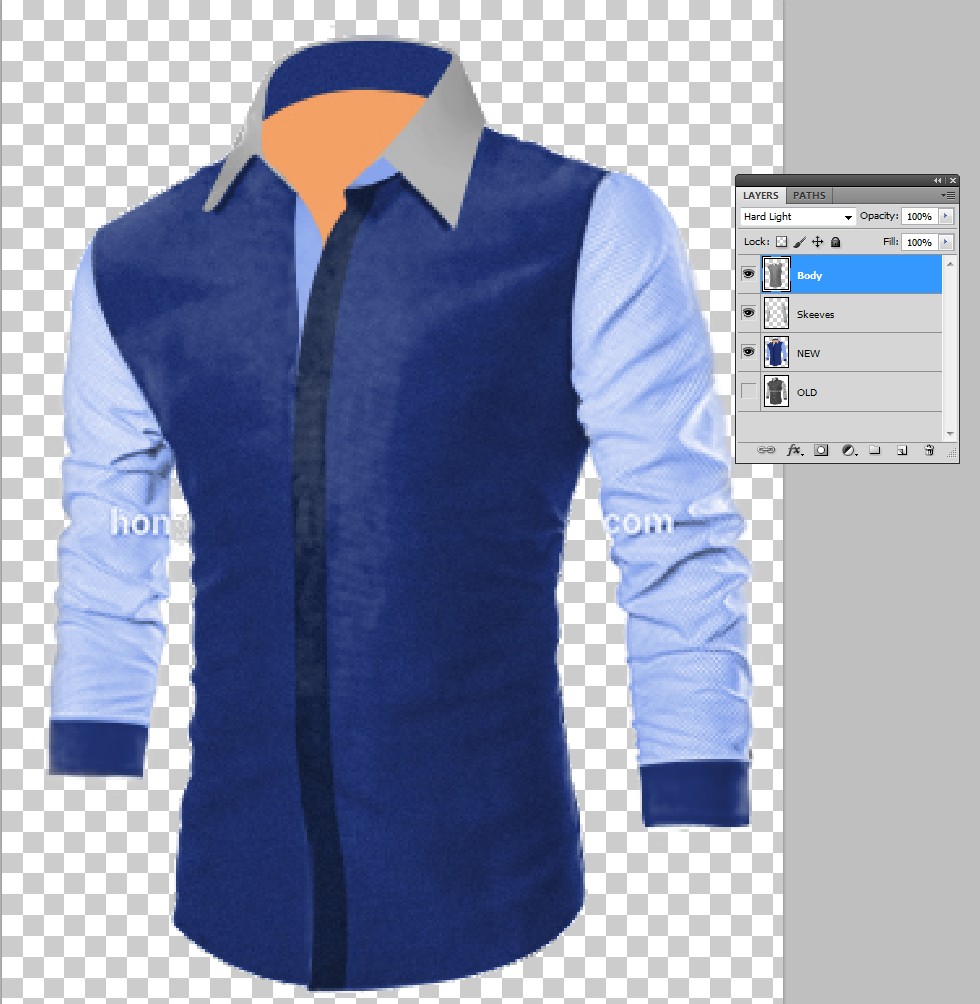
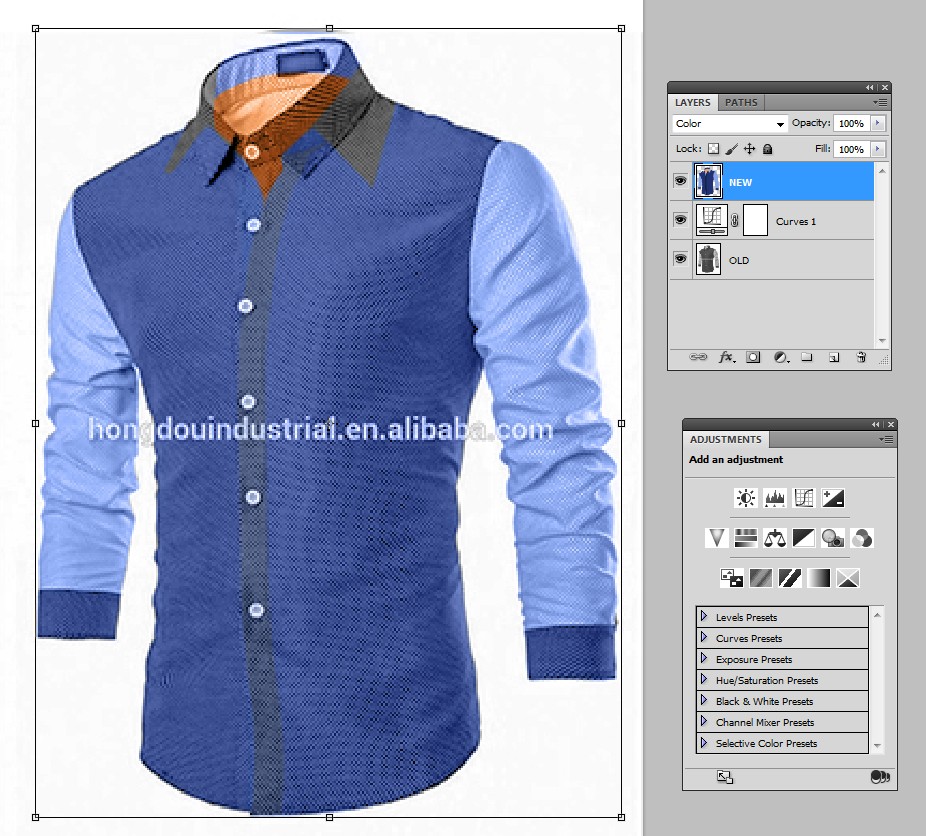
If you have exactly matchig pieces with new colors, you can give their color to the old wrinkled suit by making a new layer with blending mode "Color".
The result is full mess in the areas that do not fit, for example here in the collar and the neck opening.
The method can be reversed. Take only the good parts from the old image and make them to fit.
The reversed method:
- Separate the radically differenttly colored parts in the old suit to different layers. The magic wand is useless. Use quick selection tool, polygonal lasso and clipping paths. Here no paths are used => generally very coarse part separation.
- Desaturate the old suit parts
- Adjust the old suit parts individually to have 50% grey average color
- delete impossible parts from the old suit by cloning and erasing. Here the collar and neck opening areas are erased and the buttons are painted over by the cloning brush
- by the smudge tool and warping make the remaining old suit parts to fit. You can also do minimal edits to the new suit.
- give to the old suit parts blending mode = hard light.
- the canvas texture grew to impossible when the old suit body was lightened to 50% grey. The texture was hided by blurring. Remember to select the body part before blurring to prevent the spreading. The blur was the Gaussian one and the radius was only 2 pix to save the general lightness variations.
- some small parts were drawed by habndhand because there was nothing to copy. For example the shadow under the new collar.
The folds and wrinkles are extremely difficult to create by hand. But if you have got what it takes to see them right before doing them, you can get some substantial speed boost from Photoshop:
- create a separate layer for a group of folds and wrinkles that have the same light. Select layer style = bevel&emboss, blending mode = hard light
- paint with 50% grey
- adjust the effext parameters for right light direction and shading transition widths
- take the eraser with only few percent opacity. Brush the extras off.


