Check it yourself! Do an image search for treasure chest. Select a few good ones. You'll see to match with them you must insert:
- a lock
- edge and surface reinforcements
- carrying handles
- material texture details
- a treasure, if your chest happens to be open, maybe also the hinges are partially visible in this case
- lights, shadows and maybe some shine
- plausible colors.
As a practice job you can well try to copy one. I do not mean copying and pasting, but drawing. It's useful for your learning. Remember to make your own version if you are going to give or show it to others.
The extrusion gave to you so little part of the needed things that as well you can draw the chest with the pen. I bet it's 500% more useful for your learning.
If you happen to wait for the missing things something as easy as the extruding is for the base chest body shape, you will miss it totally. You must draw them or copy clipart shapes. But everything is not needed to draw as perspective images, there is methods to place things to surfaces as flat "straight on the face" 2D images and the result still is a perspective image with depth.
I see parts of the treasure and wood texture could well be taken from clipart, maybe also some decoratives and the carrying handles. I bet you as soon draw the metallic reinforcement parts of the chest as you adapt some existing parts exactly to the geometry.
NOTE: It's not plagiarism nor otherwise criminal to use clipart components if the clipart really is free to use with no limitations or you have purchased a valid license to use them.
My opinion is: Use clipart only if you are in a hurry. Remember to admit there's clipart parts included, never stay silent and let others think you have created it all.
About HOW?
As already said, one method to insert the details is to draw them. Altough drawing is the most flexible method, one must have the needed skills to do it. If you need something just now and you drawing skills are limited to flat images with no apparent depth nor perspective, you obviously must use available crutches.
Crutch 1. Insert clipart where possible
Crutch 2. Draw all visible surfaces as complete flat images. They can contain also photos and pieces of clipart. Use Artwork Mapping in the 3D extrude dialog. It will be tricky, even impossible, if you try to insert also parts which have substantial thickness such as carrying handles. The images must be dragged to the symbols panel before use. You must have a complete and fitting image for every visible surface. The curved surface is virtually impossible case if the extruded curve has more than 2 anchor points. The surface gets splintered. It seems to be a half ellipse. It has one anchor too much, but you can fix it easily and still keep the curve acceptable.
Crutch 3. You can make a complex shape to be extruded. That can include the cross-cuts of the wooden boards which and iron parts which are longitudal to the same direction than the extruding. You can make also short extrusions for iron reinforcements.
Nothing prevents you to layer several extrusion results if they are made with compatible settings (and expanded to make placements possible)
Crutch 4. Make the basic chest shape with 3D extrude to get the wanted watching direction and perspective with virtually no effort, but expand the result as soon as possible to a flat image. Insert all details in 2D. There you can also map straight on the face images to surfaces. It happens with envelope distortion. In addition you can draw directly and insert clipart parts.
To get easy to use extrusion result you should extrude filled areas without strokes. The number of surfaces would be reduced 50%. Do not use black, but light grey.
An example:

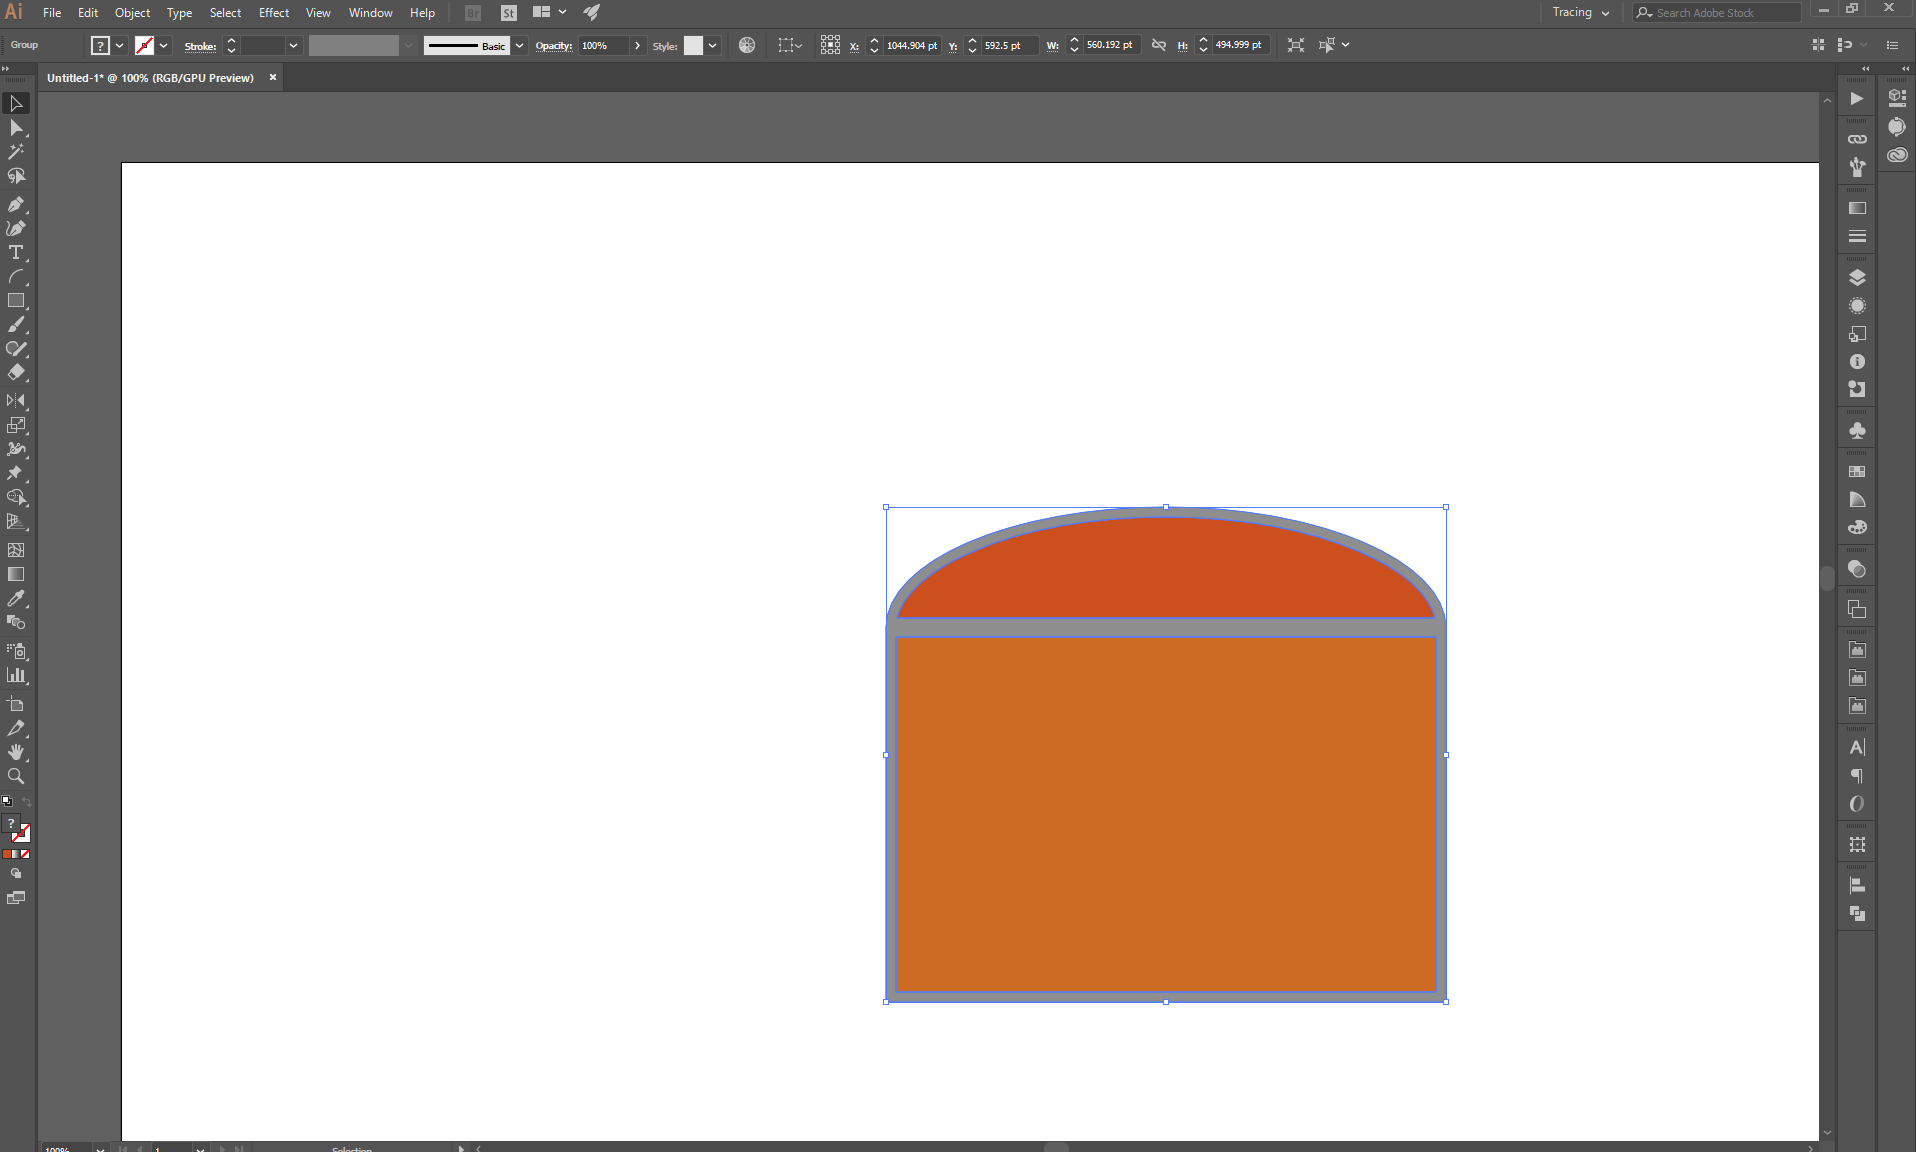
1) the gable shapes NO STROKES!
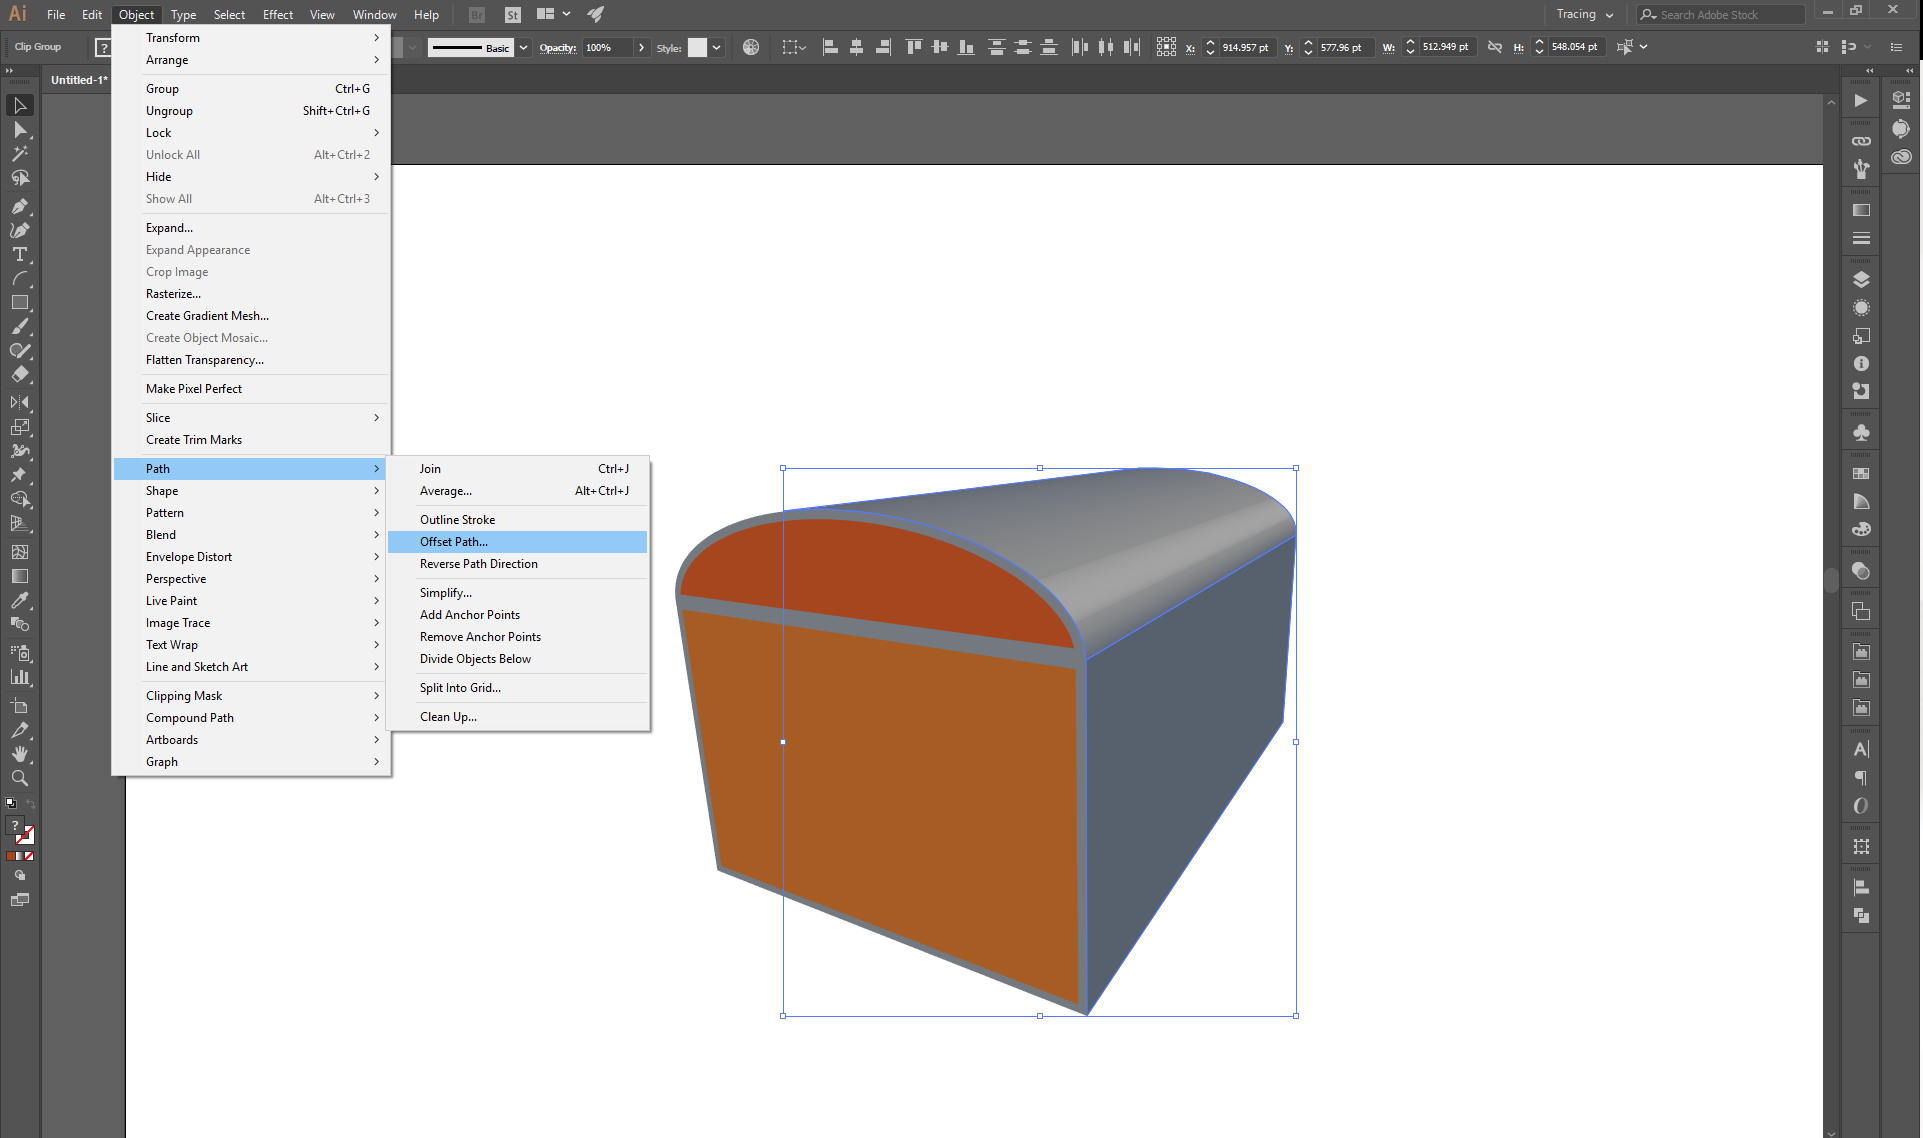
2) Extruded, no shading, a slight perspective
3) Object > Expand appearance is applied, several ungroups to ungroup all,fill colors are removes, all generated shapes have got different stroke to show them. Generally they will be quite surprising and difficult to use as is
4) Areas are combined and filled with separate colors to get easy to use shapes. The shape builder tool does the job perfectly. Only four separate shapes are left.
The next step is to draw the details. You can make a copy, remove the fills, insert a stroke and split the parts with scissors to get well directed lines and curves to reduce actual drawing:

5) A splitted copy as material storage
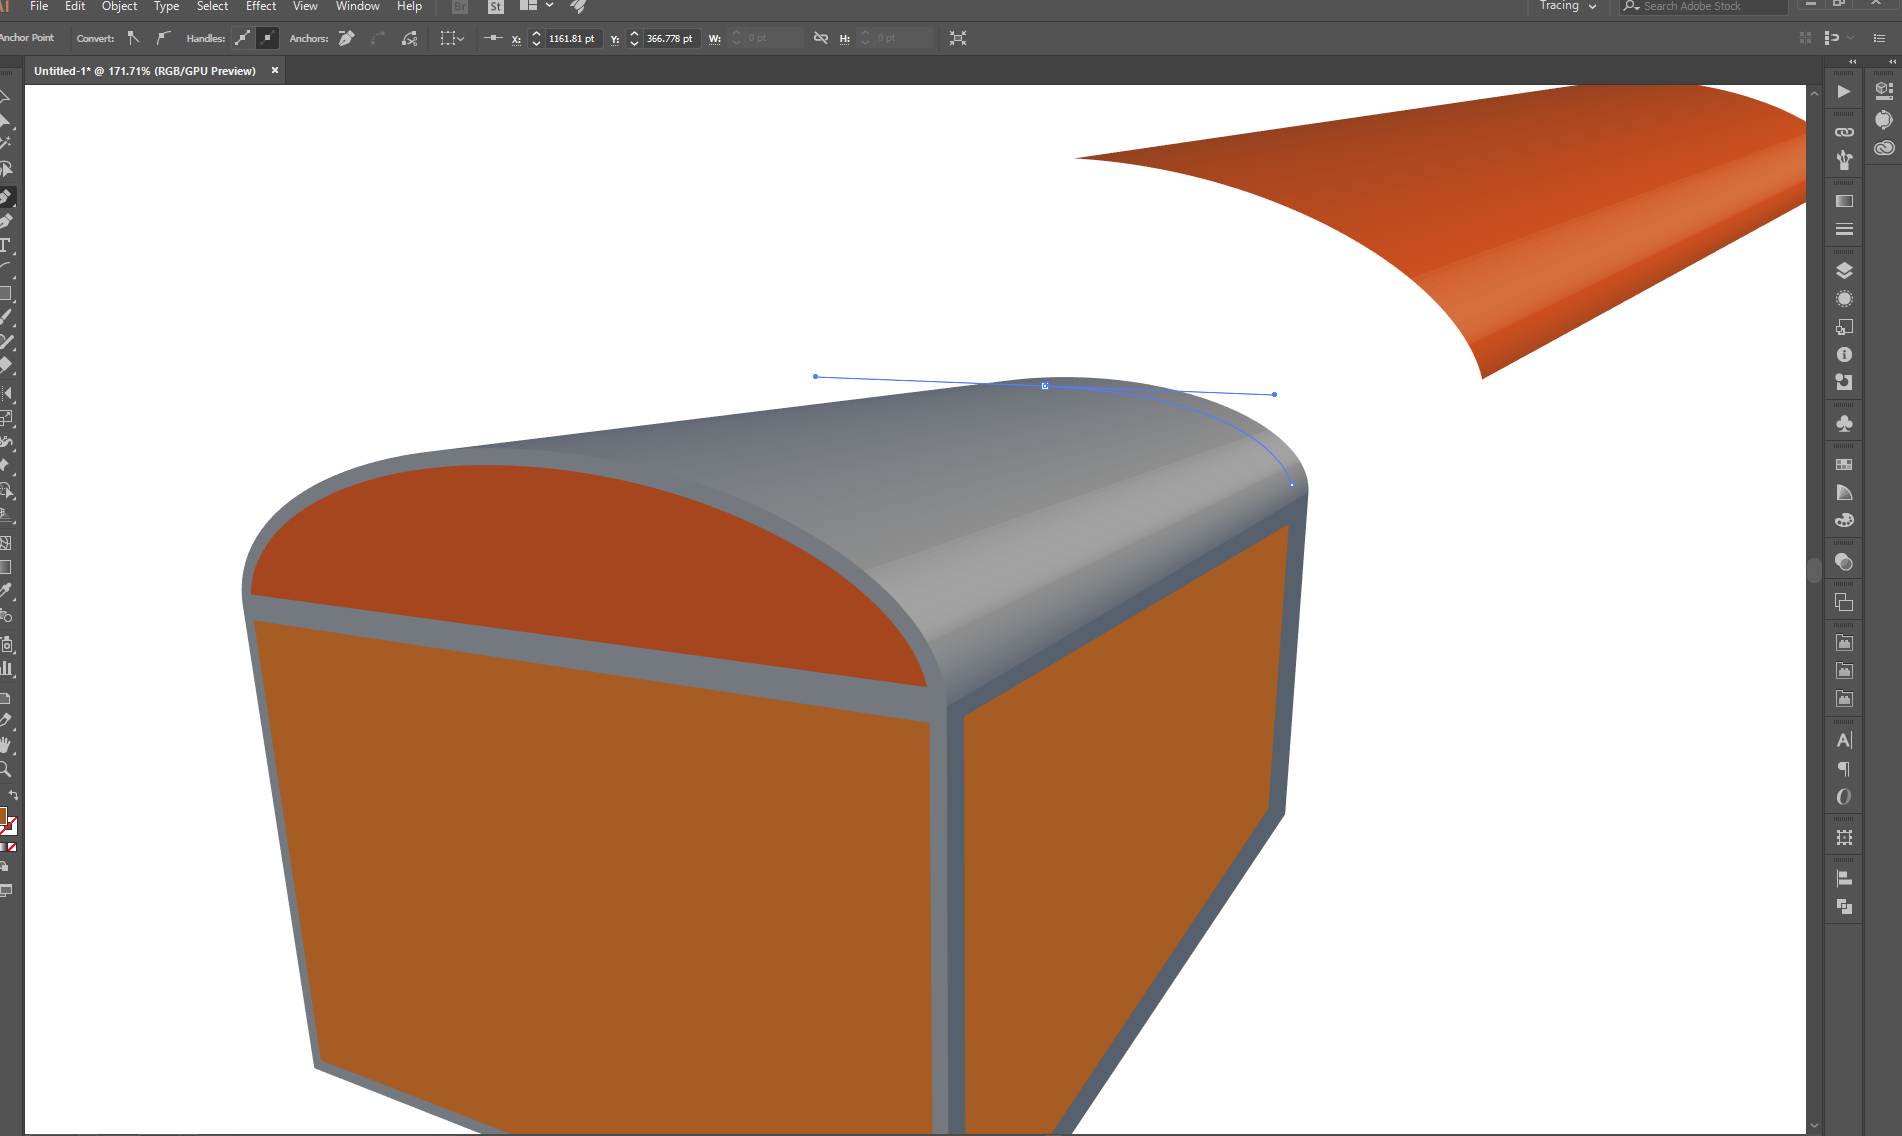
6) Reinforcing iron edges are placed to the chest body. They are stretched by dragging with Shift key pressed. The extras do not harm, they are easily deleted after applying the shape builder. I used only straight lines, but this is the first place where a little imagination and some curves would make a big difference.
7) Iron areas are filled with the shape builder, the black remnants are removed, slight strokes are added to show the borders. Also a gradient is applied to show you do not need it from the extrusion.
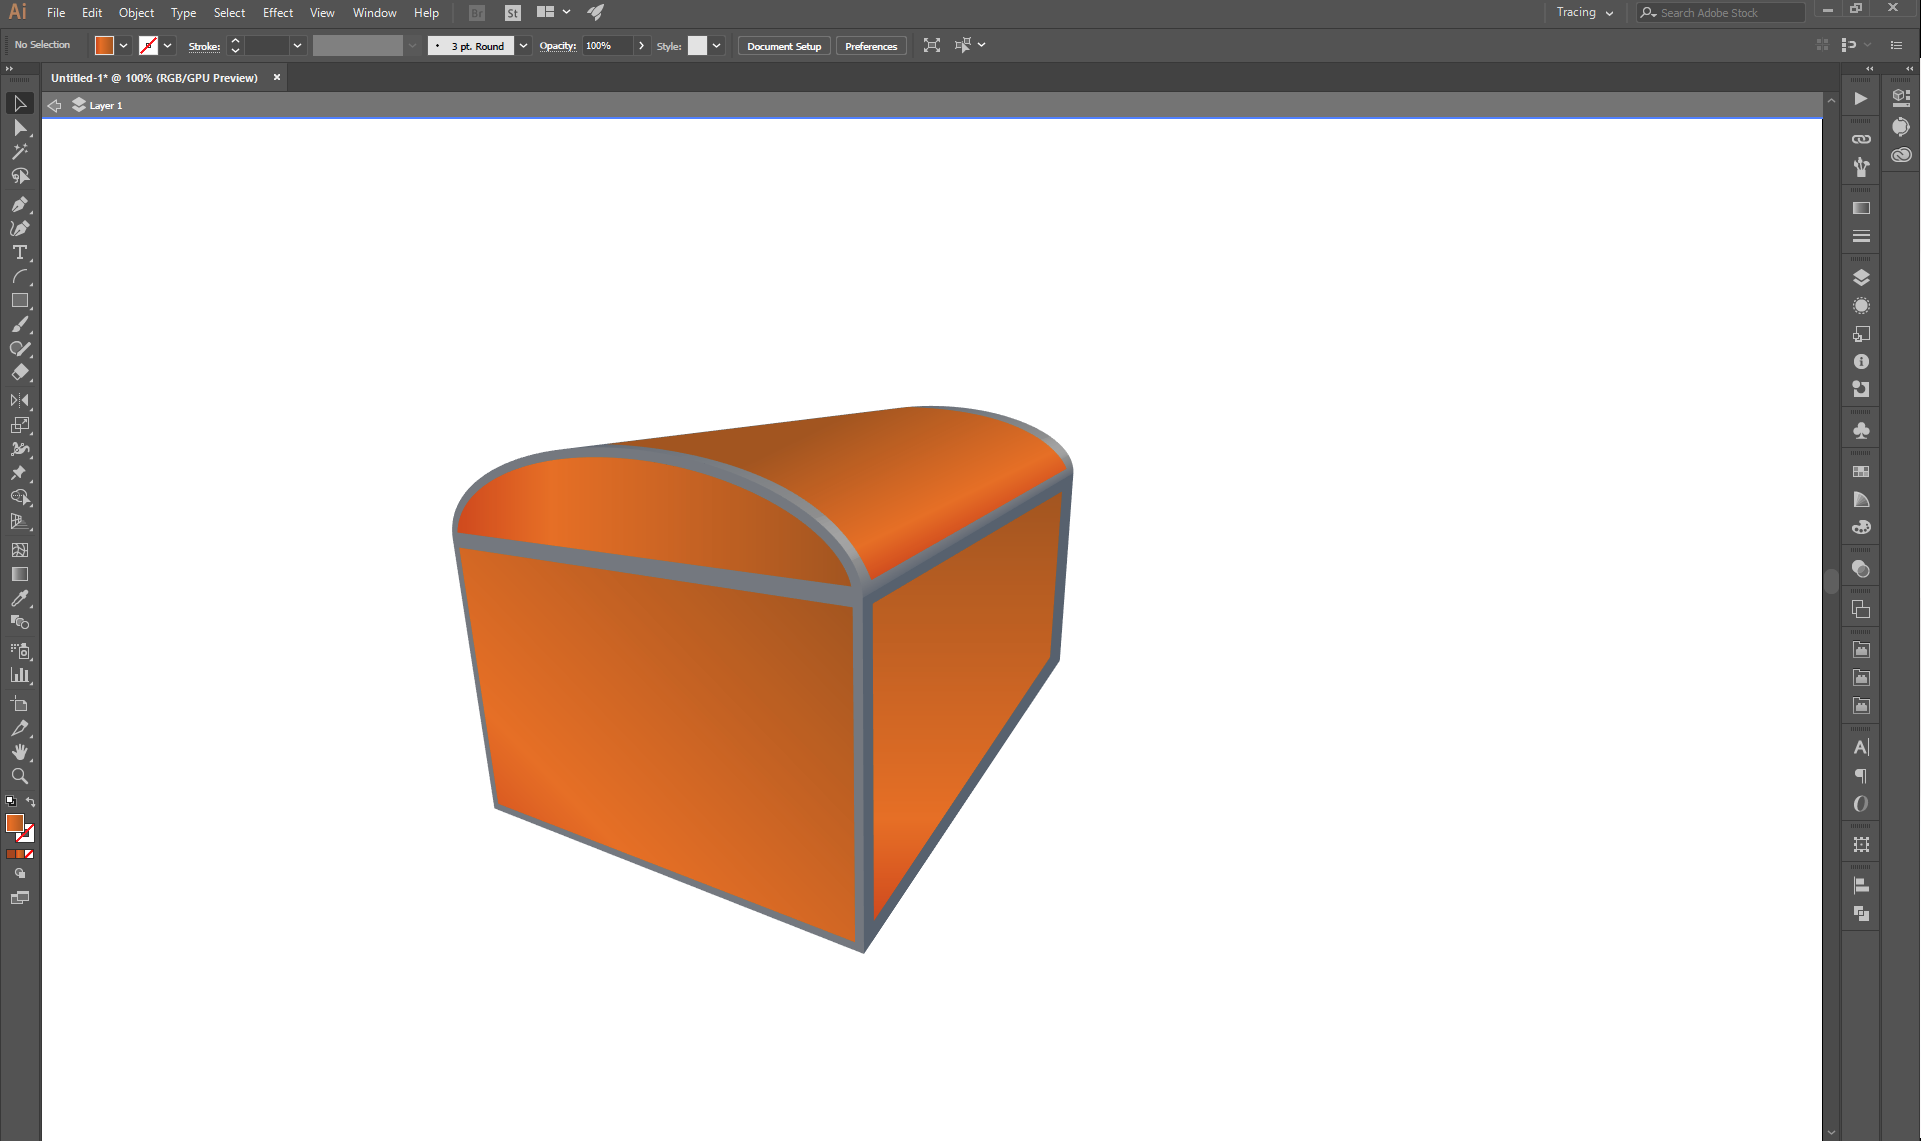
Here's an example of using curved shapes instead of straight lines. This is actually my 2nd attempt. The projection is a little lower to make the walls of the chest body apparently bigger.
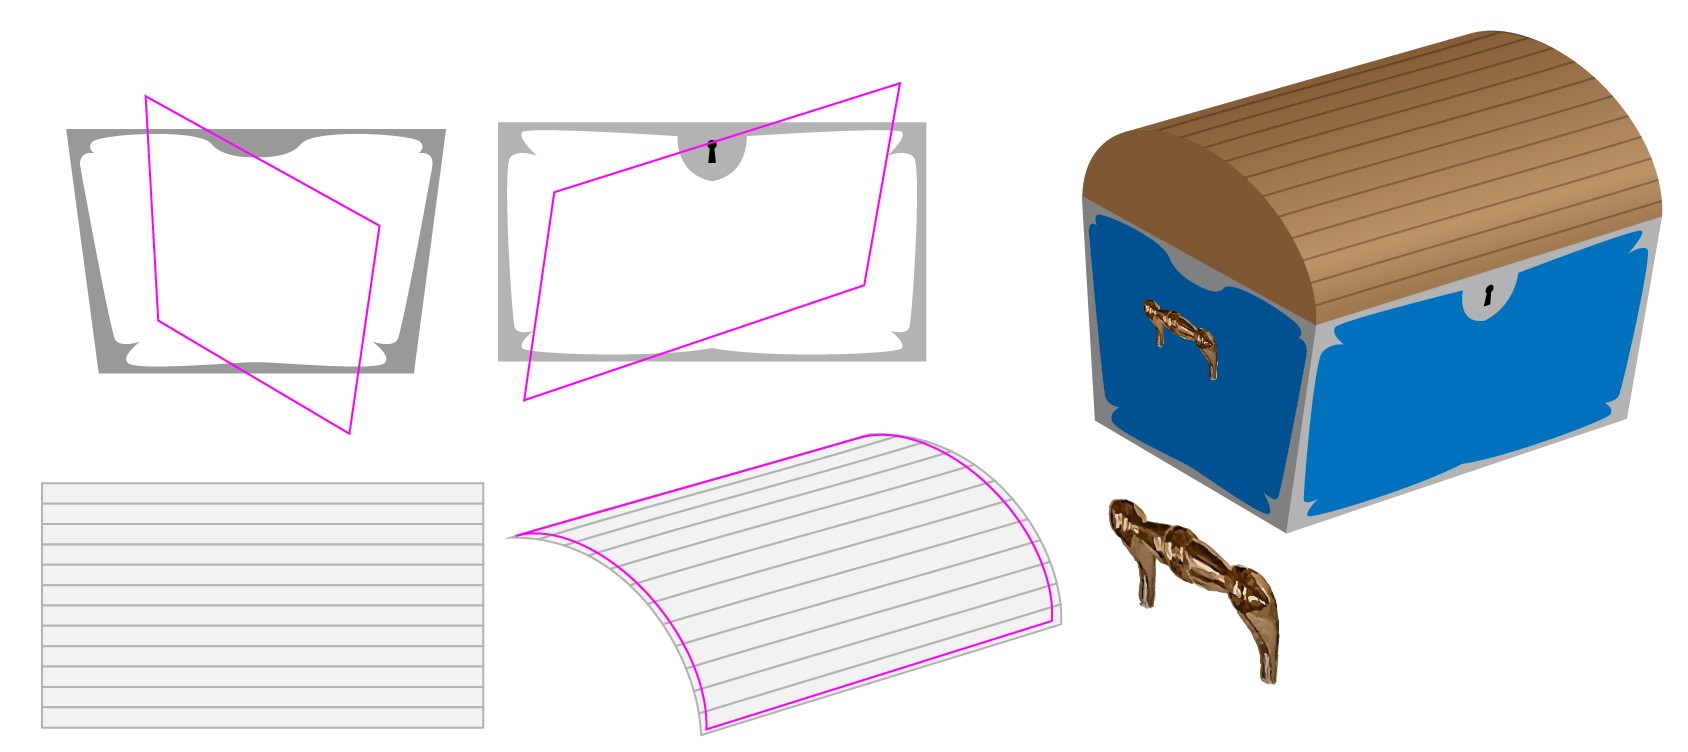
The iron shapes are drawn straight on the face and forced to right forms with envelope distortion. Magenta shapes are copies of the chest walls. They are the top objects in Object > Envelope distortion > Make with Top Object
The wooden boarding of the cover is originally a group of straight grey rectangles. More realistic texture image would be better, but then you must have the same realism everywhere to keep the balance.
Unfortunately envelope distortion with top object generally cannot guess right curved shapes. For that reason the boards are warped manually with 1x1 envelope distortion mesh to approximately right shape altough a little too large. The exact curved outline of the cover (magenta) is used as clipping mask. The result is placed onto brown gradient with blending mode multiply.
Theres a clipart part, the handle. It's not from any clipart library. It's copied from an antique style metal part collection. At least a half of it was simply deleted. The light and and apparent viewing direction were edited. The result isn't especially good because it was originally a low res screenshot and the viewing direction was totally wrong. It was converted to vector with tracing. Tracing didn't make it more accurate, but removed pixelation.
This show ends here. Hopefully you got some ideas. You need also actual drawing. You must place more surface details such as finer wood texture, metal rivets and glosses. Some thick metal parts are needed such as handles. Making or finding these is beyond the scope of this answer.
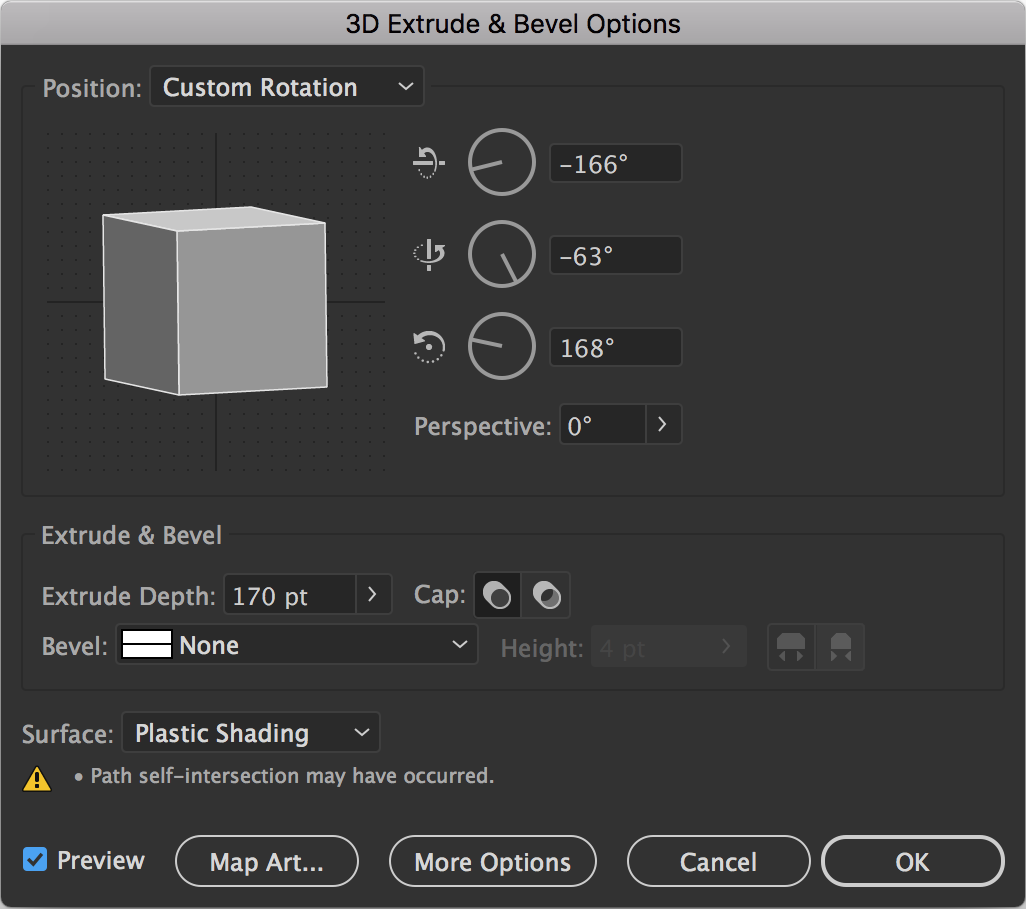
 The I used the 3D Extrude & Bevel effect to extrude the depth, and rotated/revolved/positioned the resulting 3D object. Note: The two shapes might need to be grouped or merged to avoid rendering some strange anomalies. I used these settings:
 Here's the result:


