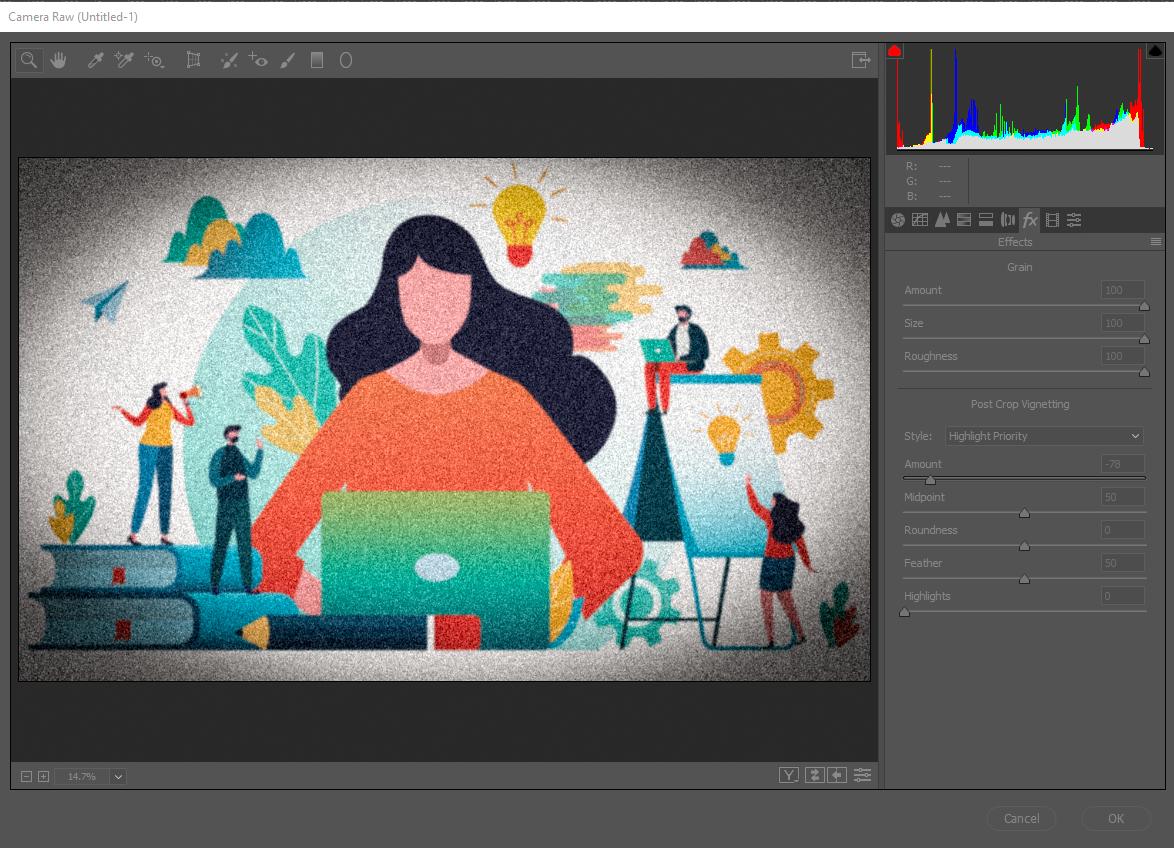
I'm not sure that I agree that the images you link to has larger grains than you can get with the Noise filter. They are just "harsher". A different kind. And I don't think they look like 35 mm film grain (which I would expect to be "softer"), but more like it's mimicking some form of lithography printing where the grains come from the texture of the stone used.
Take for example this image. If you download it, open it in Photoshop and zoom in on the grains, you will discover that they are all 1x1 px size. Not larger than the noise produced by the Noise filter:
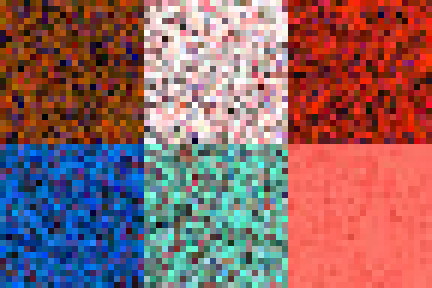
Furthermore, the noise in the linked image doesn't seem to just be added to the image as a whole, but carefully applied to different parts of the images in different amounts. Also notice how the noise in the individual parts seem to confine to different "color palettes".
I can't tell for sure how this was done. The artist probably spent a considerable amount of time experimenting with different approaches. But I can try to inspire you to get started experimenting for yourself.
I propose a method where you have the individual shapes of your drawing as Layer Masks on groups. The shadows and highlights are kept on individual Solid Color layers inside the group each with their own layer mask. I tend to just draw with the sharp Pencil Tool and add Feather to the layer masks, but you could draw with soft brushes instead if you prefer.
Both the group itself and the individual color layers should have the Blend Mode called Dissolved which renders transparency as completely sharp 1-bit noise.
Here is a quick example showing the principle:
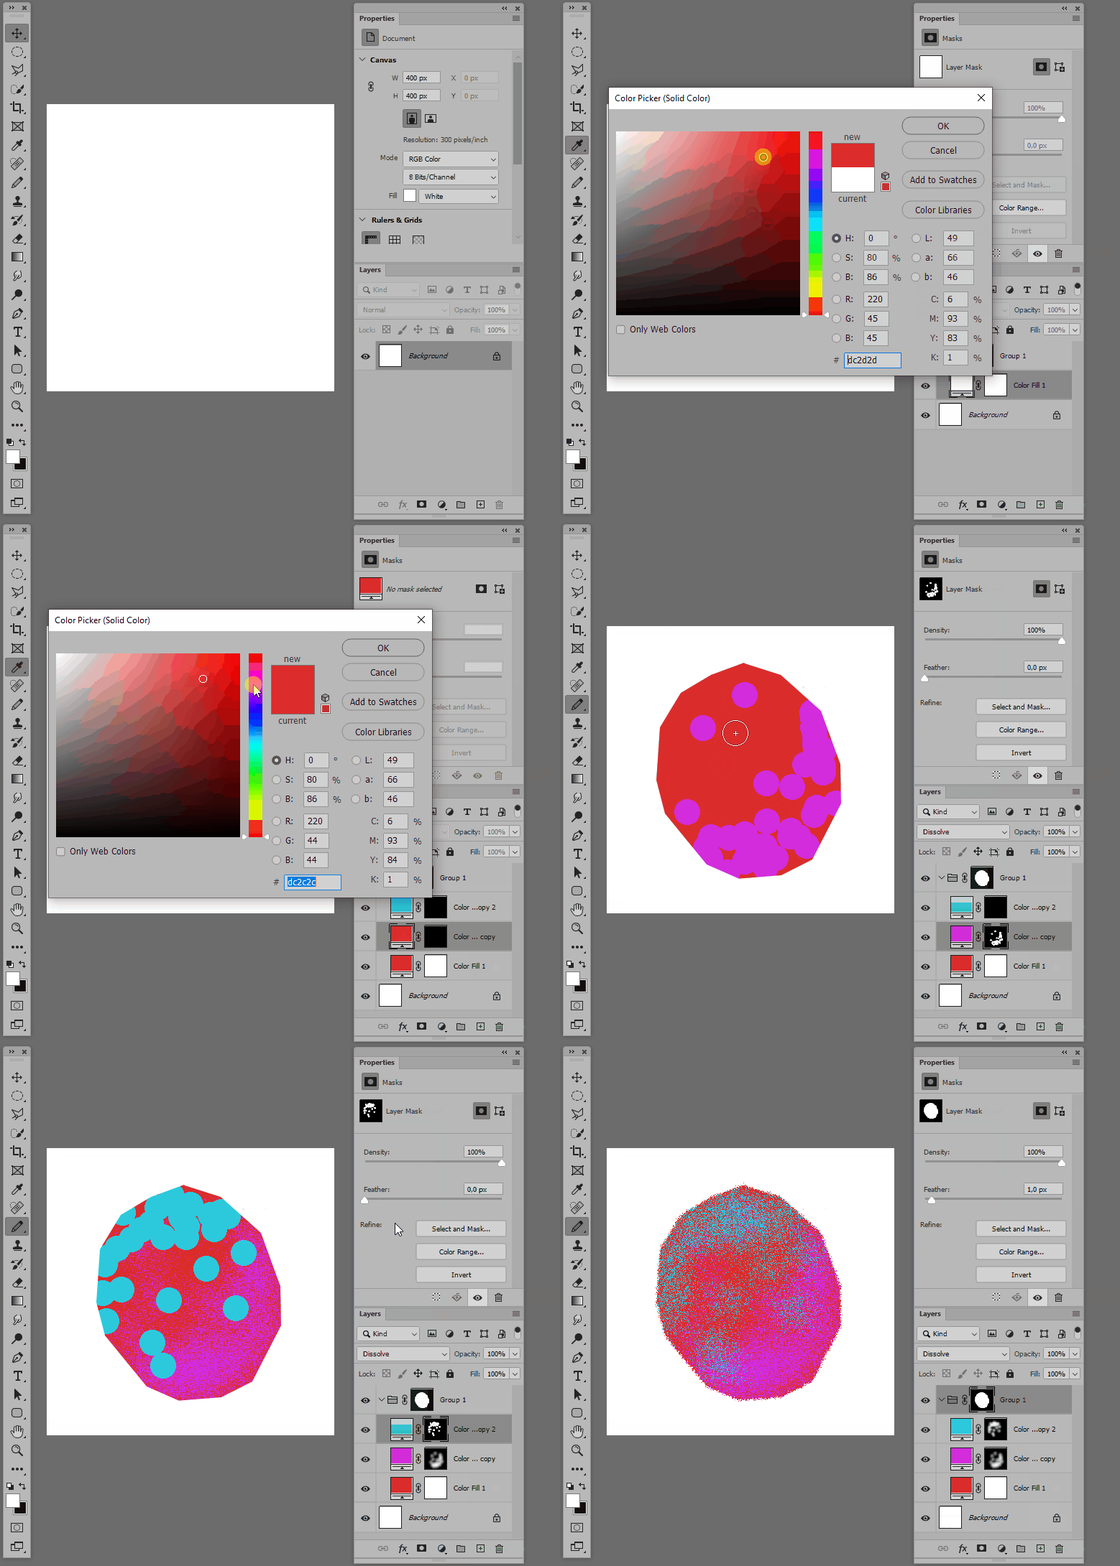
Using this method you can sort of "paint with noise" and you have complete control over the colors used in the noise.
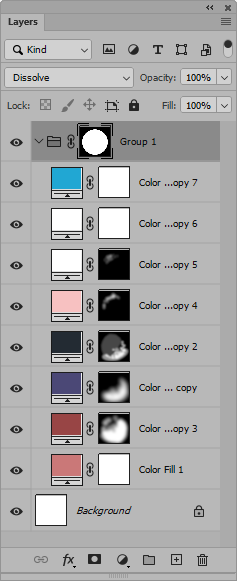
Here is a more complex example with a drawing of a ball or planet using several colors. The Layers panel looks like this:
And the finished drawing looks like this (click on it to see it in its original size):
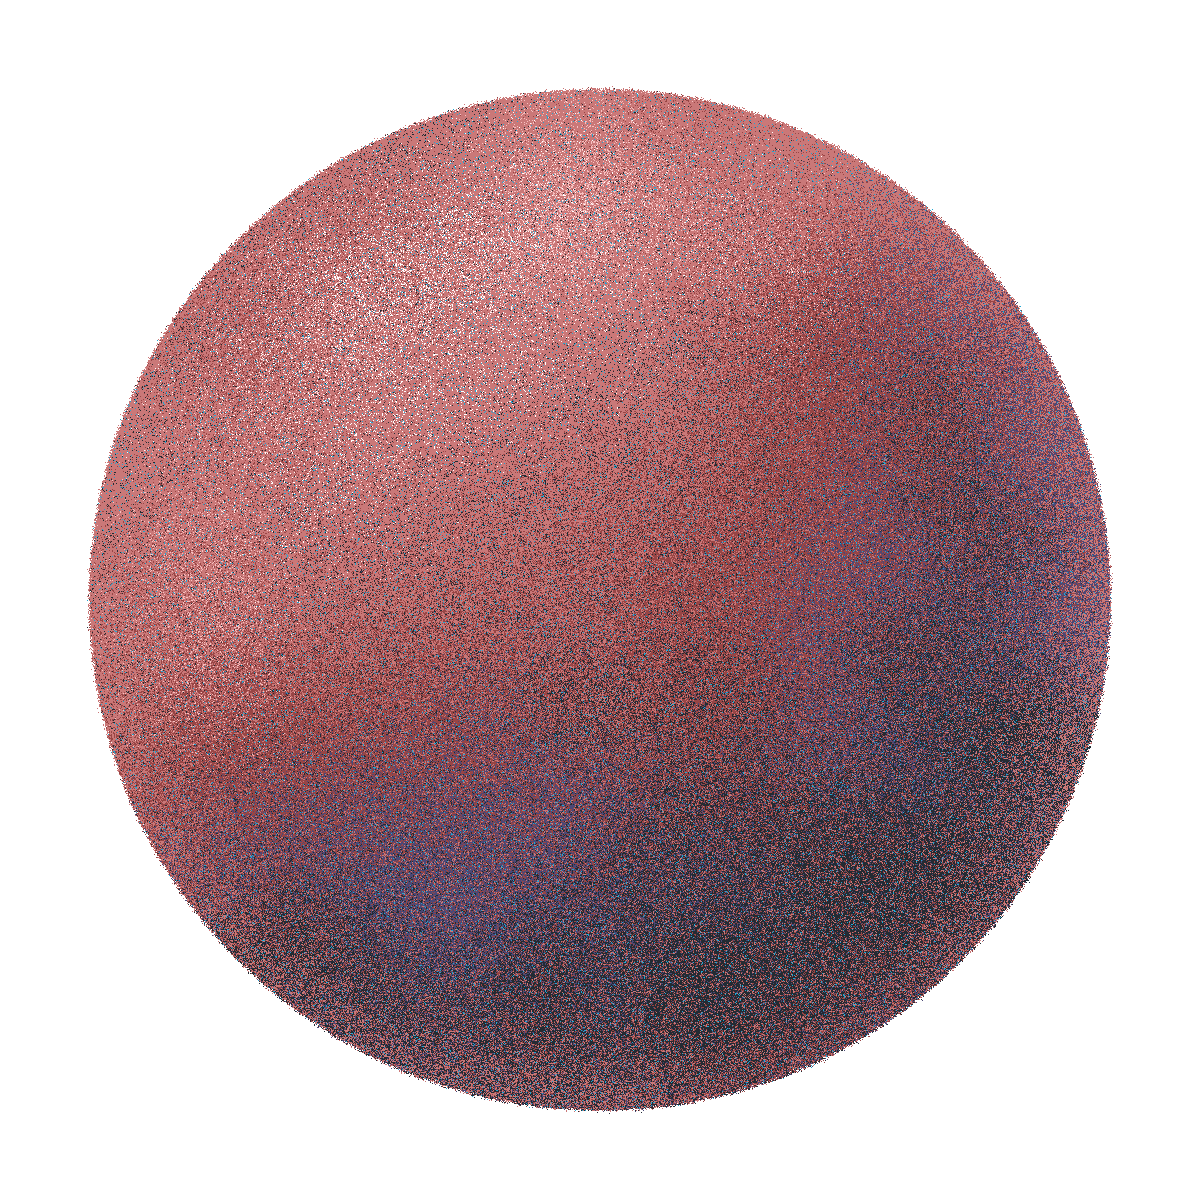
This looks a bit like the grain you like, only it consists of very few different colors and looks a bit too sharp. The trick is to work at perhaps double size and then scale down the image in the end. Using Bicubic Sharper interpolation is probably best as it smoothens the image, but also keeps the noise relatively sharp.
This is the drawing of the ball scaled down to 50% of its original size:
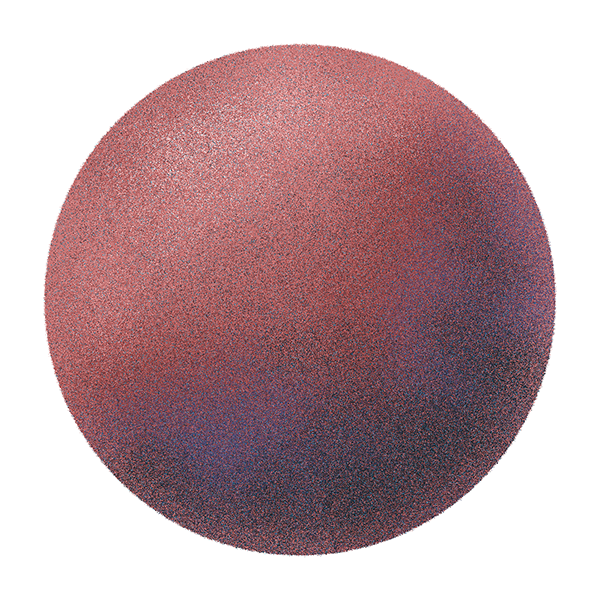
You could also convert all your layers to a single Smart Object and then scale down the main document to 50% of the original size. That way you see how the finished image looks while maintaining the possibility to enter the smart object and work on the coloring.

