"Transparent faces" are simply not possible using the live 3D effect in Illustrator.
If the desire is to color match the faces with the background, it would be possible to create a simple Symbol consisting of a rectangle filled with the background color. Then use the Map Art function in the 3D dialog window to map that symbol to each of the front faces and don't use the Shade Artwork (slower) option in the map dialog.
You have to step through the faces and find the front ones and then designate the symbol as the art for the map. (Visible faces are light colored and hidden faces are dark.)
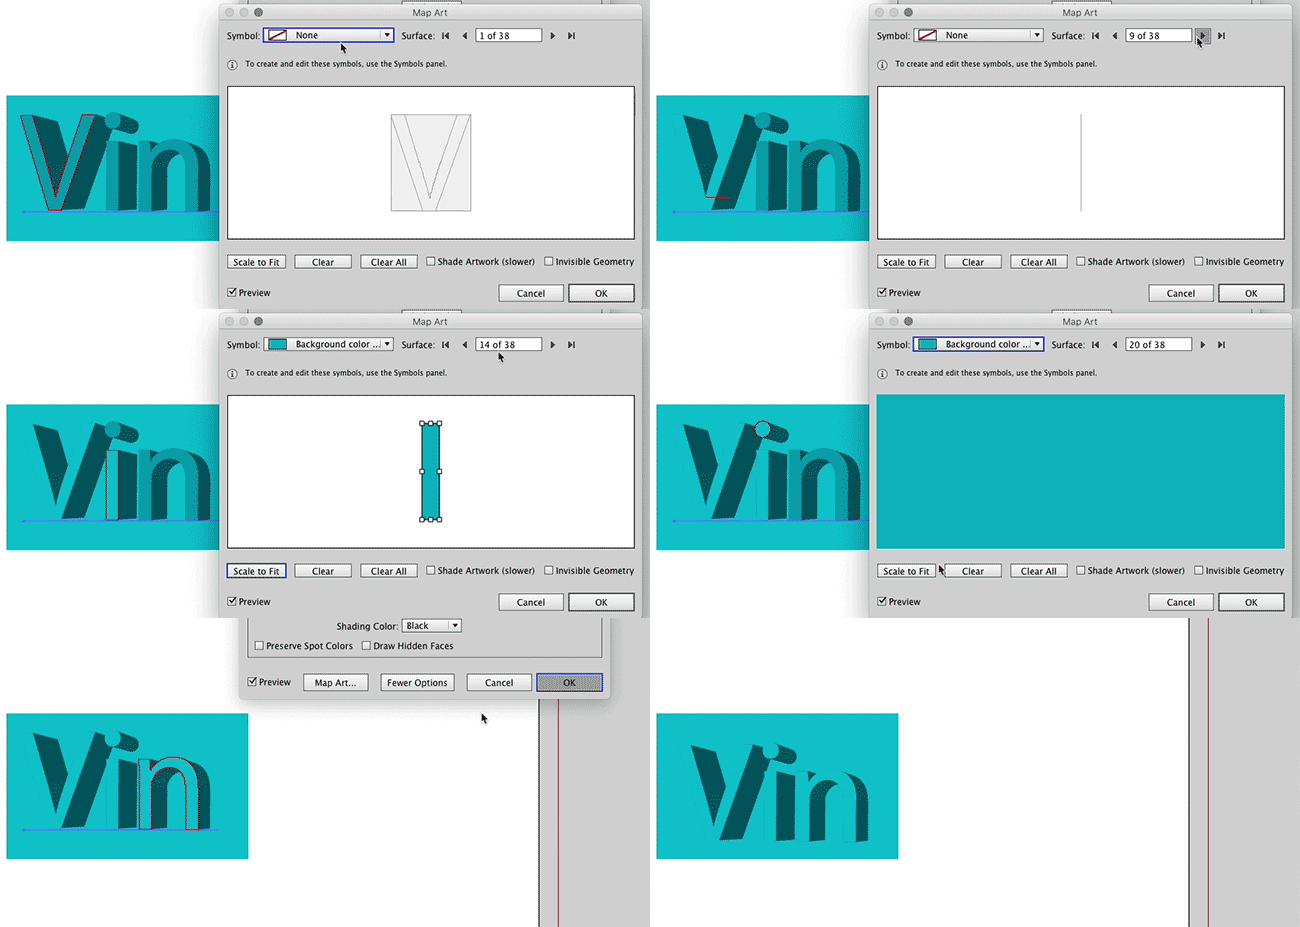
This doesn't create transparent faces. But it will create flat color faces that match whatever color is used in the Symbol.
The benefit here is that the 3D effect remains live and can be edited further if needed. And if you want to change the face color, just edit the Symbol in the Symbols Panel, no need to edit the 3d effect itself....
(Of note: Although one doesn't need to edit the 3D effect, in some releases of Illustrator it may be necessary to at least open the 3D effect dialog window and tick the Preview box in order to get the artwork to update, then just click OK.)
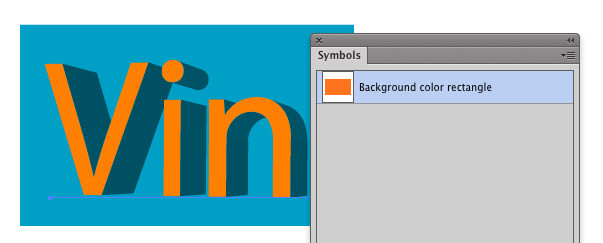
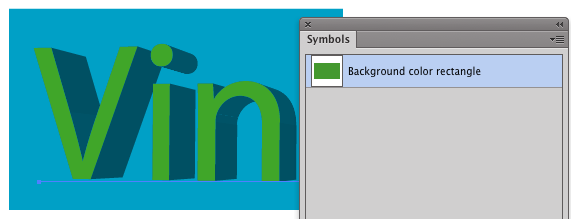
The possible problems here... nothing is transparent. Matching the symbol to a background containing a gradient will be a nightmare, if not impossible. There's no way to effectively align the symbol placement so it matches any gradient behind the 3D object.
For this reason....
The method I'll use most often....
Caveat: The issue that arises here is that the 3D effect is no longer "live" after this procedure. So, you can no longer adjust the depth, perspective, angle, etc of the extrusion. Duplicating the artwork before expanding and keeping a copy off to the side, in case further edits are needed to the 3D effect, can be helpful.
Start....
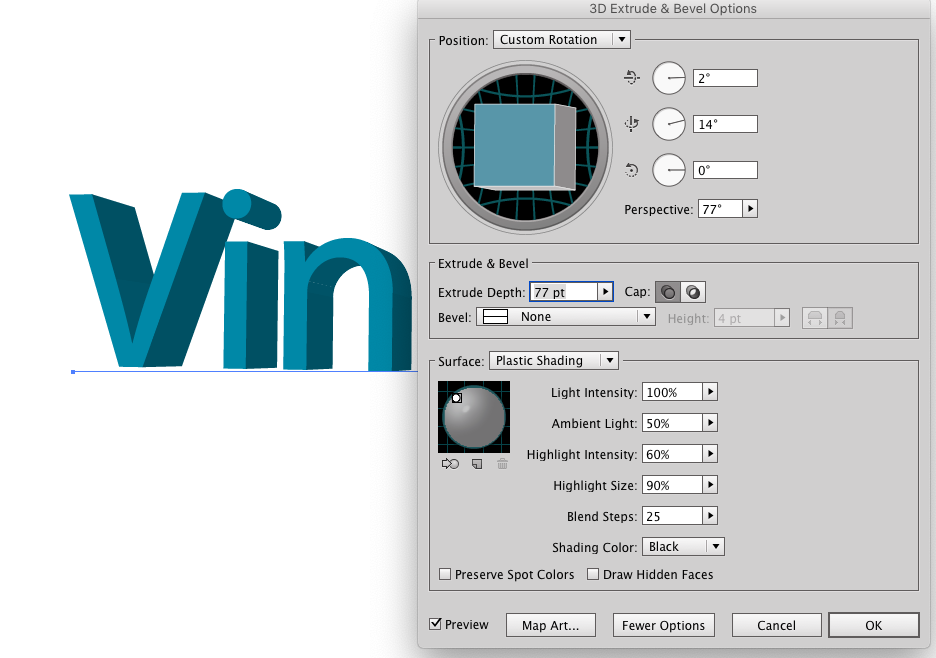
Set the Surface to No Shading and click OK...
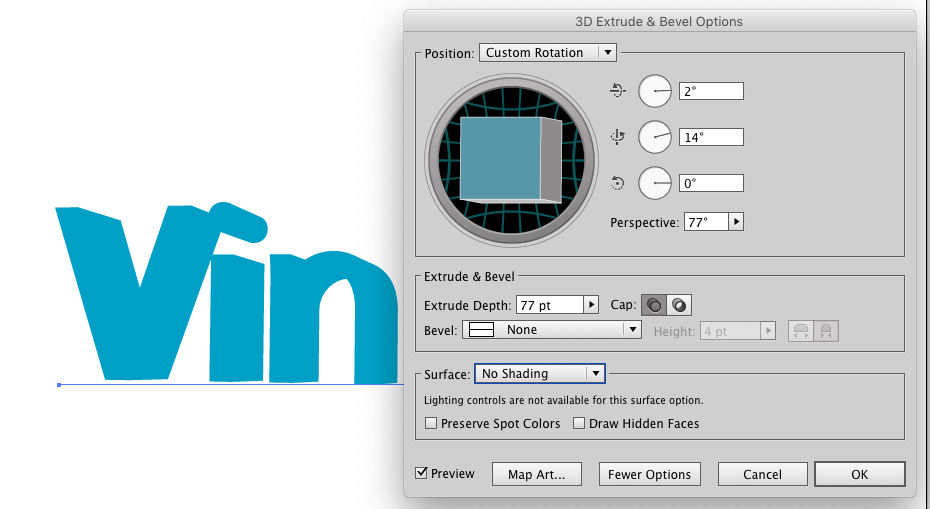
Choose Object > Expand Appearance...
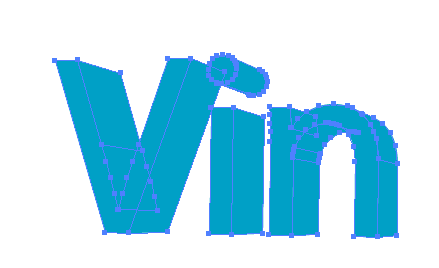
Select and recolor the pieces as you need...
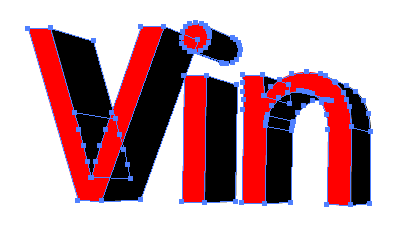
For a "transparent cap"...
You must set the front shapes to have a different fill color than the extruded shapes before doing this....
Select all of the expanded artwork and click the Merge button on the Pathfinder Panel (Window > Pathfinder).
Now, select the front shapes (the letters) and set the fill and stroke to none. (Or just delete the front shapes.)
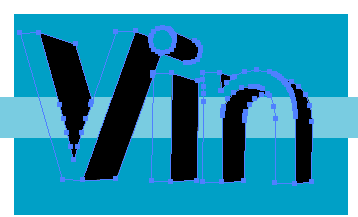

The Merge operation will combine areas of similar color and remove any underlying shapes. Leaving you with unstacked, perfectly aligned objects.
In addition, if the goal is merely a "block shadow" that appears to be 3D there are other methods which may work better in some instances:

