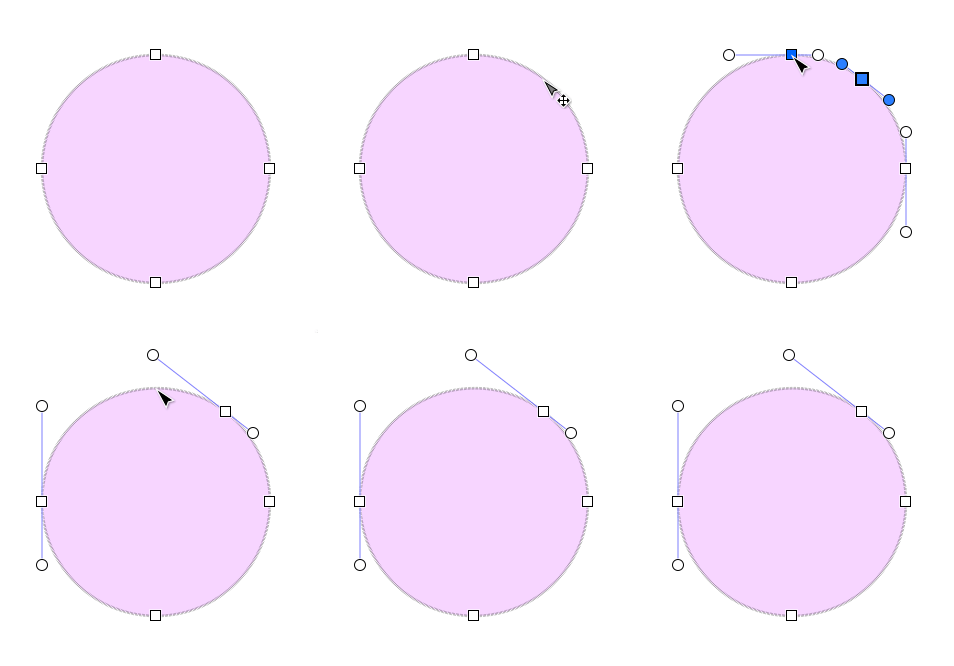
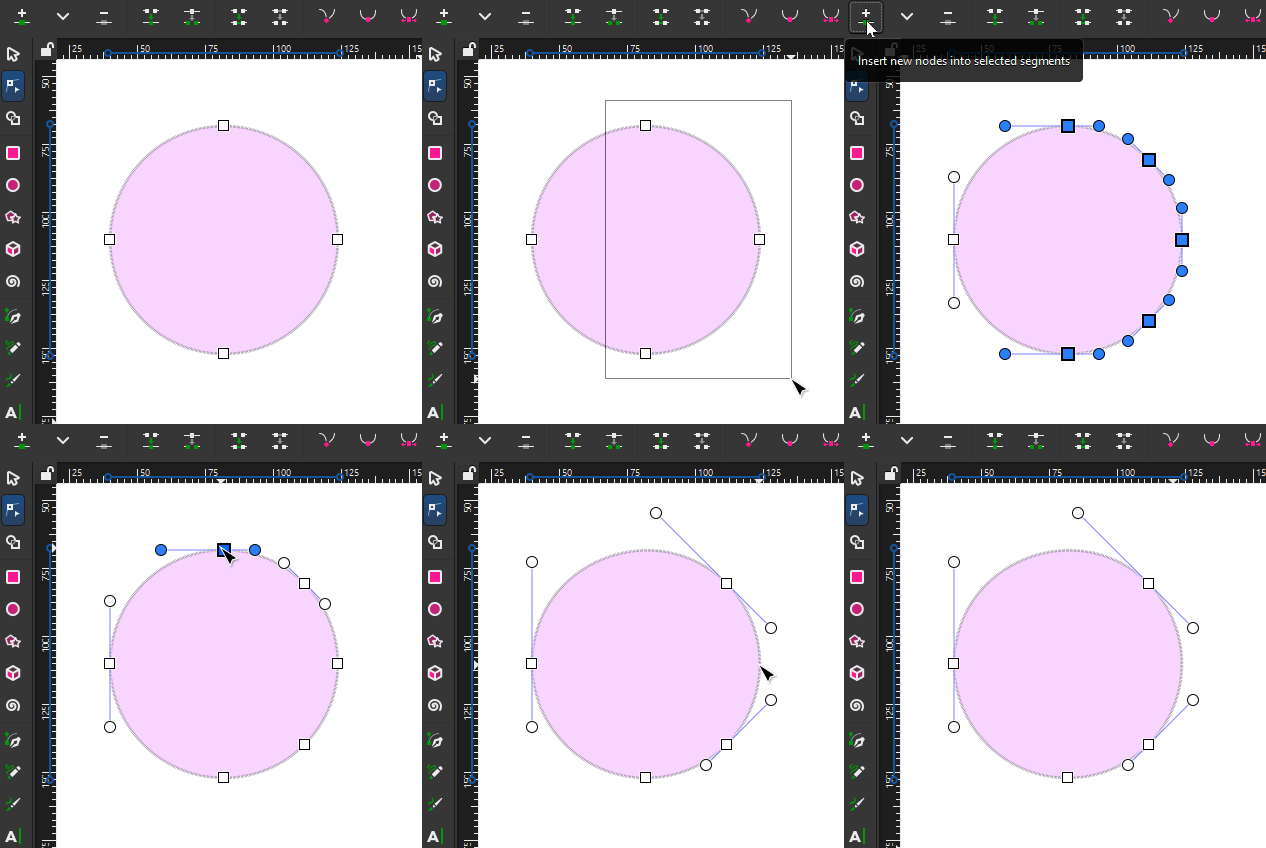
A workaround: Use grid and have snapping to grid ON.
Or draw some auxiliary lines to help the handle movements. If you have snap to nodes ON the handles also snap. An example:
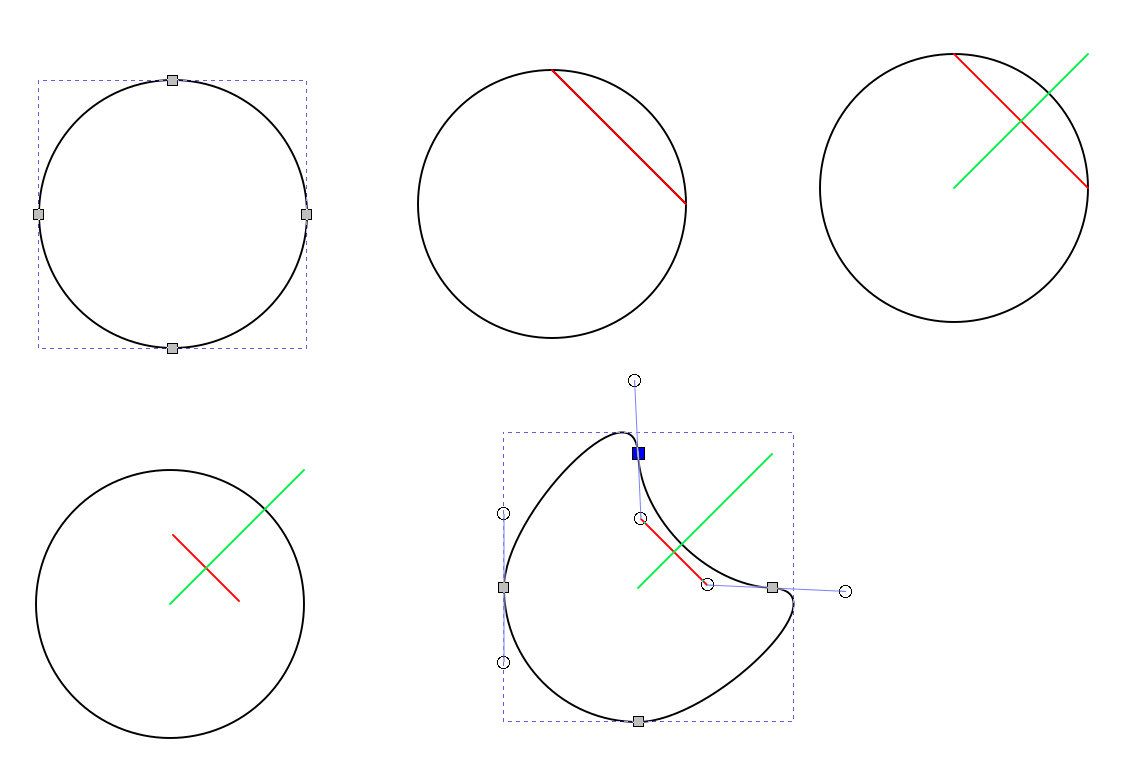
The starting point is the circle converted to 4 node path as in your example.
The red cord line is drawn between the nodes. The line is duplicated and the duplicate (green) is rotated 90 degrees by clicking the info bar rotate 90 degrees icon.
The red line is scaled shorter by holding Ctrl+Shift keys to keep the line direction. Then it's moved a little. Having snapping to midpoints ON ensures you can place the midpoint on the green line.
The handles are dragged to the ends of the red line.
You can iterate the look by moving and scaling the red line and adjusting the handles again. There's no handy way to snap a line to an existing handle, so adjusting at first one handle to cause the right curvature at one side cannot be easily duplicated exactly. One can use extension Visualize Path > Draw handles as a (clunky) workaround.
The node tool moves the dragging point of a path. If you have made the green line and sent it to back at first and you have snap to path ON you can drag the midpoint of your curve segment along the green line. The handles follow.
If you have zoomed in the method can well produce a result which is accurately enough the wanted one. Zoom in is needed. Otherwise you do not succeed in dragging just the crossing of the curve segment and the green line.
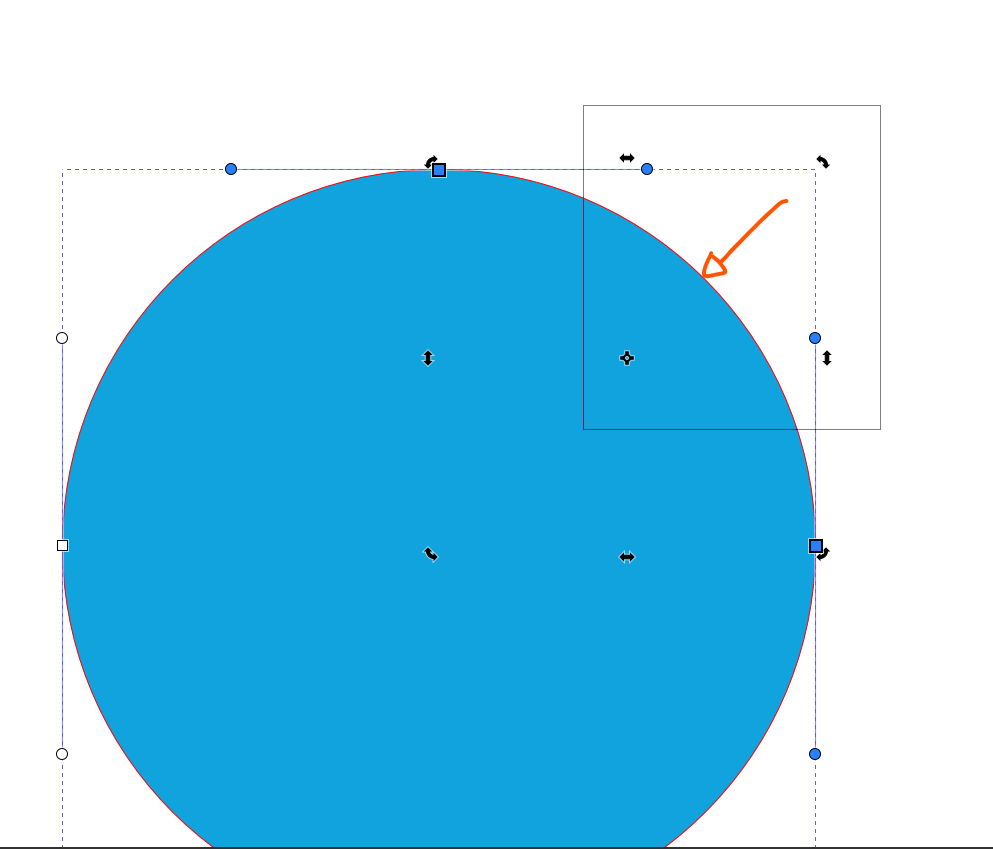
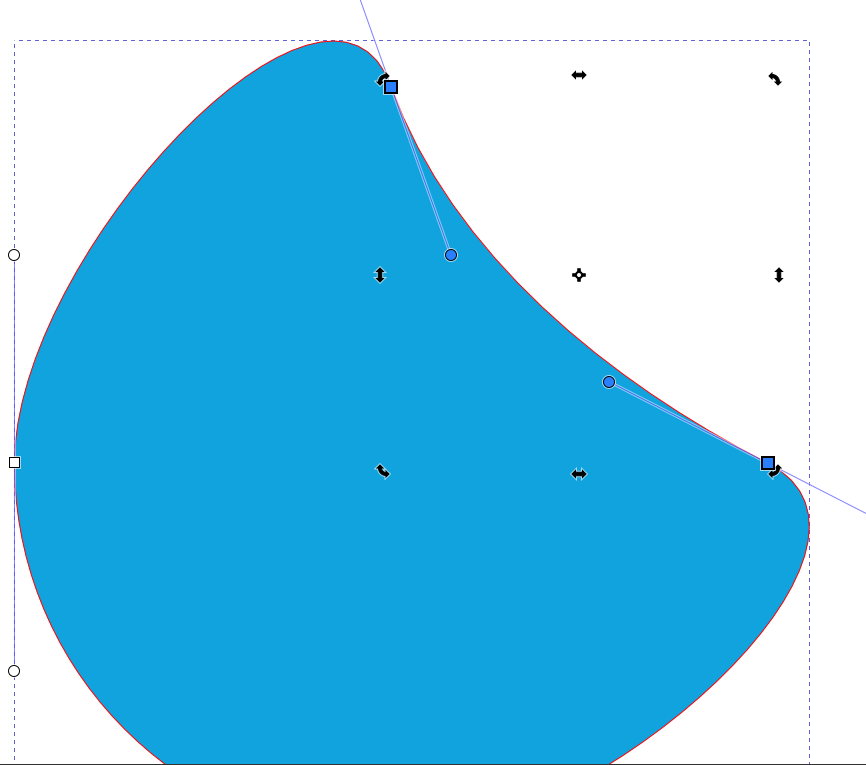 As you can see the handles have not moved proporcional and one of them is longer than the other


