0

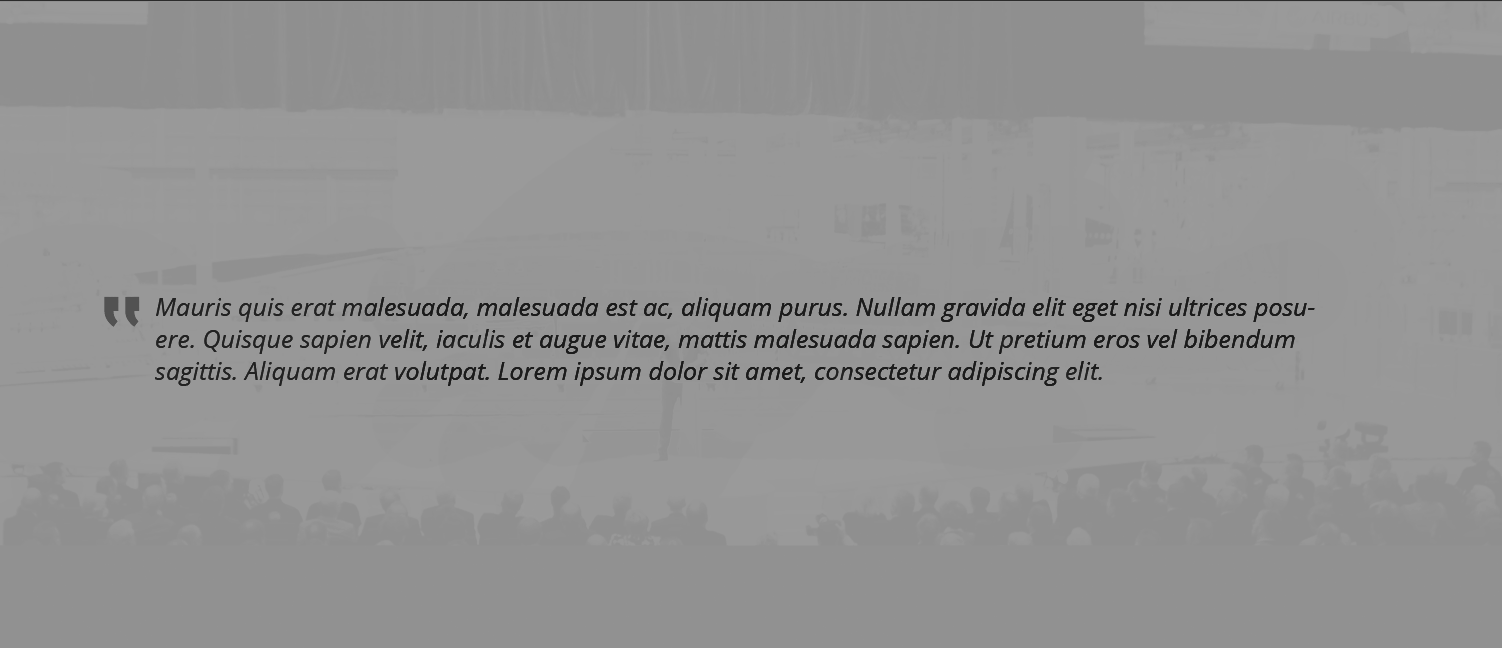
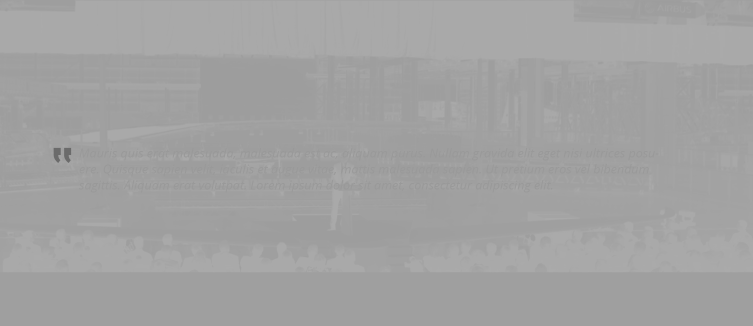
I have a layer with a mask that was handed to me by a designer, and I wish to change the colours of it, but I'm having difficulty. Here it is, along with the thumbnail -
enter image description here

enter image description here

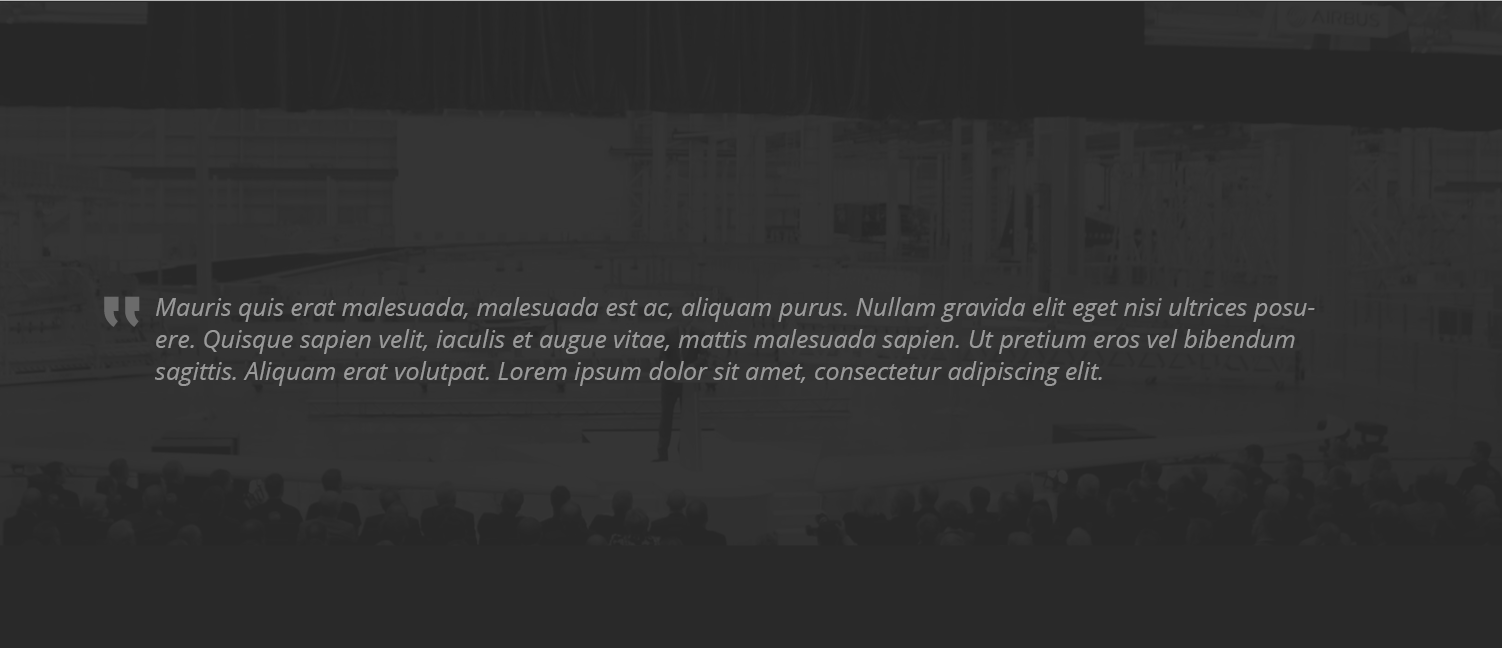
...If you look closely, you can see that something else was done to this layer, so there's actually a faded image in the background.

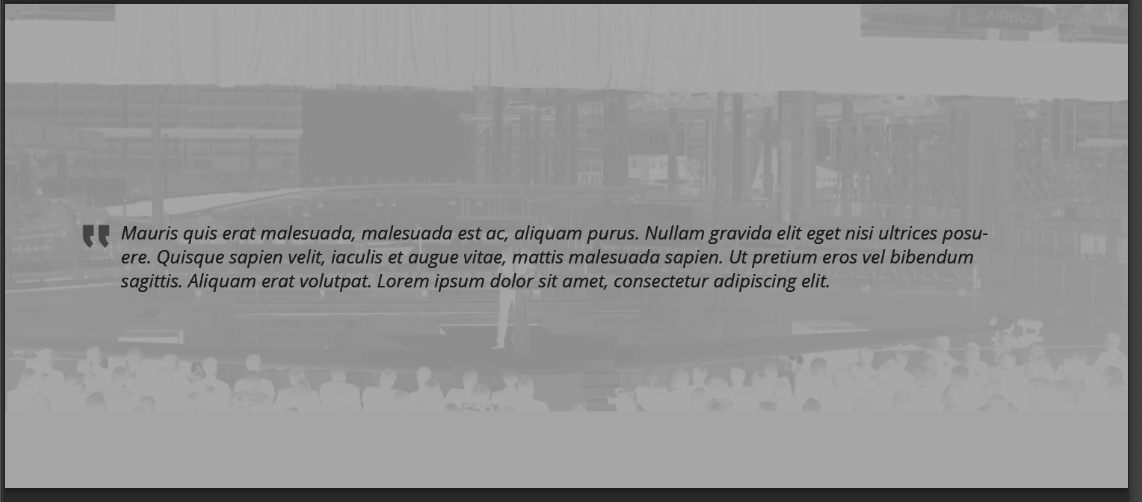
I'd like to retain this image, but basically make the black a light grey colour (same as the font), and the image elements (currently grey) darker/black, so pretty much an inversion of the current colours. Oh, and then the font would be black against the grey, but I can handle that part :)

Is this possible? If so, I'd be very very grateful to know how!

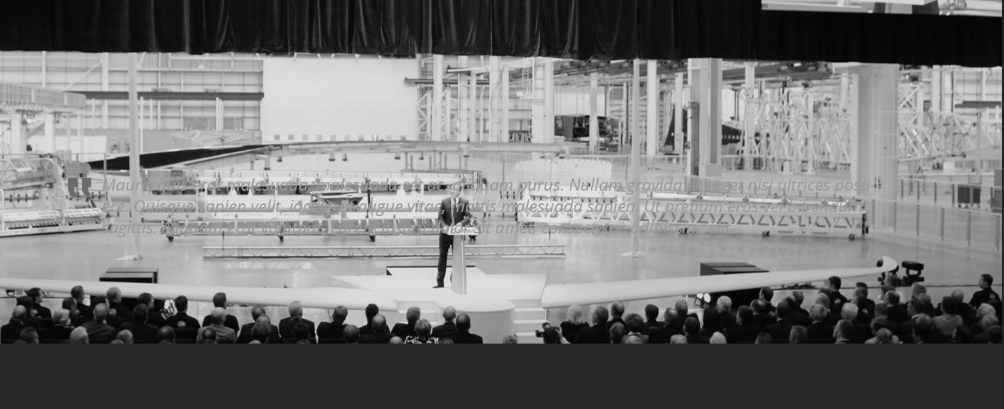
IMAGE WHEN OPACITY WAS RAISED TO 87%, OVERLAY - LUMINOSITY:
enter image description here

UPDATE:

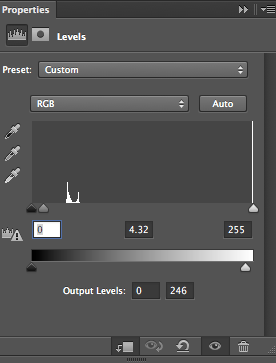
This is how I can get it looking by inverting the image (although it's not the same image file you used - it's the original image with the layer mask applied, as displayed above), adding a levels adjustment to the group and dialing the middle slider all the way over to the LEFT, almost to the very end, at 4.20...
enter image description here enter image description here

...Not quite as good as yours, unfortunately! (i.e. Couldn't get the grey margin at the bottom to be the same grey as the crowd, just above it), so I'm guessing our methods are still different. Is it because you're using the png file rather than the layer with a mask?

Sorry, I think we're getting there...

2 Answers 2

3
  1. Select the mask layer:
    enter image description here

  2. Go to Window -> (check) Properties

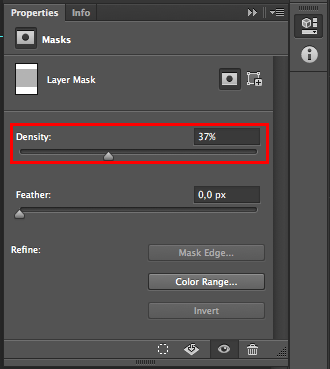
  3. In the Properties window change your density enter image description here


If that doesn't solve, when you select your mask, tell what is your overlay mode in the fields on of your layer list:
enter image description here

1
  • Thank you. The first suggestion didn't do anything, but I raised the opacity (overlay - luminosity) and it began to look as I have attached up above... I am essentially trying to swap these tones/colours, so most of the whole layer is a light grey, with the bits that are currently grey being the darker ones. Or, if that will not work because it will make the center too dark, then something that will mean most of the layer is a light grey, with dark accents. Am I making sense? :) Thank you, by the way. Commented Jul 17, 2014 at 10:47
0

Going from the picture you provided I hope its not too late.

enter image description here

Make a new levels adjustment.

enter image description here

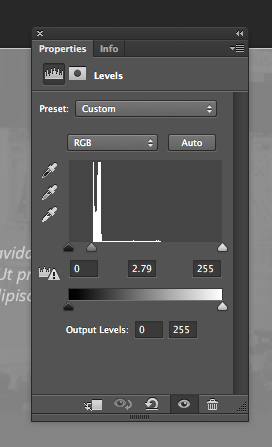
Slide the middle slider left. Play around with the settings until you get a value you like. I find 2.79 works best.

enter image description here

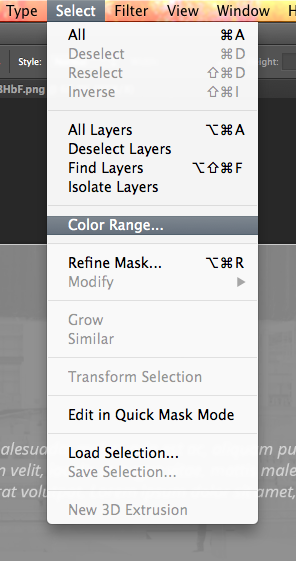
Select color range and then sample the white text.

enter image description here

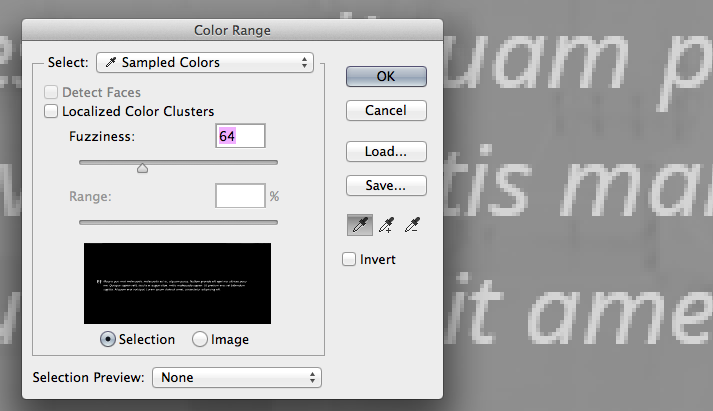
Play around with fuzziness until you only have the text selected. A value of 64 works best in this case.

enter image description here

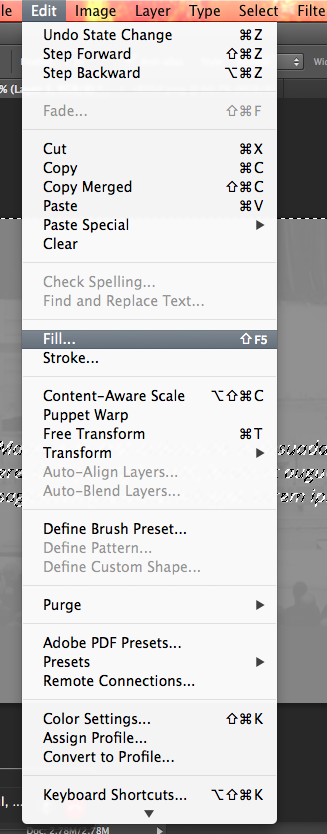
Fill with black as many times as you need. I needed to fill twice.

**Method 2 - I think this is closer to what you are looking for.

enter image description here

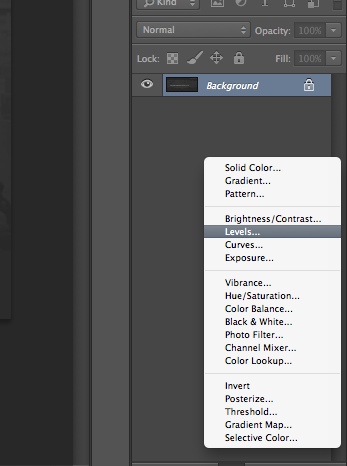
Create a new levels adjustment layer

enter image description here

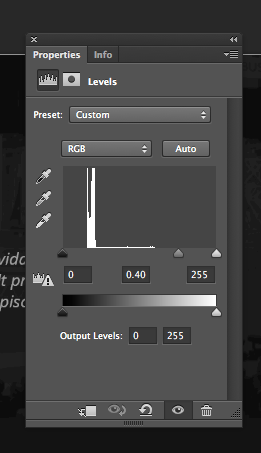
Slide middle slider to .40

enter image description here

I apologize if I don't follow the usual conventions around here. This is one of my first posts/answers.

I'm not too sure what you are asking.

My initial thoughts was that you could just do control/command+i in photoshop but after rereading it, it doesn't seem to be the case.

However, I am still a bit confused on what exactly are you trying to do..

Where you looking for something like this?

enter image description here

5
  • Yes, this is very close to what I am looking for :) I would just adjust the shade of grey myself. How did you do it? The only other thing is that the dark parts of the background image are still dark in this, and the light still light. Not essential, but if we could invert this it would be cool. Commented Jul 17, 2014 at 10:51
  • Okay! Sorry for taking so long to get back to ya! I'll edit the first post immediately!
    – David
    Commented Jul 18, 2014 at 6:42
  • Hi David, thank you! In fact, the image just below the phrase "Slide middle slider to 40" is EXACTLY what I'm looking for! Only problem is, I tried to follow your instructions but came a bit unstuck... One issue is that the layer in question still has a mask applied to it and exists amongst many other layers in the file, so the levels adjustment seems to apply to all. I tried doing it with a clipping mask but didn't quite get the desired results. According to your "Method 2," I should just be able to apply a levels adjustment to this layer and be done with it, right? Thanks again for your help Commented Jul 18, 2014 at 14:40
  • Well the base image that I started with is this image: i.sstatic.net/Kb3QM.png I would suggest you group whatever layers you used to create this image, then create a levels adjustment layer ABOVE the group. That would give the desired effect. Like this: i.imgur.com/hQU1HkV.png
    – David
    Commented Jul 18, 2014 at 14:47
  • Oh my goodness I am so sorry, I don't know how I missed it but you have to invert the image first (command/control + i) then create the level adjustment layer. A clipping mask will work.
    – David
    Commented Jul 18, 2014 at 15:05

Your Answer

By clicking “Post Your Answer”, you agree to our terms of service and acknowledge you have read our privacy policy.

Not the answer you're looking for? Browse other questions tagged or ask your own question.