4

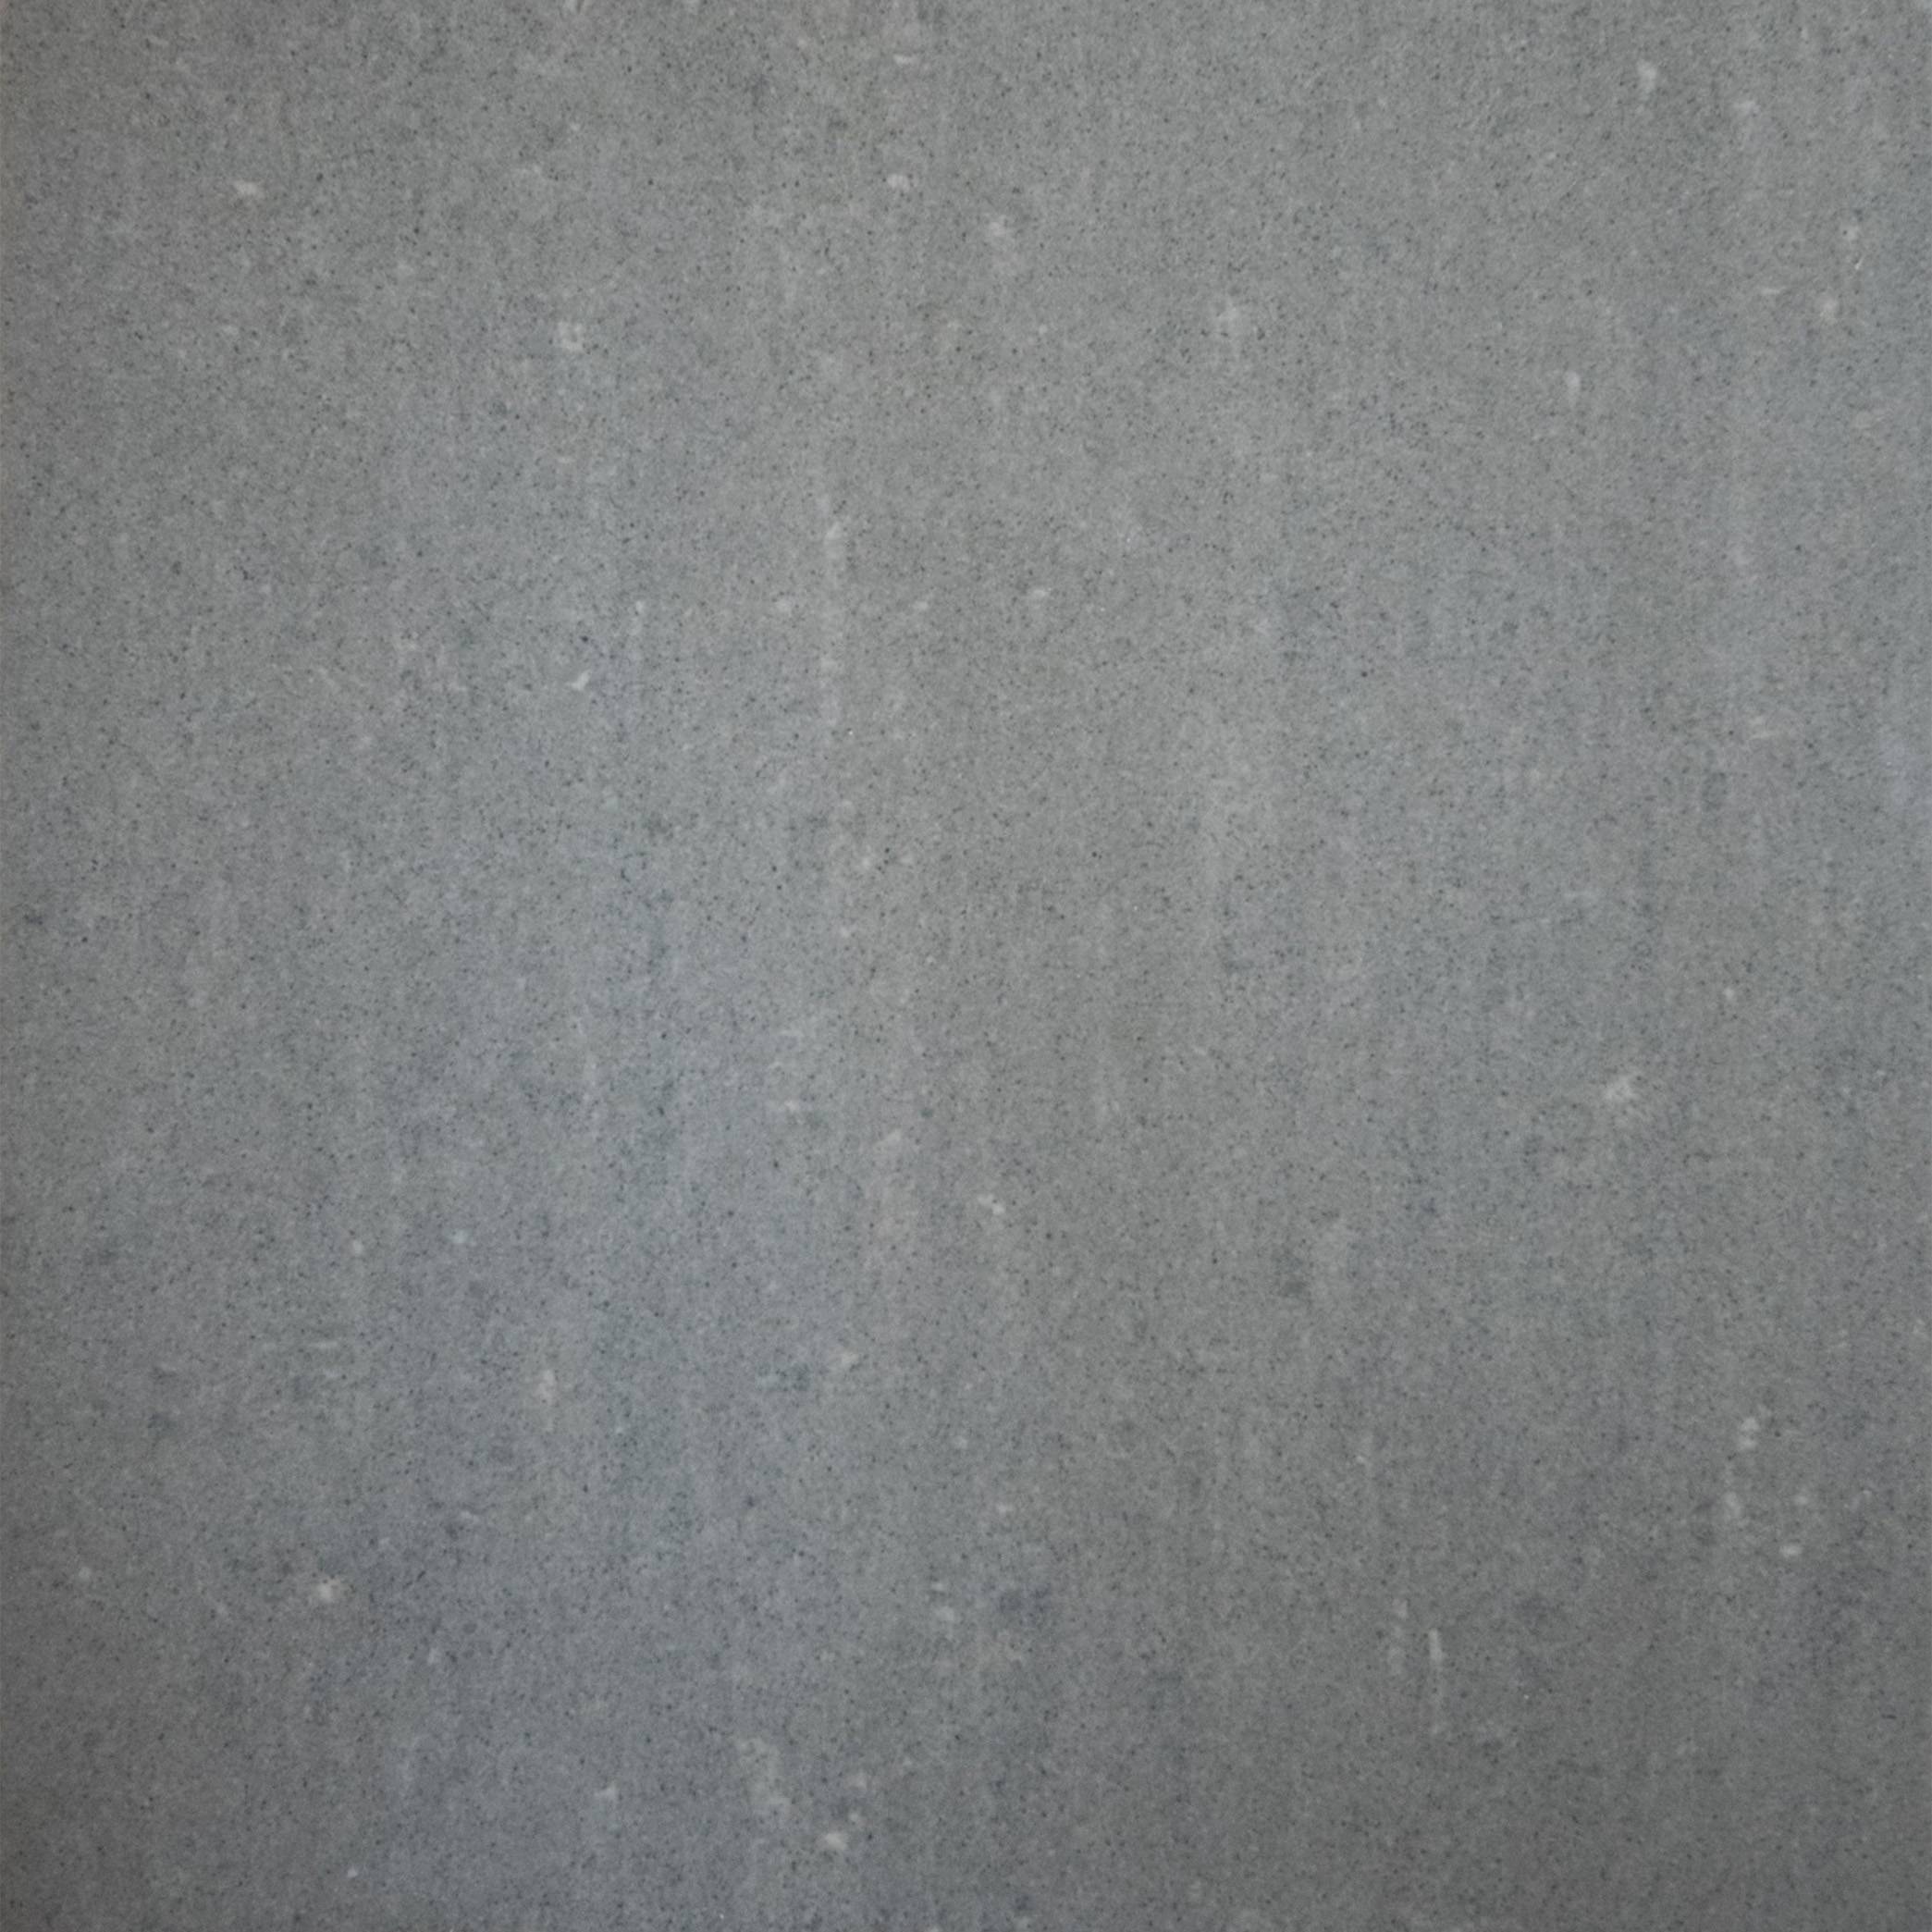
I have a floor tile texture I want to use in my bathroom Sketchup/Unity model (it's a photo I've taken of the actual tile).

I have tried these two tutorials and neither of them reduces the uneven brightness and they also remove a lot of detail from the texture.

This is my texture

enter image description here

If i offset the image you can clearly see the problem
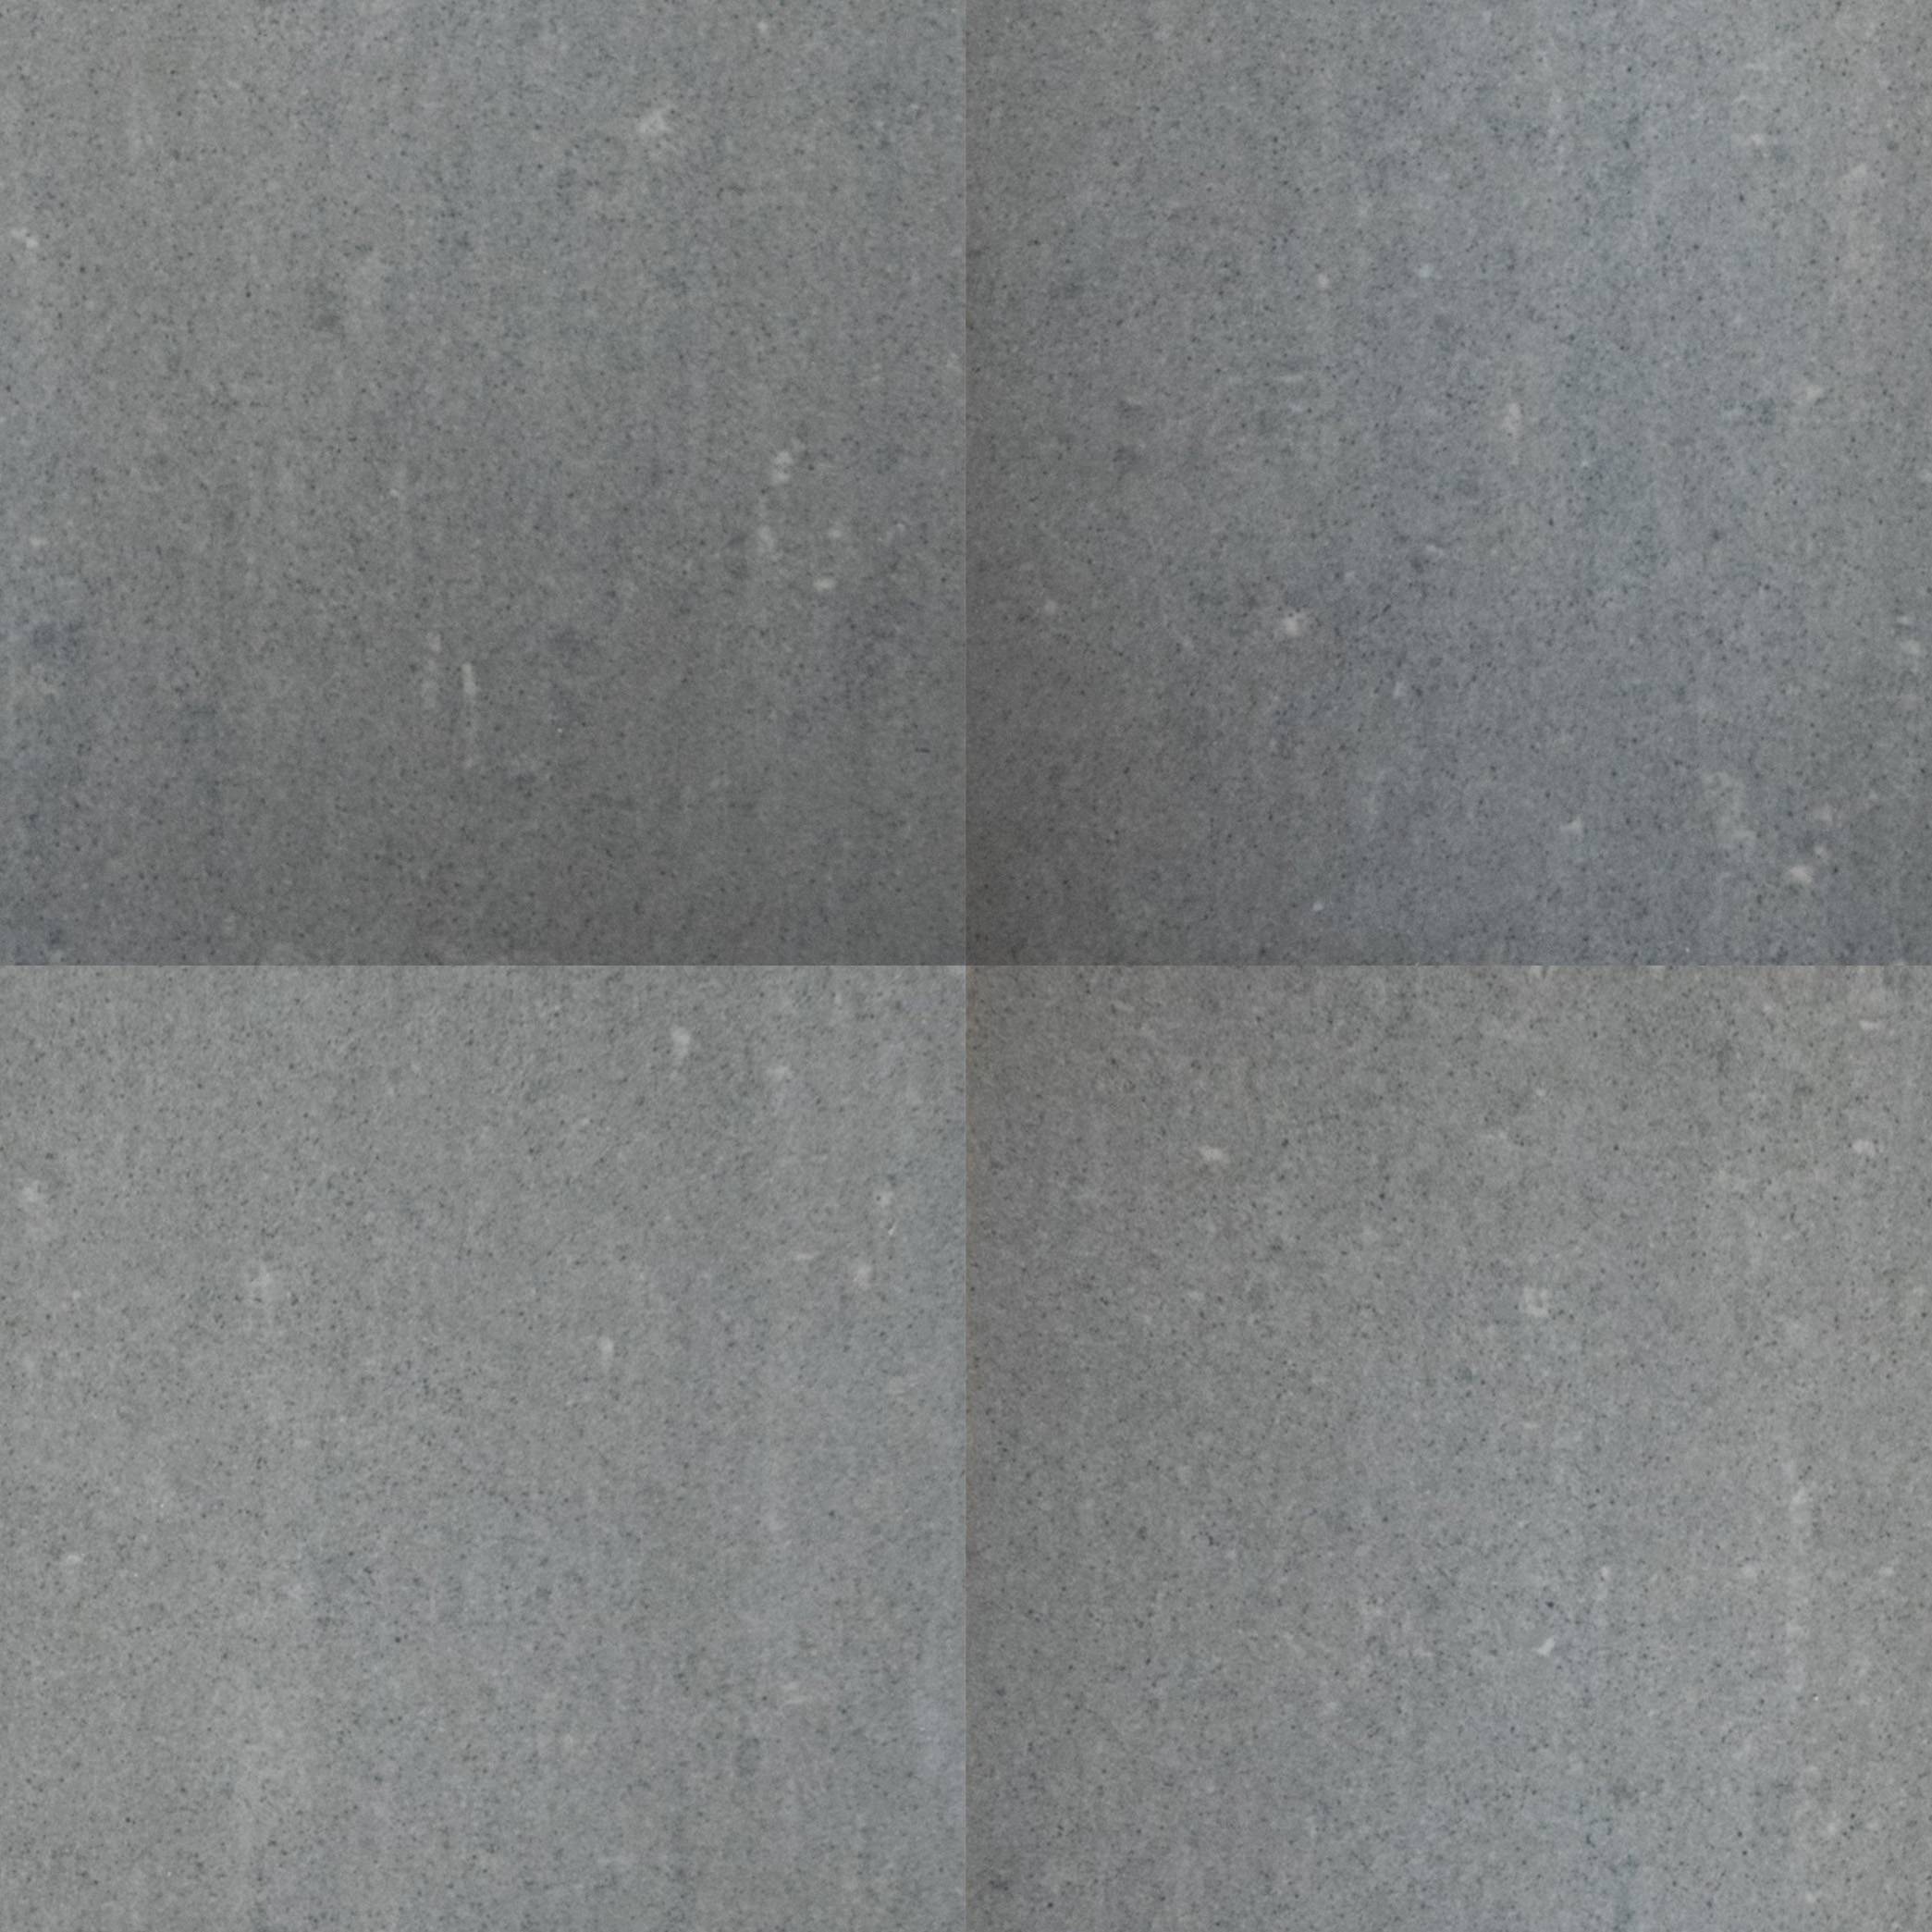
enter image description here

Do you guys have any ideas on how to attack the problem?

I found this tutorial, http://www.gamasutra.com/view/feature/131482/the_power_of_the_high_pass_filter.php

And I experimented some more with high pass filter only, I got this result which I'm pretty happy with
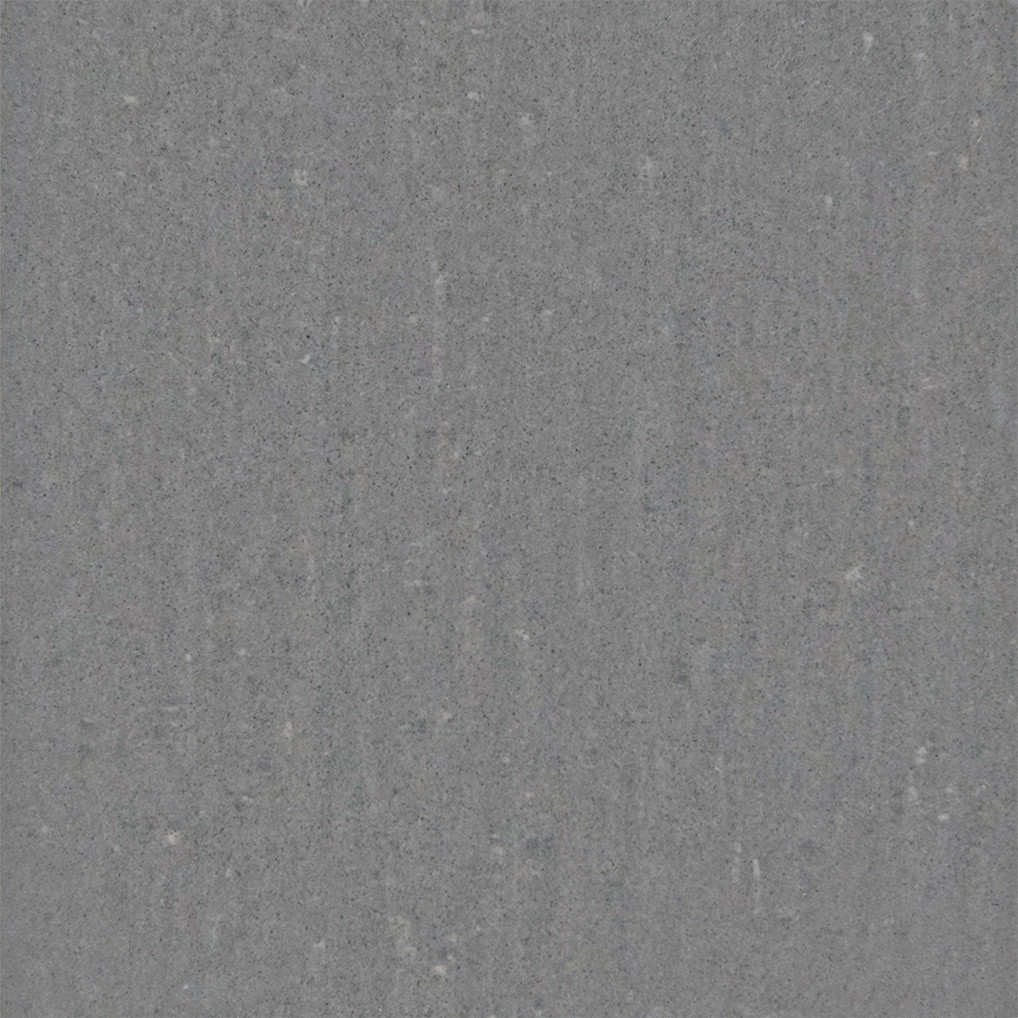
enter image description here

Looks like this in Unity (needs a lot of work on lighting)
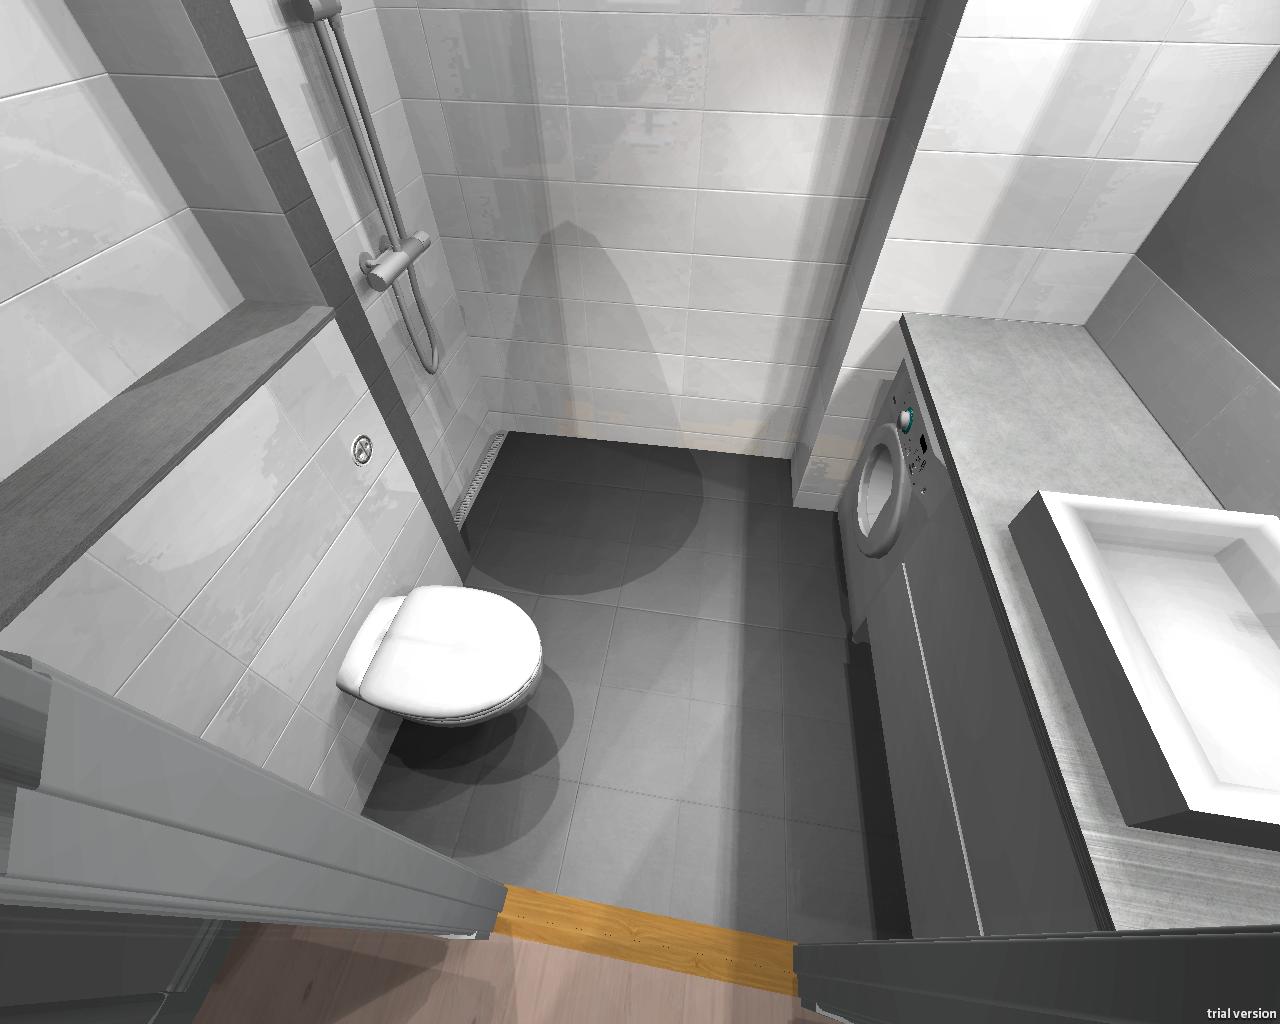
enter image description here

Update: I tried Keavon's method when I was working on this, revisited the method and got this result. Below is the high pass filter method for comparison
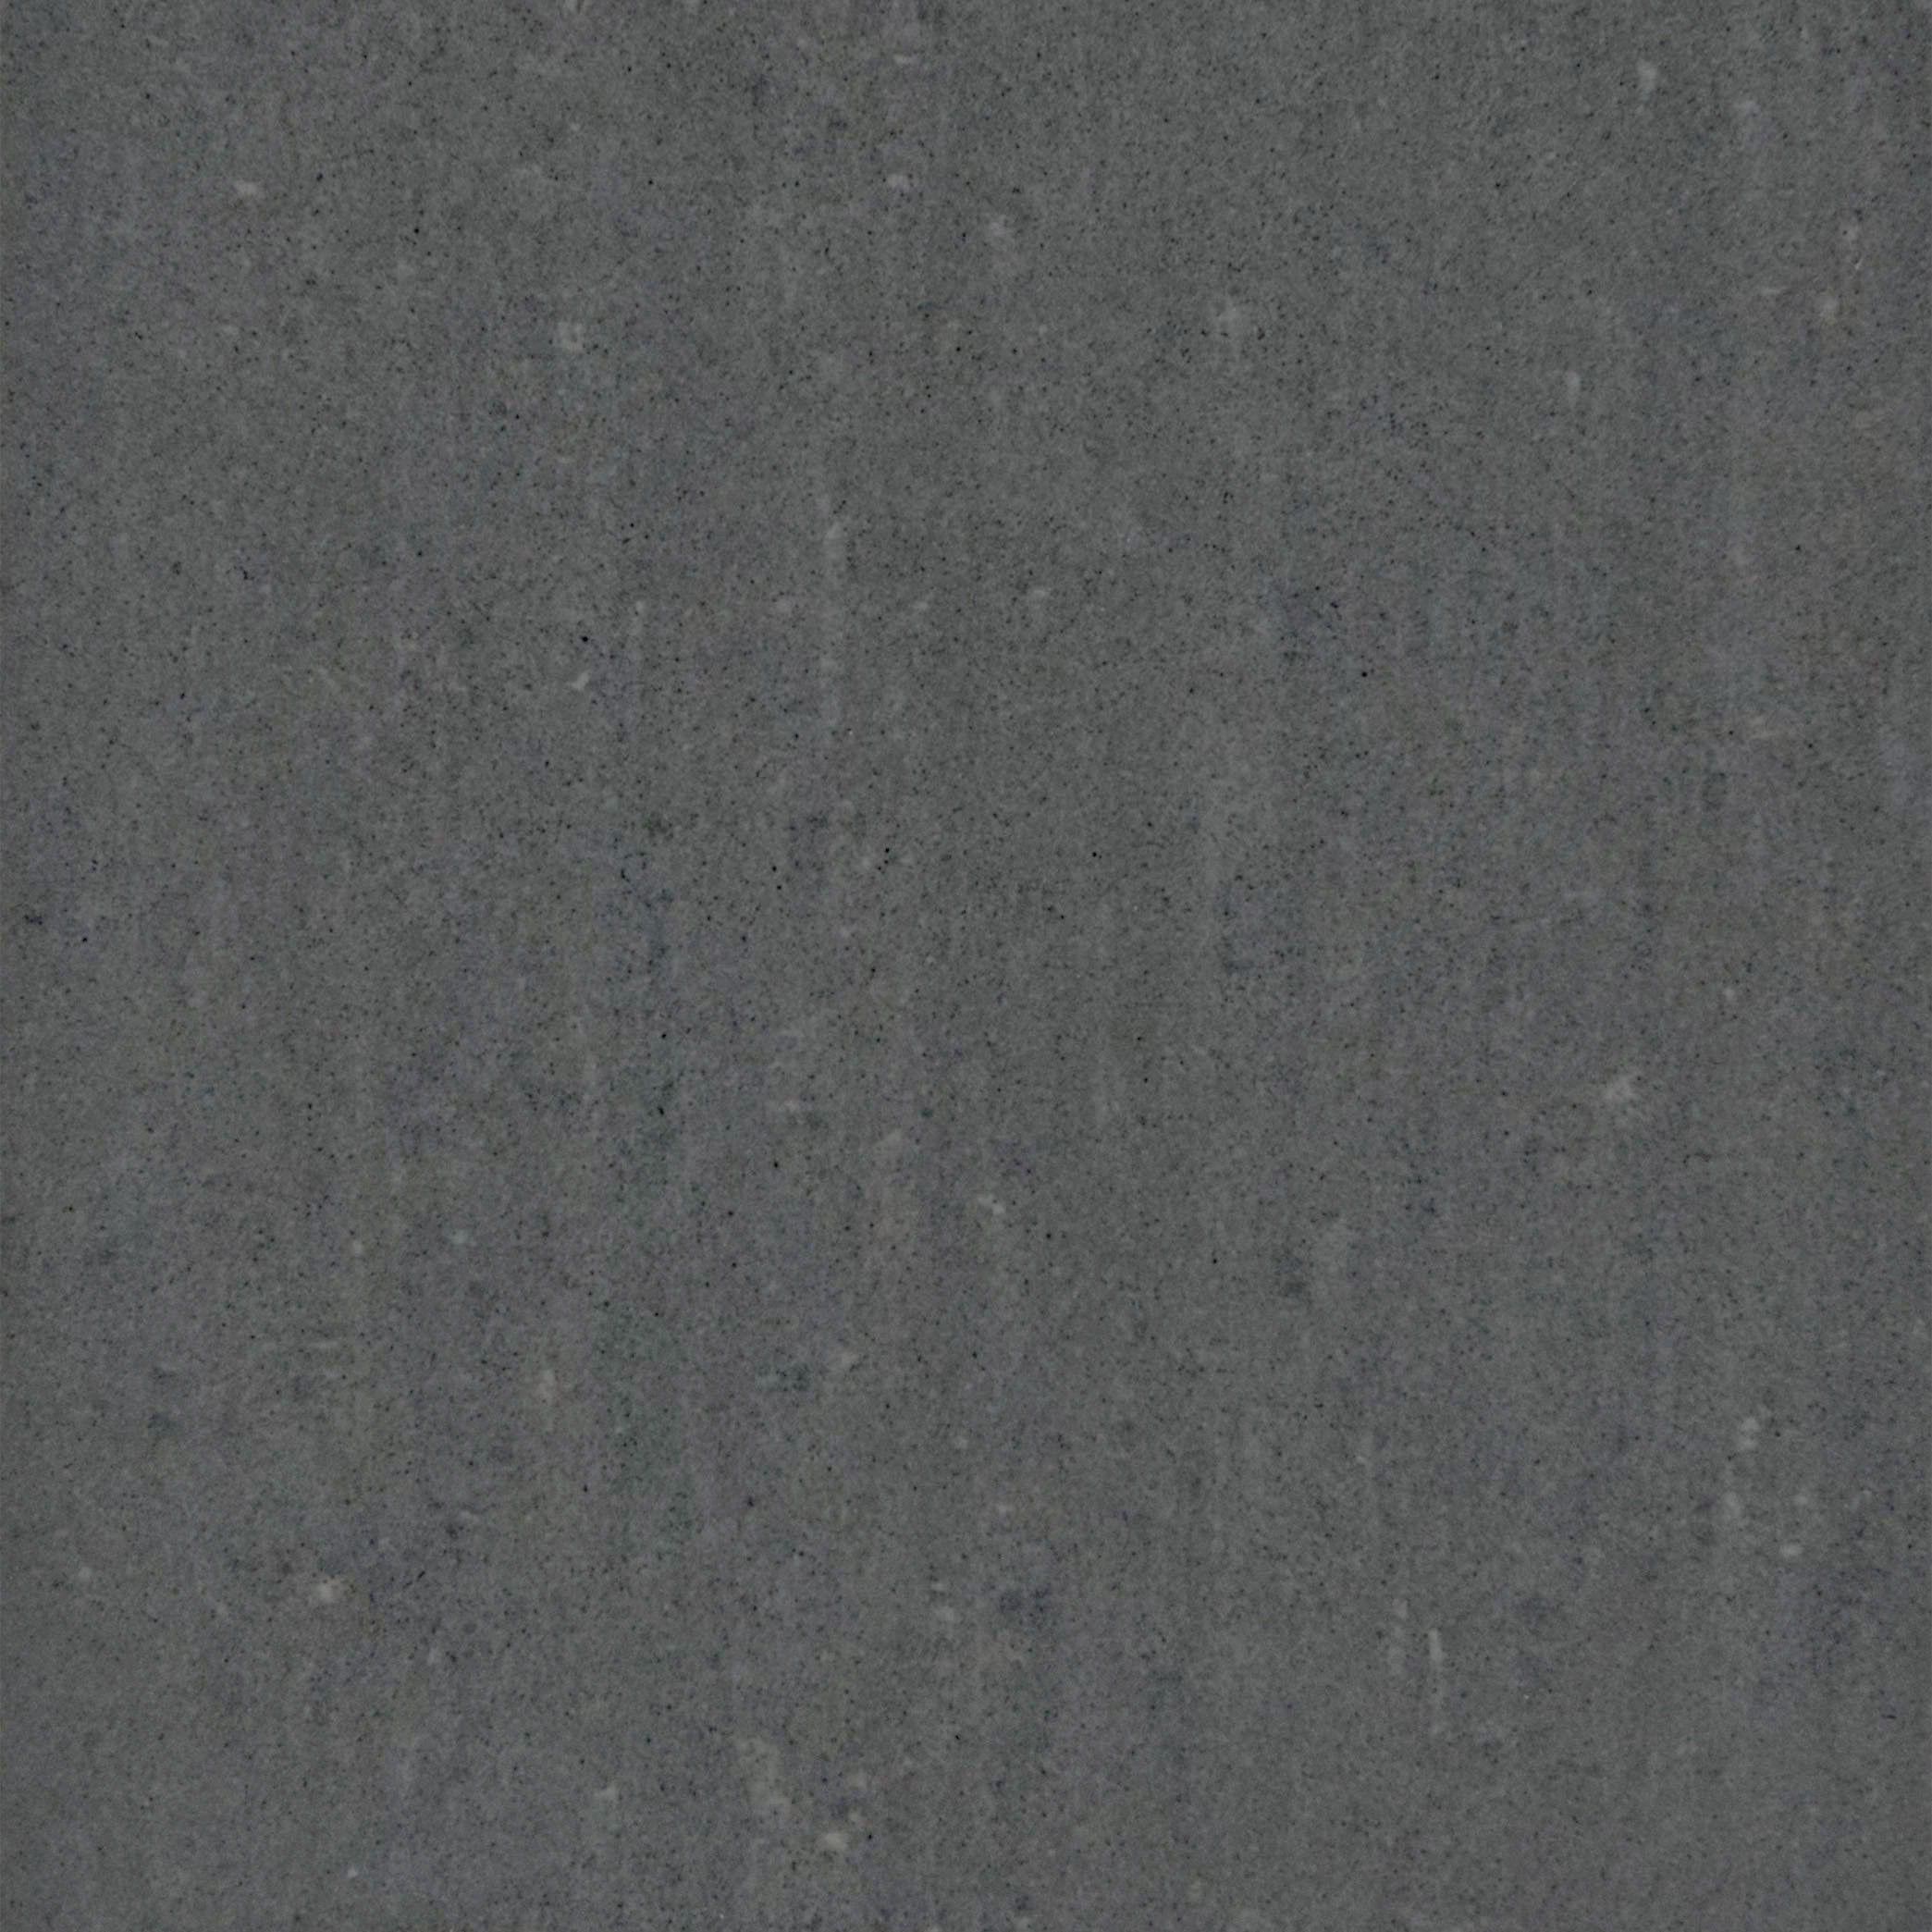
enter image description here enter image description here

3 Answers 3

4

I would add an adjustment level to the tile and then start painting a mask on the levels layer. Then select both of those layers (the tile, and adjustment) right click and convert to smart object. Then you transform it down and copy it so you can see how it looks edge to edge. You can then tweak this in almost realtime (after every save of the smart object) by having both the smart object open and then 4 tile pattern.

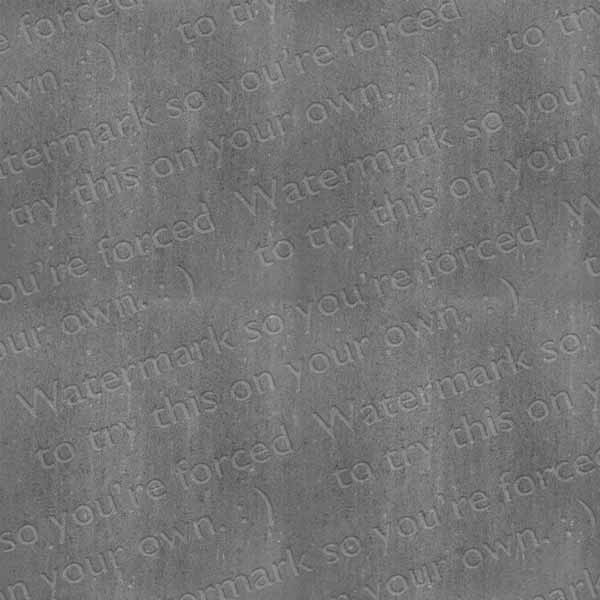
Mostly because you should do this on your own; You'll find a water mark on my attempt below.

Over all this will take a bit of time to get right.

Stone Tile

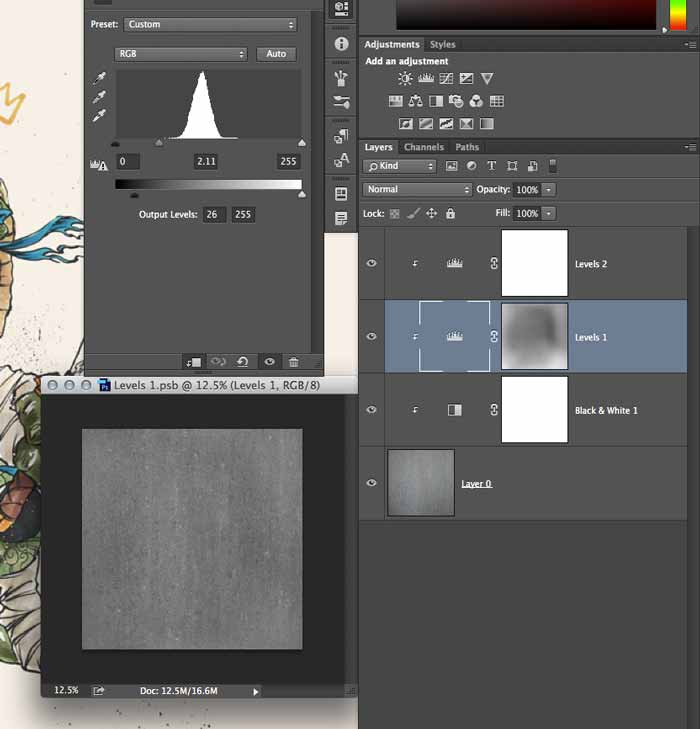
Settings

You can see my mask here and layers for the single tile. I also added a black and white adjustment because there was some color variation in the stone.

Good Luck!

2
  • I ended up doing a high pass filter, please see edit
    – Anders
    Commented Sep 6, 2014 at 0:34
  • Funny, I first tried High Pass, but thought it would make your texture loose detail. But good job, it looks good. Commented Sep 6, 2014 at 18:09
2

This is more of a long comment and a tip than a answer

This is a pretty common 3D texture collecting problem. While Eddie A. describes works ill describe how to automate the finding of unevenness. As this becomes tedious with more complex textures.

The high pass you use kills some of the color variation which is bad. What you need is a low pass filtering, AKA Blur. By blurring the image so that no low level detail is available you get the overall color variation across the image. You can then go to LAB mode to get the inverse of lightness channel that you can use as a perfect mask in the color correction. This is like a manual high pass filtering that retains color better.

After this stage you may want to boost the effect with sharpen (the 3d render will blur images slightly) and paint the intersections after running offset to get it truly tile able.

1
  • 1
    Thanks for the tip, you don't know a tutorial that covers the technique? I'm a developer not an artist, doing artwork for me is strictly trial and error :)
    – Anders
    Commented Sep 6, 2014 at 11:24
2
  1. Duplicate your image layer (CtrlJ)
  2. Invert the colors of the new layer (CtrlI)
  3. Apply a Gaussian Blur filter (Filter > Blur > Gaussian Blur) and pick a radius that obscures all image details but isn't too high
  4. Set the opacity of the new layer to 50% (50)
  5. Flatten the image (CtrlShiftE)
  6. Open the level adjustments menu (CtrlL)
  7. Go to the Red channel (Alt3).
  8. Drag the left handle so it's right below the left-most black pixel of the graph above it and do the same for the right handle and the right-most black pixel of the graph.
  9. Repeat for the Green (Alt4) and Blue (Alt5) channels.
  10. Hit OK. You're done!

You may want to adjust the lightness and saturation to fit your liking if it became slightly too light, dark, saturated, or desaturated.

3
  • @Anders The main difference I see is in brightness. You can adjust that however you like as part of your texturing process now that it has a constant brightness across all parts of the texture. Your update doesn't seem to be actually asking a question. Is there any specific problem you are still asking about? If not, and you have found your solution, can you mark the most clear and helpful answer as the accepted answer so future visitors know which to look at?
    – Keavon
    Commented Jul 4, 2015 at 13:43
  • I would say there is no perfect answer, there are just different methods to the problem
    – Anders
    Commented Jul 4, 2015 at 22:47
  • @Anders Okay. But I'm still confused why you are updating your original question with images showing the result you are happy with yet not selecting an Accepted Answer. I'm not saying you need to accept mine, but you're supposed to accept one that helps you. Also, you shouldn't be lengthening your original question with the results of various answers, since that makes your question seem like you aren't just asking a question. I'm just a little confused by what you're doing, that's all.
    – Keavon
    Commented Jul 5, 2015 at 9:40

Your Answer

By clicking “Post Your Answer”, you agree to our terms of service and acknowledge you have read our privacy policy.

Not the answer you're looking for? Browse other questions tagged or ask your own question.