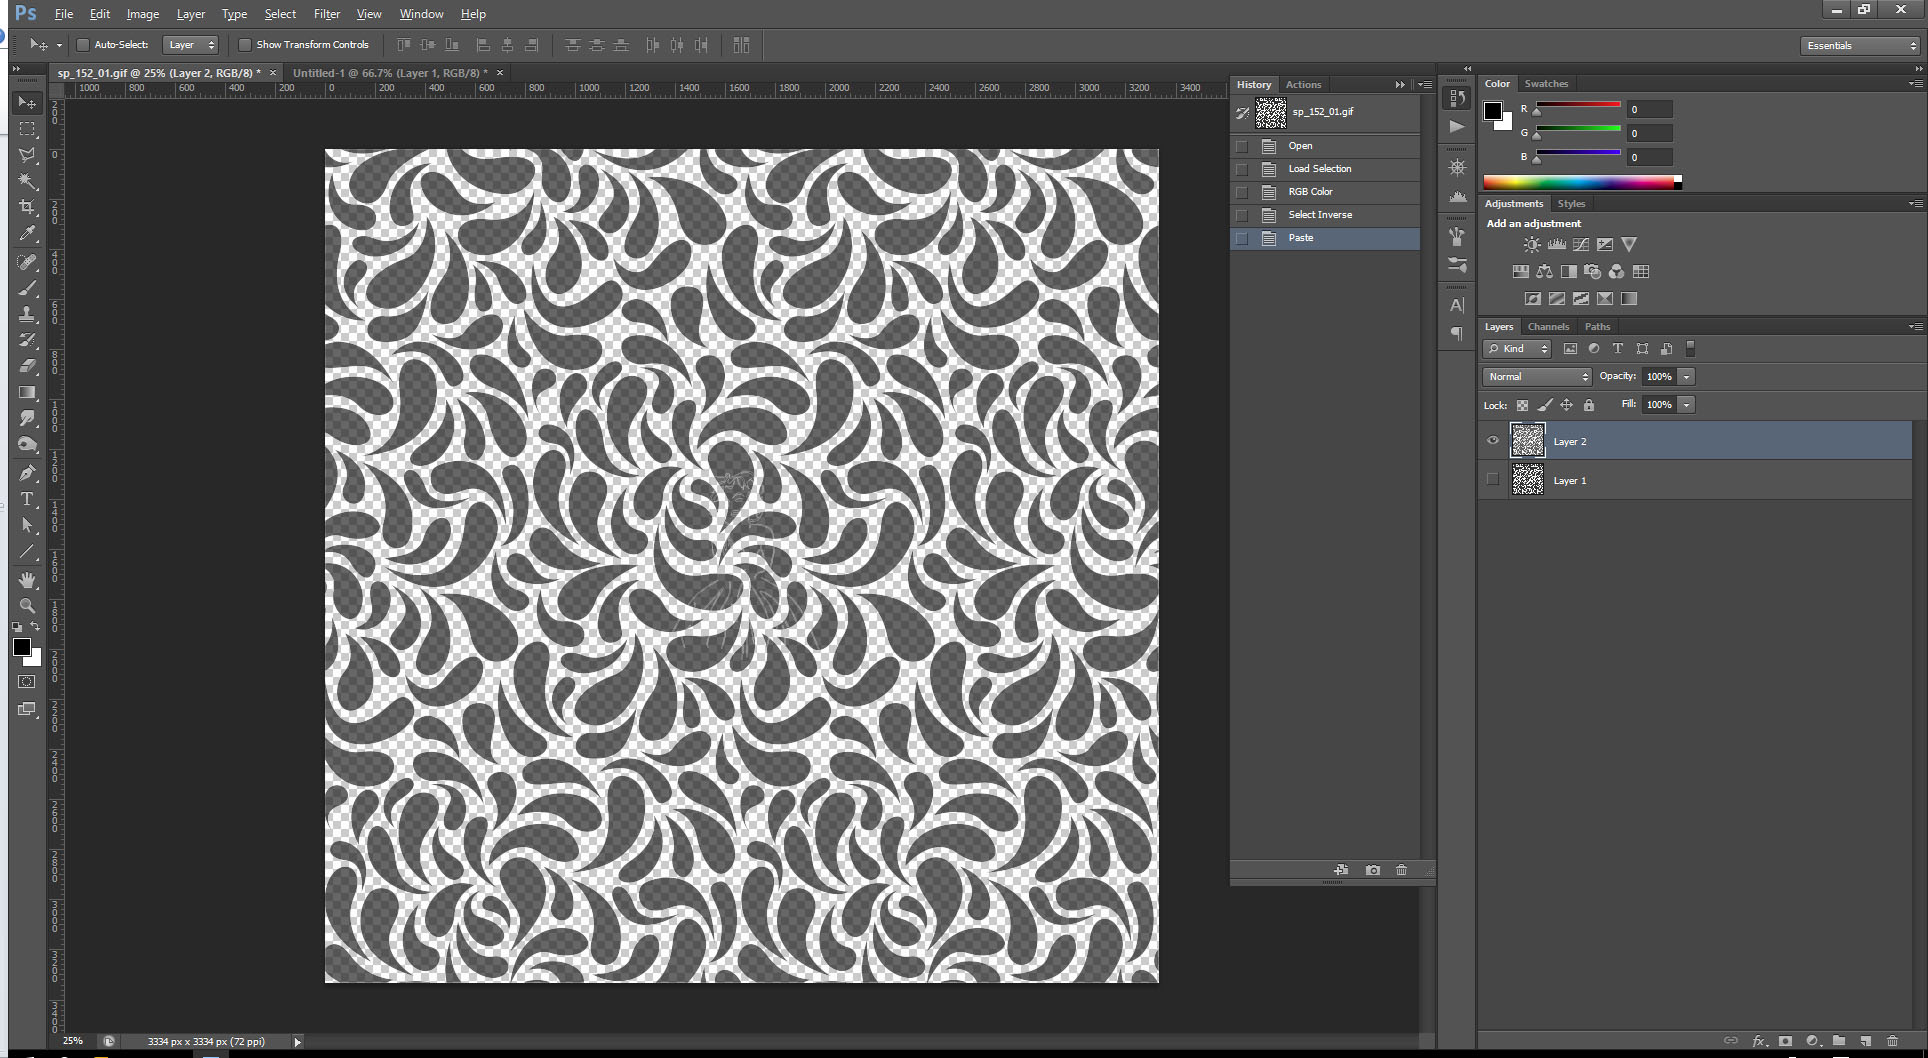
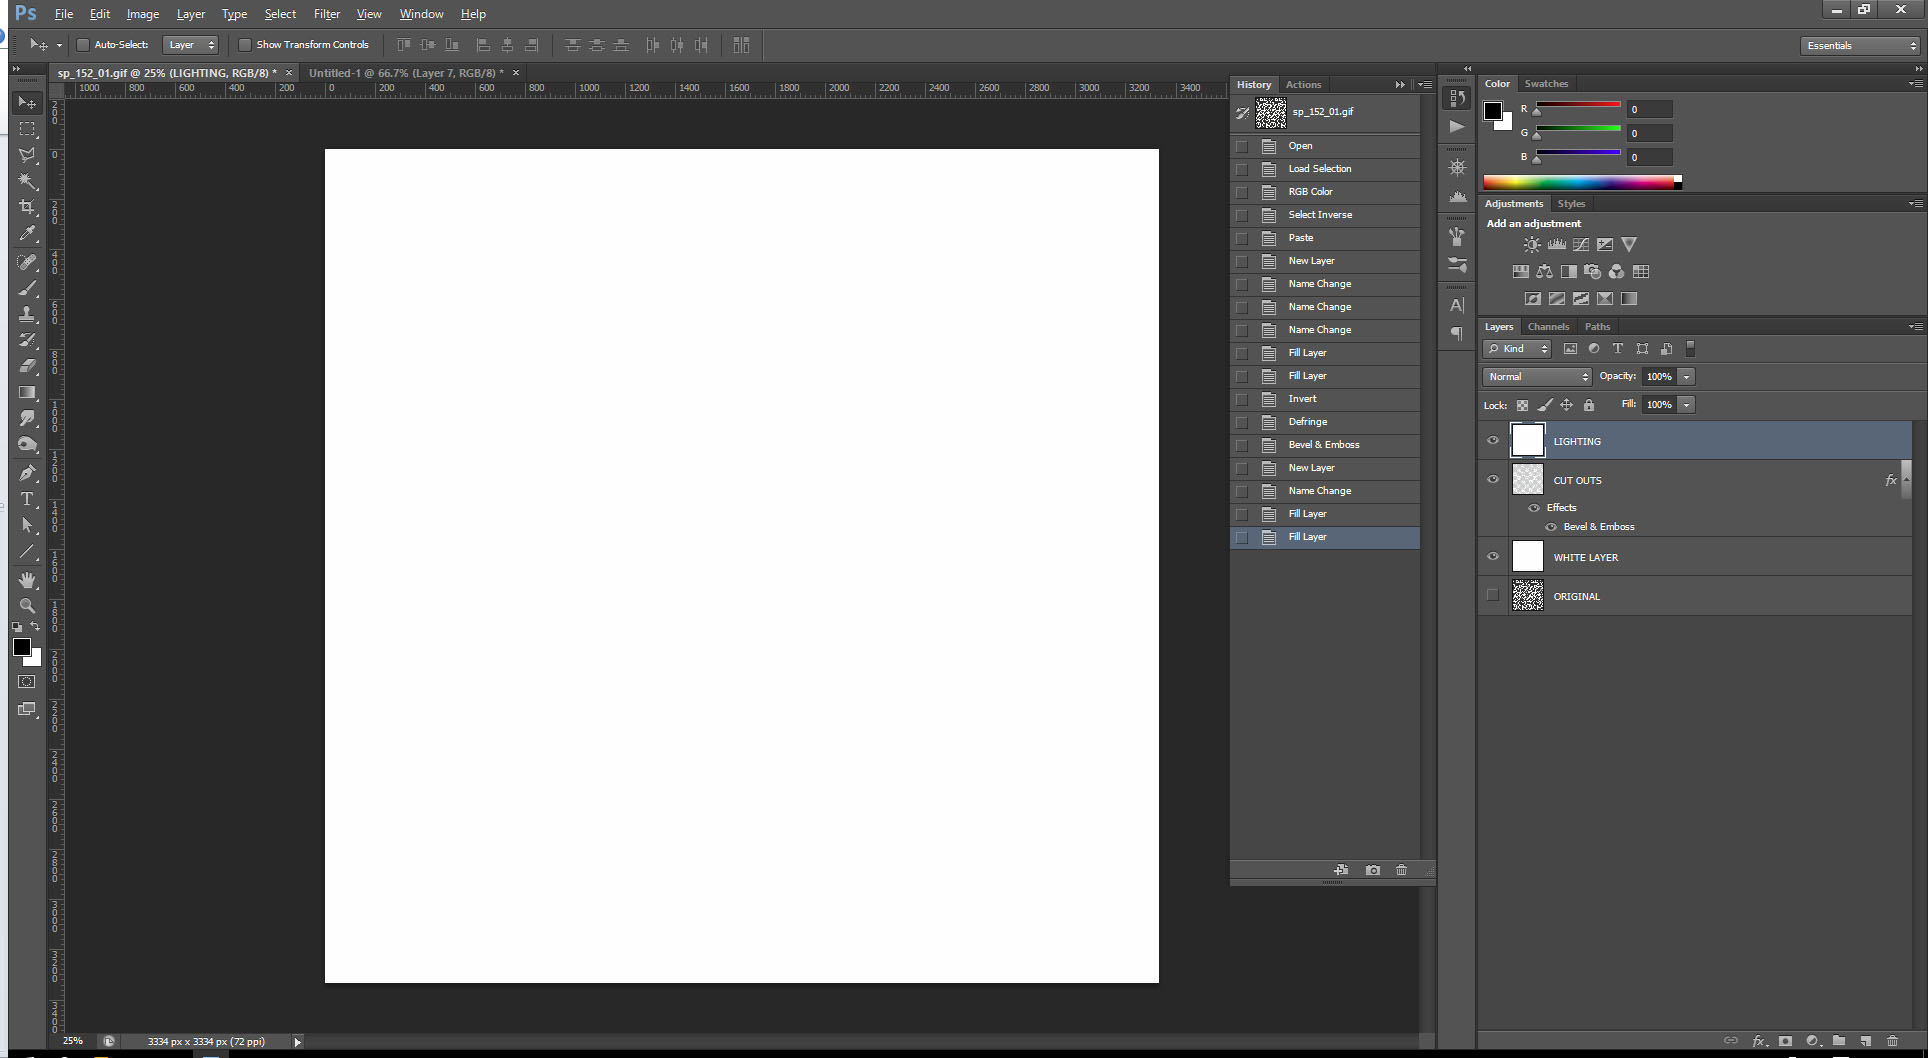
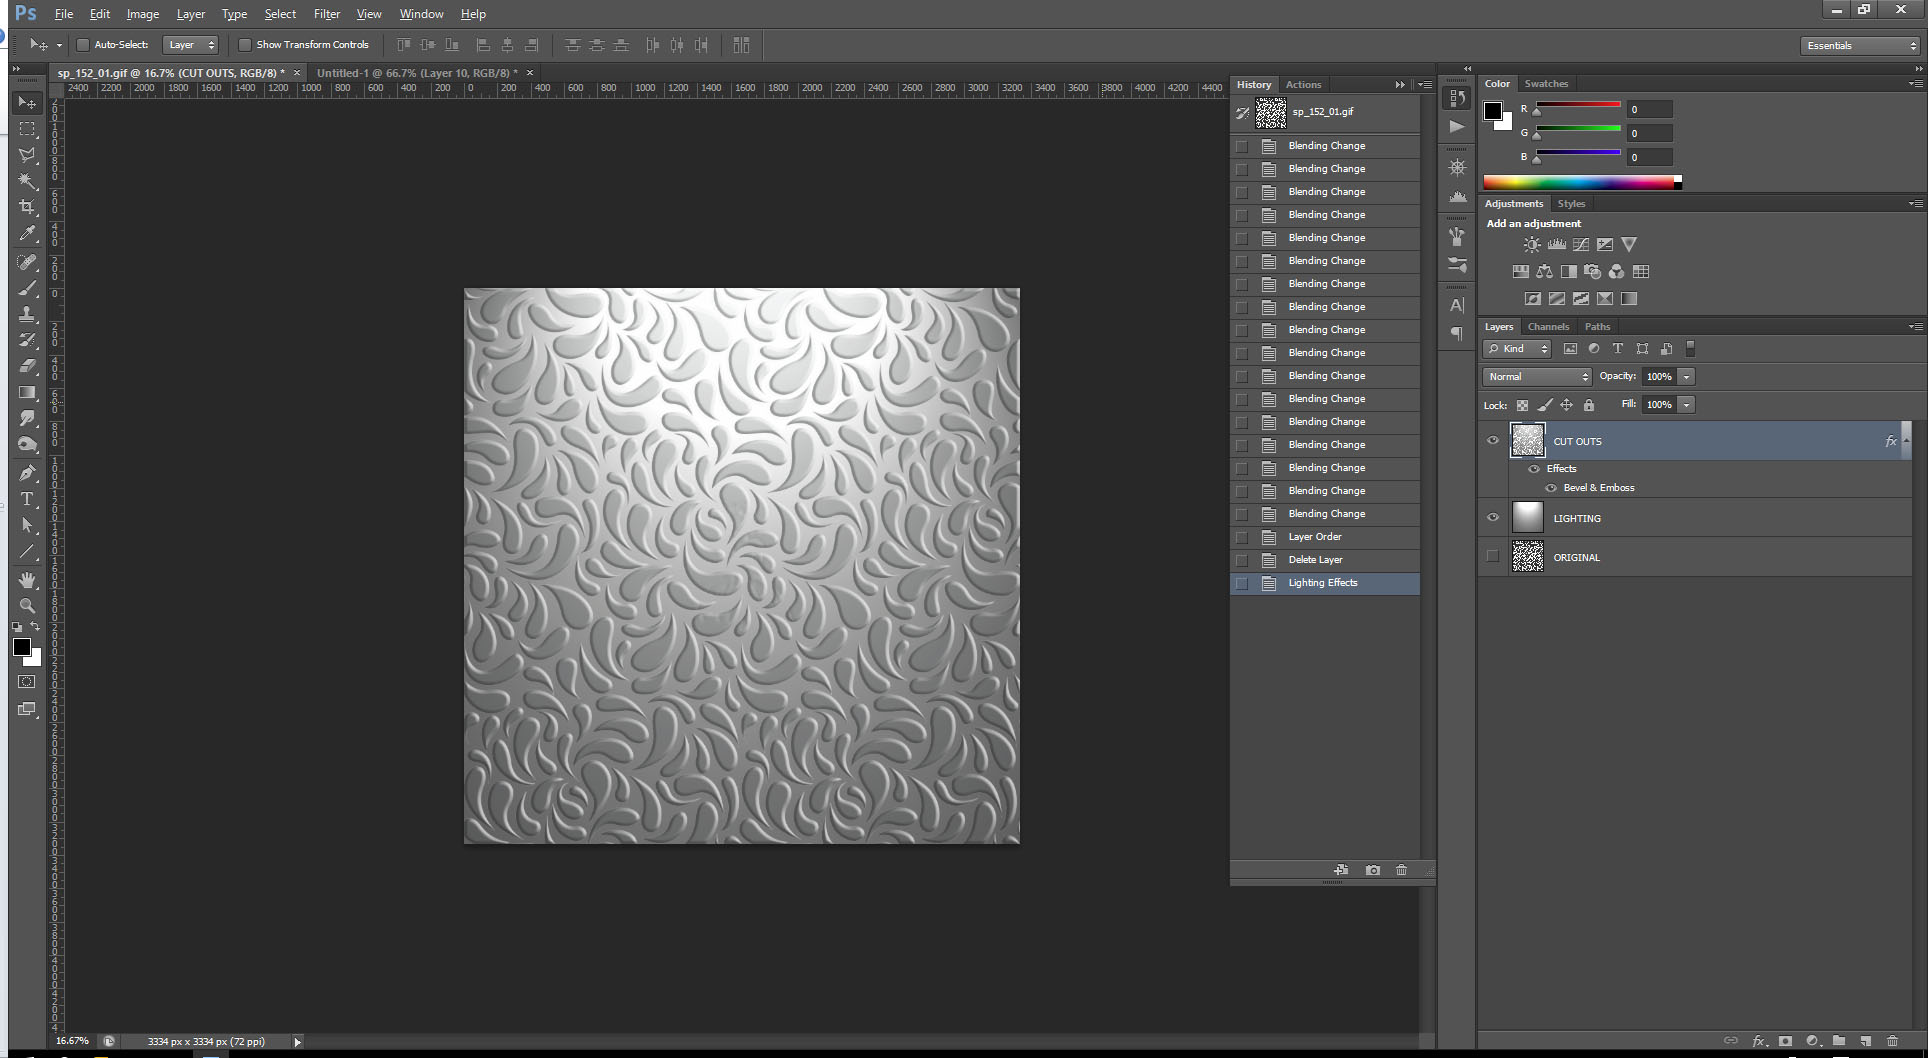
Import your image into Photoshop. Go to the Channels tab and CTRL click on the thumbnail next to the word Index.

Go to Image > Mode > RGB Color. Press CTRL+Shift+I to invert your selection to select the black droplets. Hit CTRL+C then CTRL+V to copy the droplets to a new layer.

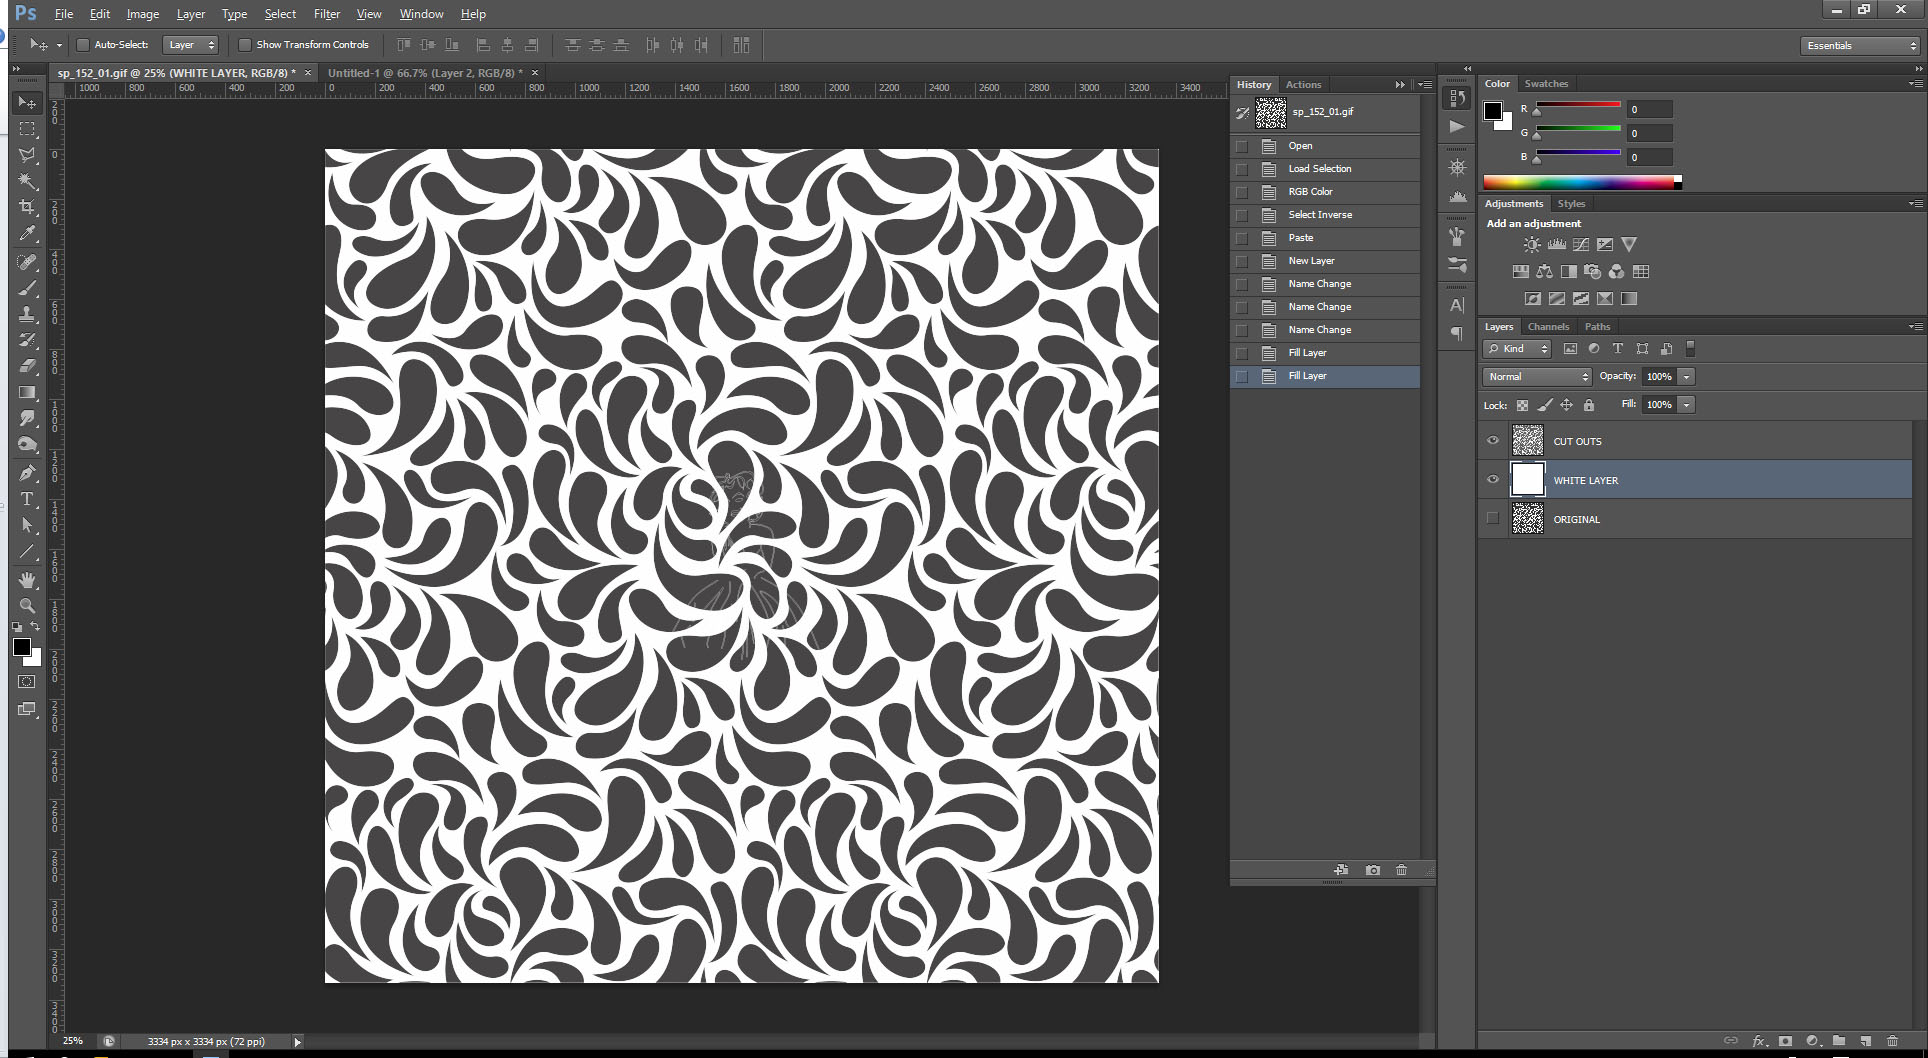
Create a layer with a white fill between your current layers. You can turn off or delete the Original layer.

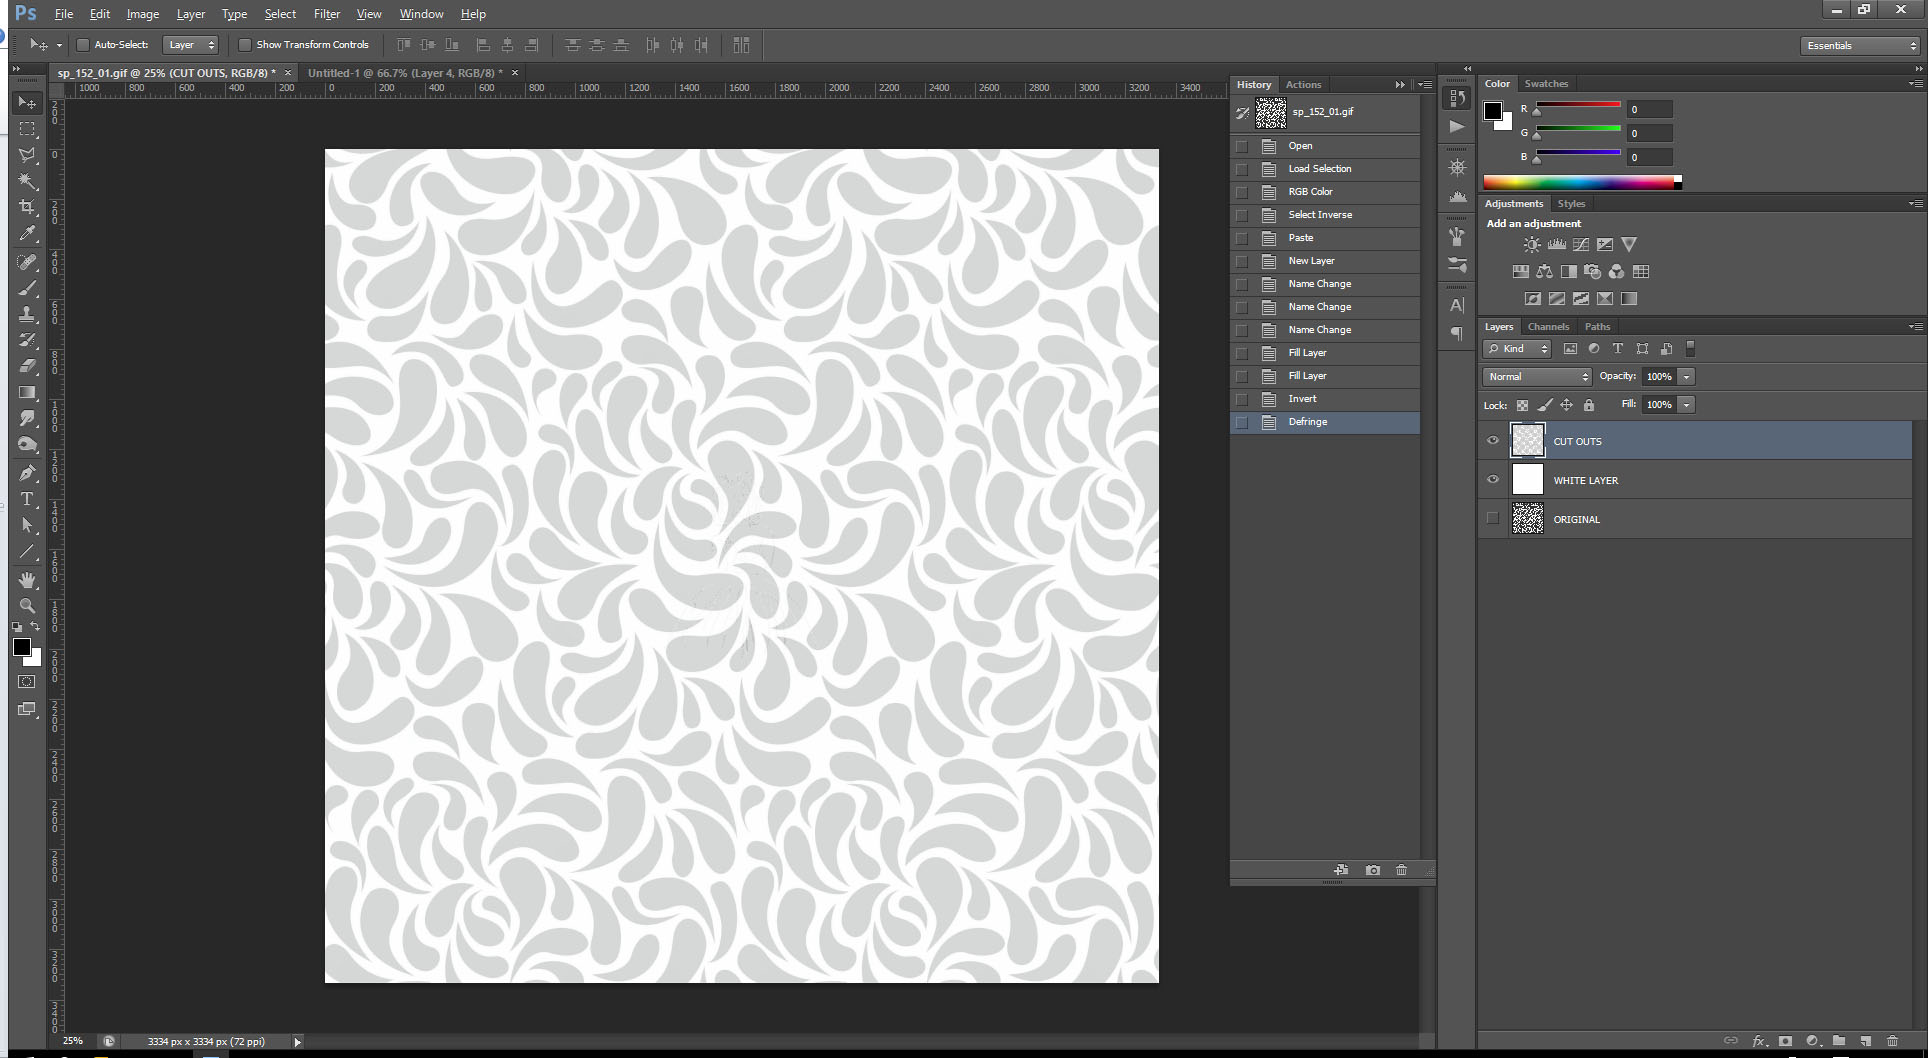
With the top layer selected, invert the colors (CTRL+I) to make them off-white. Go to Layer > Matting > Defringe to remove the black fringe around the droplets.

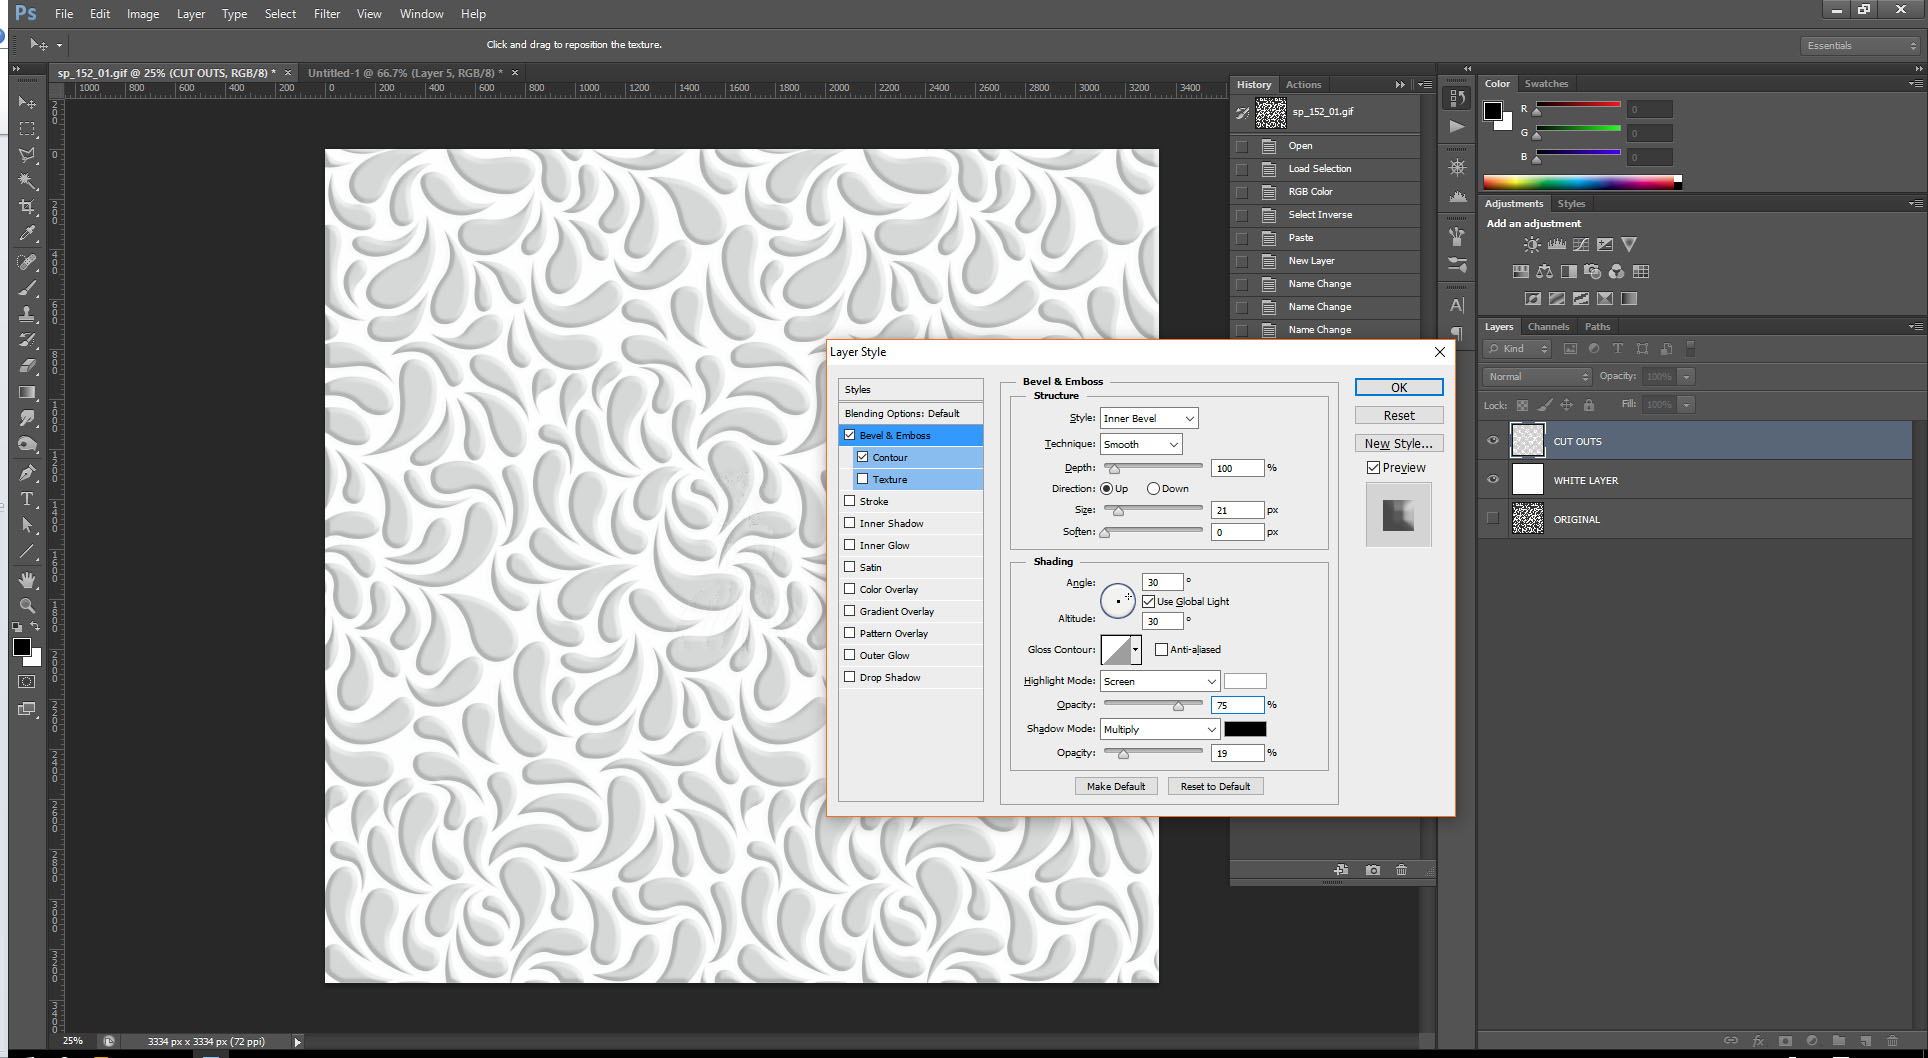
Apply a layer style and choose your desired settings.

Create a new layer at the top of the stack and fill it with white.

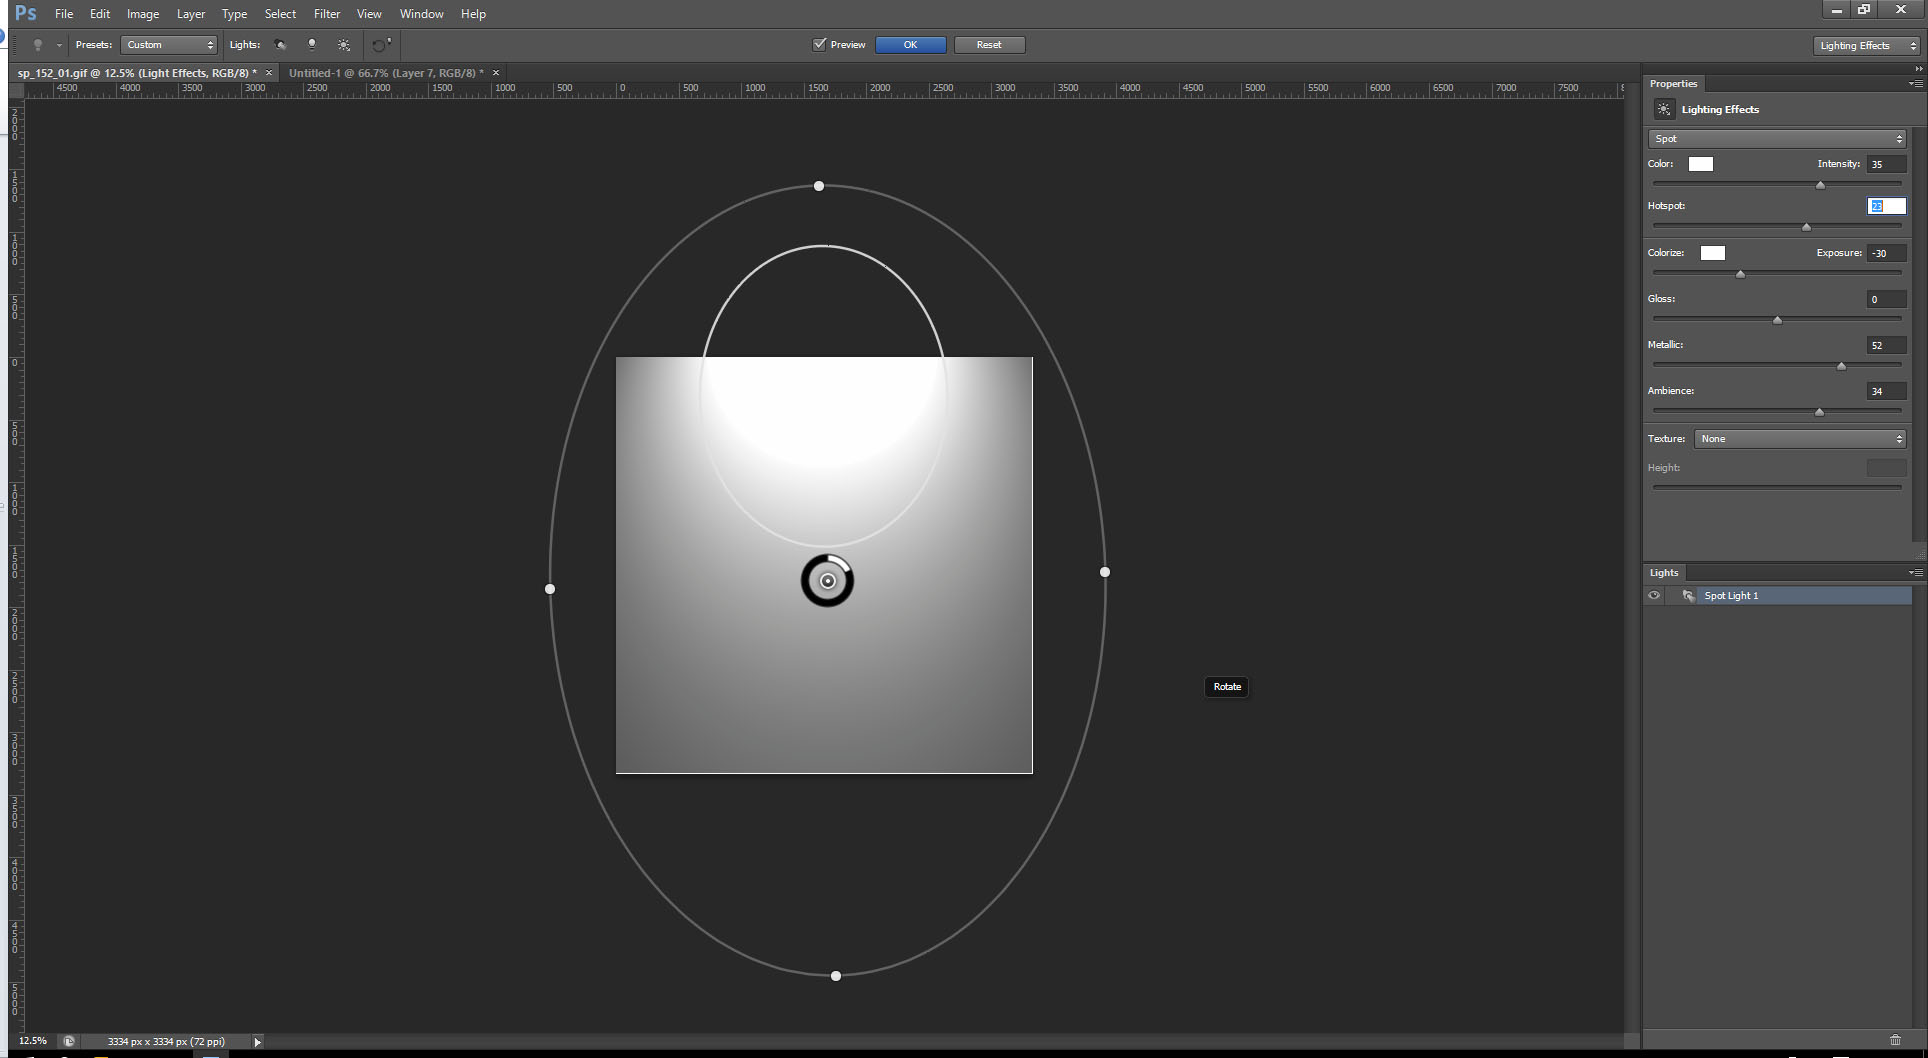
Go to Filter > Render > Lighting Effects and apply a Spot Light and position and adjust as you see fit.

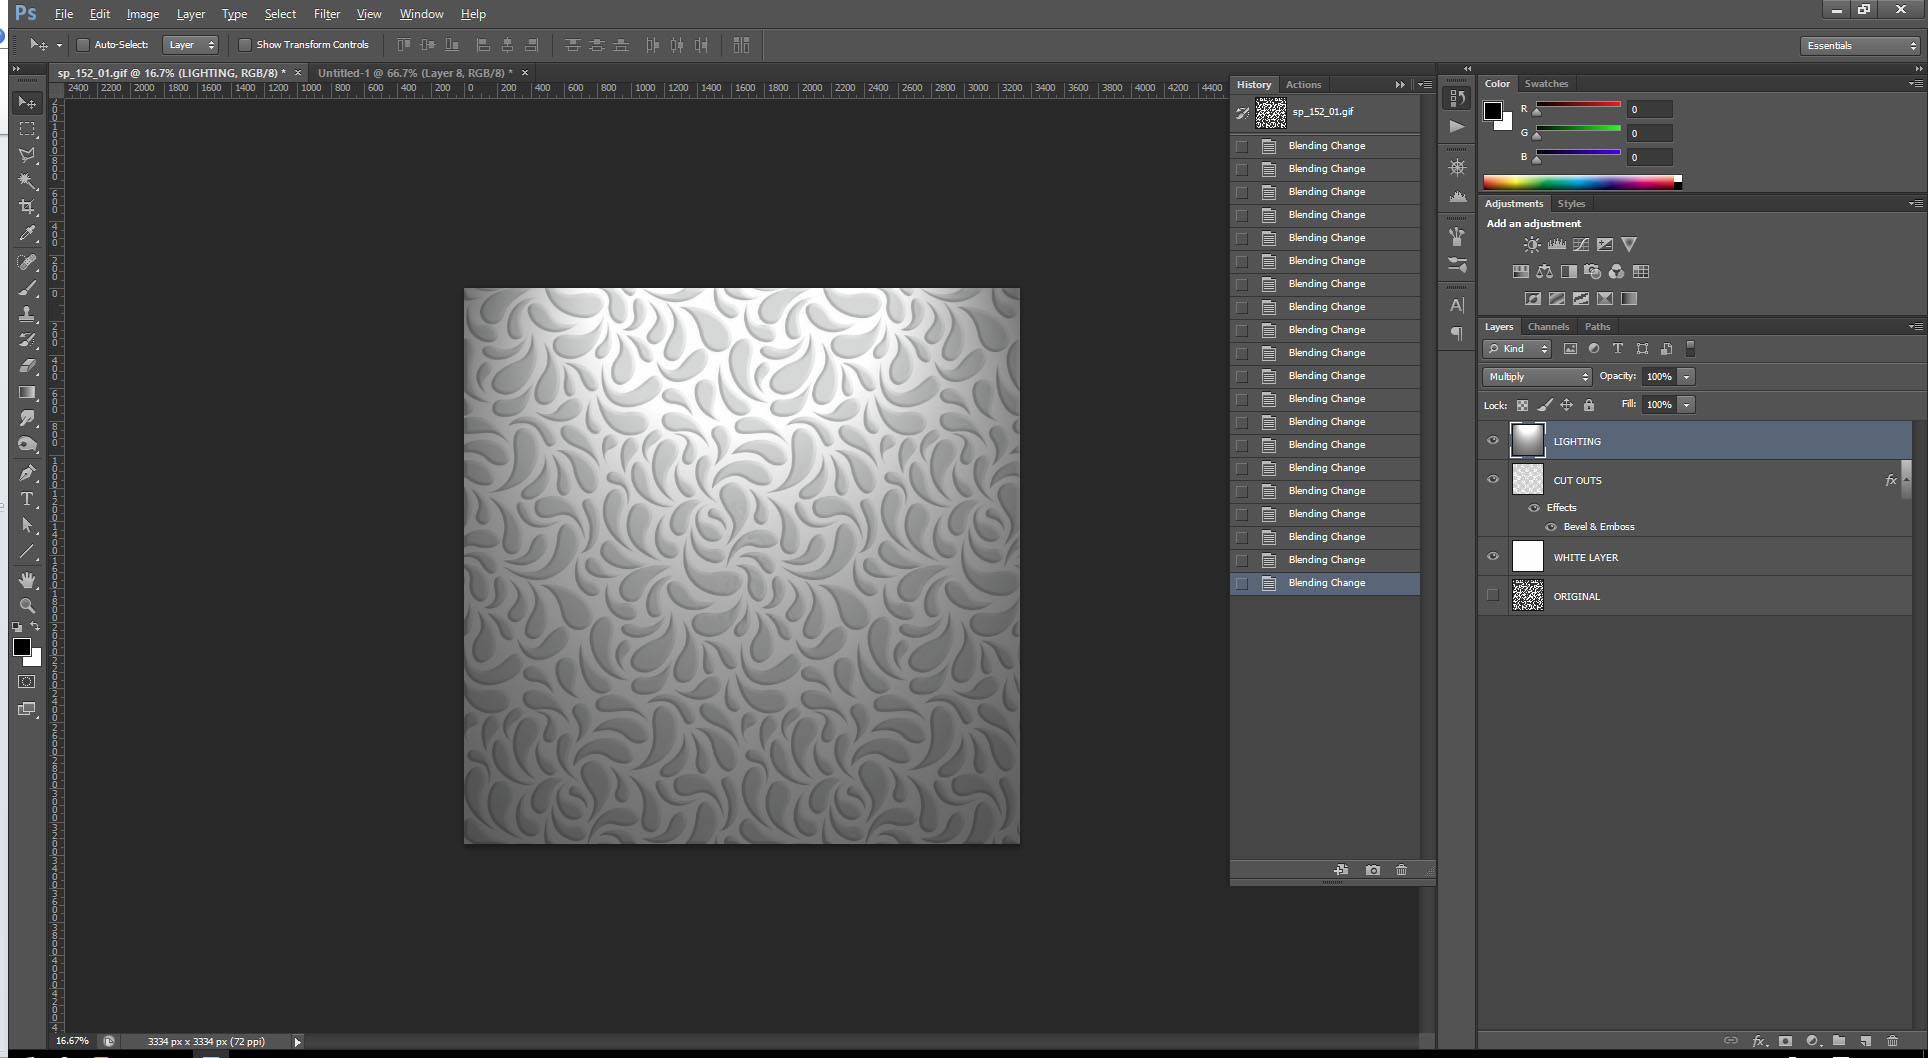
Change the top layer to Multiply mode (or any other that you'd like).

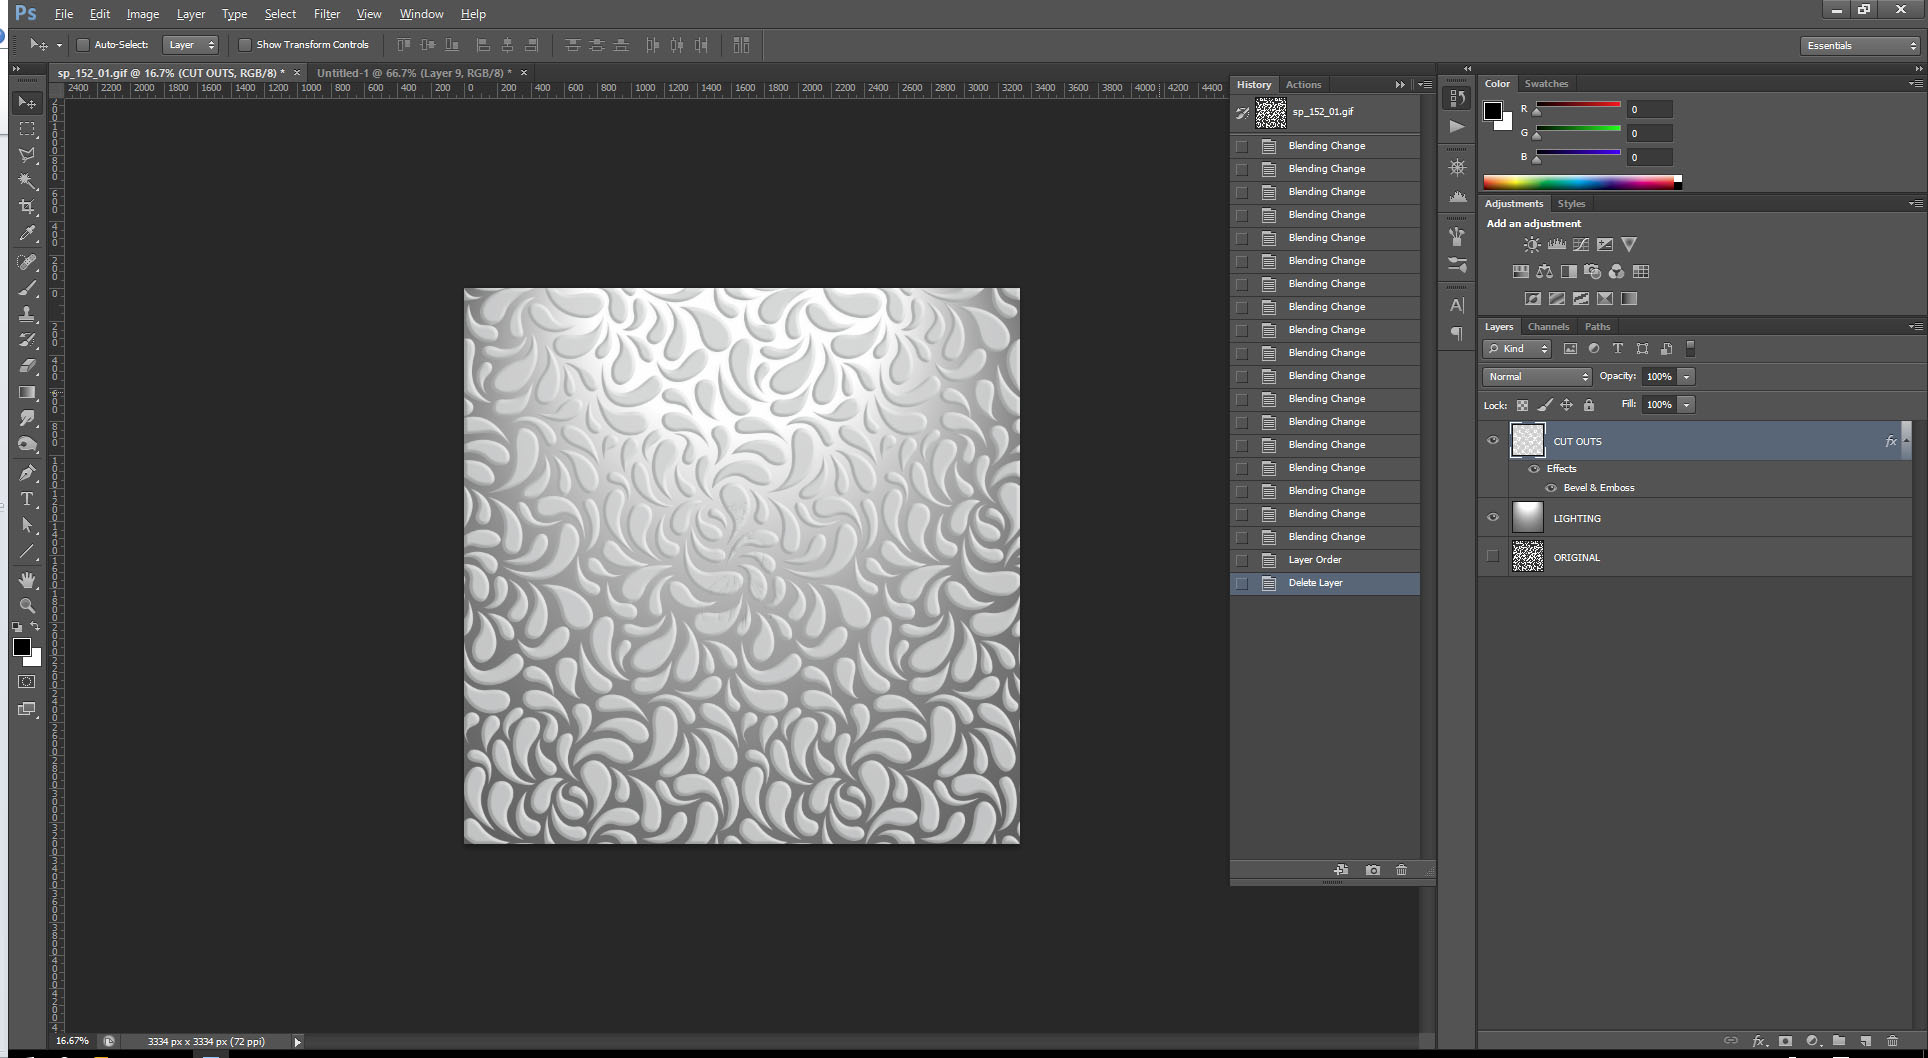
You can now reorder the layers to achieve your desired effect...

Or add similar lighting effects to the cut outs (droplets) layer...

Keep in mind that there are variables at many of the later steps here and you should use your keen eye to best determine the overall effect you're after.


