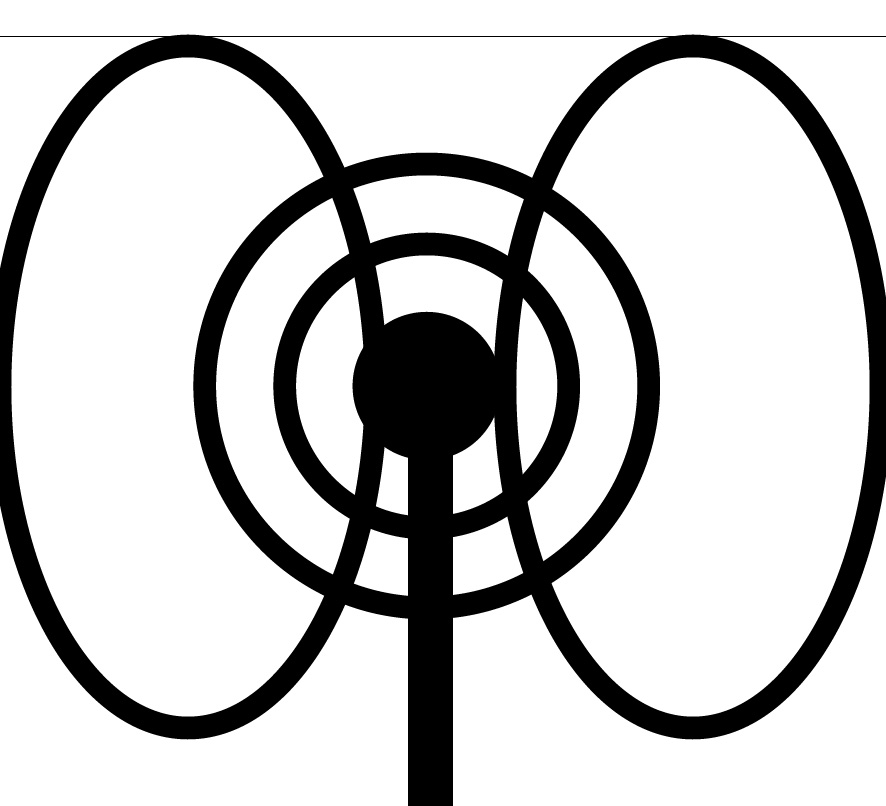
Not much different from KMSTR's answer, but I'll say it anyways.
- Select the same original circle.
- Then from the top menu:
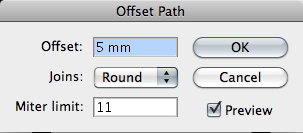
Object > Path > Offset path. ( In this case you only need to worry about the "offset" box, and you might want to enable preview as well. ) 
- Select the offset path and swap the fill color with the outline color.
If you want to make multiple waves, just select the prior wave and repeat steps 1-2.
- Edited: forgot that you had 3 waves. So changed step 7 and 8.
- Edited2: Realized that my prior edit was kind of useless.. Was looking at the example image thinking that you had 3 waves...
As far as the trimming of the circles goes, you could do something like this.
Not the fastest way, but should go through quite a few essential tools for illustrator.
On windows, just 'translate' every cmd into ctrl
1.
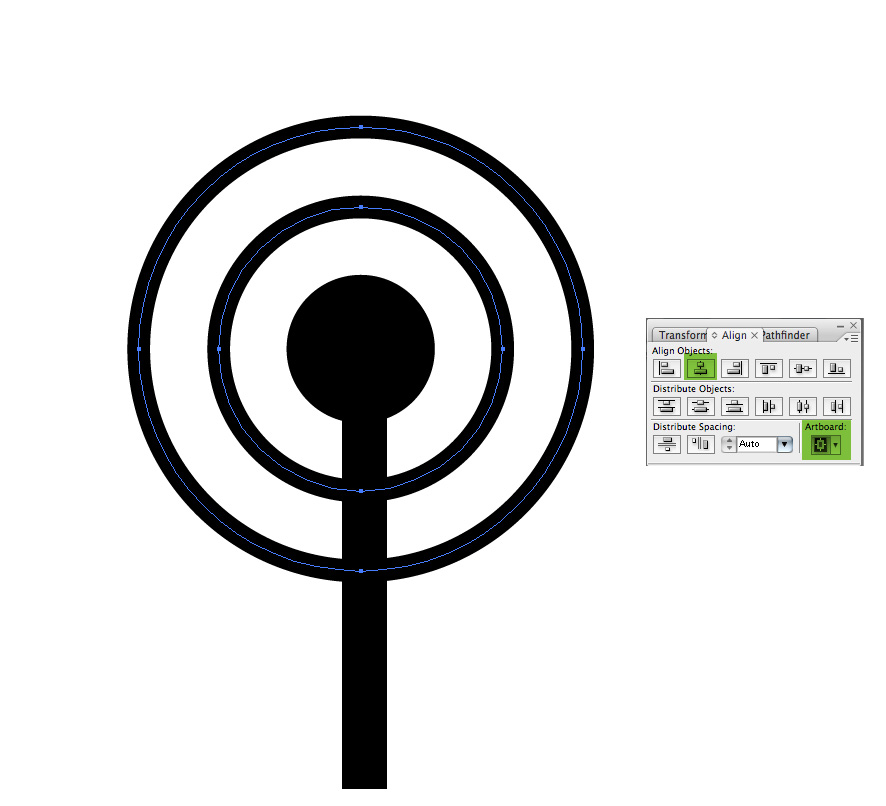
From the top menu: Window > Align. Align everything to the center according to the artboard. You most likely will want to group ( Cmd + G ) some objects before aligning them.

2.
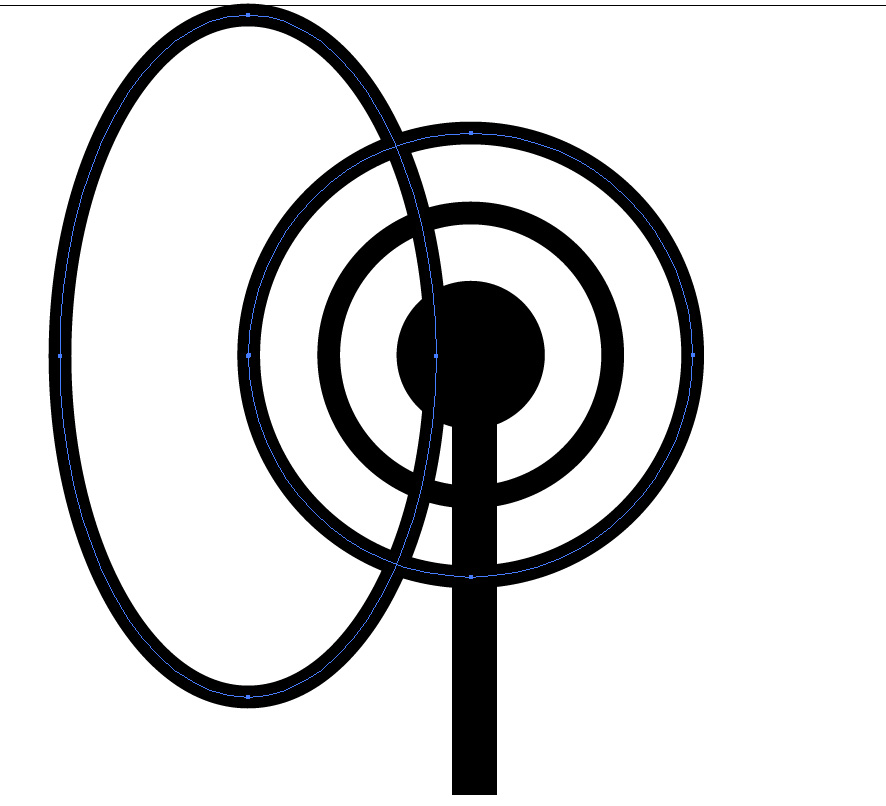
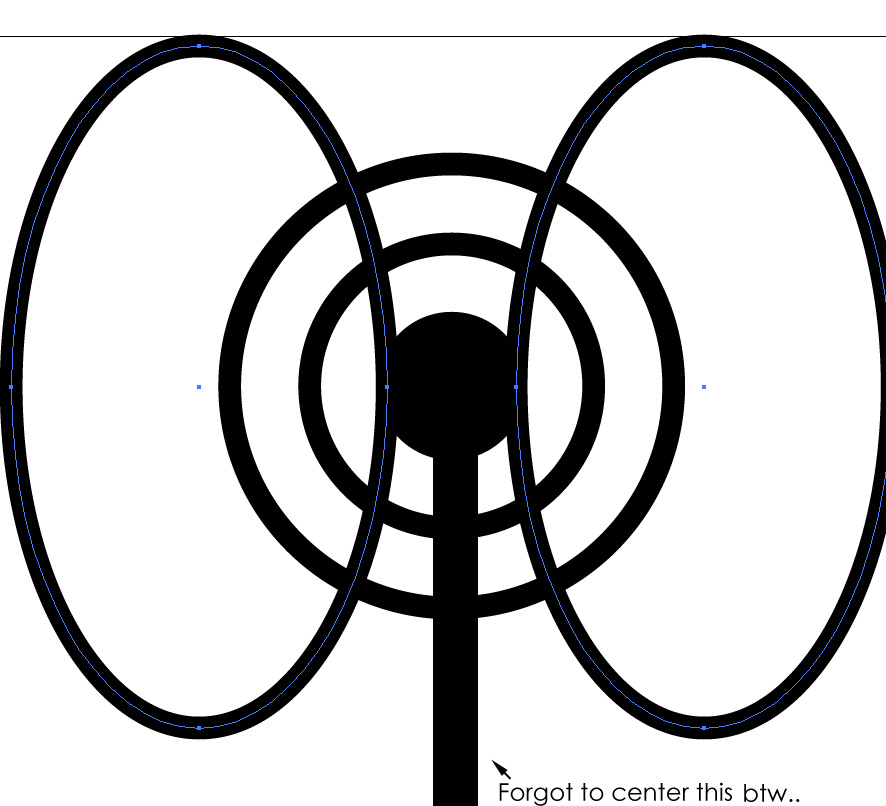
Then take Ellipse tool and select the outer most circle by clicking it while pressing cmd so that you can see the points. Then while pressing alt draw ellipse by using one of the side points as the center for the circle. ( Did it this way so I don't have to center the ellipse vertically according to the circles. )

3.
After that take Selection tool and while pressing alt and shift move the ellipse to the other side. ( alt makes a copy. shift keeps it in the same level. )

4.
Select both ellipses and group them ( Cmd+G ) and then use the align panel to center them to the art-board just like shown at the first step.

5.
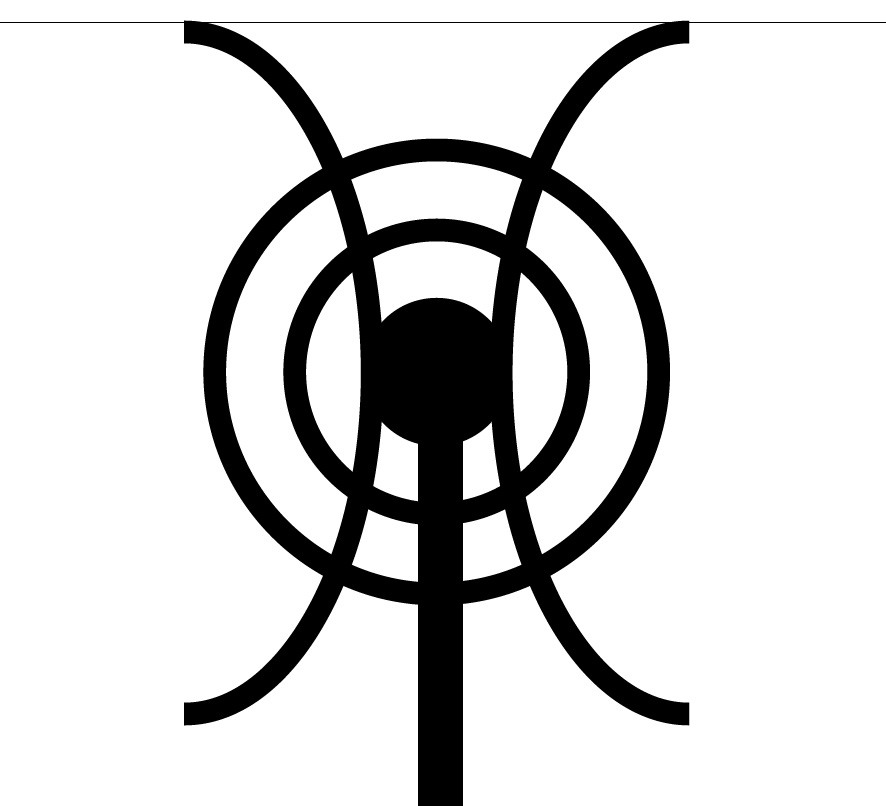
Take the Direct selection tool and remove the outer points from the sides of the ellipses. Just select a circle and backspace ( delete ).

6.
Still with Direct selection tool, join the two curves from the top and bottom. Select 2 points at a time and then right click inside the document and select Join. ( You can first select one point and then with shift select another. )

7.
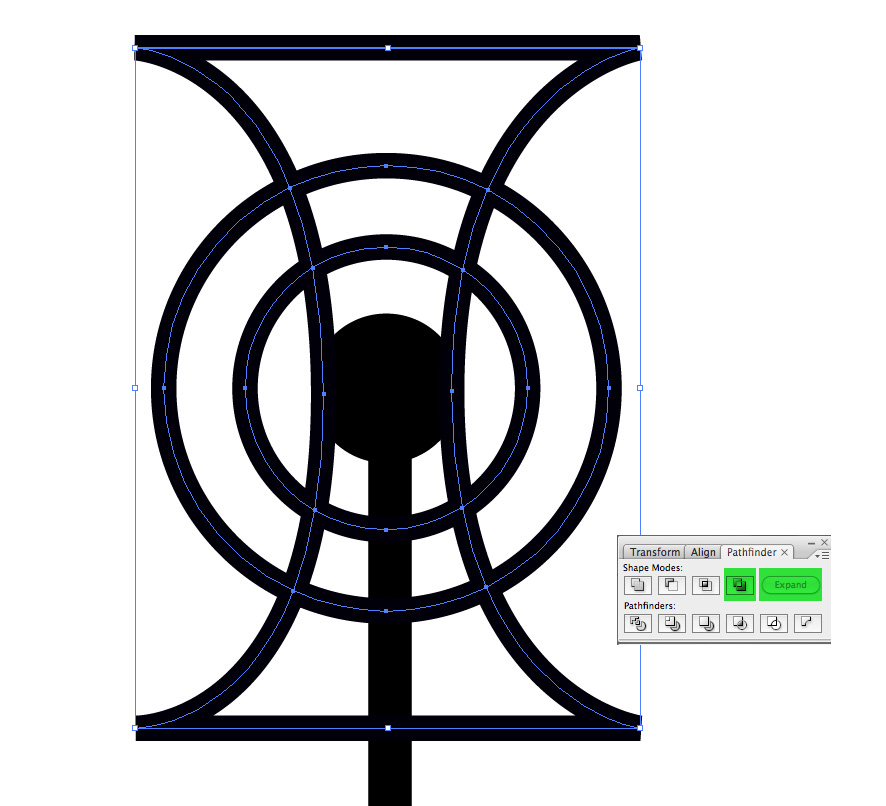
Select all of the outlined circles + the 'ellipse curves'. From the top menu: Window > Pathfinder and then use Exclude overlapping and Expand.

8.
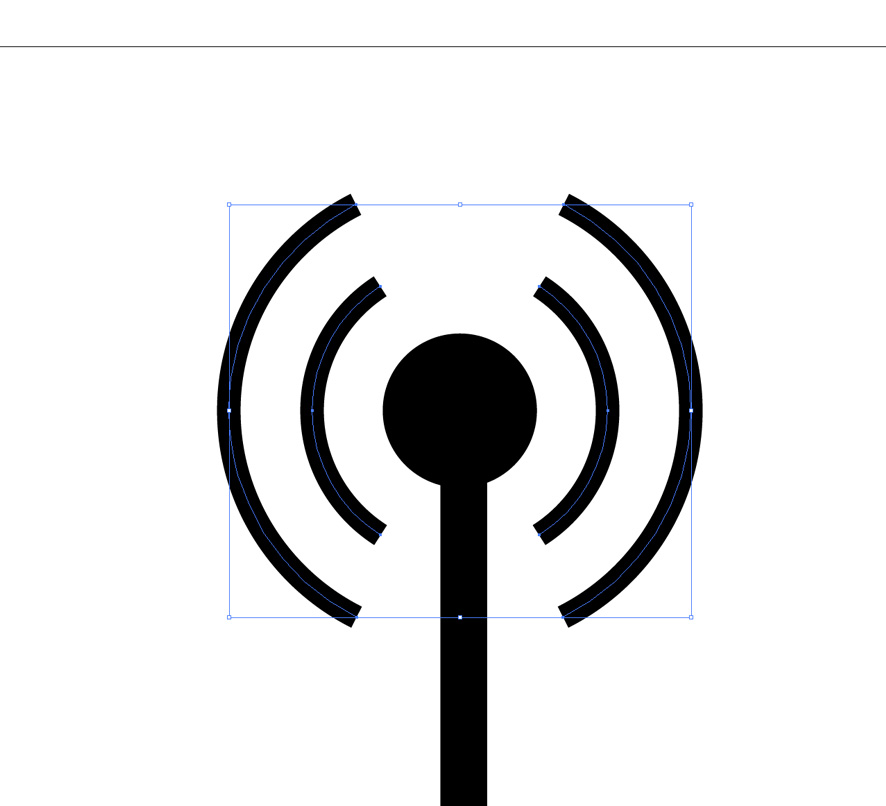
Then with Direct selection tool, select all of the extra lines and delete them.

9.
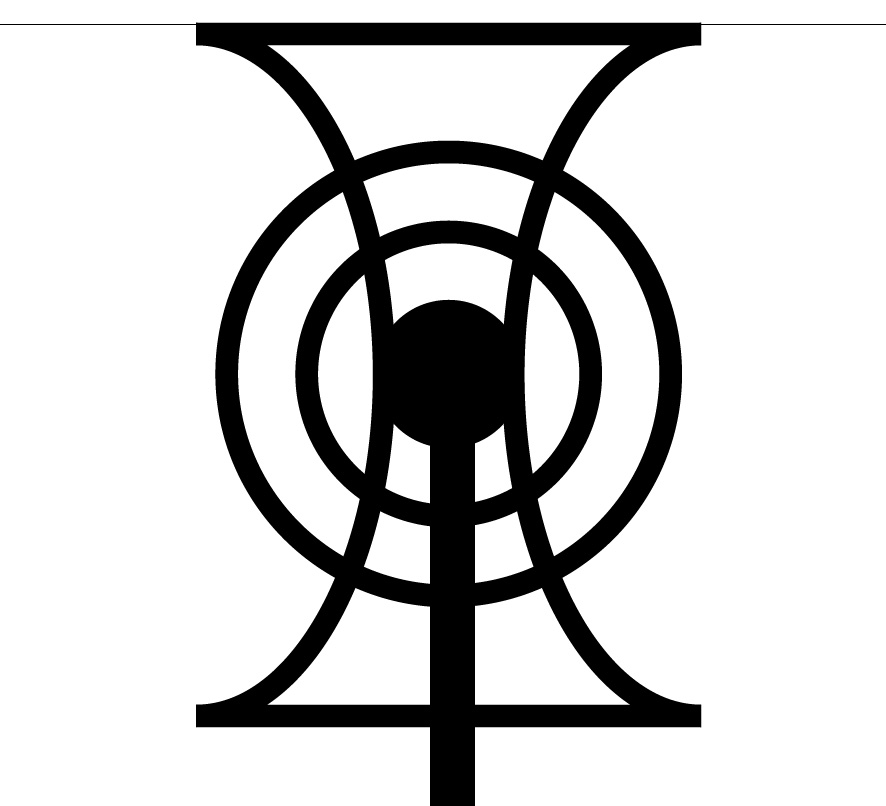
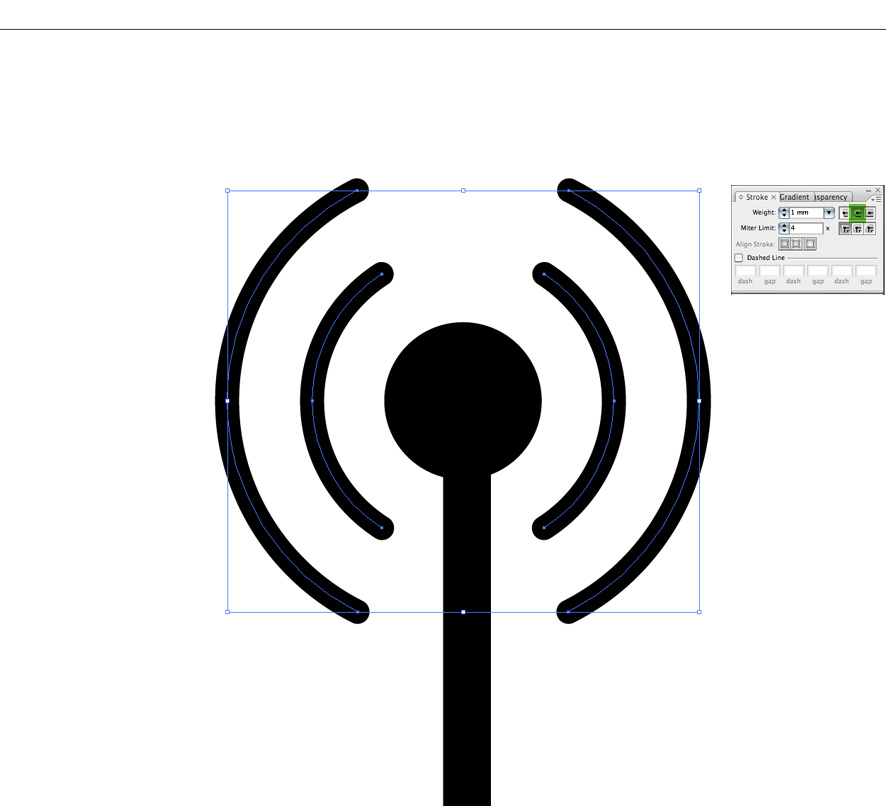
And then to achieve the rounded tips. From the top menu: Window > Stroke. Select the arcs and click the Round cap.

Also, you should always do this after you've finished making a logo.
Top menu:
Select all Cmd+A ( assuming that the logo is only thing in your document. )
Type > Create outlines - Changes text into paths.
Object > Path > Outline stroke - Changes strokes into paths.
The order matters by the way.


