3 Answers
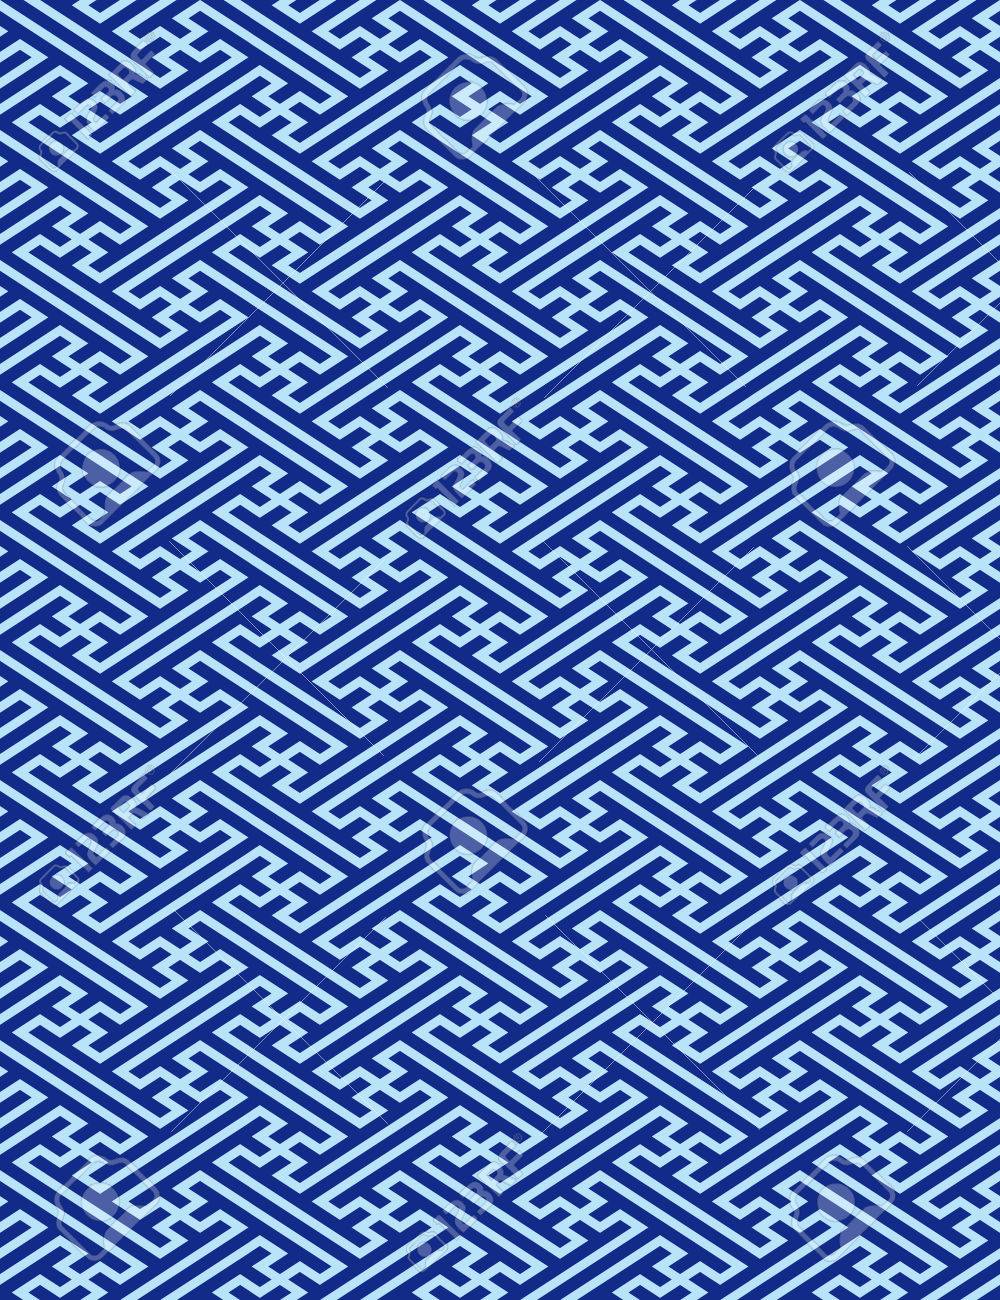
if you are looking for something like this.
Open your image in photoshop and apply the polar coordinates filter. You will get something like this.
Convert to grayscale and adjust the threshold to get the black and white image.
The first image is of a seamless tiled pattern. There are a number of tutorial videos and tutorials for creating this type of pattern and it's relatively simple. One such video appears clear and understandable.
The process involves creating a square or rectangle and placing components in the square and along the edge, duplicating those that are intersecting the edges so they exist in opposite sides, but placed accurately. The corners are a different matter, as they have to be duplicated in four locations.
I've performed this process in Inkscape using the tutorial for Illustrator.
For the second image, I'm at a loss.
-
Thanks for the reply, mate. But I know how to create the first. It´s how I evolve that pattern into the second image.– b jCommented Jan 31, 2020 at 22:46
Actually you have got a perfect answer: Use rectangular to polar coordinates transformation effect. I guess you haven't found that effect in Illustrator, because otherwise the previous answer should already be accepted
Rectangular to Polar effect is available for vector shapes in Illustrator, but it's hidden. You can get it by applying art mapping to an object which is made with effect 3D Revolve. An example:
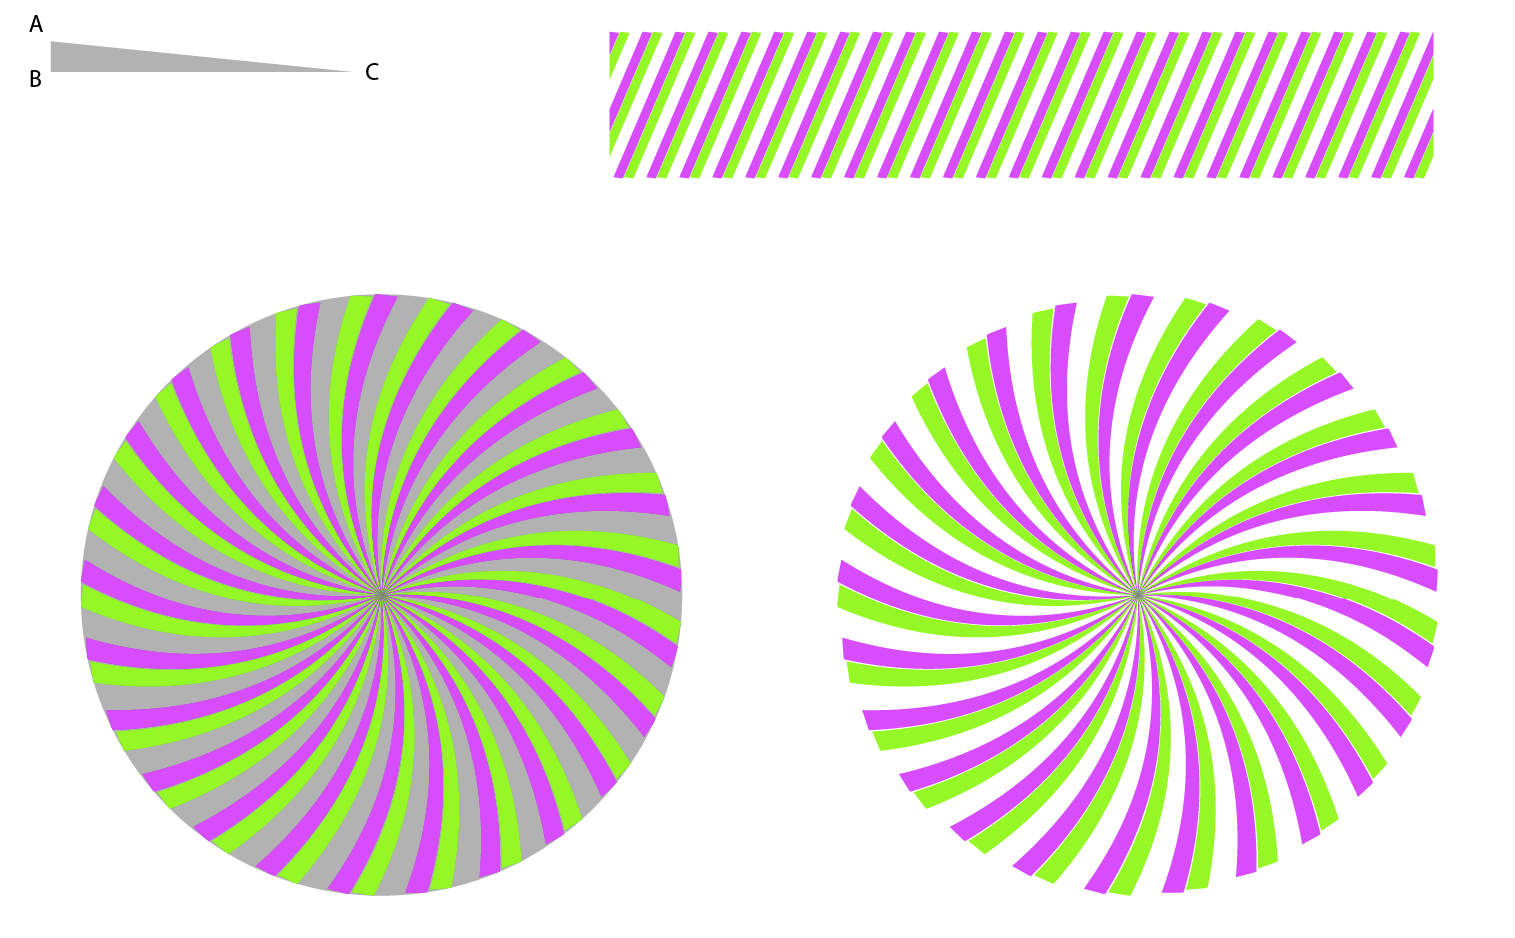
Start by drawing with the pen a thin rectangular closed triangle ABC. Let it have grey or other solid fill color which doesn't exist in your seamless pattern Here AB is exactly vertical. BC is horizontal and CA is tilted - nearly horizontal but a little off. Remove the stroke!
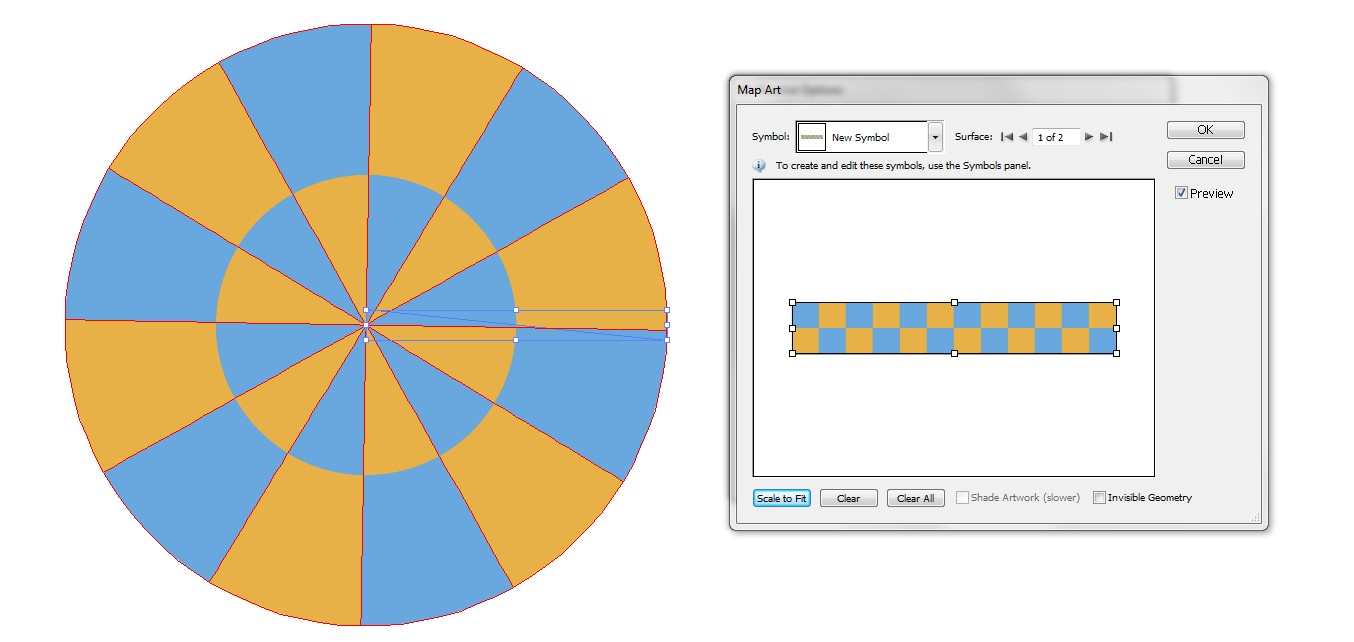
The yellow-blue shape is my seamless pattern. Make a rectangular piece of your pattern. The width of the piece should be six times the height of the piece for best proportions in the result. Drag the piece to the Symbols-panel. Only symbols can be used as mapped art texture.
Apply Effect > 3D > Revolve to the triangle. The revolution axis is AB. Have no shading and let the viewing angle be straight on the face:
Open the Map Art dialog. You have 2 surfaces. One is the circle which is formed of side BC and the other is a cone created of CA. We map the texture onto the cone. Select "scale to fit" to get the exact placement:
You can fix the effect by applying Object > Expand Appearance. To get freely editable pieces you must apply Object > Clipping mask > Release" and Ungroup. Several Clipping mask releases and ungroupings can be needed if your pattern is complex. If you want to crop the result to rectangular you can insert a clipping mask or you can split it by drawing a rectangle on the top and applying to it Object > Path > Divide objects below. Then the extras can be deleted. They are only moved apart in the next example:
NOTE1: The seamless pattern must have only vertical sides exactly fitting, the top side becomes the centerpoint and the bottom side becomes the outer ring.
NOTE2: tilted lines in the pattern become spirals. An Example:
There's 2 results in the bottom. The leftmost has only the effect + art mapping. Version in the right has got Object > Expand Appearance, Object > Clipping mask > Release twice and Ungroup twice. The grey shape is deleted.
-
-
True. In this site it's used to make conical gradients. But here's another version which makes my approach to look simple: design.tutsplus.com/tutorials/…– user82991Commented Feb 2, 2020 at 19:50


