As already mentioned in another answer, the method you are describing in words is just the Nearest Neighbor scaling method.
But the link you post shows another method where squares of the original image are cut out and moved together. This is a much more interesting effect.
I'll show you an example of how this can be achieved using Displace filter. In the following I'll be using a 1024 × 1024 px image. 1024 is a power of two and dividable by 128 which will show to be helpful. Actually the math is a little quirky. Everything has to be pixel-perfect and this method won't be possible with all dimensions.
Method using Displace filter
We'll use the following image by Piotr Siedlecki (CC0 Public Domain):
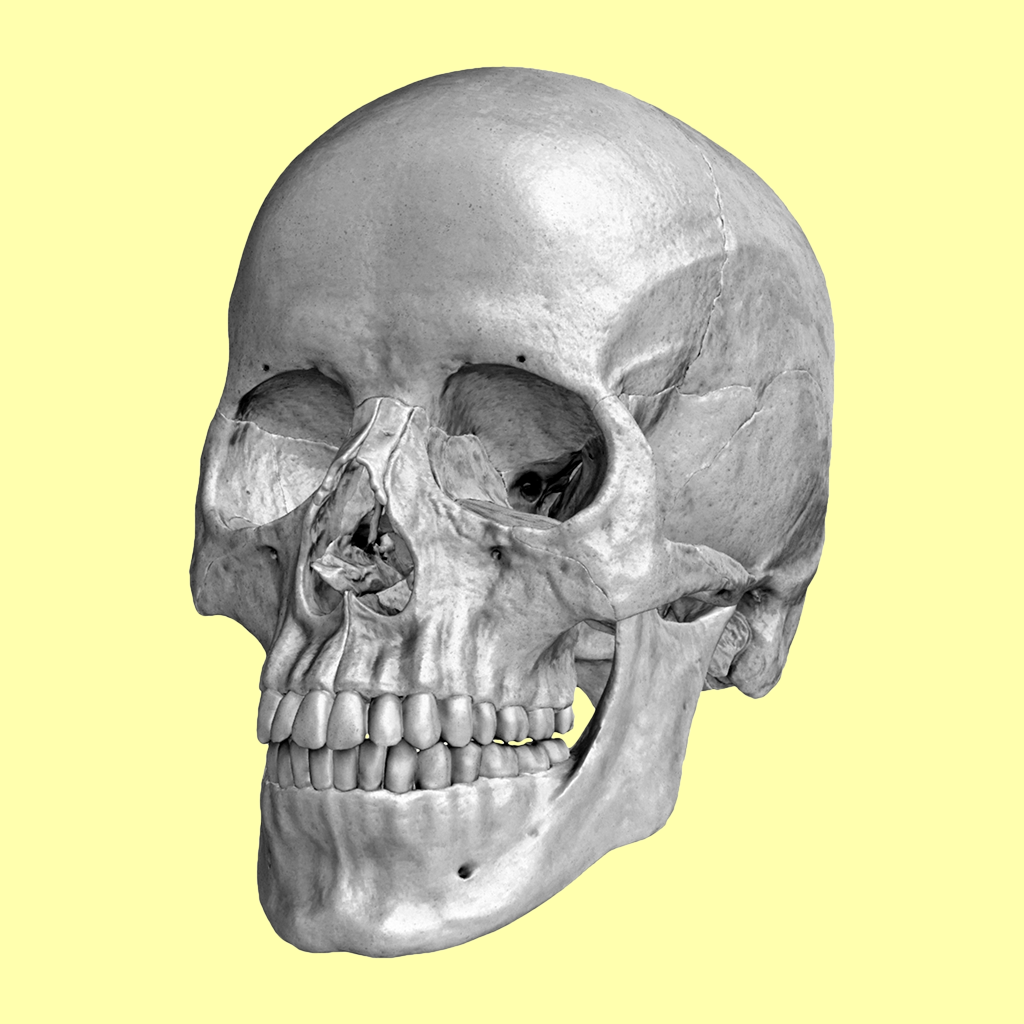
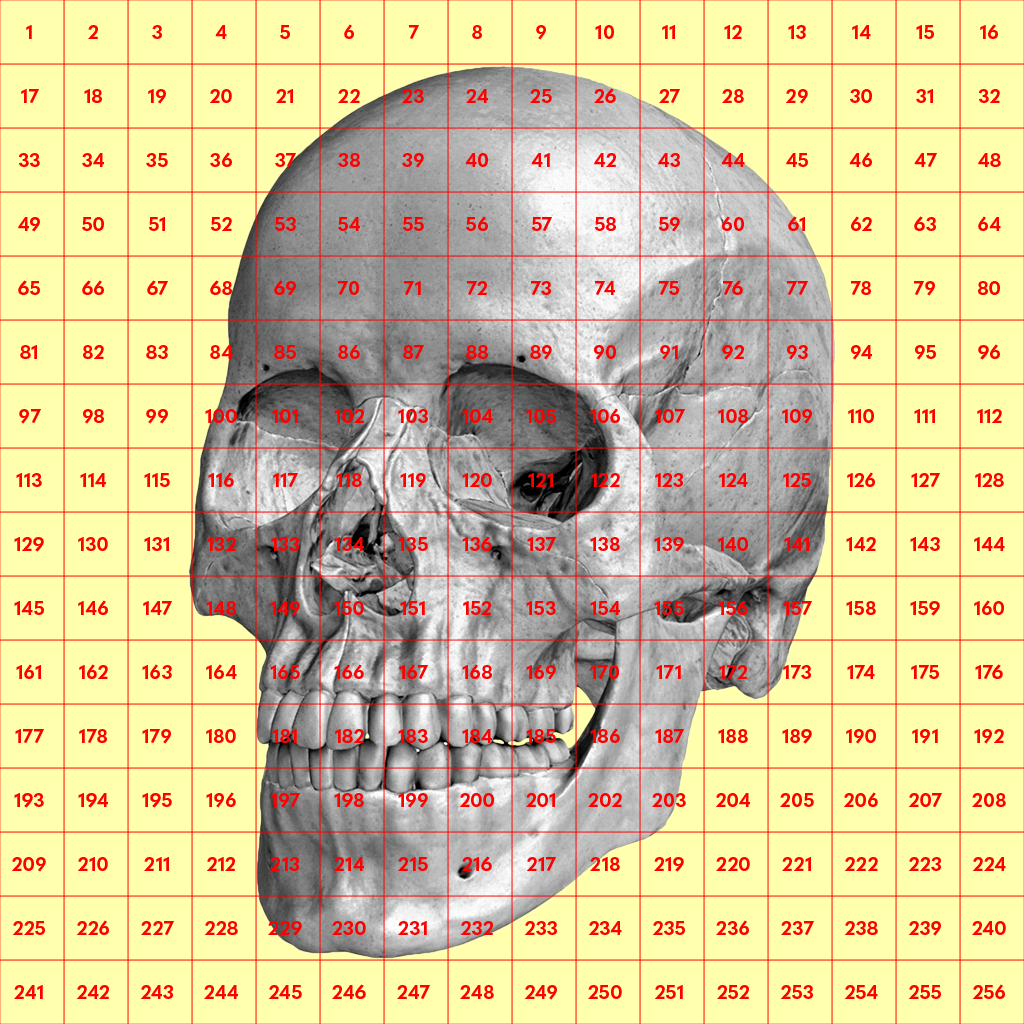
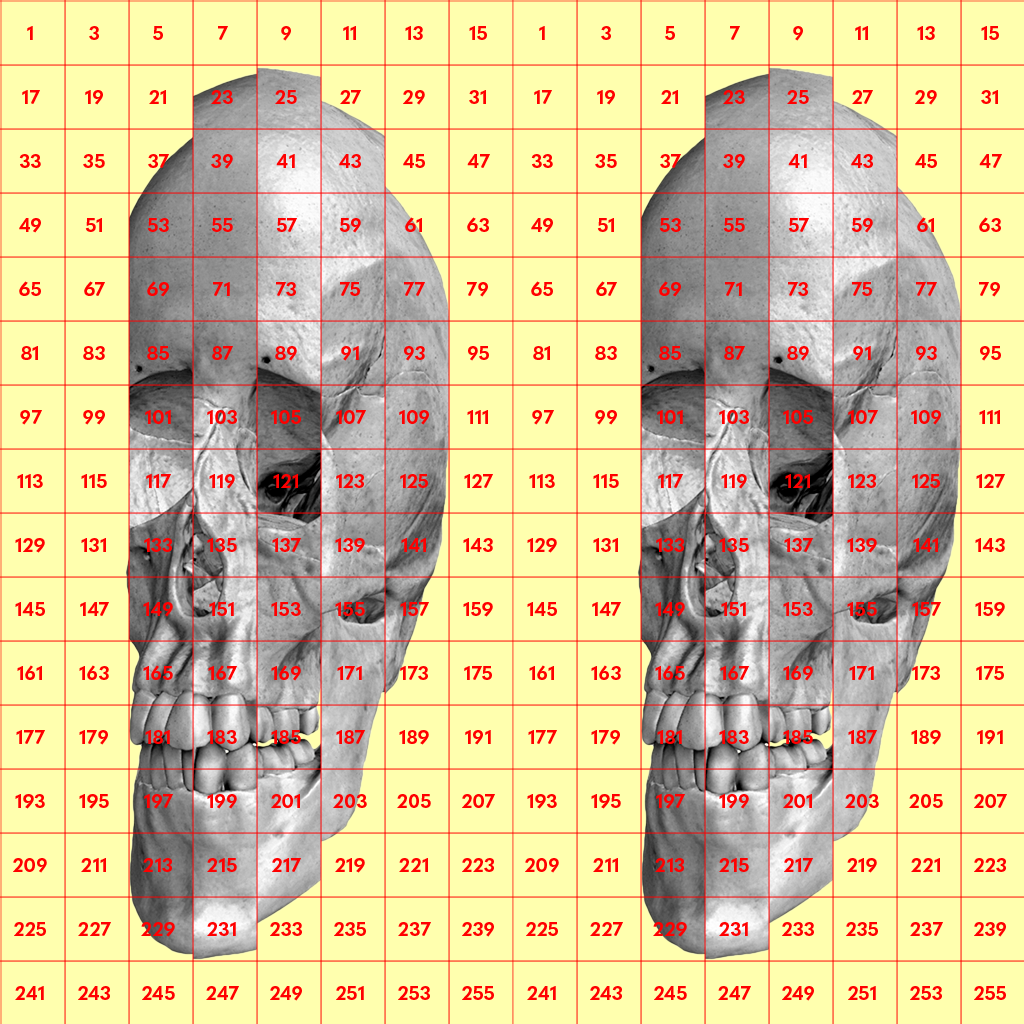
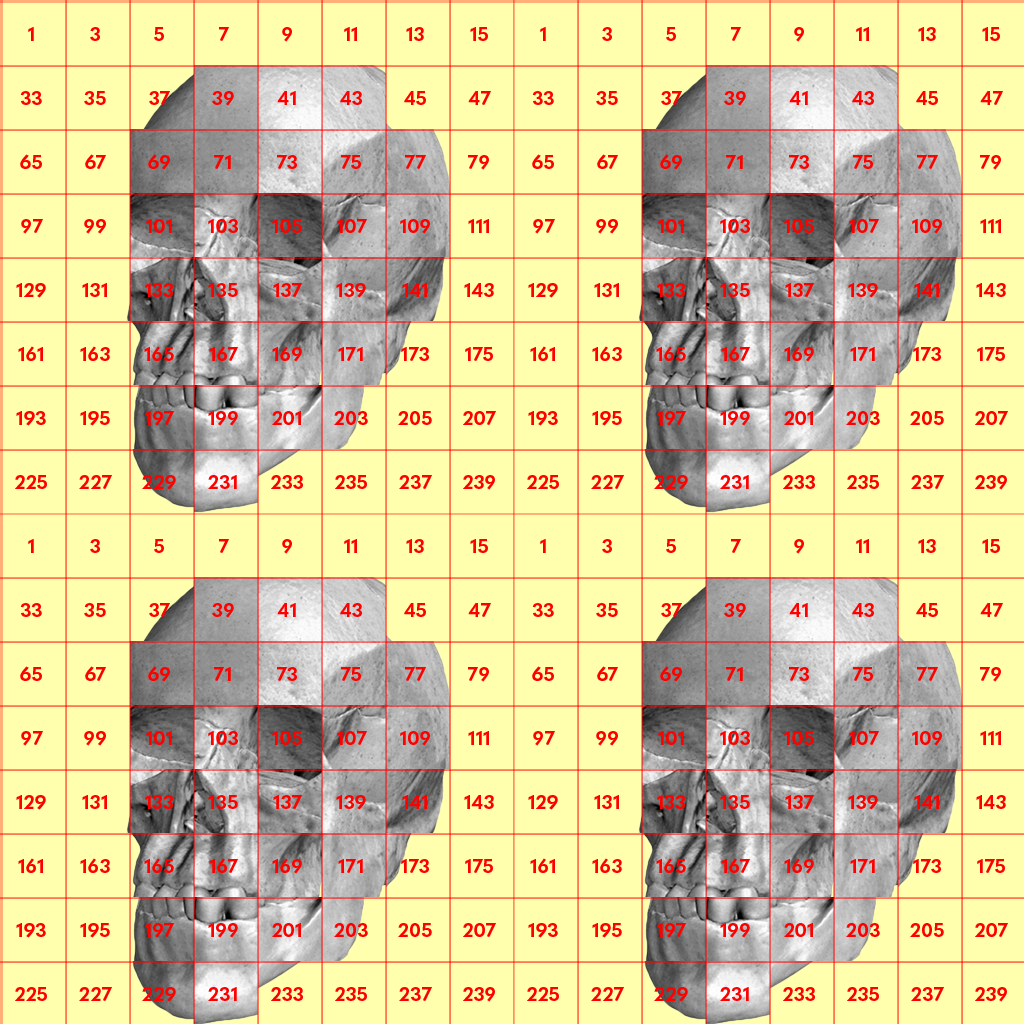
To make it easier to see what's going on I'll visualize the tiles. We'll divide the image in 64 × 64 px tiles:
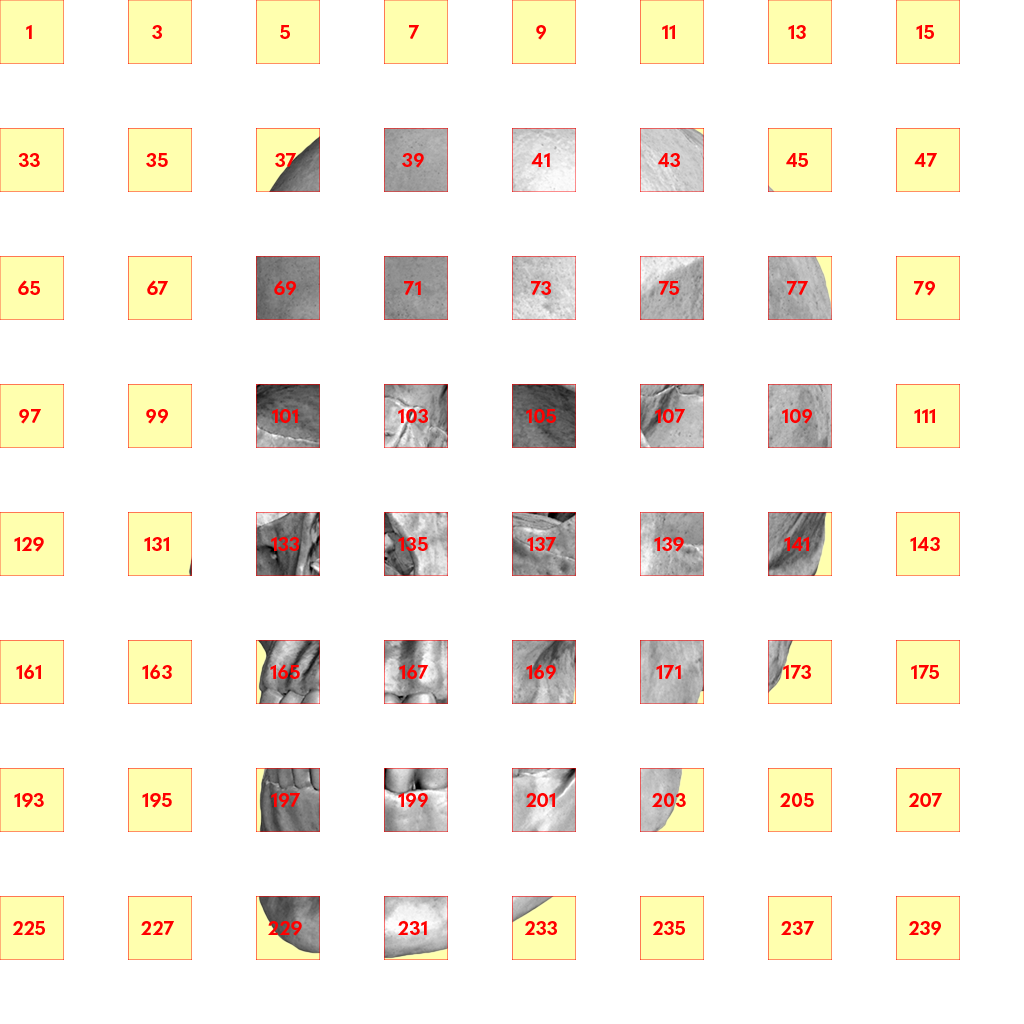
In this example I'll show how to make an image consisting of every fourth tile:
The Displace filter (located at Filters > Distort > Displace) looks through each pixel in your image and moves them according to a displacement map in the form of a external PSD file.
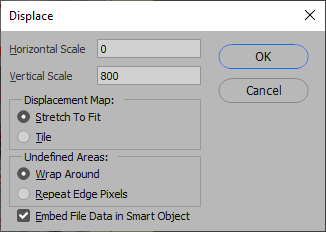
In the Displace filter you can set a Horizontal Scale and a Vertical Scale:
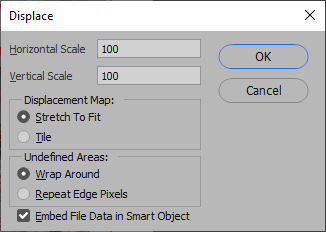
Having the scales set to 100 means that a pixel can be moved maximally 128 px. In the displacement map, black RGB(0,0,0) will move a pixel 128 px to the right, middle gray RGB(128,128,128) will leave a pixel unaltered and white RGB(255,255,255) will move a pixel 127 px to the left (no it's not a typo).
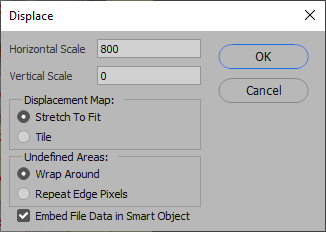
In this example we will need to set the scales to 800 which will allow us to move pixels 8 × 128 = 1024 px. So a change of 1 in the color of a pixel on the displacement map will result in the pixel in the original moving 8 px.
First we will create a displacement map which will move the tiles horizontally.
We'll create a new image with the same dimensions as the original image and manually construct a coarse gradient with 64 px wide columns (sadly just making an automatic gradient isn't precise enough).
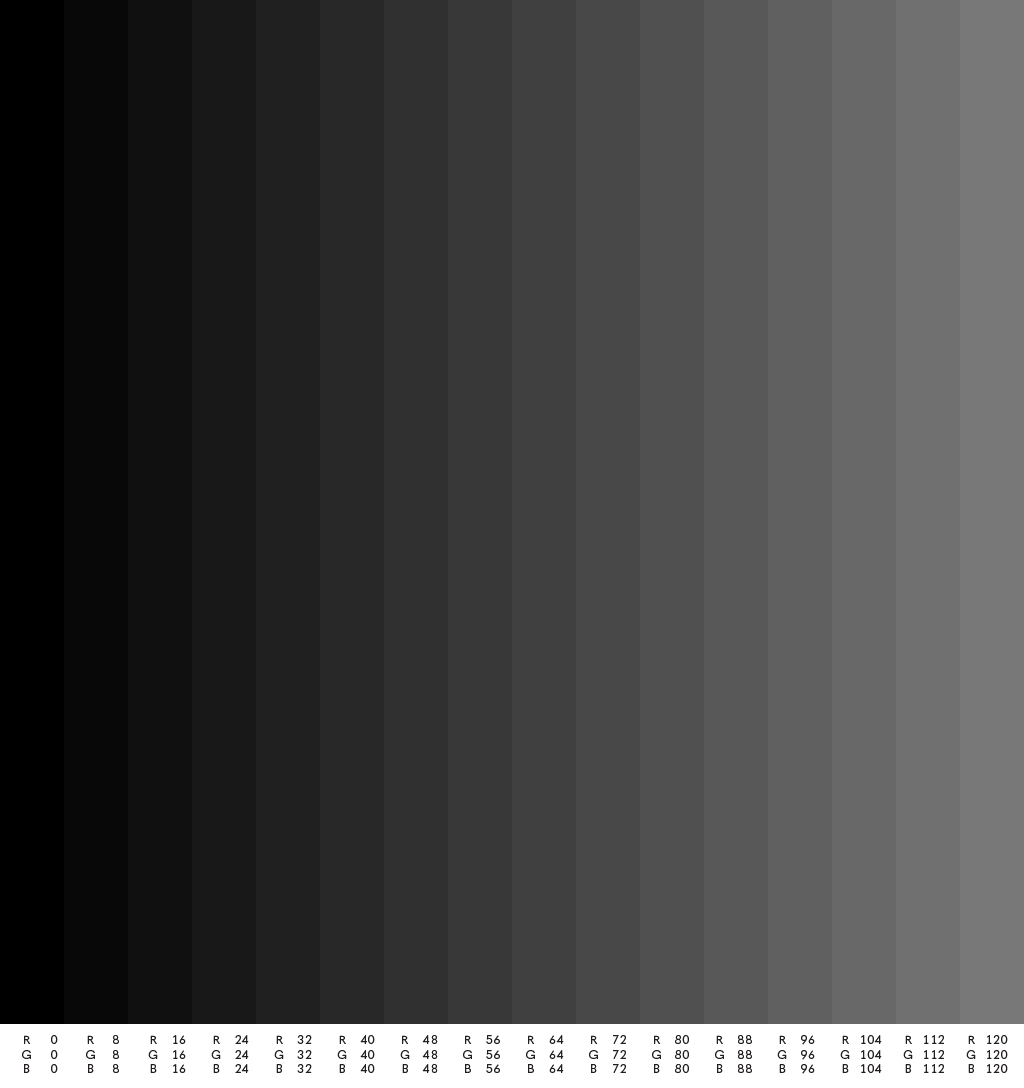
The leftmost column is RGB(0,0,0). It moves the pixels in that column the maximum amount of 8 × 128 = 1024 px. All the way across the image an back to the initial position. To the right of that we have RGB(8,8,8) which will move this column 8 × 8 = 64 px less. And so it continues.
The horizontal displacement map is applied to the original image by using Displace filter with the following settings:
After pressing OK I'm prompted to select the PSD of the horizontal displacement map and get this result:
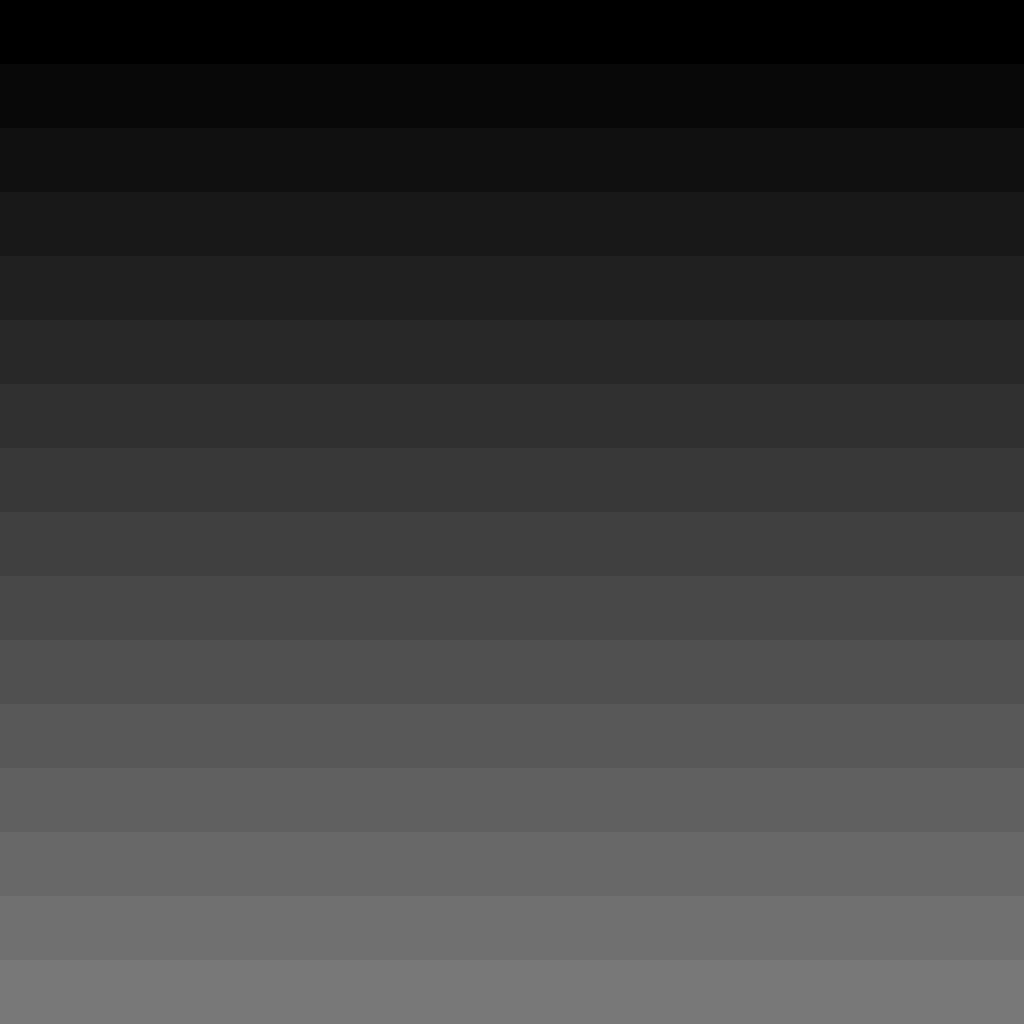
Vertically we do exactly the same. The vertical displacement map is just rotated 90 degrees:
The vertical displacement map is applied to the result from before by using Displace filter with the following settings:
And now we have managed to achieve our goal:
I recommend turning the original image into a Smart Object before applying the Displace filters:
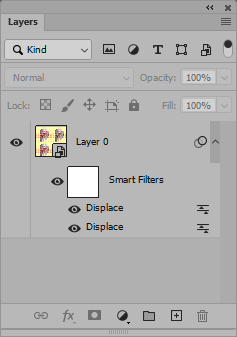
This enables you to quickly apply the same effect to other images (with the same dimensions) simply by entering the Smart Object and paste in another image.
Offsetting the tiles
The result we achieved only uses uneven numbered tiles. If you want to use even numbered tiles instead you can simply add an Filter > Other > Offset filter which moves the image before applying the effect:
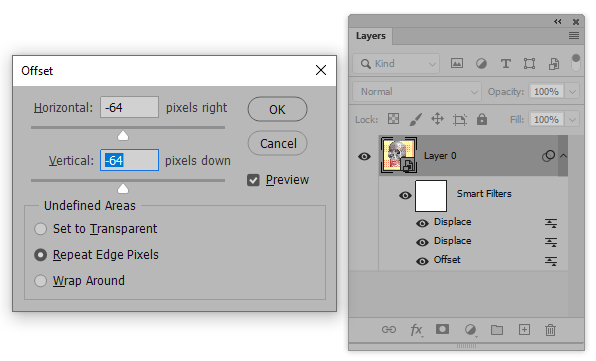
This will give you an alternative result:

Further displacement
It's actually possible to duplicate the two Displace filters to reduce the number of tiles once more:
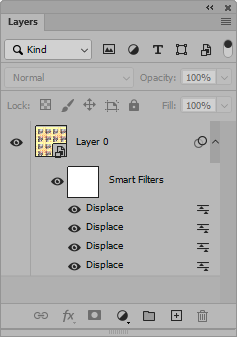
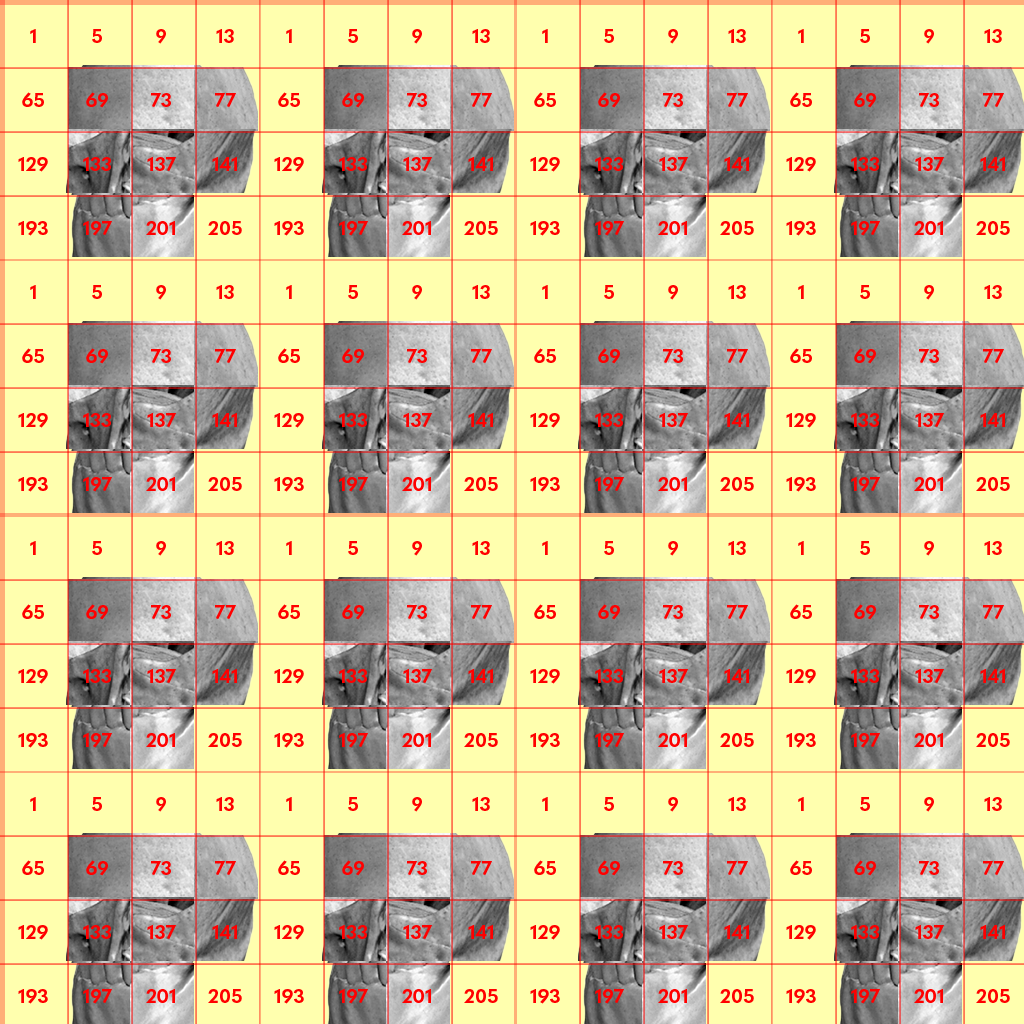
But sadly it comes with an unpleasing pixel shift I don't quite understand:
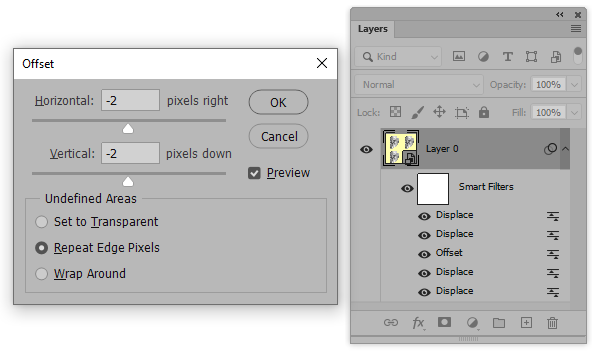
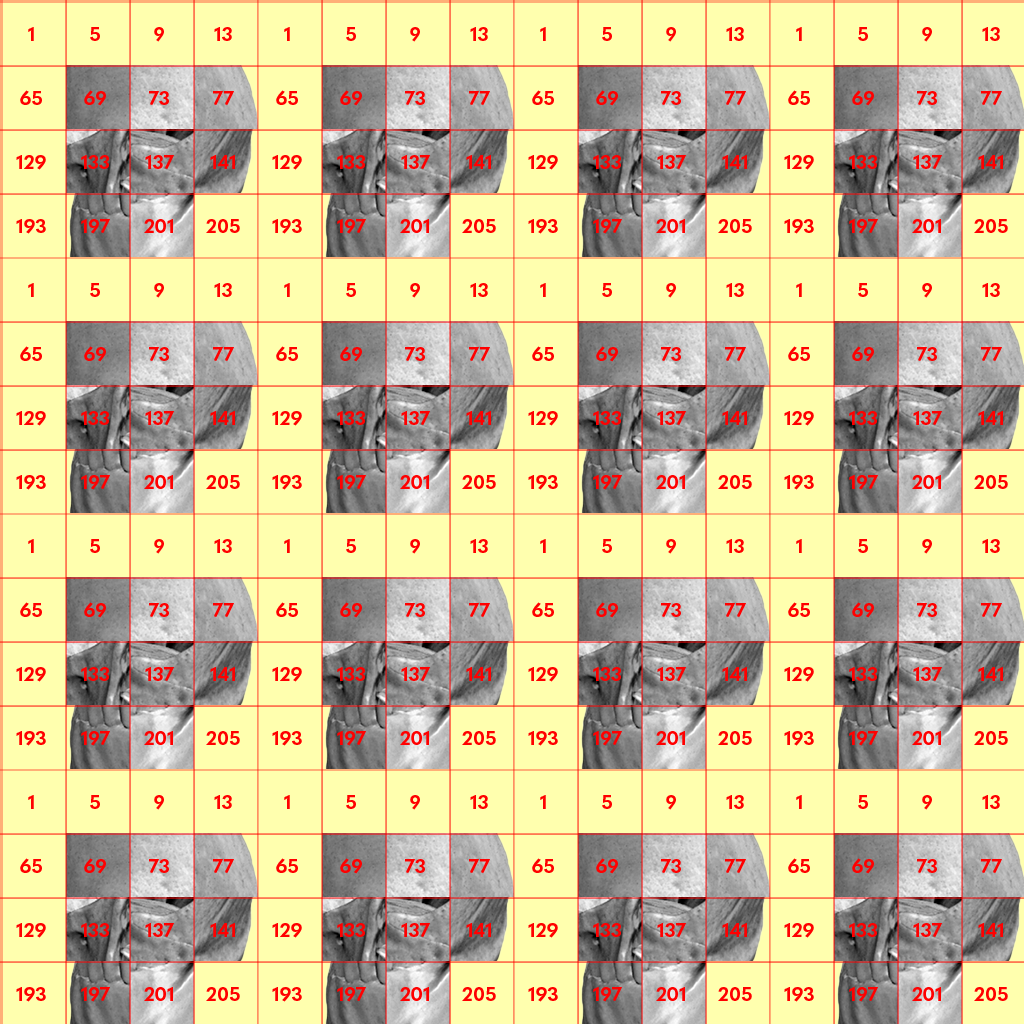
It can easily be countered by inserting an Offset filter between the two sets of Displace filters:
Limitations
The image we produced here isn't very large. The scale of the Displace filter could be increased to 975. Additionally we could let the displacement map continue past middle gray an into the lighter shades so we instead of just moving pixels in one direction moved them in both directions towards the middle. In that case we would be able to process an 2496 × 2496 px image and the result would be an 1248 × 1248 px image. That is about the largest we can ever get using this method.


