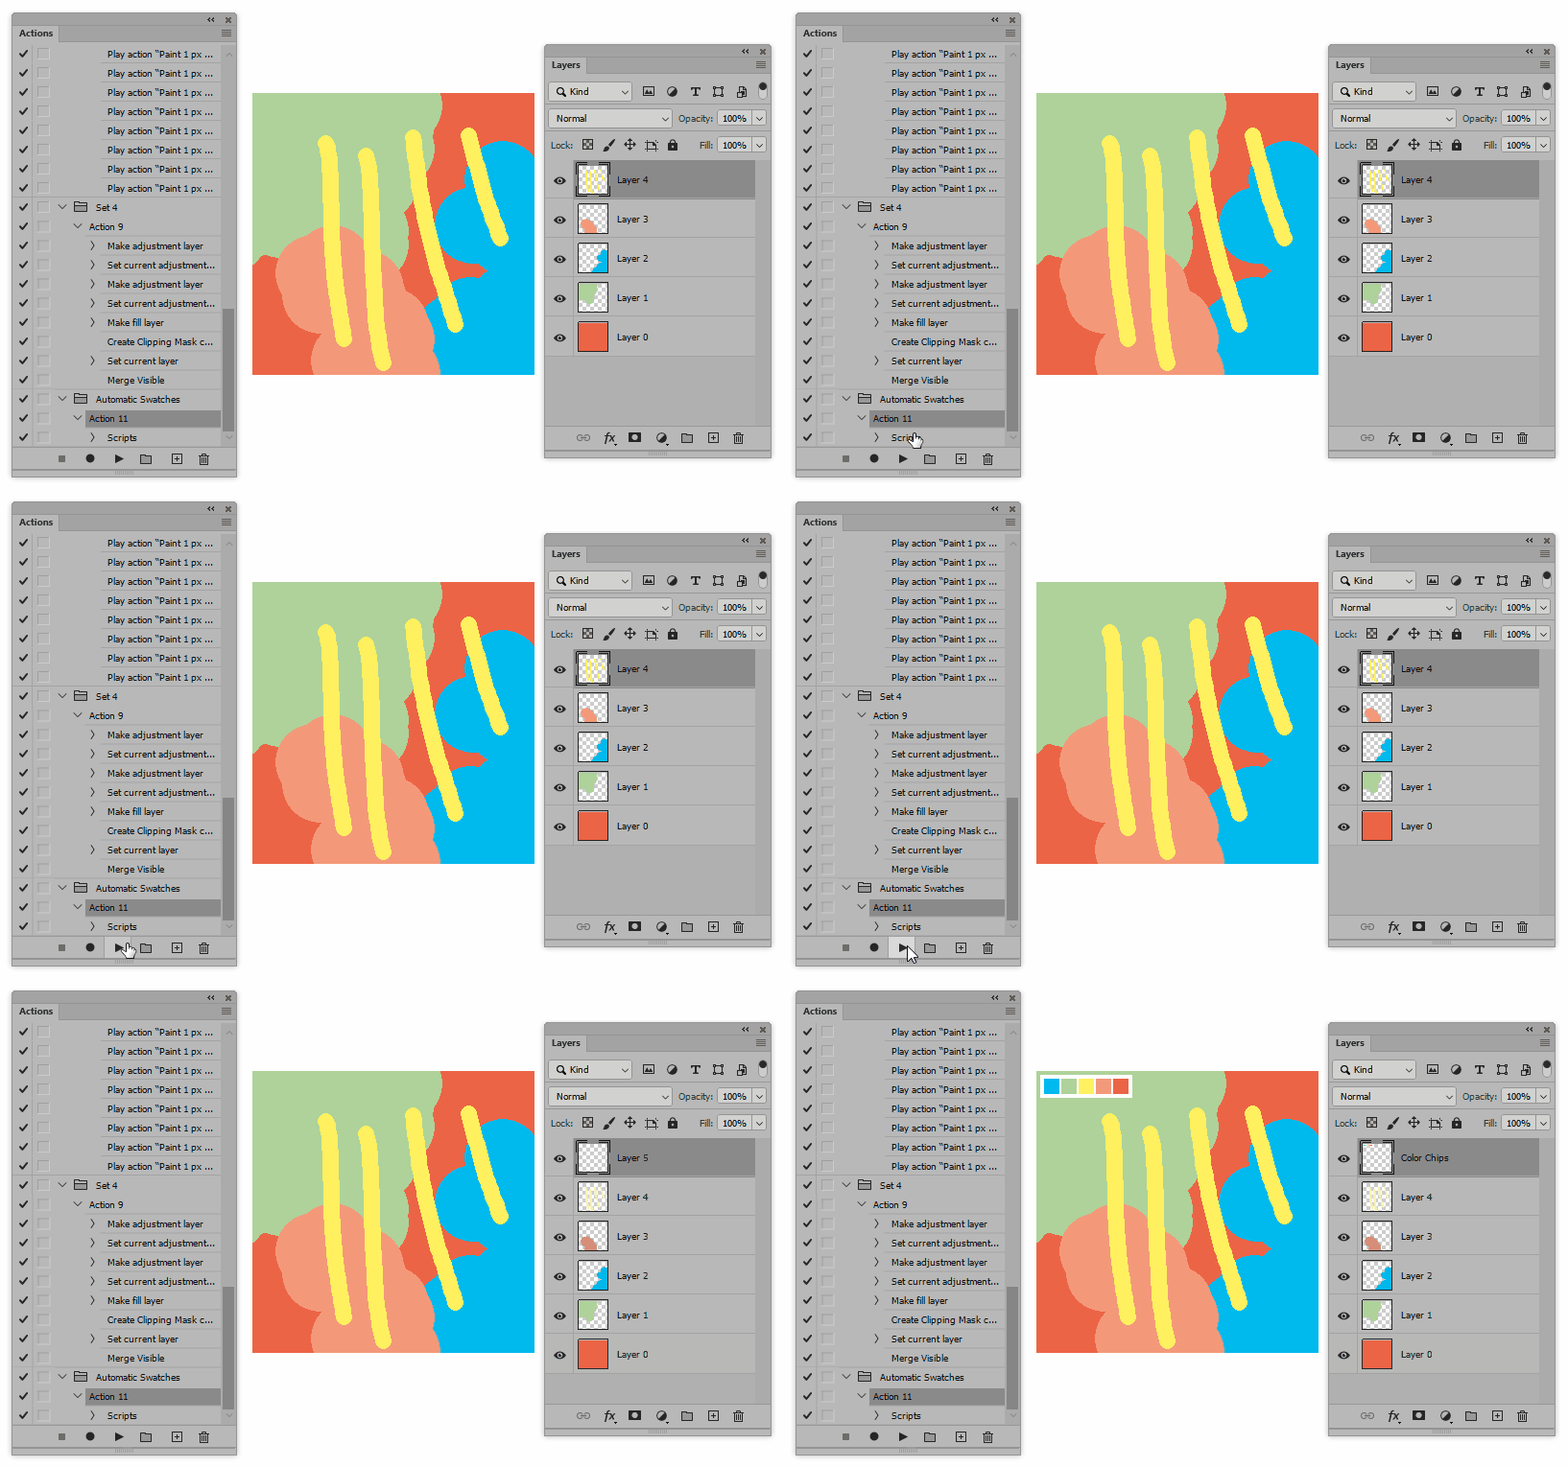
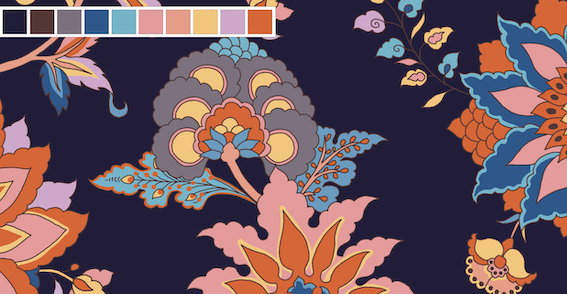
Here is a script that automatically adds a color chip for each color in an image. It makes use of indexed color's ability to create a color table and uses those colors to draw the chips.
The script is a bit raw and doesn't check for every possible thing that could go wrong. Let me know if something doesn't work as intended.
I haven't commented every line in the script, but I've divided it into some sections that I will go through here.
Walkthrough
Set options
First we define some options you can customize to make the script fit your needs.
- size: The width and height of a chip in pixels.
- spacing: The distance between chips in pixels.
- padding: The inner padding of the box behind the chips.
- offset: The horizontal and vertical distance from the upper left corner in pixels.
- backgroundColor: The RGB color of the box behind the chips.
- layerName: The name of the layer containing the chips.
Save history state
Here we save the state of the document so we can later revert to it just before adding the chip layer.
Change color mode to RGB color
In case the document already is in indexed color, we change the color mode to RGB. Sometimes a color table contains duplicates of colors and we need to get rid of those.
Change color mode to indexed color
Now we can change the color mode to indexed color. The settings make sure that we will use an exact palette, don't force colors and have no transparency.
Create array for chip colors
We create an array to hold the list of chip colors.
Get chip colors from color table
This part is a bit messy. Unfortunately it seems that there is no easy way to directly access the colors in a color table. So in this workaround we first save a temporary PSD file and then examine the raw binary data to extract the individual colors of the color table and add them to the array of chip colors. (This code is based on on the answer from r-bin to a question on the Adobe Support Community.)
Revert to saved history state
Since changing to index color mode have flattened the document, we revert to the state we saved earlier to preserve the original layers.
Change color mode to RGB color
In case the original document was in indexed color, we need to change the color mode to RGB. This is necessary because we want to make sure the color chips get their own separate layer and because the chosen background color might not be present in the color table.
Add chips layer
We add a new layer for the color chips and change its name to the one specified in the options.
Draw chips background
Here we draw the background box for the color chips using the dimensions given in the options. It's done by defining a selection and then filling it with a color.
Draw chips
For each chip color we draw a box at the proper position using the dimensions given in the options.
Deselect
To wrap it up neatly, we deselect so the last selection doesn't linger on.
Script
// Set options
var options = {
    size: 16,
    spacing: 2,
    padding: 4,
    offset: [4, 4],
    backgroundColor: [255, 255, 255],
    layerName: "Color Chips"
};

// Save history state
var savedState = app.activeDocument.activeHistoryState;

// Change color mode to RGB color
app.activeDocument.changeMode(ChangeMode.RGB);

// Change color mode to indexed color
var indexedConversionOptions = new IndexedConversionOptions();
indexedConversionOptions.palette = Palette.EXACT;
indexedConversionOptions.forced = ForcedColors.NONE;
indexedConversionOptions.transparency = false;
app.activeDocument.changeMode(ChangeMode.INDEXEDCOLOR, indexedConversionOptions);

// Create array for chip colors
var chipColors = [];

// Get chip colors from color table
// (Based on the answer from r-bin at https://community.adobe.com/t5/photoshop/how-do-i-export-the-color-table-act-file-using-a-script/td-p/11081410)
var tempFile = new File(Folder.temp.fsName + "/" + "~tmp.psd");
var d = new ActionDescriptor();
var d1 = new ActionDescriptor();
d1.putBoolean(stringIDToTypeID("maximizeCompatibility"), false);
d.putObject(stringIDToTypeID("as"), stringIDToTypeID("photoshop35Format"), d1);
d.putPath(stringIDToTypeID("in"), tempFile);
d.putBoolean(stringIDToTypeID("copy"), true);
d.putBoolean(stringIDToTypeID("spot"), false);
d.putBoolean(stringIDToTypeID("alphaChannels"), false);
d.putBoolean(stringIDToTypeID("layers"), false);
d.putBoolean(stringIDToTypeID("embedProfiles"), false);
d.putBoolean(stringIDToTypeID("annotType"), false);
executeAction(stringIDToTypeID("save"), d, DialogModes.NO);
var s = "";
tempFile.open("r");
tempFile.encoding = "BINARY";
tempFile.seek(25, 0);
tempFile.read(1);
s = tempFile.read(4);
var len = s.charCodeAt(0)<<24 | s.charCodeAt(1)<<16 | s.charCodeAt(2)<<8 | s.charCodeAt(3);
var table = tempFile.read(len);
s = tempFile.read(4);
len = s.charCodeAt(0)<<24 | s.charCodeAt(1)<<16 | s.charCodeAt(2)<<8 | s.charCodeAt(3);
var data = tempFile.read(len);
tempFile.close();
tempFile.remove();
var colorCount = 255;
var n = data.indexOf("8BIM"+ String.fromCharCode(0x04,0x16,0,0,0,0,0,2));
if (n >= 0) {
    colorCount = data.charCodeAt(n+12)<<8 | data.charCodeAt(n+13);
}
for (var i = 0; i < colorCount; i++) {
    chipColors.push([table.charCodeAt(i), table.charCodeAt(256+i), table.charCodeAt(512+i)]);
}

// Revert to saved history state
app.activeDocument.activeHistoryState = savedState;

// Change color mode to RGB color
app.activeDocument.changeMode(ChangeMode.RGB);

// Add chips layer
var chipsLayer = app.activeDocument.artLayers.add();
chipsLayer.name = options.layerName;

// Draw chips background
var x1 = options.offset[0];
var y1 = options.offset[1];
var x2 = x1 + 2 * options.padding + chipColors.length * options.size + (chipColors.length - 1) * options.spacing;
var y2 = y1 + 2 * options.padding + options.size;
app.activeDocument.selection.select([[x1, y1], [x1, y2], [x2, y2], [x2, y1]]);
var chipsBackgroundColor = new SolidColor();
chipsBackgroundColor.rgb.red = options.backgroundColor[0];
chipsBackgroundColor.rgb.green = options.backgroundColor[1];
chipsBackgroundColor.rgb.blue = options.backgroundColor[2];
app.activeDocument.selection.fill(chipsBackgroundColor);

// Draw chips
for (var i = 0; i < chipColors.length; i++) {
    var x1 = options.offset[0] + options.padding + i * (options.size + options.spacing);
    var y1 = options.offset[1] + options.padding;
    var x2 = x1 + options.size;
    var y2 = y1 + options.size;
    app.activeDocument.selection.select([[x1, y1], [x1, y2], [x2, y2], [x2, y1]]);
    var chipColor = new SolidColor();
    chipColor.rgb.red = chipColors[i][0];
    chipColor.rgb.green = chipColors[i][1];
    chipColor.rgb.blue = chipColors[i][2];
    app.activeDocument.selection.fill(chipColor);
}

// Deselect
app.activeDocument.selection.deselect();
Usage example
Here I've recorded an action running the script, so I can add the color chips with one click:

Notes
- If the size given in the options is too big and/or there are too many colors, obviously there won't be room in the image for all the color chips.
- The colors will appear in the order Photoshop chooses when converting to indexed color. If you want to order according to hue, saturation or lightness, you need to sort the array of chip colors before drawing.
- If you want a stroke around each color chip, it's possible to add to the script.


