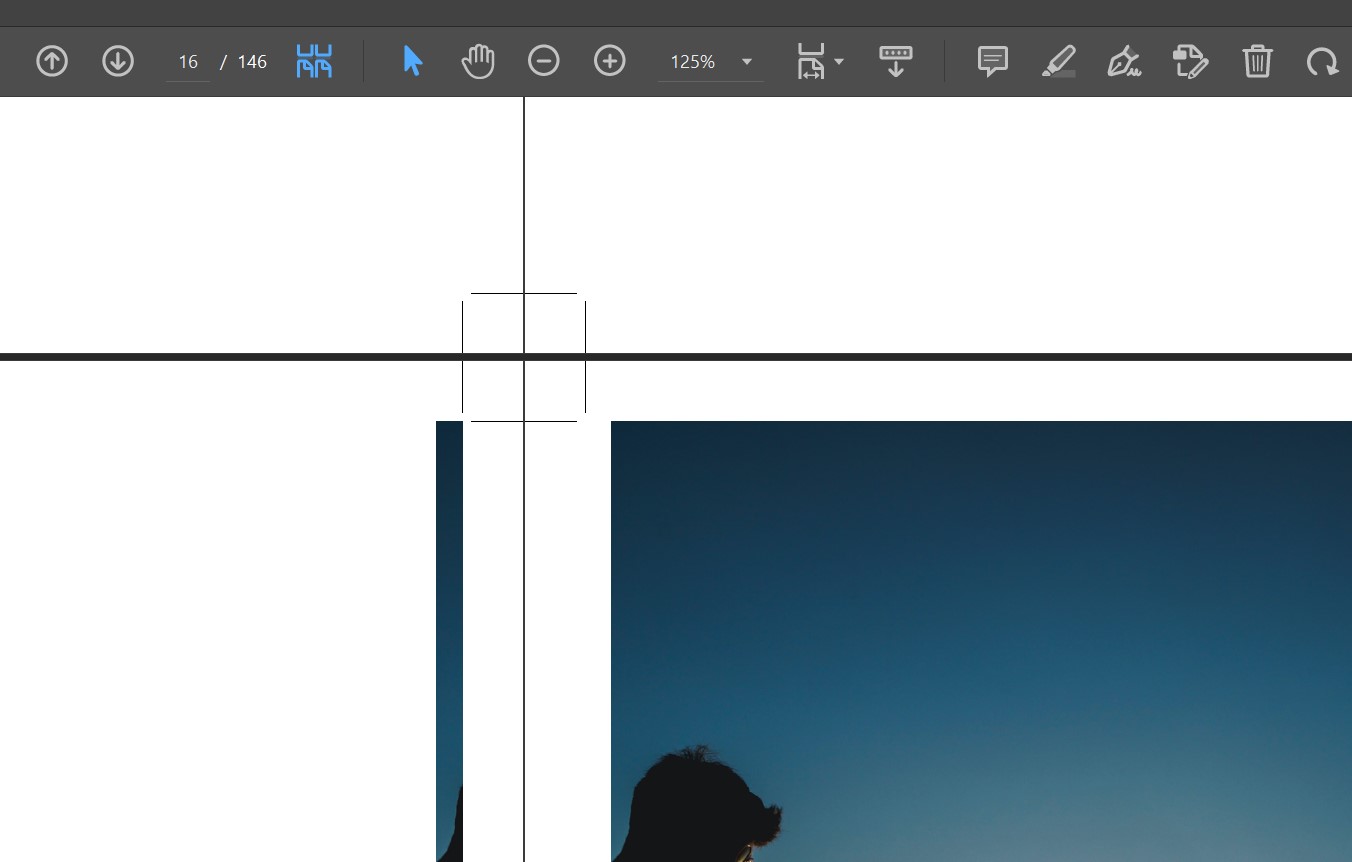
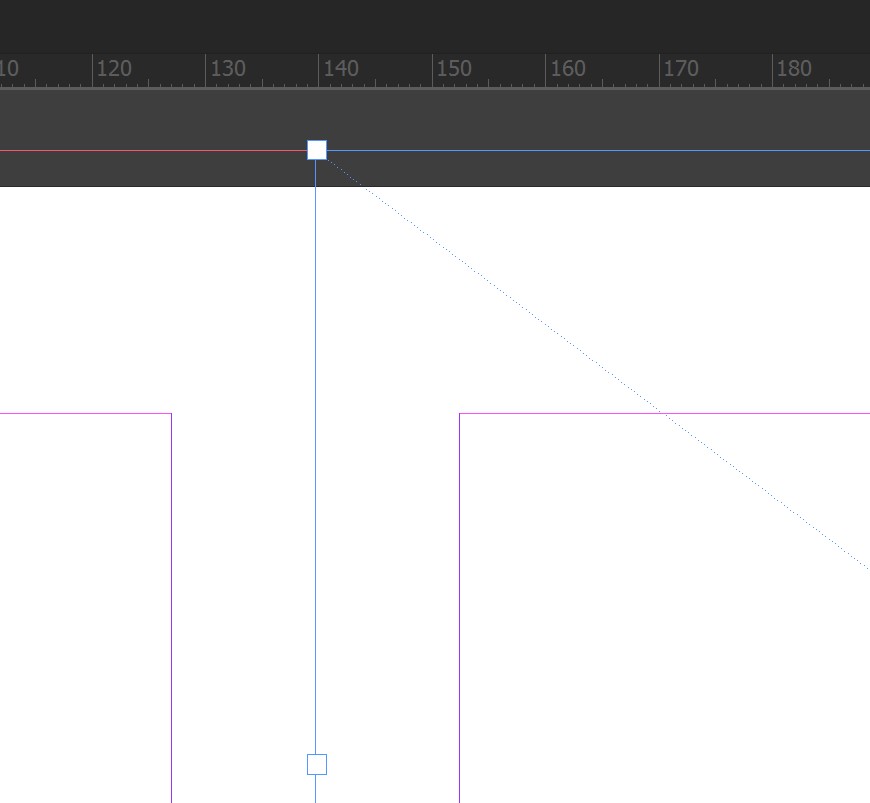
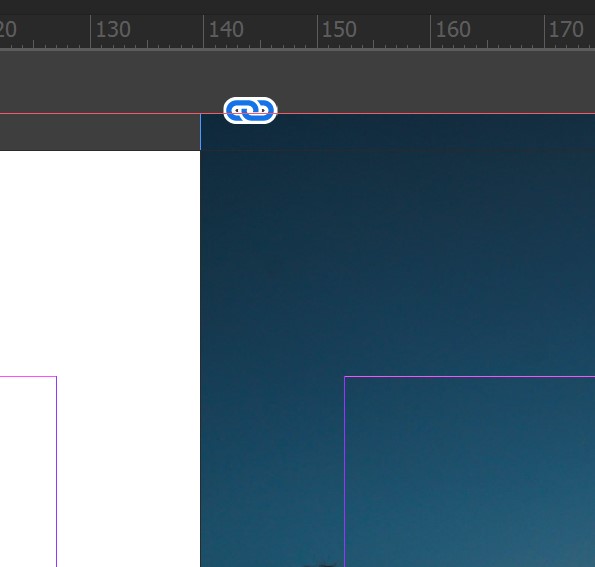
The short answer is that it's totally normal and not a problem.
When you ask InDesign to add 3 mm bleed to a PDF it simply includes whatever lies within a 3 mm border around each page.
So the left page gets a 3 mm strip of the right page and vice versa.
At the print house your PDF will be processed by some imposition software which will remove the unneeded bleed towards the spine and place the pages tightly together.
You could set the Inside bleed to 0 to avoid this:
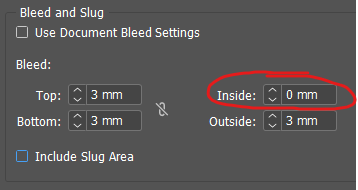
But really it makes no difference and it's not a common thing to do. It could end up confusing the print house. In my opinion it's better to just leave it to make it clear that you remembered to include bleed.
One thing that really confused me about your screenshot of the PDF is that you seem to enable Bleed Marks instead of Crop Marks. That makes your PDF look wrong at a first glance.
I've never understood why Bleed Marks is even an option. They just show where the bleed ends which isn't really useful information.
Instead you should only turn on Crop Marks. They show where the pages are going to actually be cut.
(See this answer where I explain printer's marks.)
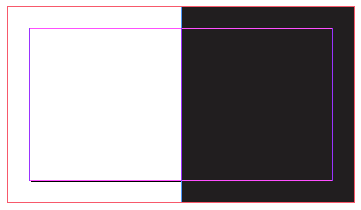
Consider this simple spread in InDesign:
It should should look like this in the PDF (3 mm bleed and Crop Marks):
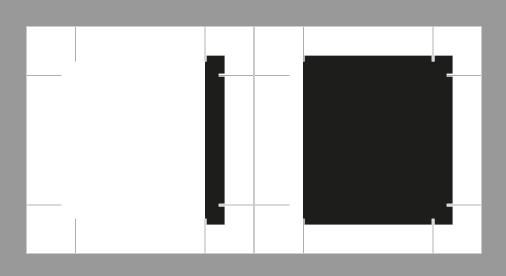
If you cut the pages according to the Crop Marks you'll get the final dimensions.
It should not look like this (3 mm bleed and Bleed Marks):
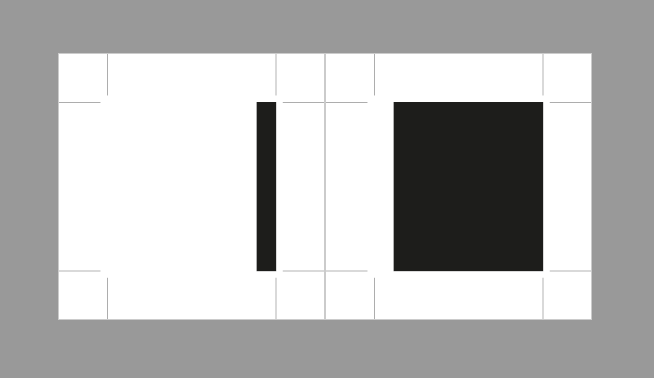
To me that's just confusing because the marks do not show where the pages are to be trimmed.
Please note that technically it probably doesn't matter which marks you include. The imposition software understands the so-called boxes of the PDF and will most likely add its own marks. It's about sending a clear signal to the humans who will see the PDF.

