0

A designer has created (for money) a set of button icons (Facebook, Settings, ...) for me, where all buttons have the same rounded rectangle outline:
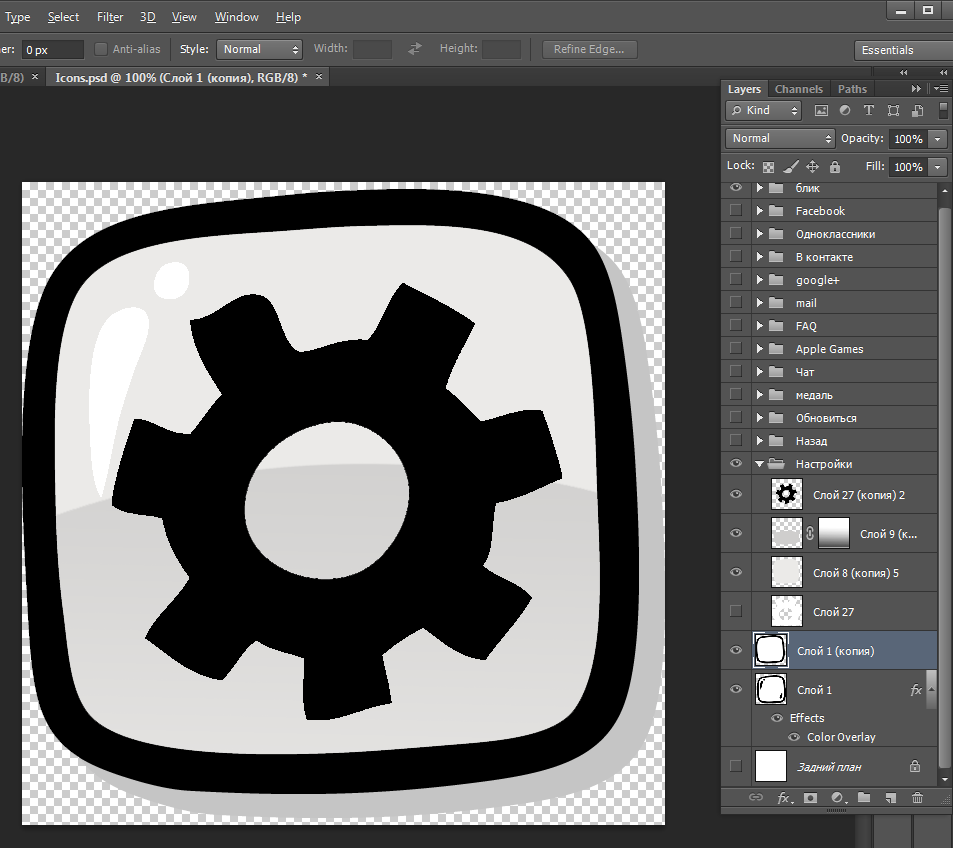
enter image description here

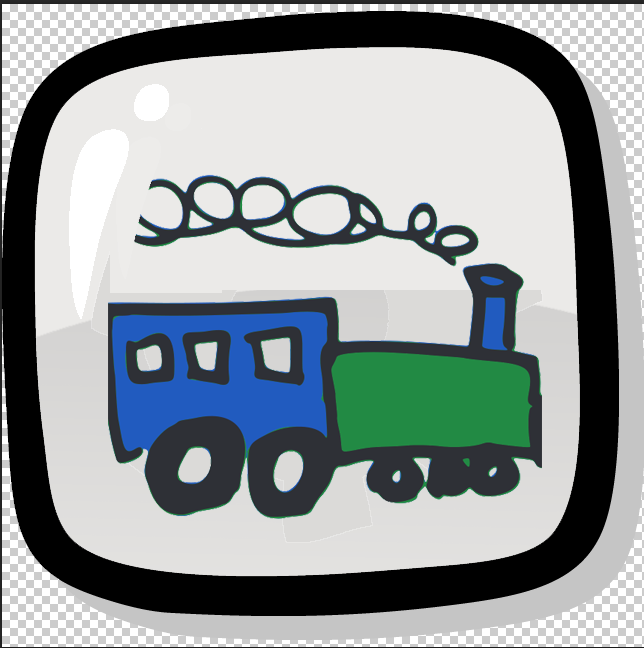
Now I need to add few more buttons, for example with a train picture - but the designer doesn't answer my mails since weeks (longer vacation? busy?)

So I am trying to do it myself, but being a programmer I know Photoshop even less than Gimp.

How could I add the train picture to the existing buttons?
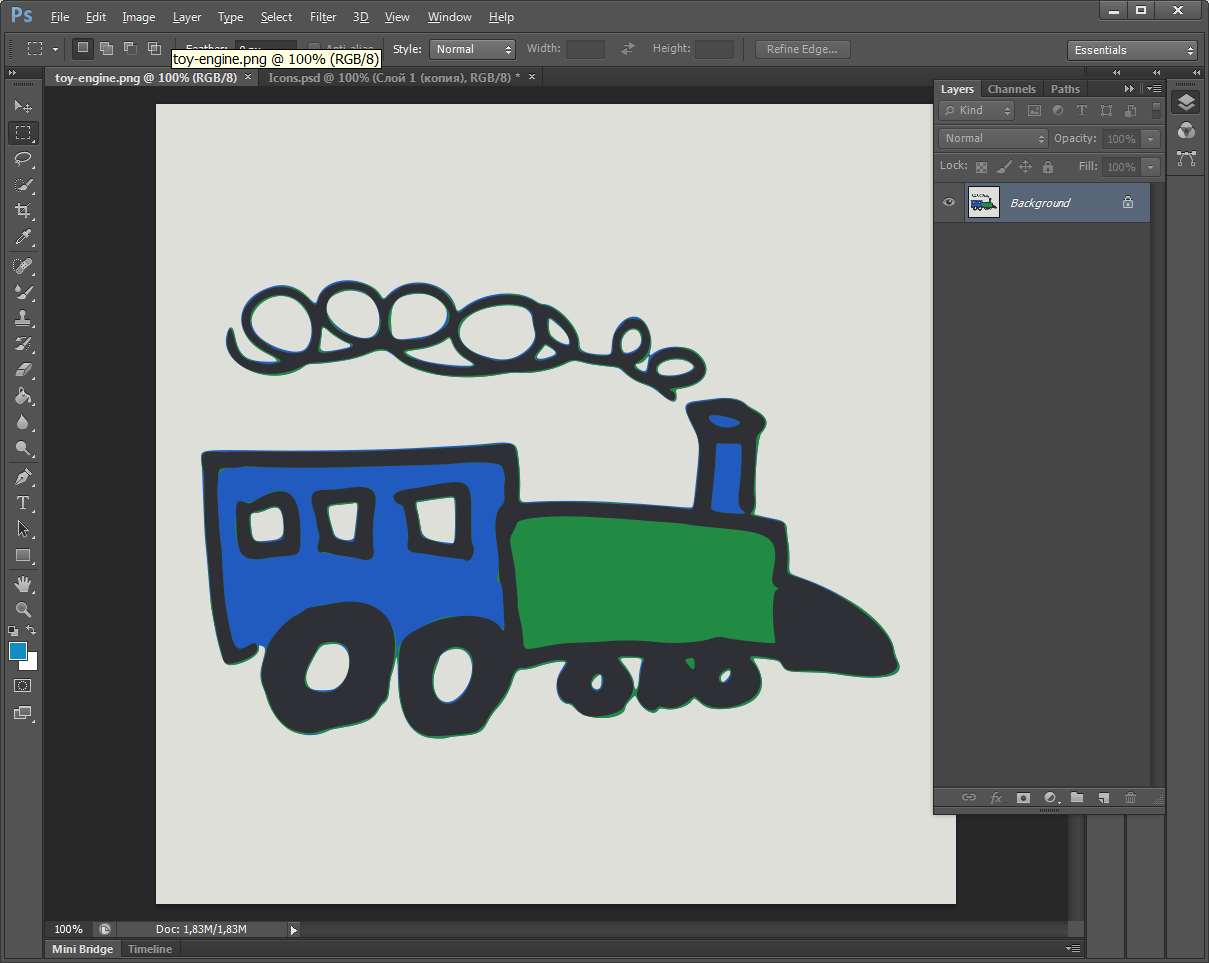
enter image description here

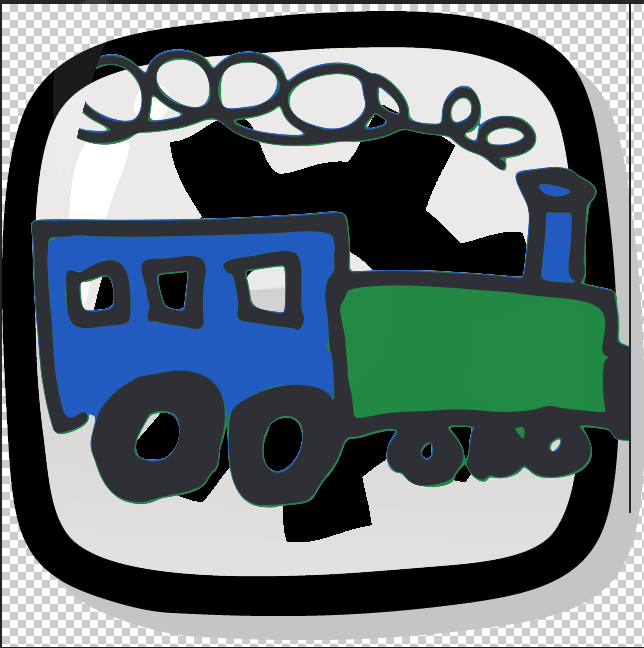
I've created a new layer and pasted the train there, but have 2 problems:

  1. How to scale down the train, so that it fits into the rectangular outline? Yes I can scale the train image in Gimp, but I'd prefer to do it "live" while editing the button icons file in the Photoshop - so that I could move and scale the train pictue until it looks well. But I don't see a "scale layer" command in Photoshop's menu?

  2. I have problems with the outline, it is covered by the train's grey background. Or vice versa - if I move the train layer underneath it:
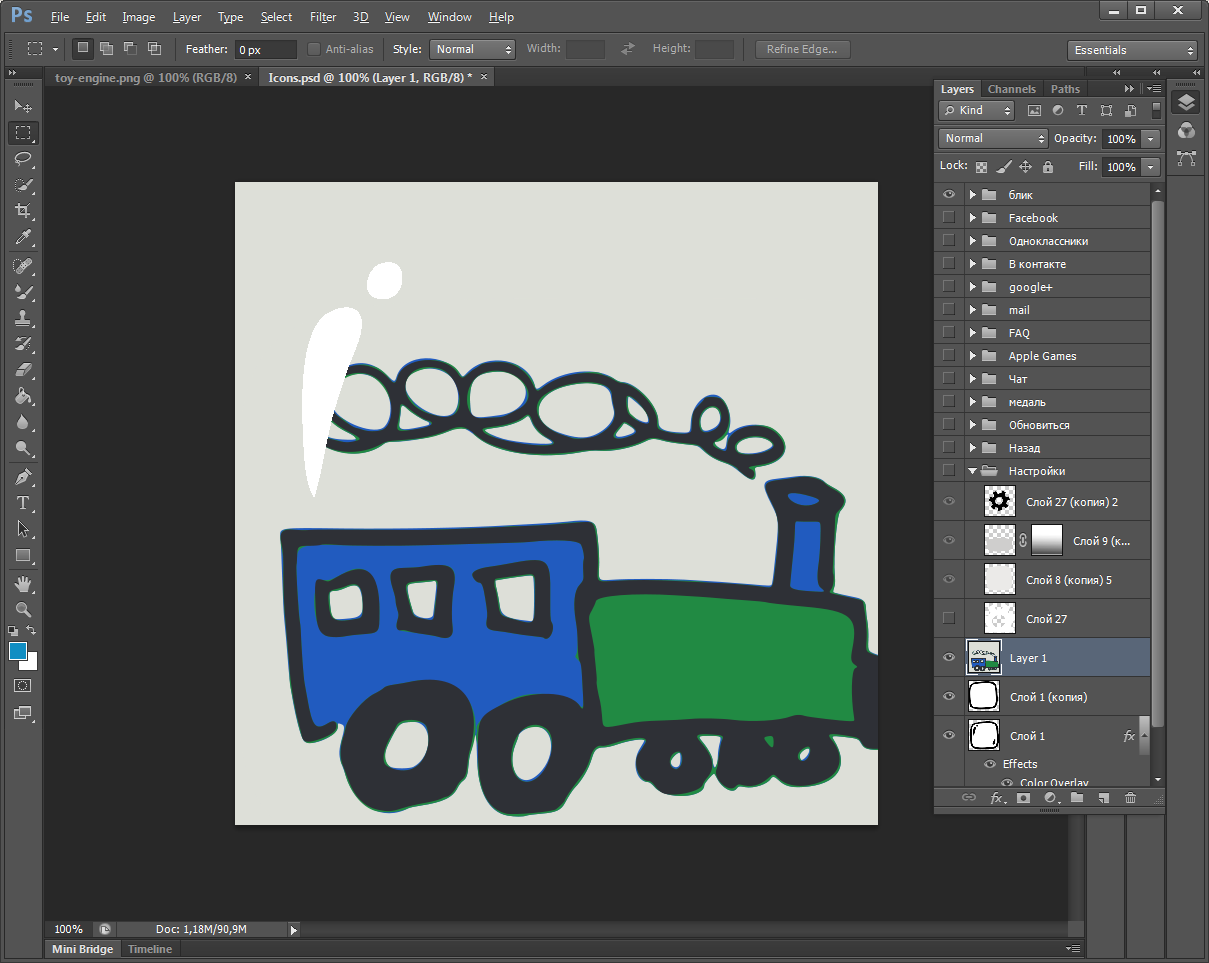
enter image description here

Any help please? Here is my psd file available for download.

2 Answers 2

1

To scale and move hit ctrl+T or "Free Transform" in the context menu. In free transform mode, hold shift when dragging to keep it proportunate.

The grey background is a little tougher and there are a few methods. The easiest is to set the train layer as "multiply" (found at top of layers panel) this treats White as transparent, so it won't work perfectly on a light grey background, but will get you close. You can combine it with the Select>Color Range tool, (select the grey). this will give you the selection of just grey. Once selected, go to Layer>Layer Mask>Hide Selection to hide the grey.

Of course, if you had the train image as a transparent .png, you wouldn't have to worry about any of that.

1
  • Thank you! I've found another train image with transparent background and the ctrl+T trick has helped me too. Commented Apr 22, 2013 at 20:07
1

open your PSD (your designer PSD) and in the second tab open your image and go to your image PSD and click on train layer and drag to your designer PSD.and press CTRL+T and mouse right click and choose scale option and put you percentage % value.delete previous icon and export png.

drag and drop

enter image description here

Your Answer

By clicking “Post Your Answer”, you agree to our terms of service and acknowledge you have read our privacy policy.

Not the answer you're looking for? Browse other questions tagged or ask your own question.