2

I have a series of rectangles I'd like to line up one right behind another - in other words, I'd like to have one "in front" of one object, which needs to be "in front" on another object, etc. etc.

I'm essentially looking to distribute these in a "front / back" arrangement so when I apply a shadow effect to them I end up with a look similar to clapboarding on a house (shadow line at the bottom of each rectangle). I can do this easily enough if I click on each rectangle and select "send to back" (cmd+shift+[) or "bring to front" (cmd+shift+]) but I'm wondering if there's a way to select a group of them and have them essentially distributed along the z plane automatically (yes, I know it's a 2d drawing).

Has anyone run into a way of doing this?

2
  • Are they all identical?
    – JohnB
    Commented Aug 8, 2014 at 19:49
  • Yup. I'm creating an illustration of a building (actually multiple buildings; this one happens be be clapboarded) and I need to create clapboards with a shadow at the bottom. Commented Aug 8, 2014 at 19:50

2 Answers 2

4

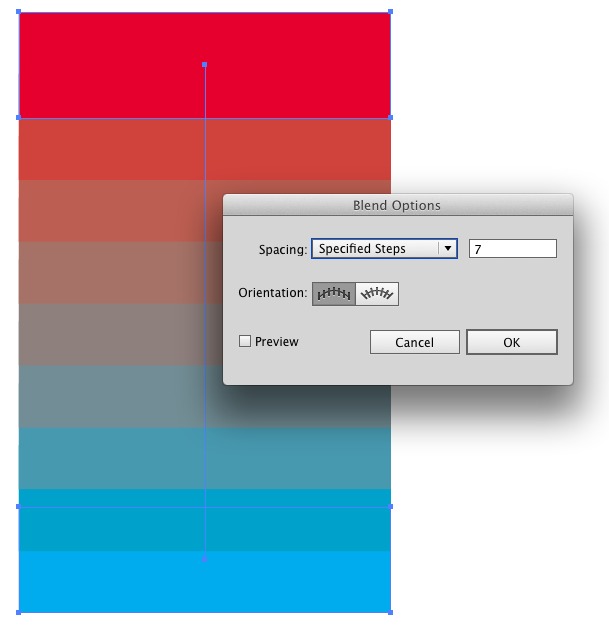
You could use a blend, then expand. This will give you stacked objects.

enter image description here

In this case the blue is below the red in the stacking order.

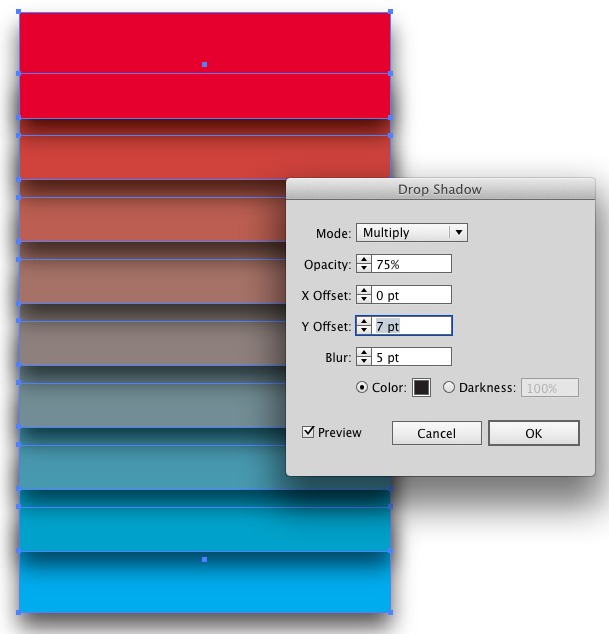
After expanding and ungrouping, you have individual stacked object. Applying a shadow gives the shaker-style tiling I think you're referring to.

enter image description here

If you place the first object and last object in the correct locations, you should be able to get the blend to fill all the in-between steps without much manual alteration.

And, of course, once expanded and the shadow applied (with whatever method you use) you could make a pattern or symbol to easily repeat the same objects.

If you already have all the objects drawn, I don't think there's a method to stack them easily. It would most likely require scripting.

1
  • I considered using a blend; unfortunately they're not all exactly the same (some are longer in other sections of the building) and I've already created them. This is good stuff for the future, though. Commented Aug 11, 2014 at 17:07
2

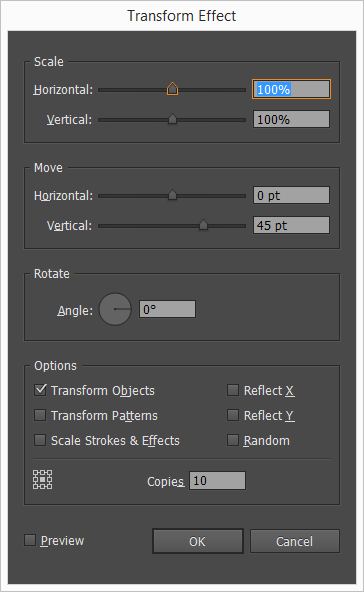
Another way to create them from scratch is to create copies with a Transform effect

Transform effect panel

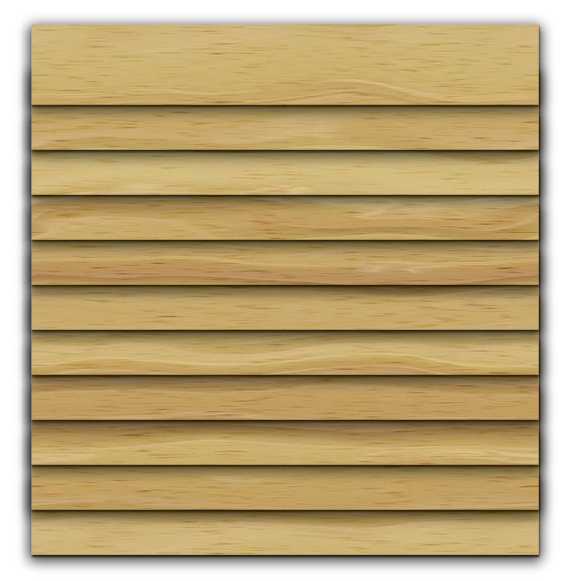
I applied two drop shadows to get this:

result

You can use a clipping mask to hide the extra bits of drop shadow


Wood texture courtesy of graphicdesignjunction.com

1
  • I was able to get what I needed with a single drop shadow, but the clipping mask is a great idea to keep in my toolbox. Commented Aug 11, 2014 at 17:07

Your Answer

By clicking “Post Your Answer”, you agree to our terms of service and acknowledge you have read our privacy policy.

Not the answer you're looking for? Browse other questions tagged or ask your own question.