I can see one problem right off the back with what you are trying to do. You can't change the internal mask of a Smart Object without editing the smart object itself. So you will ALWAYS have transparency inside the smart object to contend with when editing outside the Smart Object. This should hopefully become more clear by the end of this answer.
With that said, there is a way to get close to what you want to do without editing the Smart Object itself, that can be scripted into an action, and run as a batch process or as a droplet. Below, I will walk through the steps to create a Photoshop Action to do this
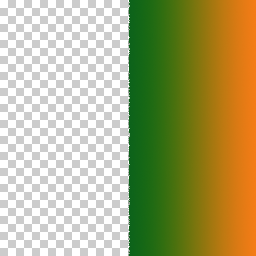
For this example we will use the purple-green-orange gradient as our RGB image, and this black to white gradient as our mask with various levels of transparency.
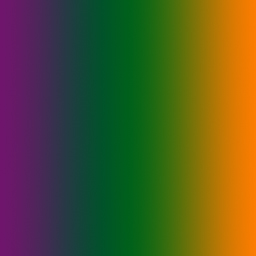

For this example these images results in a Smart Object that looks like this in Photoshop.
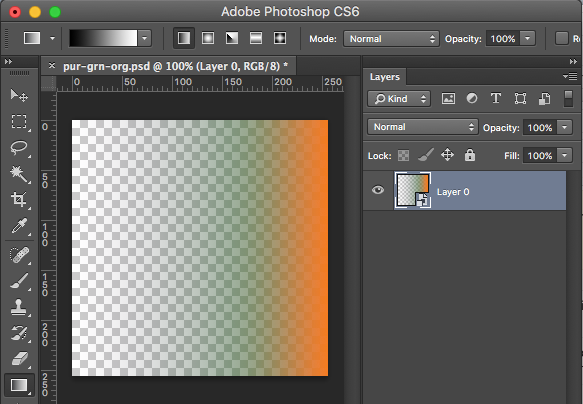
Given this as an example here's what I suggest:
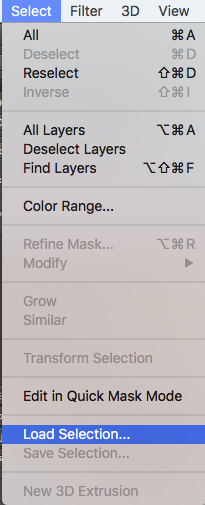
- Select the Smart Object layer, and chose menu
Select -> Load Selection...
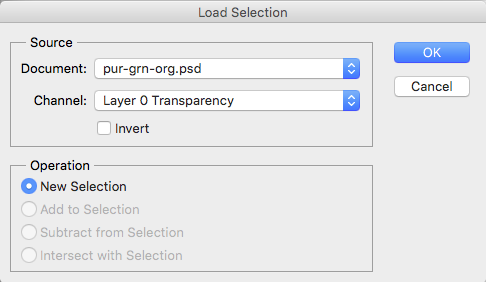
- In the Load Selection Dialog make sure the channel is set to
Layer 0 Transparency. This should actually be the only thing you an choose if the only item in the current Photoshop file is the Smart Object itself.
For my example this results in a "marching ants" selection like this.
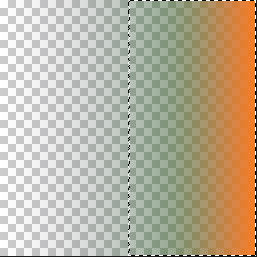
- With the Smart Objects compound transparency selected choose menu
Layer -> Layer Mask -> Reveal Selection.
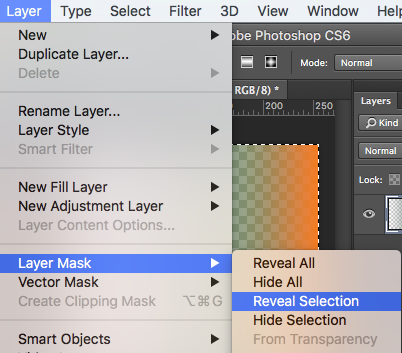
This will create a Layer Mask for the Smart Object that matches the Smart Objects compound transparency. This will have the effect of making the image look MORE transparent as you are now adding a transparency to a transparency.
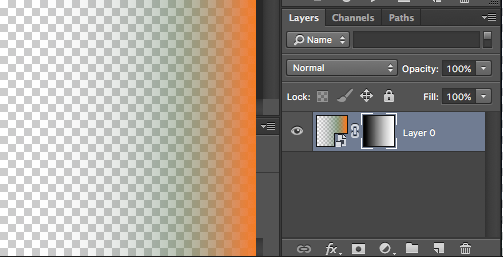
- With the new Layer Mask selected choose menu
Image -> Adjustments -> Levels... to bring up the Levels dialog.
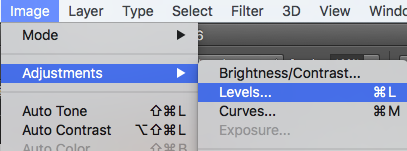
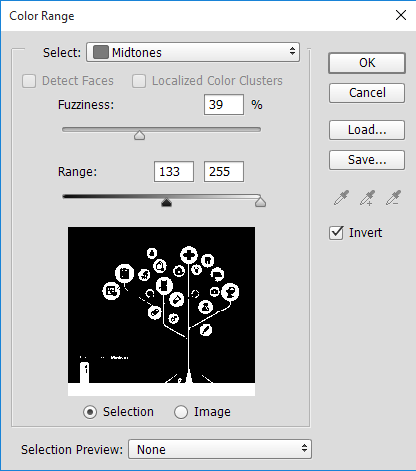
- In the Levels dialog you want to set your Black Input and White Input points to be together. You can NOT set the Black and White points to the same number. They MUST be separated by a least a single value that represents the Grey Point.
For my example, I want every level of transparency below 50% grey in the mask to be completed transparent, and any value above 50% grey to be opaque. This means I set the Black Input to 127 and the White Input to 129. With 128 (or 50% grey on a 256 bit scale) between them.
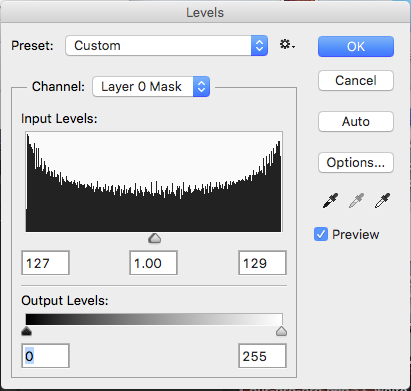
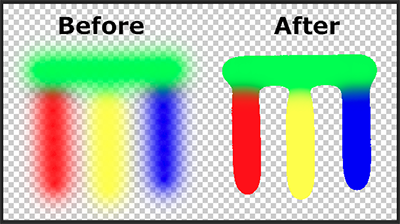
This results in a mask that is now clipped to hard values of transparent or opaque, BUT because we haven't modified the actually Smart Objets transparency itself the image still has transparency in the opaque side.
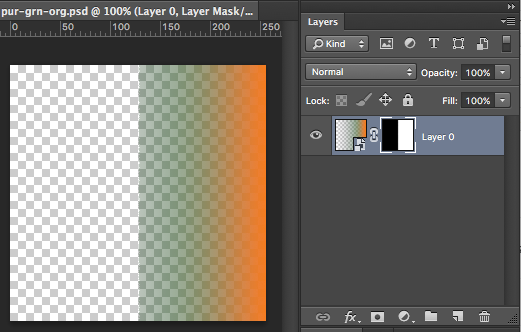
This is where we hit the snag in NOT editing the Smart Objects transparency directly. You need a background color for the transparency in the Smart Object to mix against so that it's not transparent any more. You basically need to choose a white or black backing image that it masks onto. But you still need to use the new transparency you just created.
- With the layer mask still selected, repeat Step 1 and 2 and do a menu
Select -> Load Selection..., but make sure you have chosen the Layer 0 Mask.
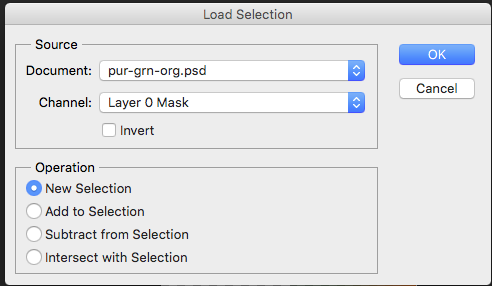
- With this new selection go to menu
Layer -> Group Layers
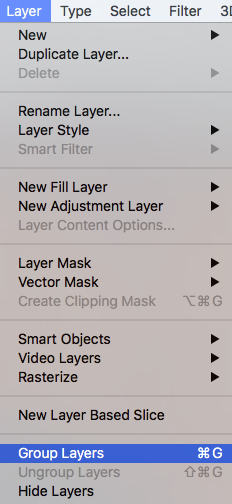
This results in the Smart Object with its layer mask being added into a group folder.
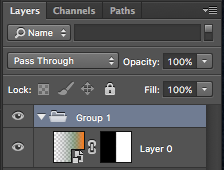
- You now need to generate a mask layer for the group folder. The selection you made in Step 6 should still be active so you can create the groups layer mask. This is the same as you did in Step 3.

This should result in your Smart Object inside a group folder with a mask of it's own.
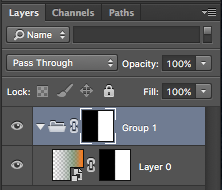
- Now we need to add in the solid White or Black backing that will act as the backing for the opaque area for the parts of the Smart Object that are still showing transparency. White the group folder selected go to the menu
Layer -> New Fill Layer -> Solid Color...
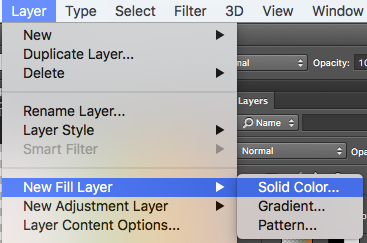
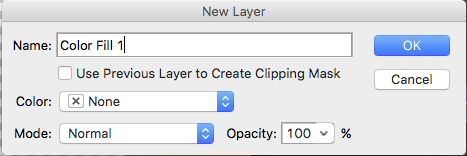
- The New Layer dialog will appear, hit
OK.
- Choose White (you can choose black if you want) from the color picker.
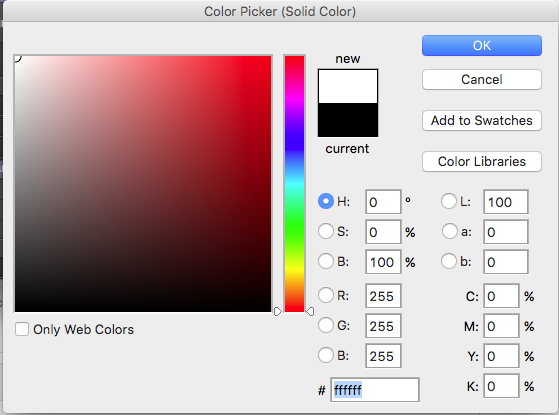
This generates the new Solid Color layer. But it's most likely above your Smart Object.
- Move the Solid Color layer below the Smart Object while keeping it in the group folder.
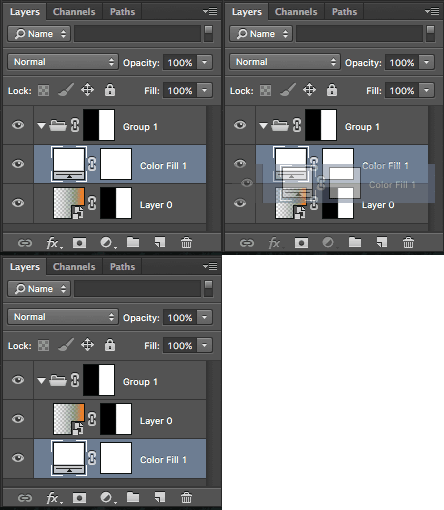
This results in a Smart Object that is now masked to a specific transparency range that is either transparent or opaque, and that doesn't change the original Smart Object itself.
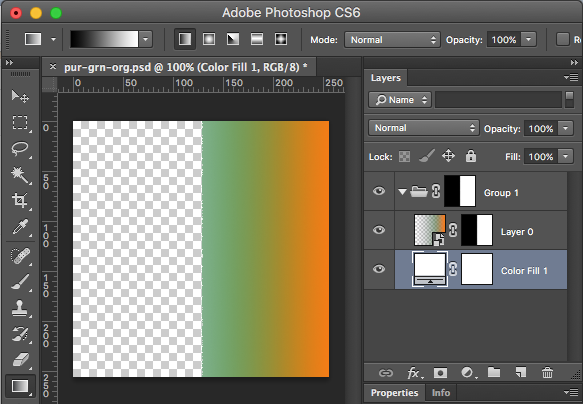
You are now done. If you recorded this as an action you can now repeat this with any Smart Object.
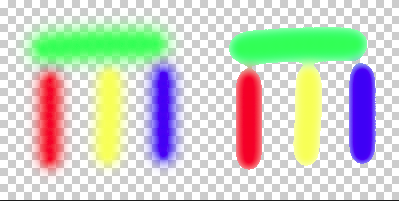
But here's the big rub, your Smart Object is being modified by the backing image that is white or black resulting in distinct opaque and transparent areas. If you were to do the levels call that modifies the mask within the smart object you would get a different image because you aren't using a backing image, rather you a modifying the original mask itself. Here's a comparison of the process I just outlines above vs editing the mask within the Smart Object itself. Notice that the color in the Smart Object masking is begin muted by the white background image, vs going into the Smart Object itself and modifying the mask itself.
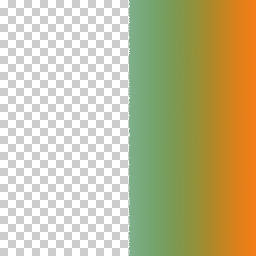 VS.
VS. 
There might be anther way to do this that I don't know about, but this is the best solution I've been able to come up with to solve your quandary.
ADDITION:
Here's the process I outlined above run with a similar image to your example image.

ADDITION:
Here's a link to download my Photoshop Smart Object Mask Mod Action if you want.
ADDITION:
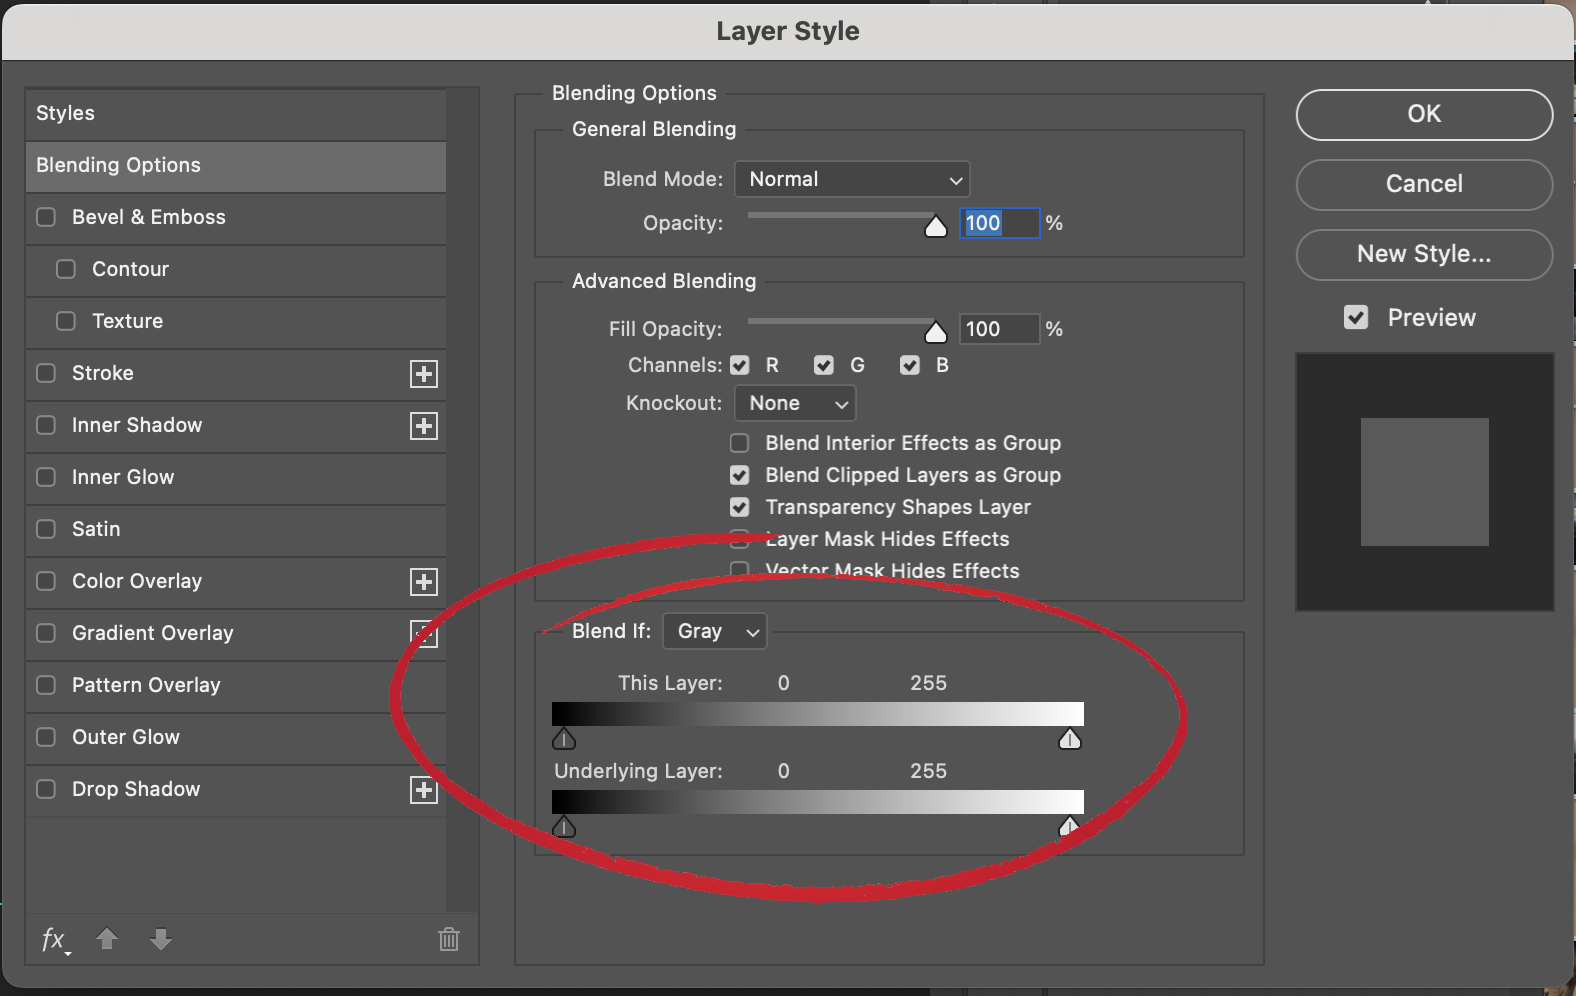
This procedure will work for a classic Photoshop automation workflow, but probably won't work when using the newer Photoshop CC Generator feature.



 VS.
VS. 