0

I'm new to illustrator and having difficulty mastering some fundamentals. Recently, while trying to create a cartoonish "neon tubing" look, I..

  1. Used a round brush to draw some letters (black fill, no stroke)
  2. Used Path > Outline Stroke to create evenly spaced overlapping lines and switched to no fill, black stroke.
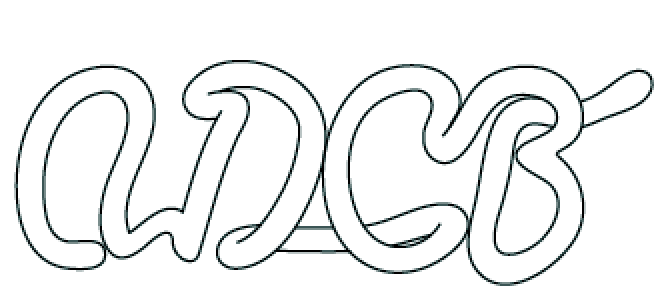
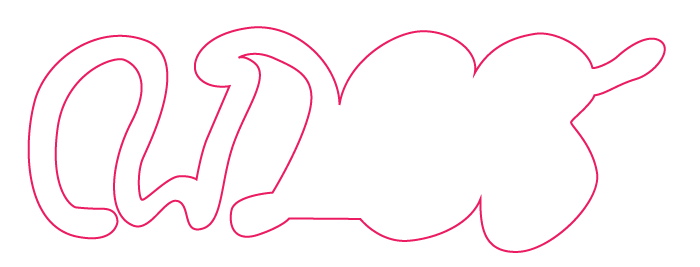
  3. Selectively deleted portions of the path to create a 3D effect like this:enter image description here

My next step would be to create a fill to give this object a color, but of course after my deletions this is no longer a single path that can fill properly. It always looks like this: enter image description here
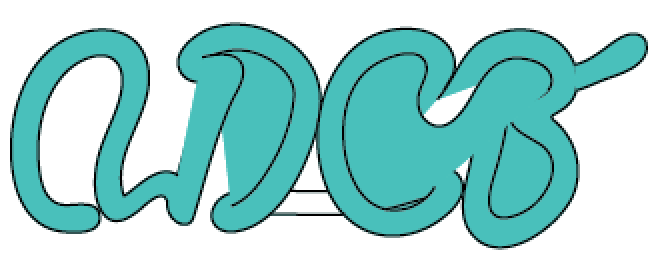
I have had no success joining components (I get the "endpoints error message") and all of my other attempted workarounds have failed. I would really like to be able to add effects like inner glow and to offset these specific paths inward to create shading and other textures. Any ideas are greatly appreciated.

1
  • Use shape builder
    – joojaa
    Commented Dec 29, 2016 at 19:35

3 Answers 3

3

The easiest method for me with this type of artwork is to think in terms of construction paper and markers.... how would I create something like this with a pair of scissors, construction paper, and a marker?

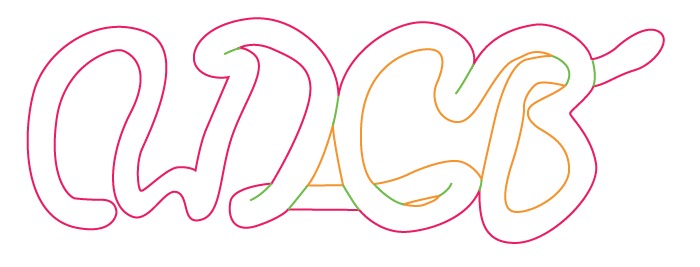
First define the primary outer shape (magenta)....

enter image description here

Then cut out the counters or interior holes (orange)...

enter image description here

Then use the marker to show definition on the overall shape (green)...

enter image description here

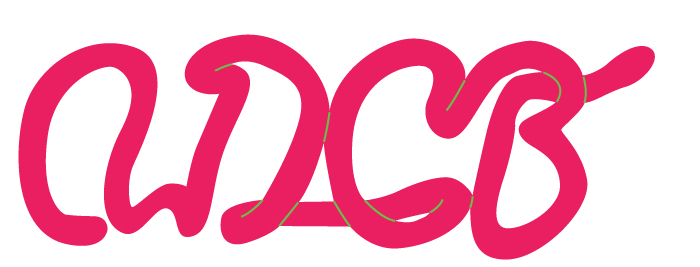
With these paths drawn, select the magenta and orange paths. Fill them with the same color, then choose Object > Compound Shape > Make. This creates a single shape for the overall definition...

enter image description here

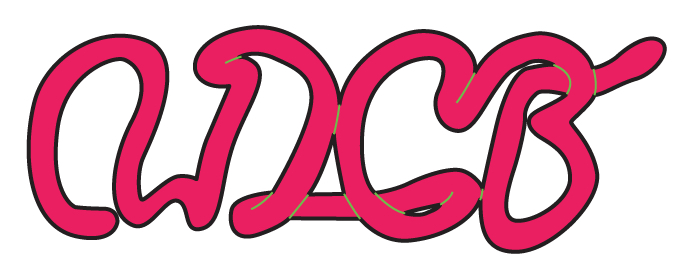
Add an outer stroke to the primary shape...

enter image description here

Now select the green paths, and apply the same weight and color to those as was used for the outer shape stroke...

enter image description here

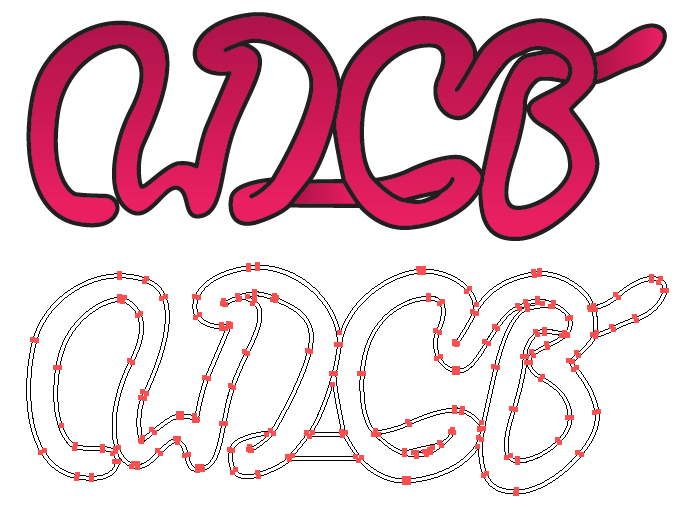
The end result is a single object with strokes to achieve the appearance of intertwining. This is, of course, just a quick approximation of your image since I didn't directly have access to your paths. This can all be made much easier via a few pathfinder commands on most artwork. And it often takes some refinement and planning to get curves to remain smooth when crossing a span, as in the C or upper portion of the B. (Mine aren't perfect, but only because I was lazy with it).

If actually want to cut the shapes into individual defined areas, to apply gradients for example, then select all, Object > Expand then Pathfinder > Merge and it will leave separate shapes overall.

enter image description here

0

Option One: The quickest way would be to approach this in layers. Once you have your outlines, copy it and set the original aside for later. On the copied version select all the outlines and use the Shape Builder tool to connect everything (Shortcut: Shift+M). The Shape Builder is additive by default so all you need to do is drag over you combine what you want and hold Option/Alt to subtract. Once you are done and added your colour you can now place the outline layer over and go from there.

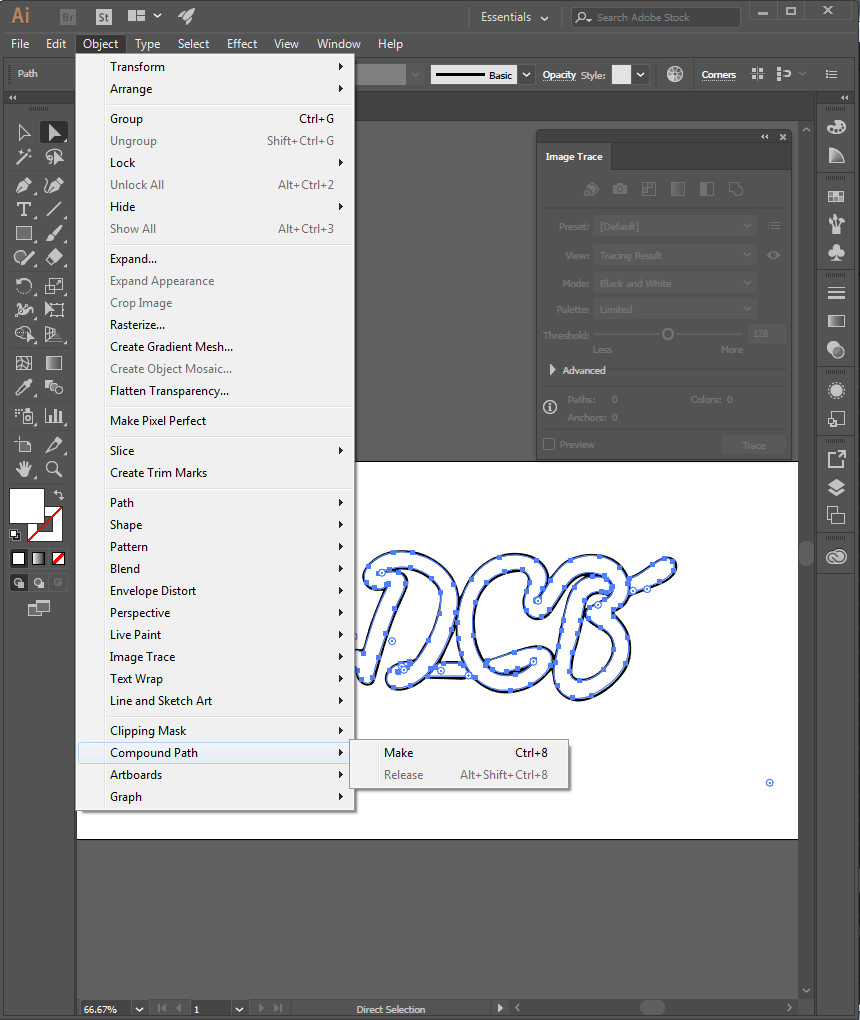
Option Two: You can keep each part separate AD can be one piece the connector another the CB another and the flourish from the B another. Once they are all their own shapes you combine them by going Object>Compound Path>Make (Shortcut: Command+8) this will combine them all so you can change the color as a whole, adjust the stroke as a whole etc..

0

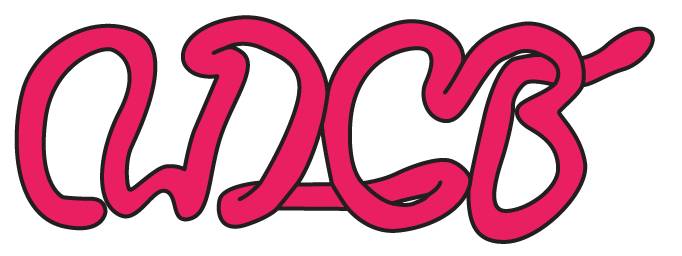
Metis' answer works really well, but for a simpler image like this I think the Image Trace option is simpler.

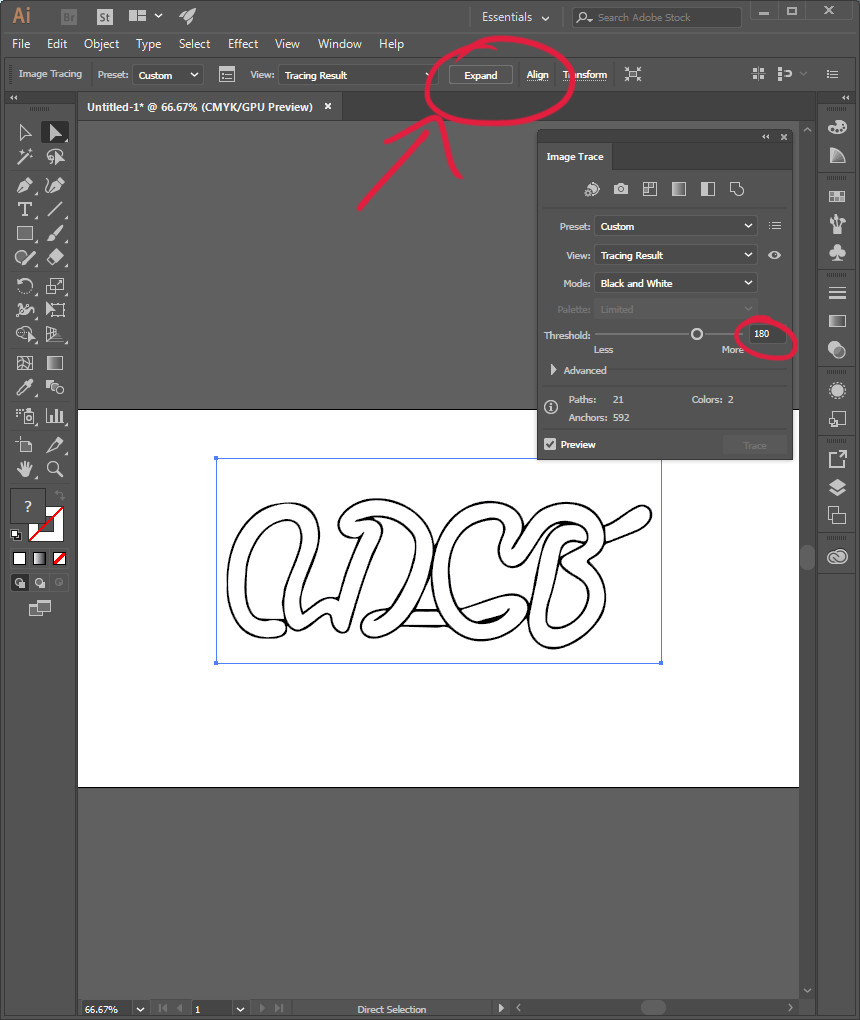
  1. Select your drawing. Object > Image Trace and find the option gives you the correct detail (using preview). Then "expand", this will turn the trace into editable paths.

Step 1: Image Trace

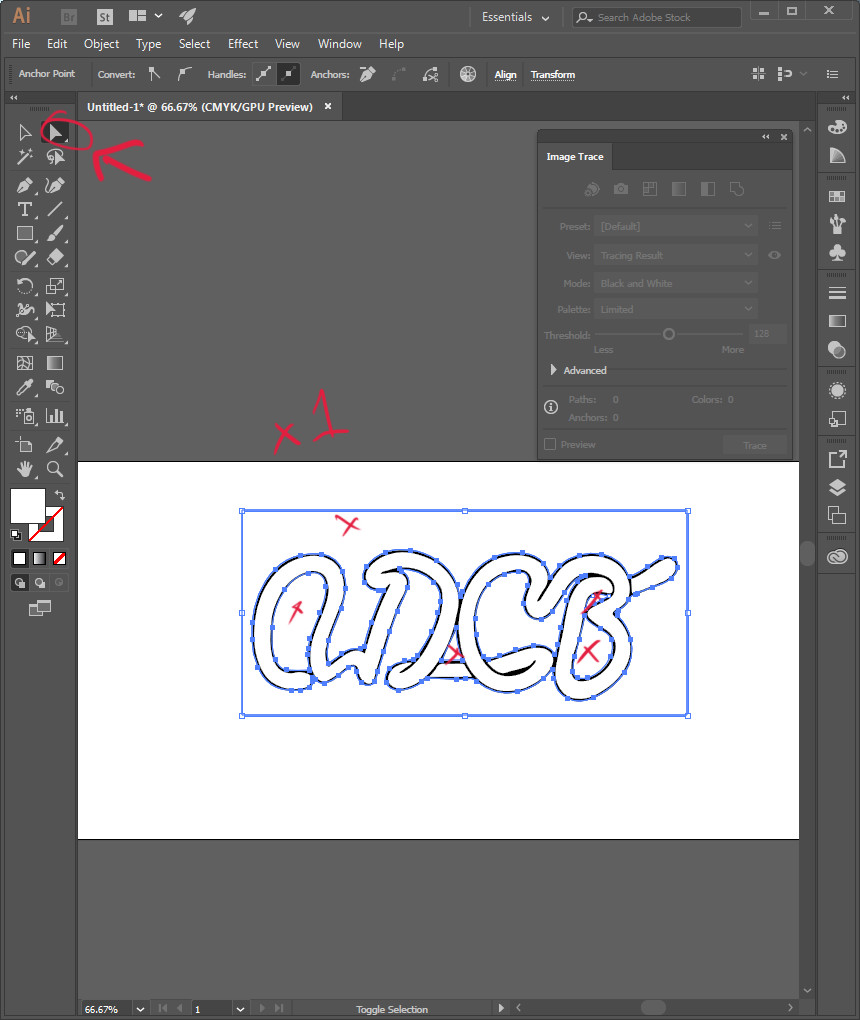
  1. The deselect all and using the Direct Selection Tool (A) select the whitespace that isn't part of your desired output and delete it.

Step 2: Delete undesirable areas

  1. Select the area that should be filled (Optionally create a compound path).

Step 3: Compound path

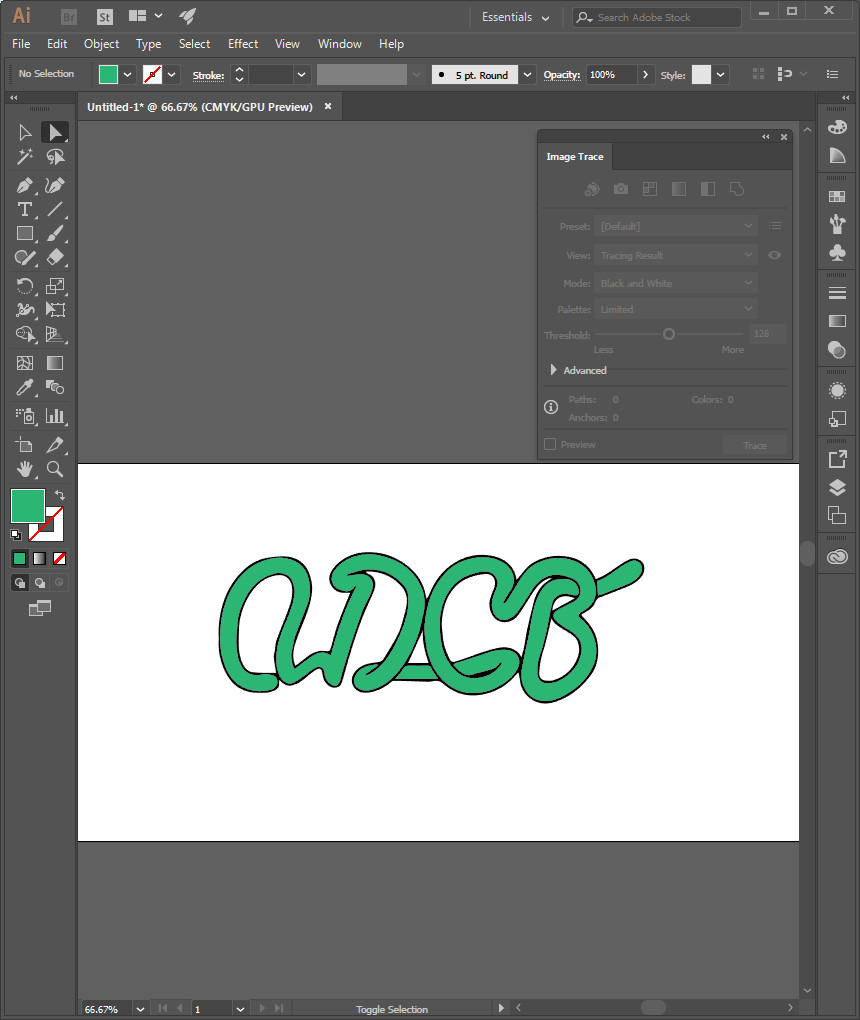
  1. Fill that path or do with it as you will!

Step 3: Fill the path!

2
  • I assumed the original question was referring to vector paths.. tracing wouldn't be necessary (or even preferred) if that is the case. i.e. "Used a round brush to draw some letters..."
    – Scott
    Commented Jun 29, 2017 at 0:30
  • @metis How'd I miss that? I'll leave this up anyway.
    – Luke
    Commented Jun 29, 2017 at 0:46

Your Answer

By clicking “Post Your Answer”, you agree to our terms of service and acknowledge you have read our privacy policy.

Not the answer you're looking for? Browse other questions tagged or ask your own question.