You know, scripts and symbols are a good way to get a robust editable set of art mapped onto individual shapes in Illustrator. With symbols there's a high degree of editability available.
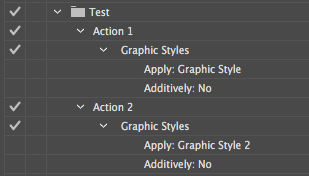
There's a round-about alternative which takes advantage of some Illustrator features to provide nearly the same functionality using Graphic Styles.
In Illustrator they let you capture arbitrary line-art and raster art in a couple different formats other than symbols: a pattern and brush. One of these can be used to map art to shapes, but which one & why not both?
##Pattern fill fail
Of course it would be easy and useful for anyone to make a pattern consisting of the one bunch of art (the size of the intended shape to be filled) and then use this pattern fill to fill all desired circles. Unfortunately they do not make it easy because any shape in the document offset in its position from where the pattern fill gets its origin from, tiled, will have its pattern fill transformed not offset from the object's bounding box. So you get a pattern all wrong & chopped up on the document.
 The problem is that unlike in this case, the map circles can be all over the place and not matched to a grid to which a pattern fill could also be matched.
##The solution
is to use the other kind of art-storage method: the brush. A brush can store a limited amount of artwork compared to a pattern fill, no gradients are allowed, for example. Some gradient-like appearances can be approximated using expansion of gradient fills (Object > Expand) and also rasters can be used in brush art, so if this is satisfactory, then you're good to go to the next step.
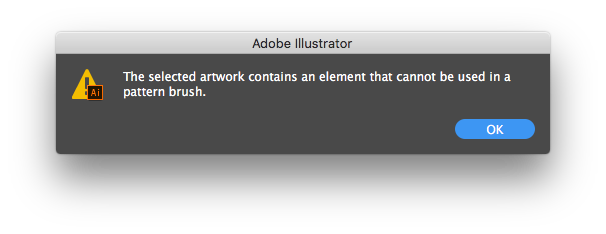
For my example I just made a brush using the rasterized copy of my line art.
##What kind of brush?
The Pattern Brush. This brush type maintains a proportion and has a habit of having parts of it disappear if the path is too small to accommodate them, if the proper settings are used.
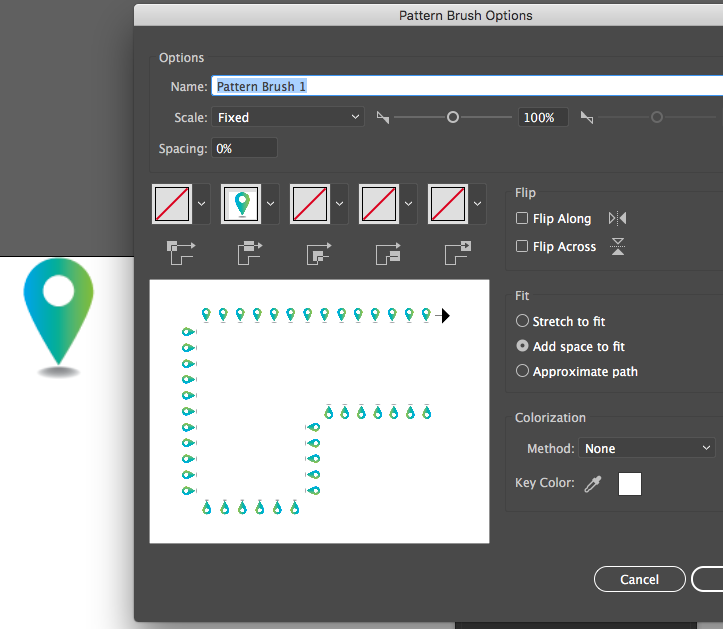 This next part is going to take advantage of that along with other Illustrator appearance features.
##Appearance Settings & Graphic Style use The appearance settings are added to a circle which would be typical of the kind you will apply a graphic style to, in my case a circle 22x22pt.
1) Add the pattern brush stroke
- Add a stroke colored with the pattern brush you made.
- On that stroke, add the Convert to Shape (Rectangle) effect with the proper settings to ensure that there's only two, reflecting, instances of your intended symbol art.
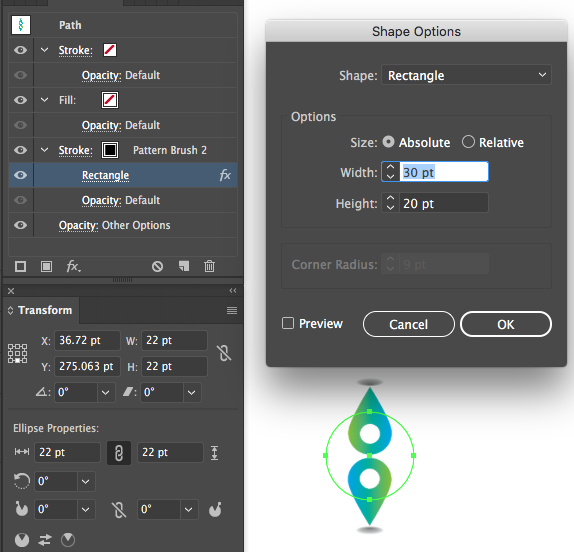
- Add a transform effect to move the instance into proper position.
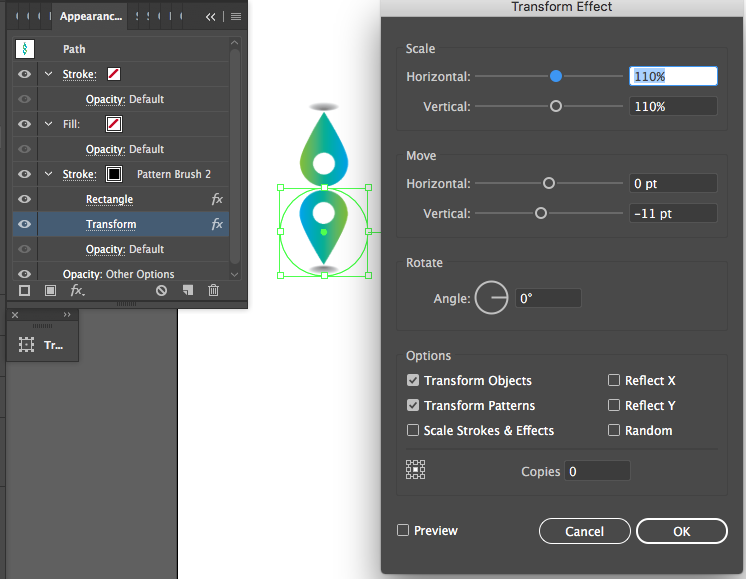
2) Block the extra instance
- Add a new fill of any color to the circle, it should fill the shape in completely, obscuring the centered brush element instance.
- Turn the opacity of this new fill to 0, and turn on the Knockout Group option in the object's main transparency options.
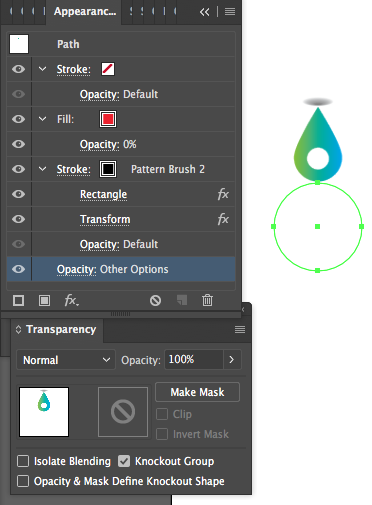
- Add a transform effect to move the blocking shape upward to block off the brush element outside of the circle.
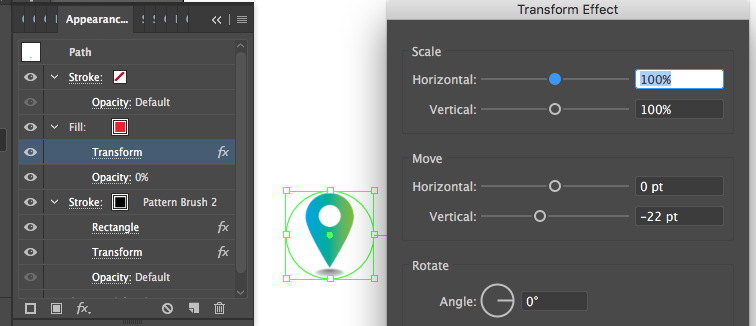
- Now this is a style which can be saved as a graphic style and applied through a click.
Creating multiple brushes with the same settings and replacing this brush in the graphic style can allow you to swap the art in one click.
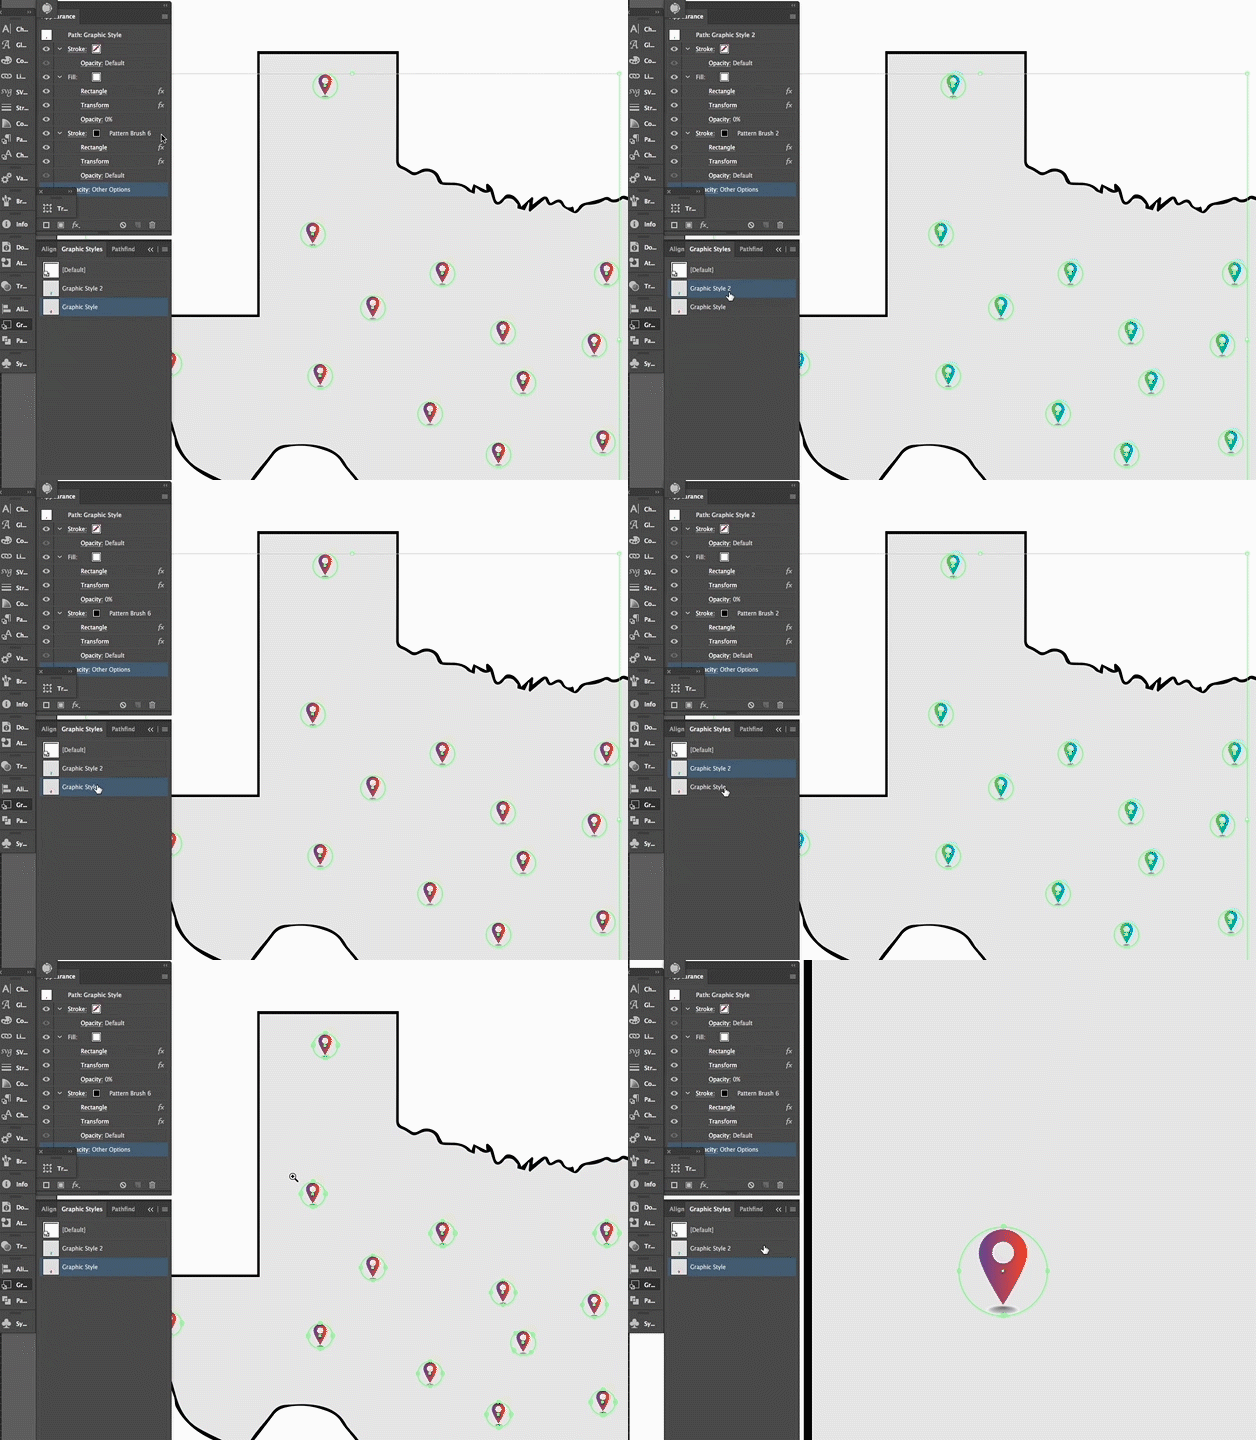
##Any advantages to this? If you are in a situation where the artwork limitation can be worked around or accepted for your needs, having graphic-style enabled art-mappings such as this could have its advantages in use with Illustrator actions. Since actions can apply a named style that exists in your document, this already could be used to process a batch of files of different maps and turn their circles into a "symbol" of choice. Even further, it could be used with variable data batch processing to even replace the 'symbol' with different kinds of styles based on the variable data - although this would be a topic unto itself.

