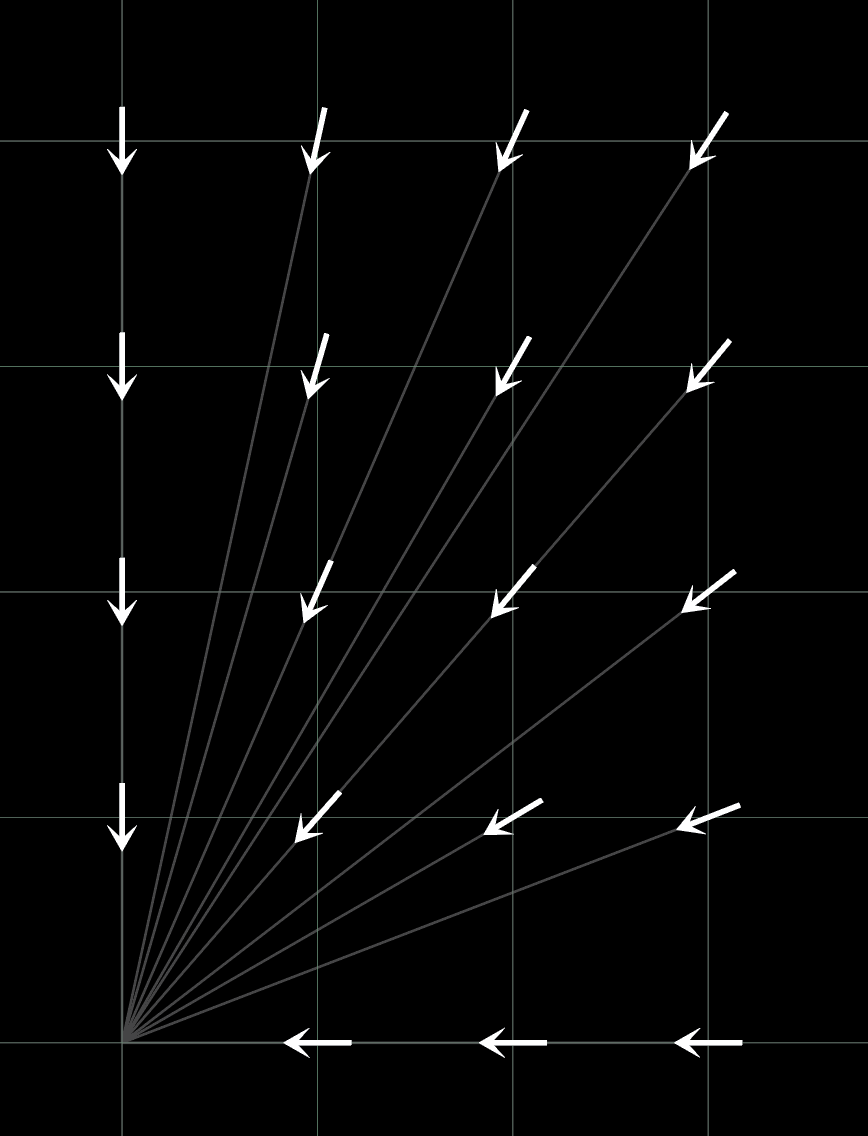
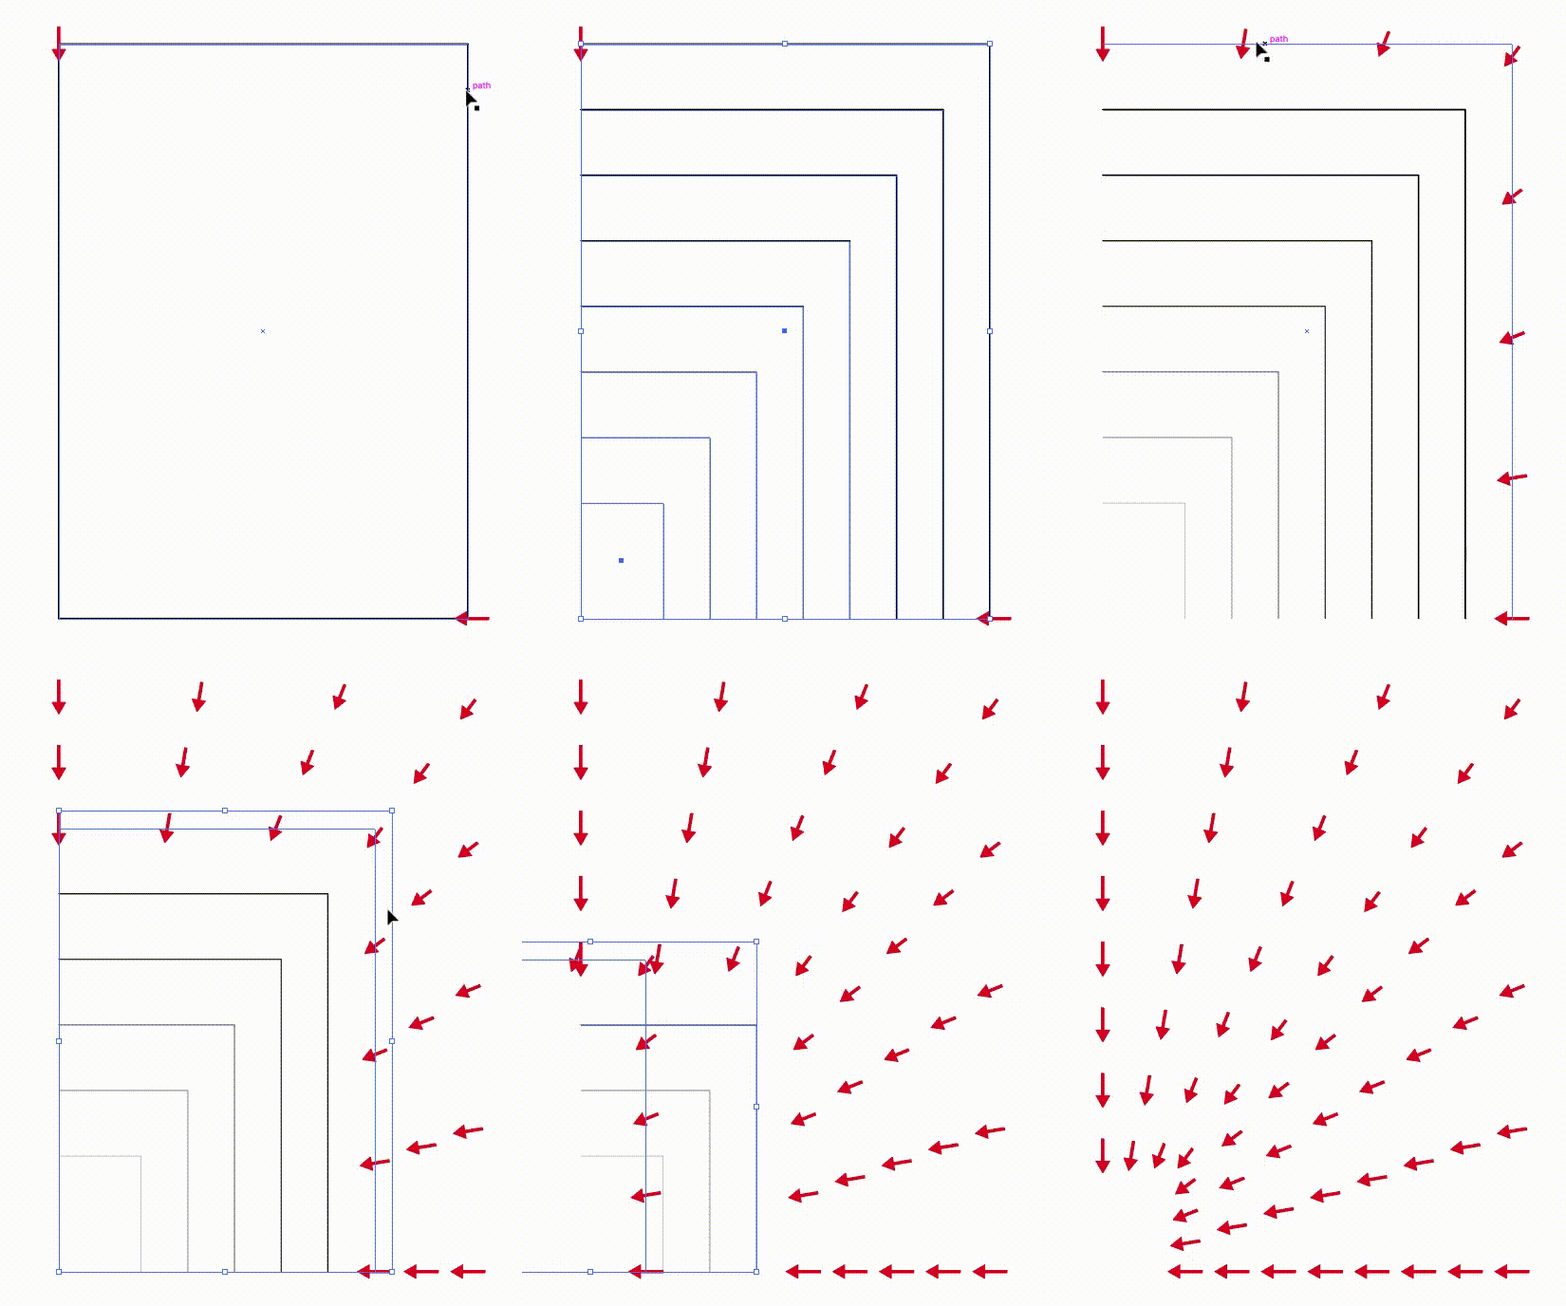
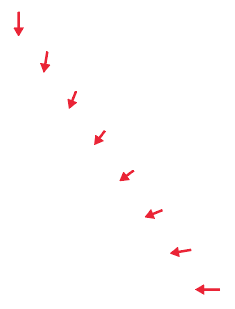
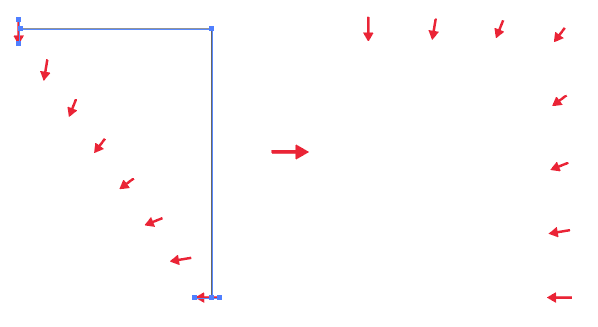
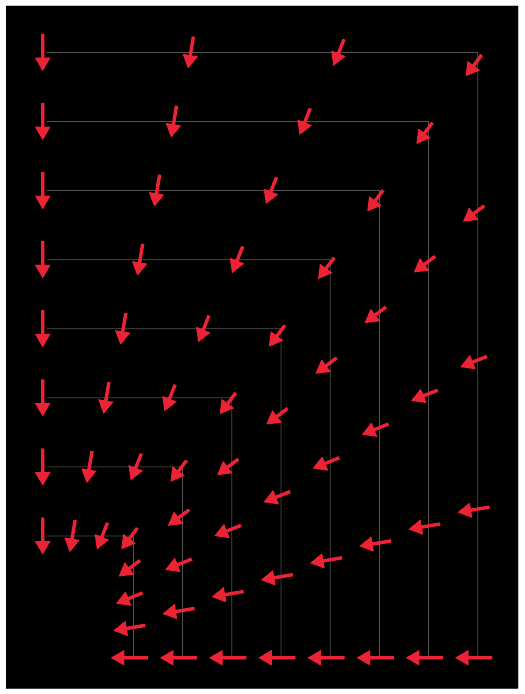
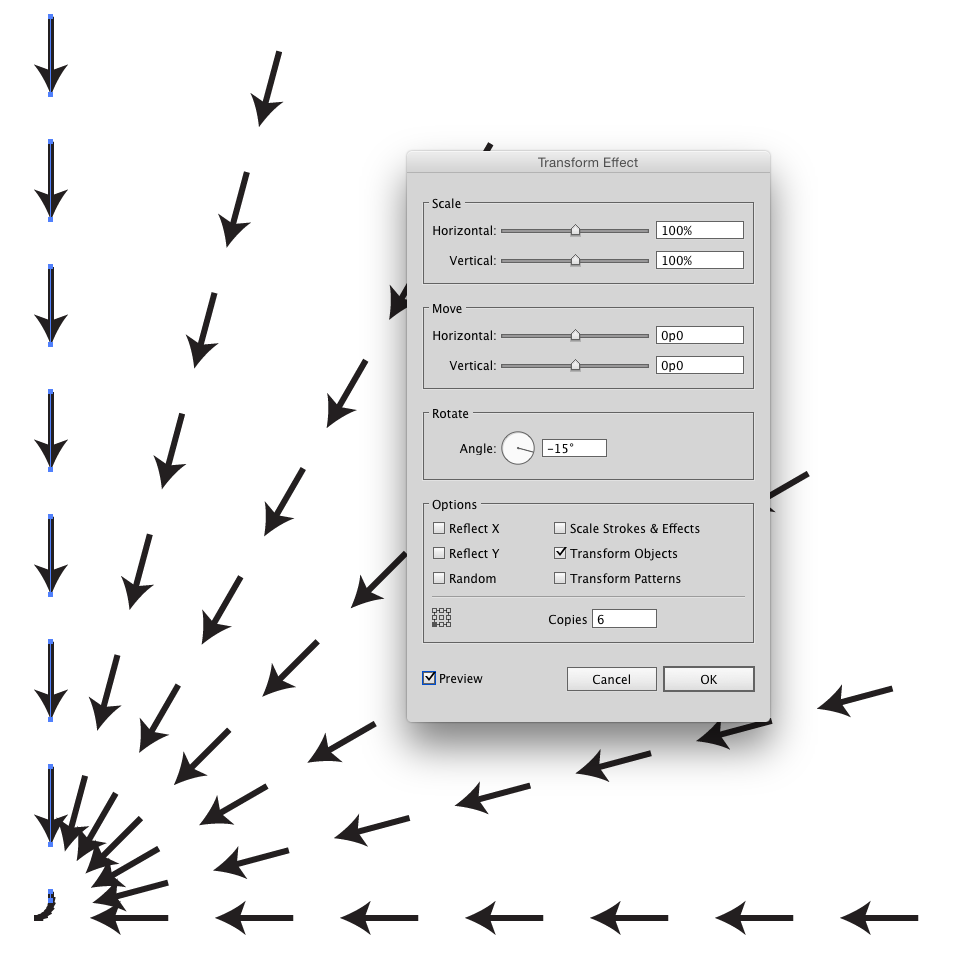
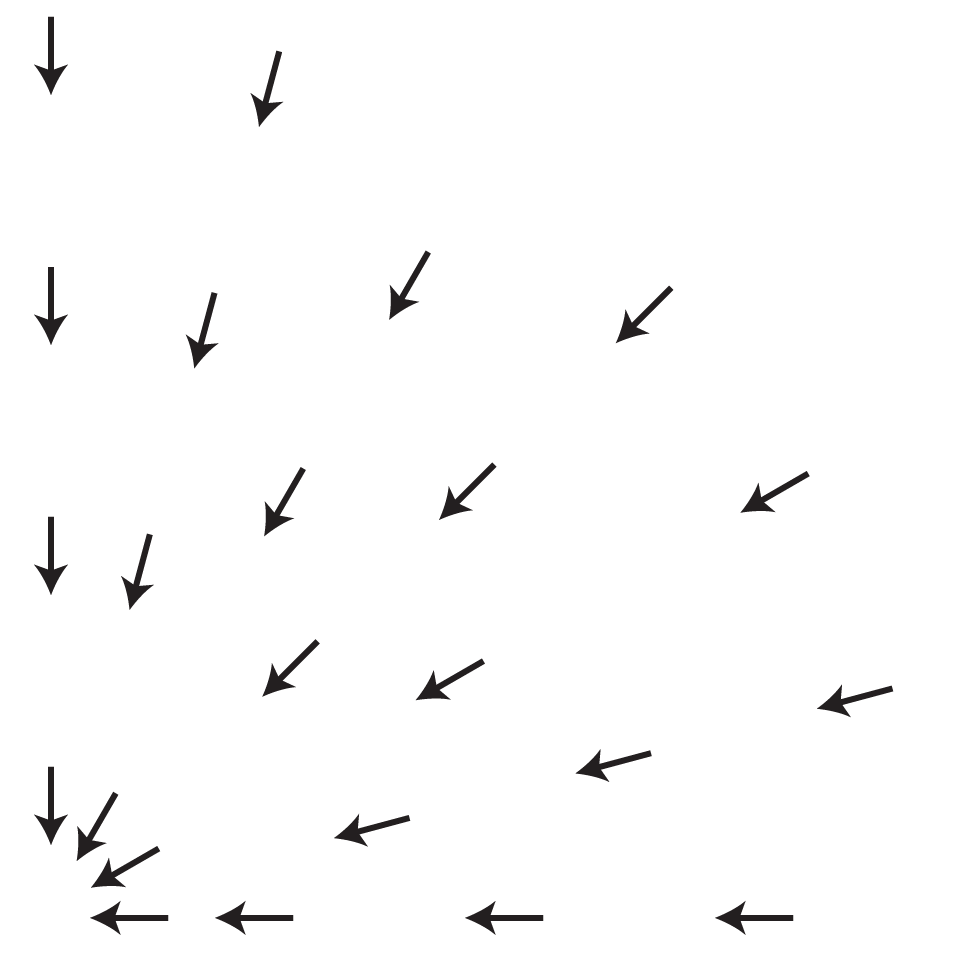
There's a great script - Rotate Toward Point by Hiroyuki Sato. The script rotates the objects in the selection toward the center of the foreground object.
Make sure to place the "selected" object (the one you want rotated towards) on the top.
Right click → Arrange → Bring to front (Shift+Ctrl+])
You just select everything and run the script.
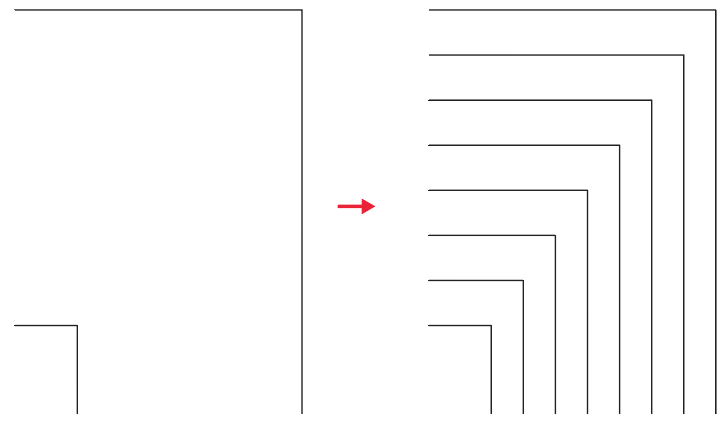
Before After
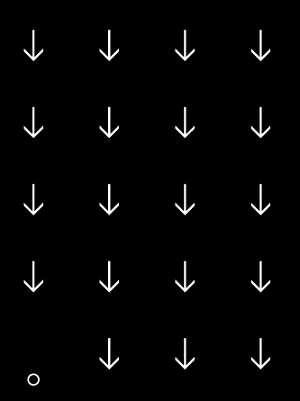
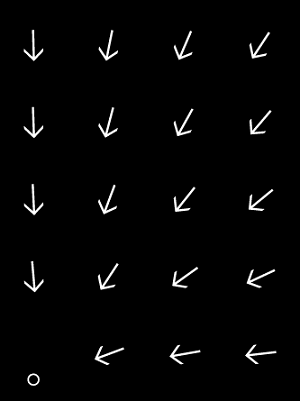
(This video also shows the script in action - first he distributes them along the path and then rotates them towards the center person)
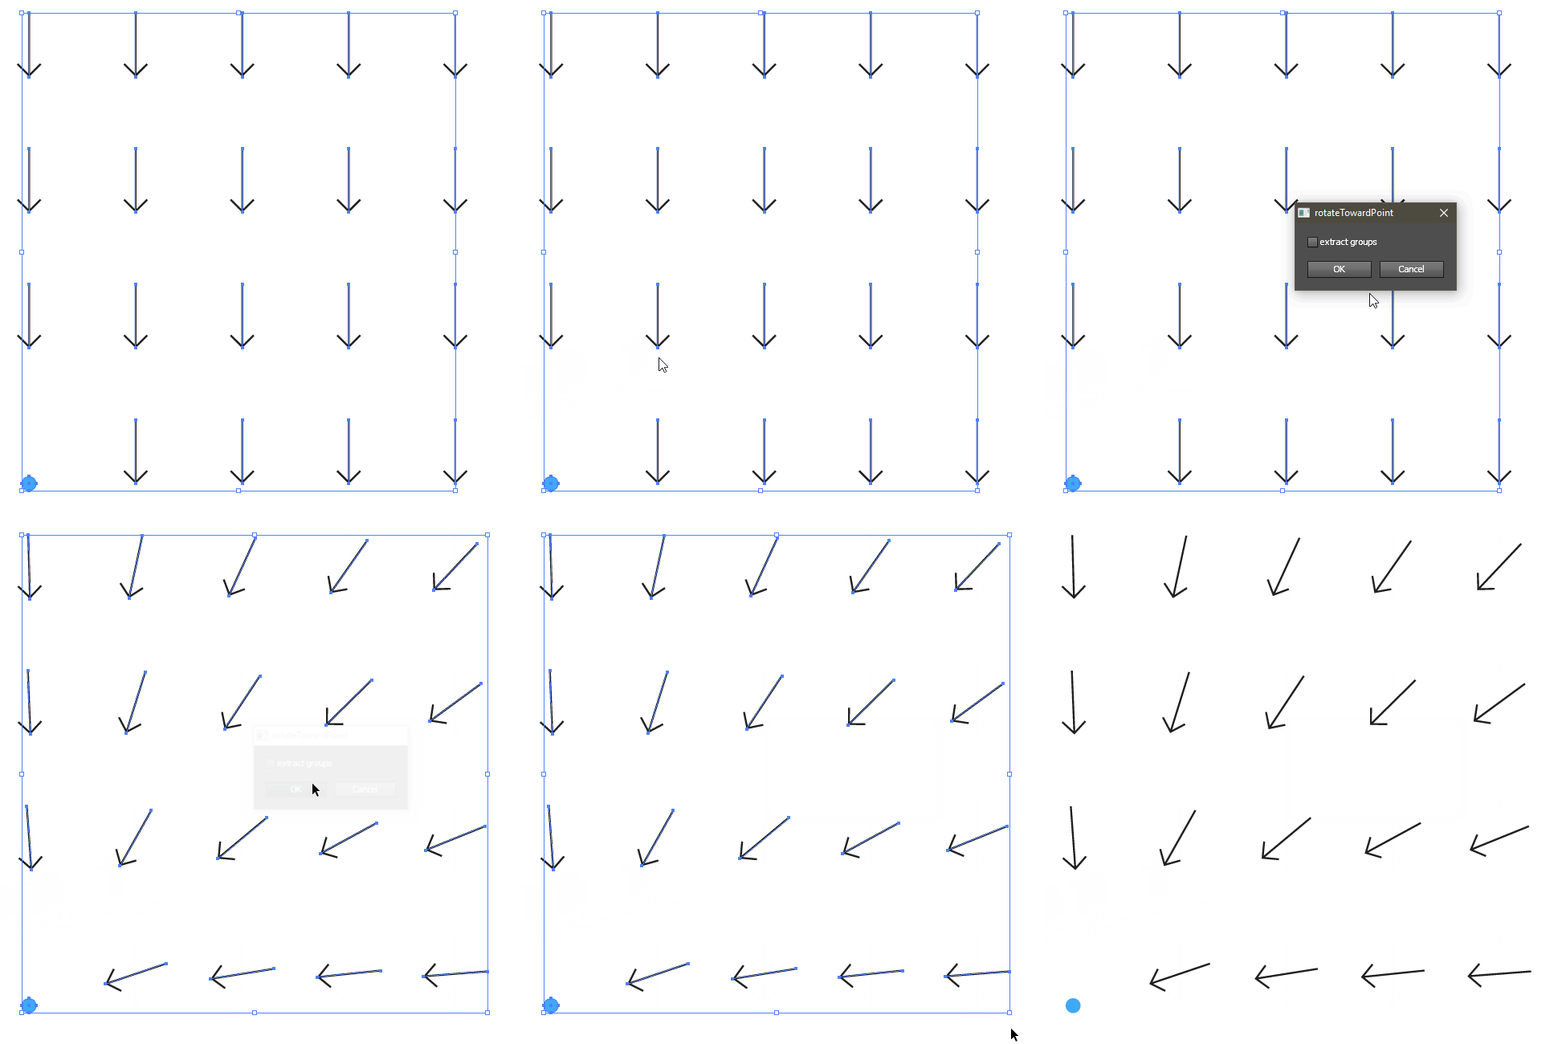
Code Below
// rotateTowardPoint.jsx

// rotates the objects in the selection toward the center of the foreround object.
// USAGE: select the objects and run this script.

// test env: Adobe Illustrator CC (Win/Mac)

// Copyright(c) 2014 Hiroyuki Sato
// http://shspage.blogspot.jp/
// This script is distributed under the MIT License.
// See the LICENSE file for details.

// Fri, 14 Feb 2014 21:08:40 +0900

function main(){
    // settings:
    // extract_groups: rotates each item in the groups, otherwise rotates each groups  (checkbox value)
    // show_dialog: shows a dialog before execution, otherwise shows no dialog
    var conf = {
        extract_groups : false,
        show_dialog : true
    }

    if(documents.length < 1) return;

    var sels = activeDocument.selection;
    if( sels.length < 2 ) return;

    if( conf.show_dialog){
        var win = new Window("dialog", "rotateTowardPoint");
        win.alignChildren = "fill";

        win.chk = win.add("checkbox", undefined, "extract groups");

        win.btnGroup = win.add("group", undefined );
        win.btnGroup.alignment = "center";
        win.btnGroup.okBtn = win.btnGroup.add("button", undefined, "OK");
        win.btnGroup.cancelBtn = win.btnGroup.add("button", undefined, "Cancel");

        var getValues = function(){
            conf.extract_groups = win.chk.value;
        }

        win.btnGroup.okBtn.onClick = function(){
            getValues();
            rotateToPoint( sels, conf );
            win.close();
        }

        win.btnGroup.cancelBtn.onClick = function(){
            win.close();
        }
        win.show();
    } else {
        rotateToPoint( sels, conf );
    }
}

function rotateToPoint( sels, conf ){
    var target = sels[0];

    if( conf.extract_groups ){
        sels = extractGroup( sels.slice(1) );
    } else {
        sels = sels.slice(1);
    }

    // gets the center of the foreground object.
    // the other objects are rotated toward this point.
    var point = getCenter( target );

    for(var i = 0; i < sels.length; i++){
        var t = getAngle( point, getCenter(sels[i]));
        sels[i].rotate( t - 90, true, true, true, true, Transformation.CENTER );
    }
}

function getCenter(p){
    return [p.left + p.width / 2,
            p.top - p.height / 2];
}

function getAngle(p1, p2){
    return Math.atan2(p2[1] - p1[1],
                      p2[0] - p1[0]) * 180 / Math.PI;
}

function extractGroup( s, r ){
    if( r == undefined ) r = [];

    for( var i = 0; i < s.length; i++){
        if( s[i].typename == "GroupItem" ){
            extractGroup( s[i].pageItems, r );
        } else {
            r.push( s[i] );
        }
    }

    return r;
}

main();
The nice thing about using this script, is that you don't need to expand anything (non destructive). If you used a brush stroke you can easily change it later to a different one if needed.
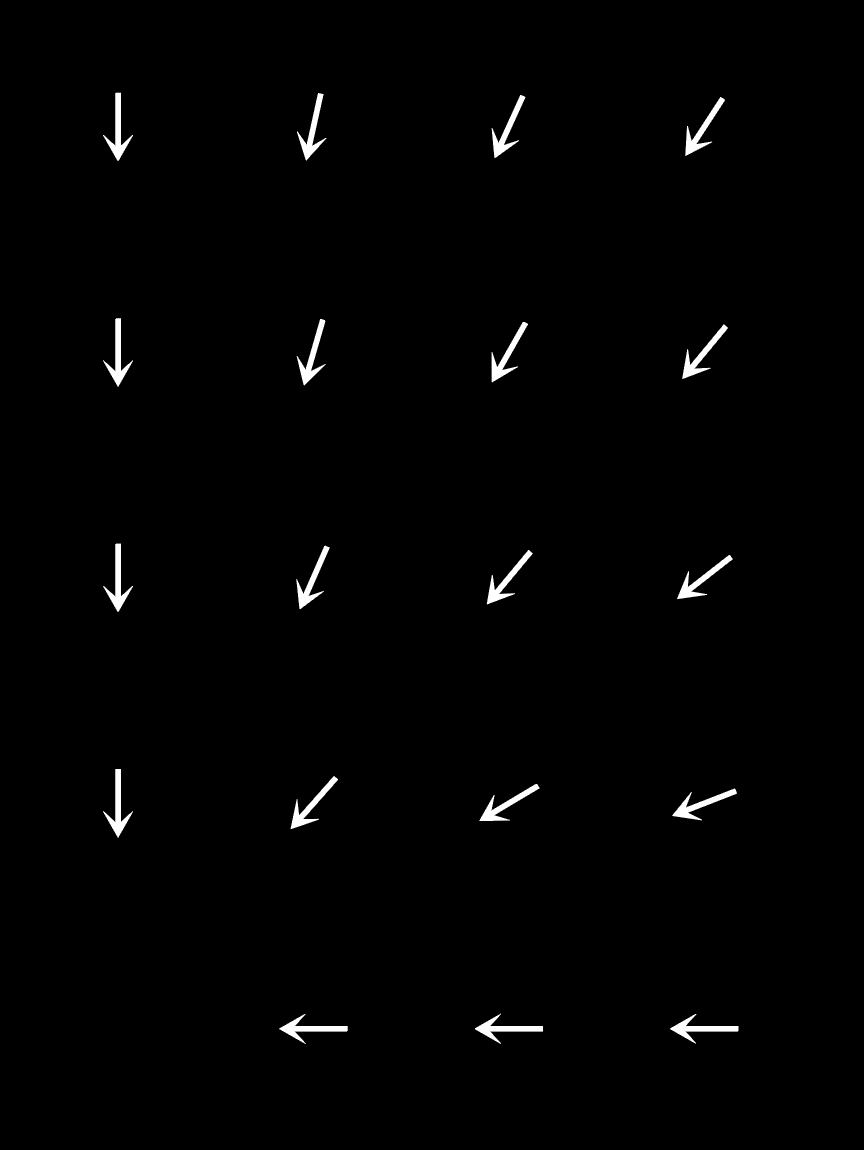 Hey folks, just whipped this up in Illustrator manually, but looking to do it on a much larger scale. Anyone have an idea as to how to automate this process or have a script that does somethin like it? Thanks!