I will attempt an answer here, but the question is really very broad. It's almost asking how to draw which is far too broad a topic.
It's possible to create such images using a scanned pencil or digital sketch. I'm not going to go into details on how to sketch or draw. That's something you would have to learn if you want to do this from scratch. It's far too broad a subject for a tutorial. Suffice to say that anyone can learn how to draw, but if you have no idea, a drawing class would help. Another possibility is to employ an artist to do the basic sketching. I'll let you decide if you think it's something you could manage yourself. If not, the answer is still valuable as it can give you brief overview of possible processes.
I also assume a basic familiarity on how to use a raster image editor such as GIMP/Photoshop. If this is something you are not familiar with, there are tutorials online.
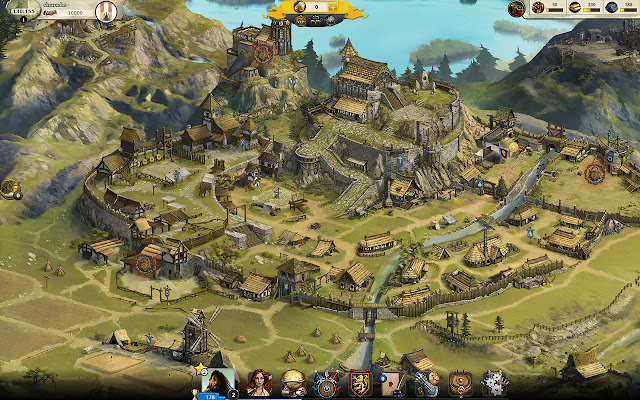
Here's a very rough example of how you could go about it, assuming you already have a nice sketch to begin with. Looking at the examples posted, the style itself is quite loose, not quite pixel art but very close to it. It definitely has a painterly aspect to it.
Here's the basic setup:
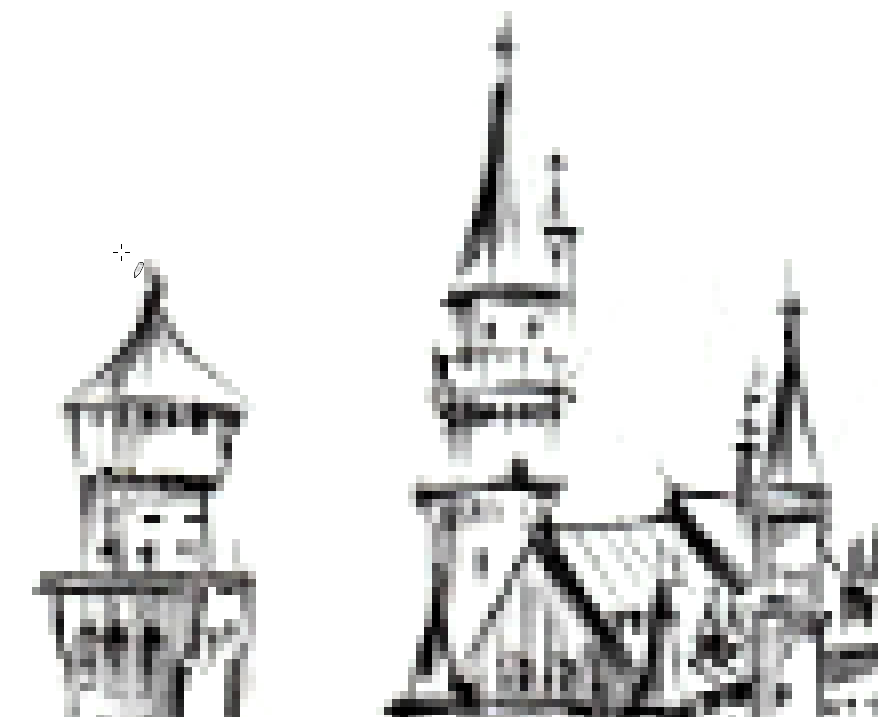
Draw a sketch of a building and reduce the resolution in steps using a raster image editor such as Photoshop/GIMP, increasing sharpness and levels until you have something that looks like this example below. Zoom in so you can see the individual pixels. You want quite a high contrast look, don't worry about highlights or shading so much at this stage. The visibility of the basic darker outlines is more important. Don't worry about the fuzziness either at this stage, it will be fixed as you create the artwork.

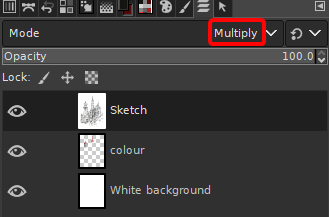
Set up some layers in your software (this is for GIMP, but would be similar in Photoshop): A bottom layer filled white. A transparent layer above that (I've named this layer Colour). And the sketch layer above that, with the layer blending mode set to "Multiply".

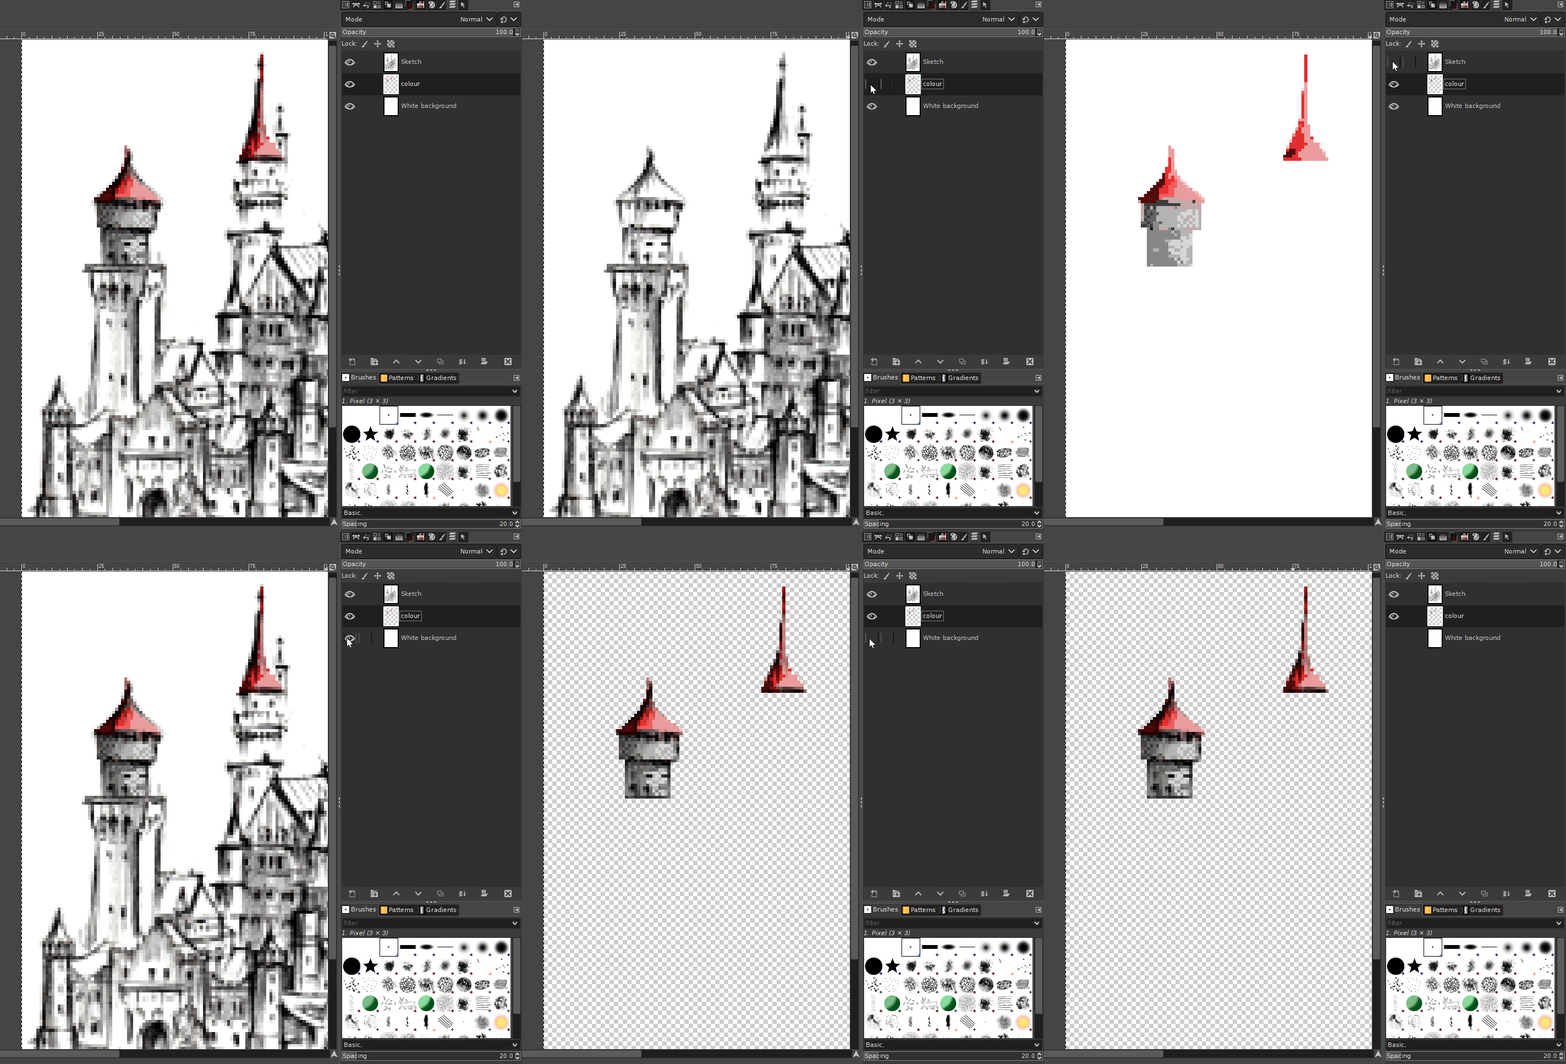
Select the Colour layer, use the Pencil tool, set to a 1px brush, and paint solid color pixels to fill it in. Something like this example below. Here I have partially coloured part of the image, the steeples and part of one tower. The screen capture shows the different layers separately, and with the background layer hidden.

Note how the pencil sketch layer is combined with the coloured pixel layer when the background layer is hidden, but only in areas where there are coloured pixels, leaving the rest of the image transparent.
Obviously to do something like this effectively you still need to know about shading and lighting to get a good result, again art classes will help with that. Also this whole process is tedious, and very manual. But starting with a simple sketch, and then colourizing it is a good way to break it down into manageable steps.
Anyway . . .
Continue to paint and colour in the whole image. From time to time, hide the background layer to check your work as you paint. Also zoom to 100% from time to time to check what your work looks like at actual size.
It's also possible to work with multiple color layers if you want to keep some of them separate. It's up to you if you want to do this or not. Might be helpful for example if you want to apply an effect to just one section/object, say to darken or lighten it, etc.
When you have finished, hide the background layer and Export as PNG with transparency. Also save your work in your applications native file format (XCF for GIMP, or PSD for Photoshop) if you want to work on it again in future. This will preserve all the layers.


