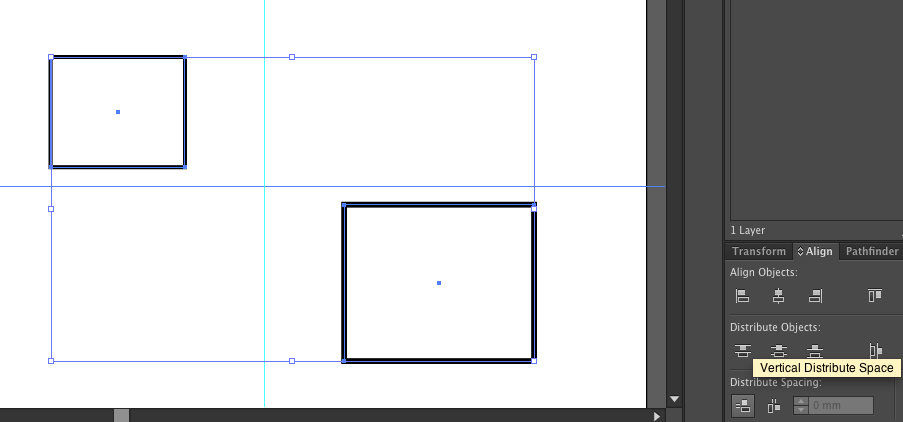
For general eyeballing it.....if you select both object, the bounding box encompasses both. Use the handled on the bounding box to place guides. There's your center point.
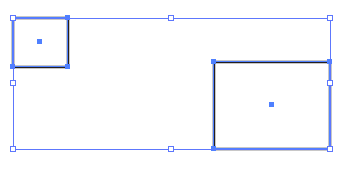
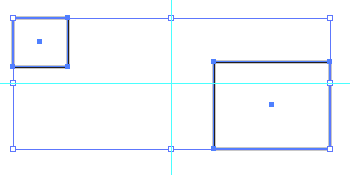
For precision, select the objects and note the W and H measurements in the Info Panel.
122.394 x 50.579 in this case

Select the top, leftmost object.
Then choose Object > Transform > Move.
Enter half those values in the fields or insert the equation
(122.394/2 - value divided by 2, Illustrator will do the math)
And click the Copy button
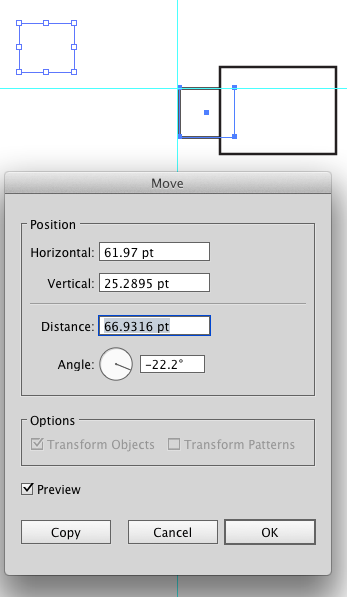
This will place a duplicate of the top left object. Now, the top-leftmost point in the copy is the exact center between the outer edges of the two objects.
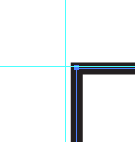
And you can see below, eyeballing can get close, but the second method is much more exact.
Precision without the math....
Make certain you have the center points set to be visible in the Attributes Panel.

Draw a random temporary item somewhere between the two objects. In the image below, the circle.
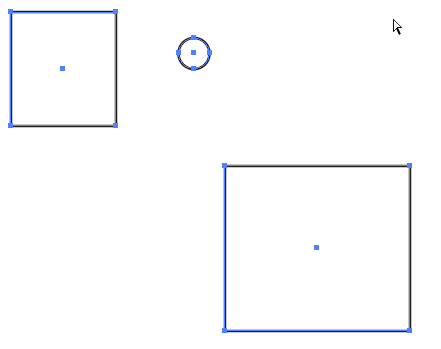
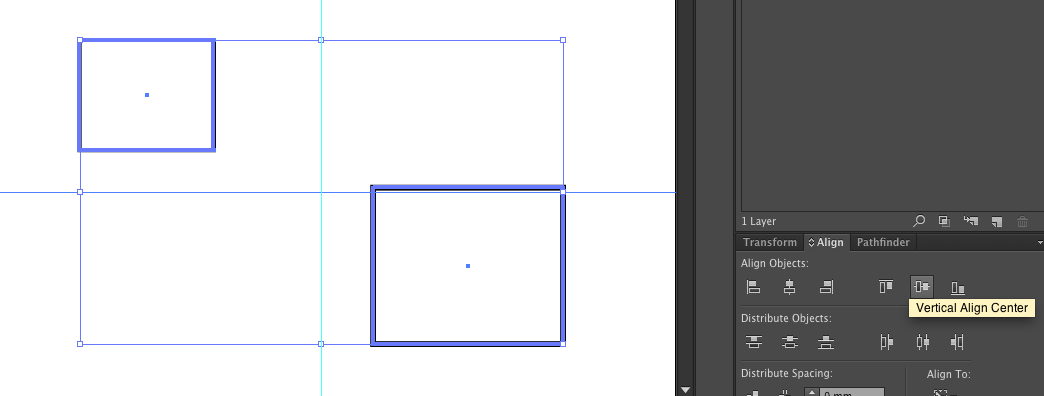
Select all three shapes and click the Distribute Horizontal Centers then click the Distribute Vertical Centers buttons on the Control Bar.

The circle will be placed exactly at the center of the two objects. Therefore the center point on the circle is the exact center between the outer edges of the two objects.
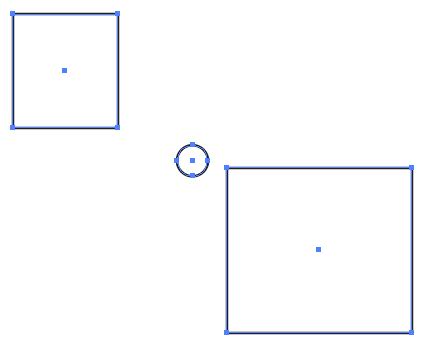
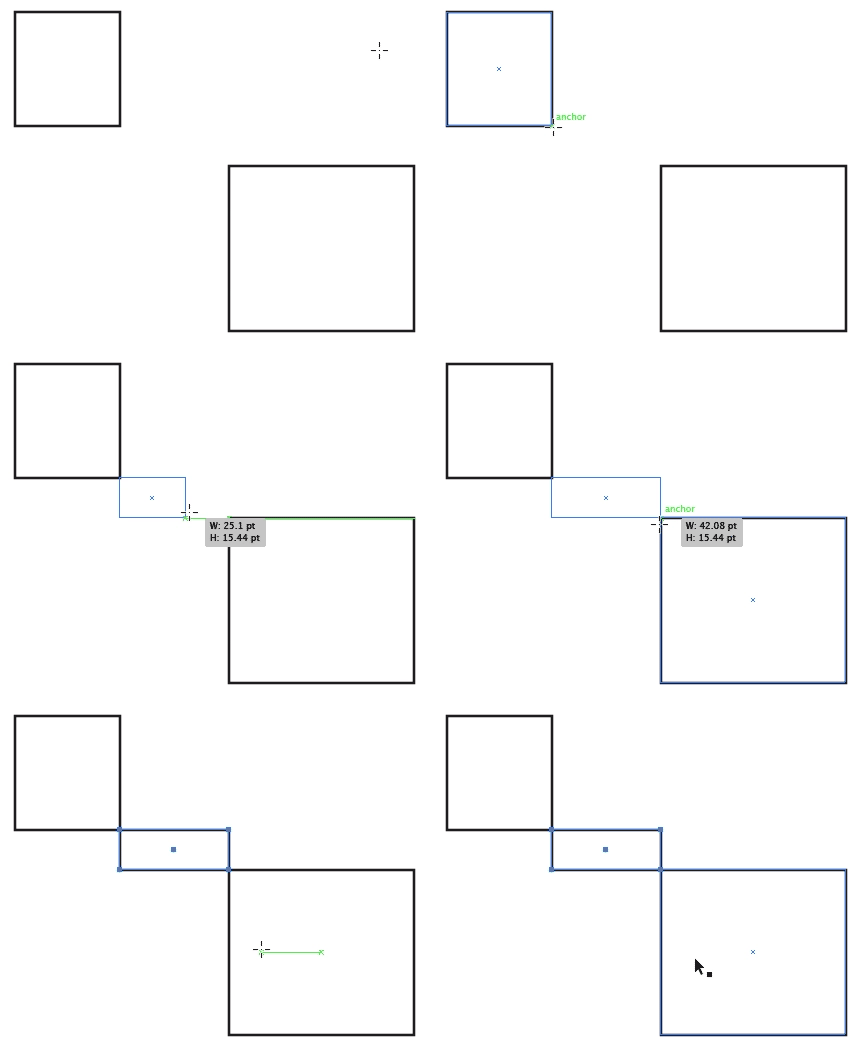
If you want to find the center of the area between two objects, turn on Smart Guides View > Smart Guides and simply draw a rectangle the edge of the first shape to the edge of the second shape. The Smart Guides will help you snap to the edges. The center of the resulting rectangle is the center of the area between the objects.
