1

(Note that as far as attempts go, I can't find anything that helps me)

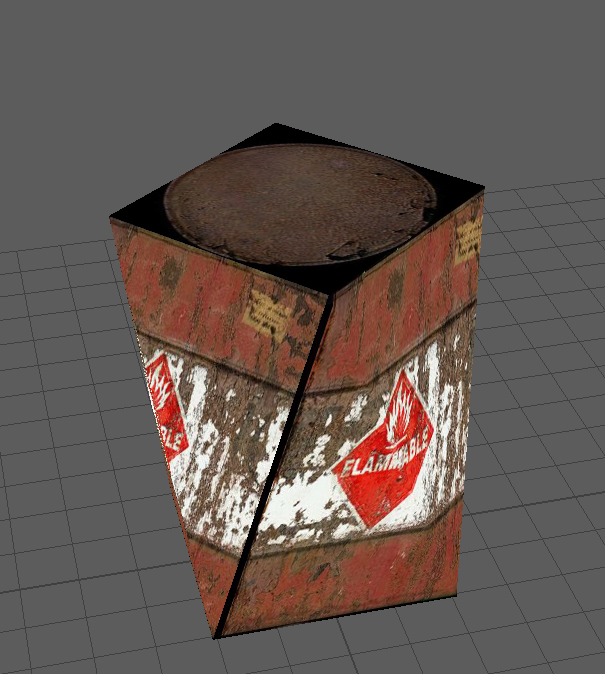
I have a 3D polygon, and for simplicity's sake it's going to be the one below:

Basic Textured Polygon

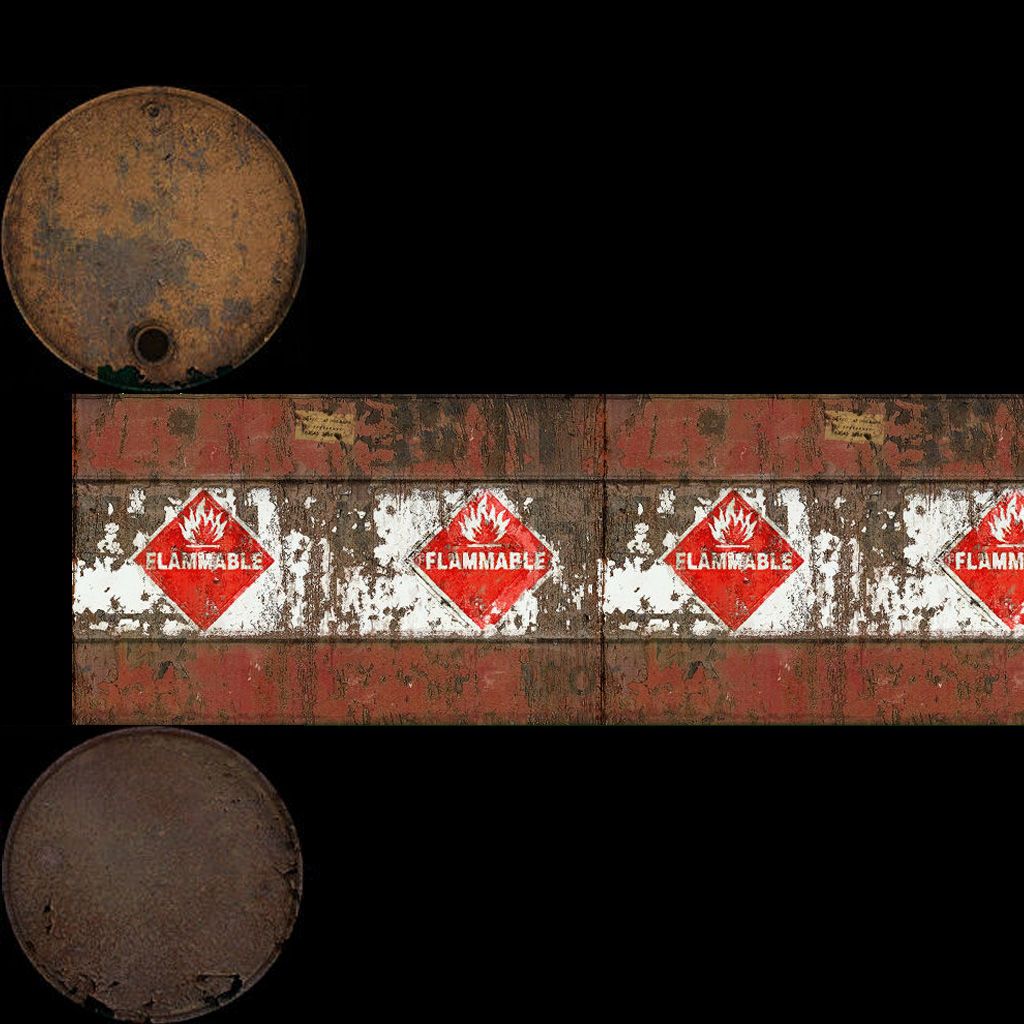
It is textured using the UV map below:

Basic Texture UV

Side Note: I just found the texture on Google. It is not being used in any manner other than solely to demonstrate my question.

I plan on 3D printing the polygon. Since I suck at painting, I want to print the textures for each face so I can glue/decal them onto the correct faces.

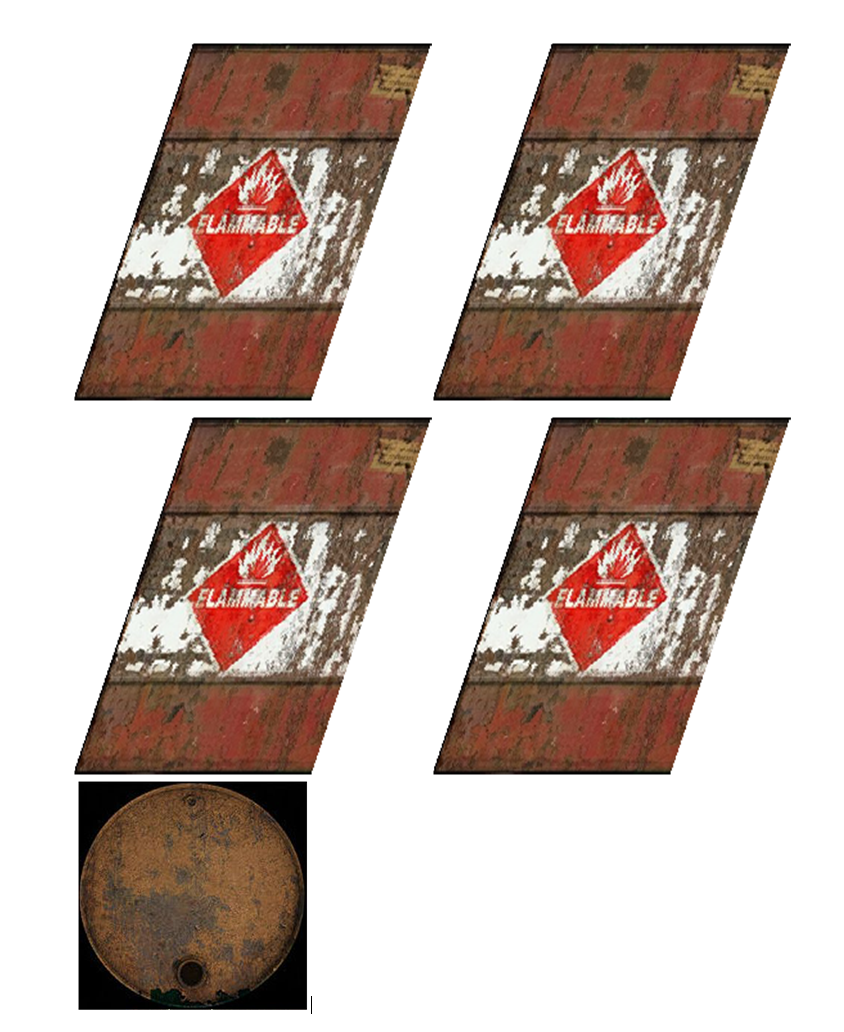
My question is: How can I go from a UV texture map to individual polygon faces (and 1 texture per face) that is correctly scaled to fit the face. I want something like below:

Desired Outcome

Is there any way to do this? I don't care about width * height as I can manage that on my own, but I need the textures to be distorted just like how they are on the corresponding face of the polygon.

2 Answers 2

1

Alternatively, you could look at what is the more typical workflow in the world of 3D asset generation / preparation.

When one creates a 3D asset for use in a given context (games, film, arch viz, 3D printing) one almost always bakes out the textures for the 3D entity once one has correctly set up the textures in the 3D DCC (Digital Content Creation) tool of one's choice, thus ensuring both correct sizing / orientation and correct representation of subtle layered effects in addition to the base colour (diffuse for traditional rendering pipeline or specular colour for a PBR metallic rendering).

For example, you might take the texture you found and add a dirt map, or add an occlusion-based edge wear layer, and a specular amount scratch map, which when all put together in your 3D DCC app's realtime render window looks all hot and snazzy... but then to get that all correct on your exported geometry for use elsewhere, you would bake this out into final textures. Those will be baked using the UV map you used to place and manage the textures, and so the final output raster image file will conform to the UV map shapes... so you can, if necessary, print those files at the correct scale and have your "decals" set to rock n' roll.

In your case with the distortions you have in your UV map, I'd set up a second, geometry-corrected UV map and make it the target for my baked output image file - that way you get your distortions correctly represented in a normalised, rectilinear fashion, allowing simple print and stick!

0

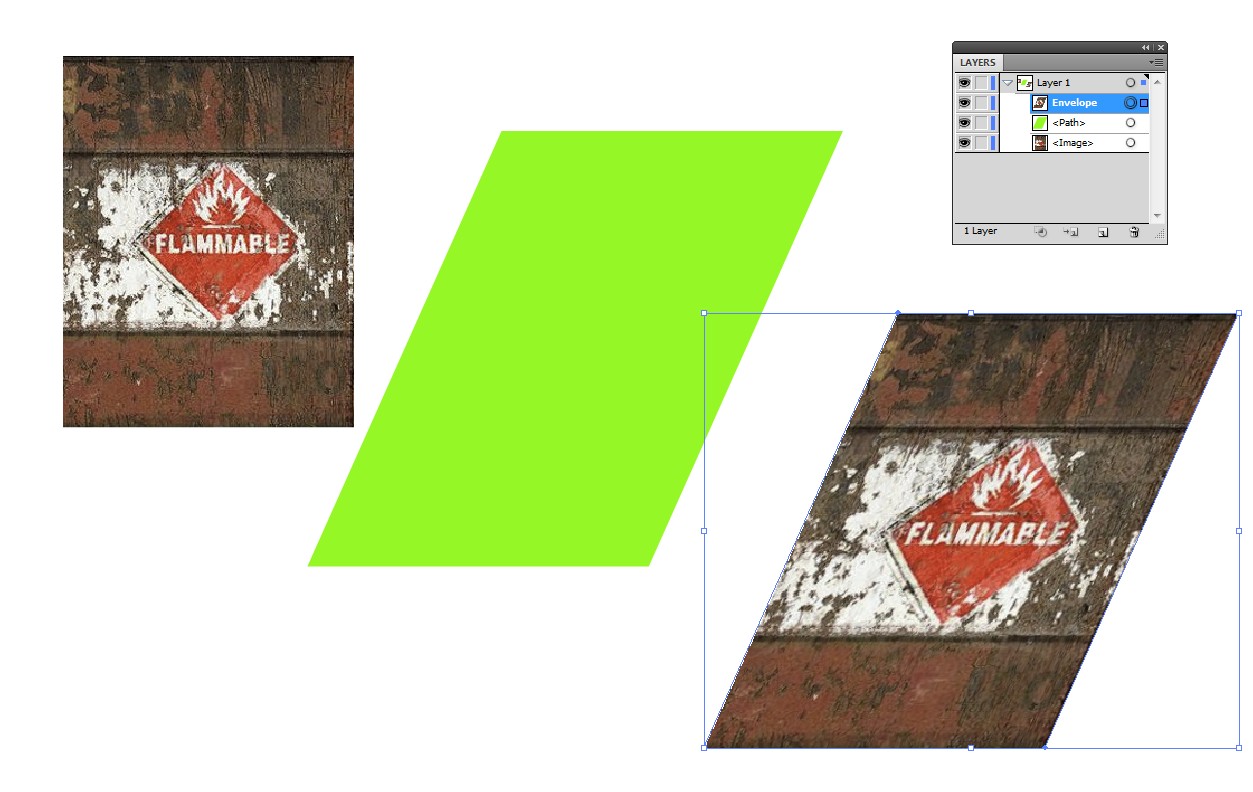
In Illustrator you can easily draw the exact parallelogram (angle, side lengths, check them from your 3D model). Use it to envelope distort the photo

enter image description here

Here is a photo and the parallelogram. Select both and goto Object > Envelope distort > Make with Top Object. The photo deforms to the wanted shape and size.

The result is at the right. There's no need to specially align the shapes, only be sure that both have the short sides horizontal and the parallelogram is above the photo in the layers panel.

3
  • Will this solution work if I'm trying to map a square texture onto a hexagonal face?
    – KatoFett
    Commented Dec 28, 2018 at 23:25
  • @KatoFett yes, it works. But there's infinitely possible mappings to do it, Illustrator takes the simplest one.
    – user82991
    Commented Dec 28, 2018 at 23:29
  • @KatoFett If the default mapping isn't satisfactory, you can insert nodes to the distortion mesh and move the points & turn the handles.
    – user82991
    Commented Dec 28, 2018 at 23:47

Your Answer

By clicking “Post Your Answer”, you agree to our terms of service and acknowledge you have read our privacy policy.

Not the answer you're looking for? Browse other questions tagged or ask your own question.