0

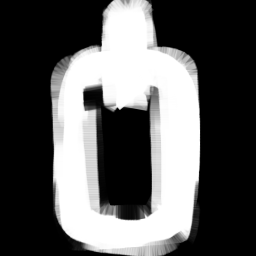
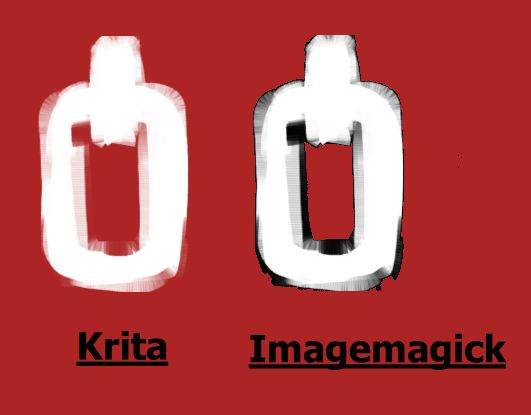
Non-Opaque Region Opacity is rendered as Opaque Black for the Images where the background in replaced with transparency.

Using Krita's 'ColortoAlpha' Filter one can see the actual opacity values in the image ,however using Imagemagick's -transparency command (below ),the parts where the opacity is not 100% gets rendered as Opaque Black.

Command -

magick test_opaque.png -transparent #000000 test_alpha.png  

How to display actual opacity with Imagemagick v7 on images with alpha channel.

Original Image

Original Image

Krita's 'ColortoAlpha' v/s Imagemagick's -transparency

Imagemagick

0

1 Answer 1

1

You are doing this:

magick test_opaque.png -transparent #000000 test_alpha.png

That doesn't work as intended as only the pixels that are completely black (#000000) will become transparent:

The result is a 1-bit alpha channel. Each pixel is either complete opaque or completely transparent. In fact your image contains gray pixels in between black and white which should become gradually more transparent the darker they are.

Try instead to copy the contents of the image to the alpha channel like this:

magick test_opaque.png -alpha copy test_alpha.png

The result is slightly better:

The alpha channel is correct now, but the problem is that the RGB channels still contain the original image which fades from white to black the more transparent it gets. That gives it that unwanted black aura. It will only look right on top of a black background.

We need to add a command that fills the image with white after creating the alpha channel:

magick test_opaque.png -alpha copy -fill white -colorize 100 test_alpha.png

Now we have a white shape that fades properly to transparent:

Your Answer

By clicking “Post Your Answer”, you agree to our terms of service and acknowledge you have read our privacy policy.

Not the answer you're looking for? Browse other questions tagged or ask your own question.