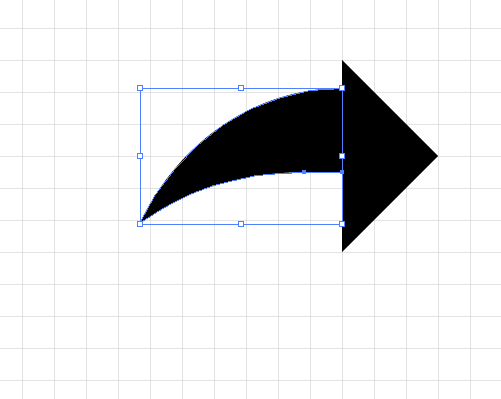
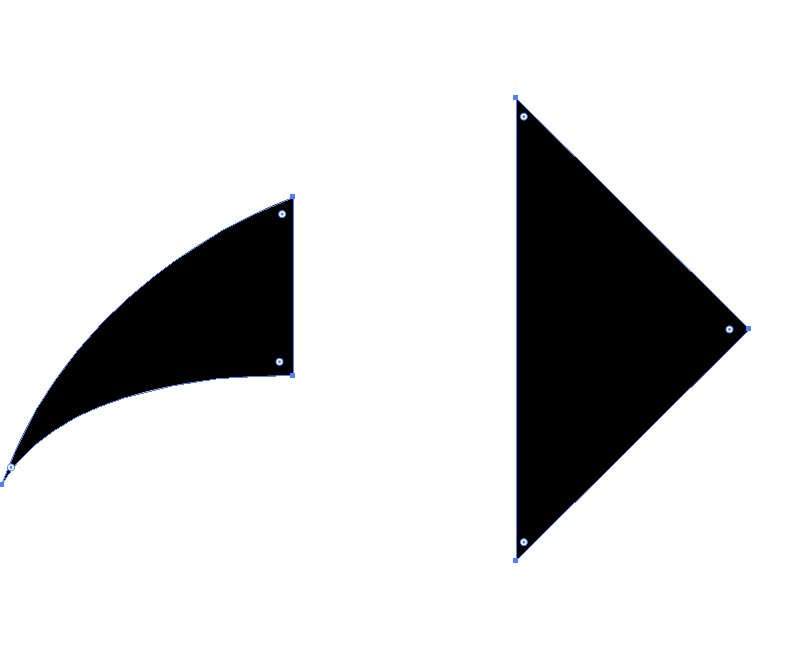
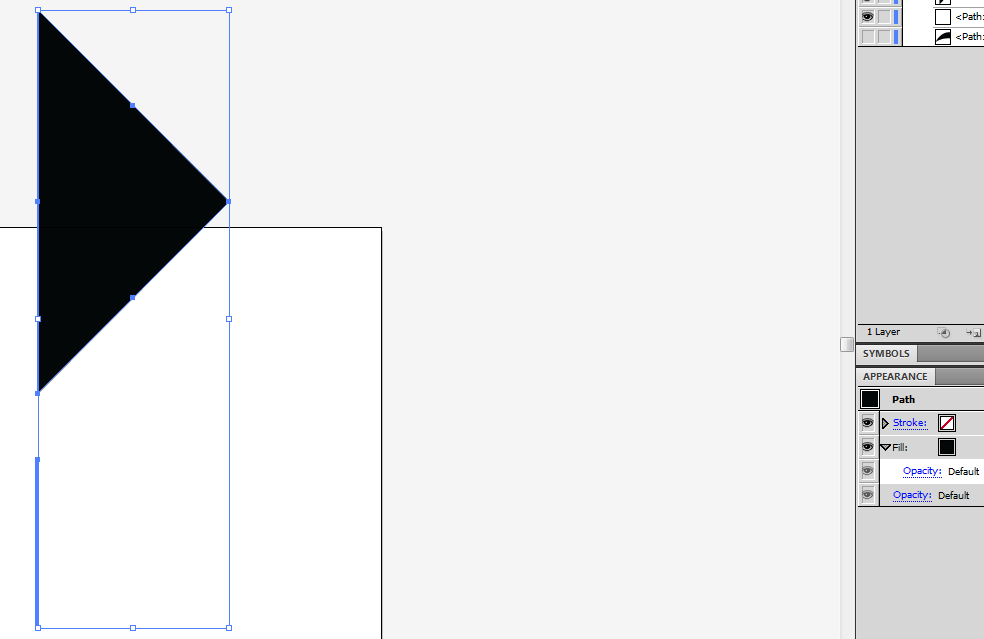
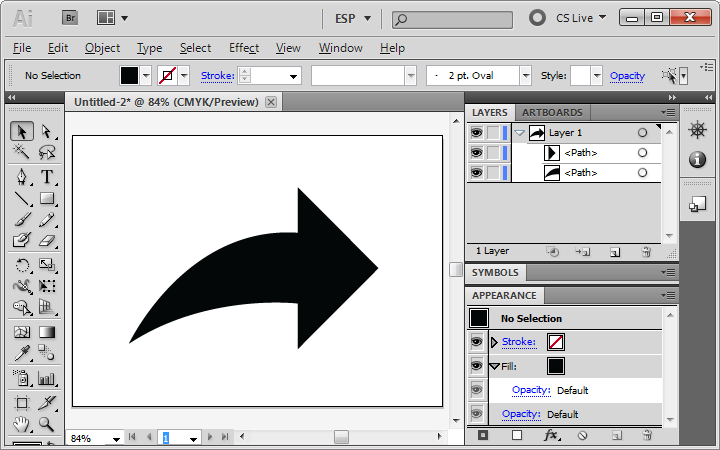
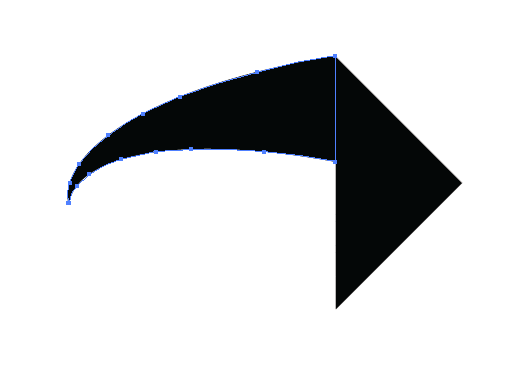
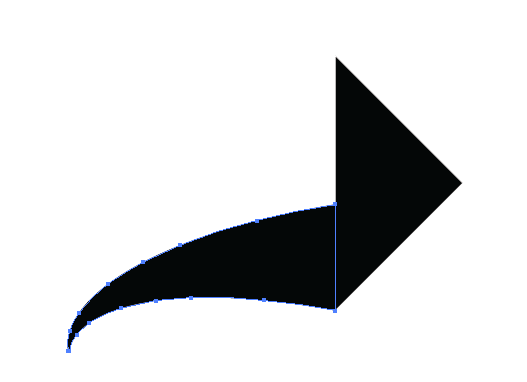
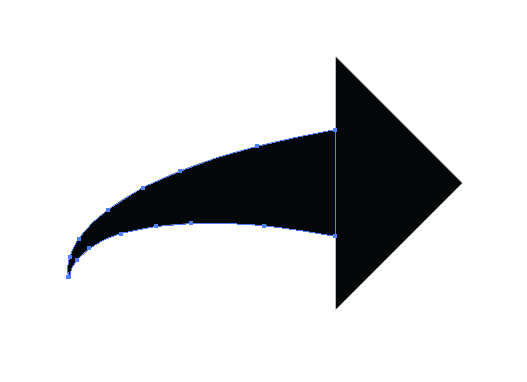
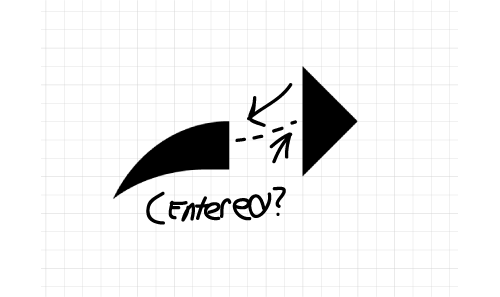
So in the picture below, you can see on the left (object A) and on the right (object B). I'm wanting to vertically center object A on the left of object B. Since object A is a weird shape, Illustrator puts the center accordingly to the bounding rectangle around it instead of the objects shape itself. So when I go to vertically center A to B. It doesn't quite exactly center the correct way (or the way I want it). So how do I fix this problem? Picture 2 will show you of an example of when I try to use the alignment tools.
5 Answers
Easiest, fairly universal instructions:
Duplicate the shapes by copying and pasting in place.
Take the shapes - something like this:
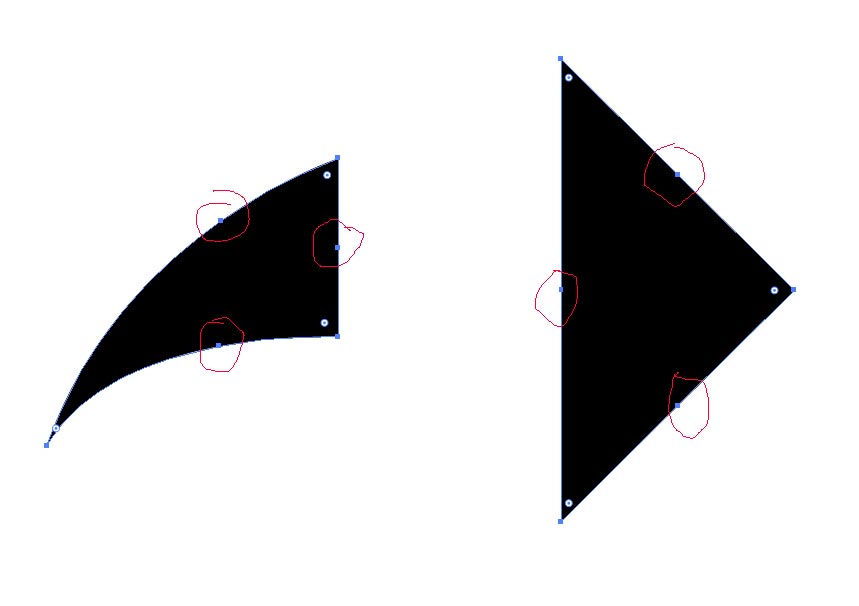
On the duplicates go to Object > Path > Add Anchor Points --- you'll get something like this with it perfectly centered on each edge (with my awesome circling skills for added emphasis):
Drag the duplicate and the original from one of the anchor points to the other.
edit
For final step by request - make sure Snap To Point
is on by View
->Snap To Point
:
http://www.youtube.com/watch?v=EXbmQM57W_A
Now delete the duplicates with the unnecessary anchor points.
-
-
Adding anchors is generally not a viable solution. In fact, great vector art has as few anchors as possible, and unfortunately, once you add those anchors to curves, they can't be deleted without altering the curve. While this works for this particular set of objects, in general this method fails.– ScottCommented Feb 13, 2014 at 15:08
-
If anchor points is a problem then you could duplicate both shapes - just do the whole shapes to save time. paste in place. align the original and duplicates at the same time. then delete the duplicates.– RyanCommented Feb 13, 2014 at 15:35
-
In that instance, John's method is more accurate and easier :)– ScottCommented Feb 13, 2014 at 15:44
Here's another way to do it:
With everything deselected, select only the vertical line of the curved shape by clicking on it with the Direct Selection Tool
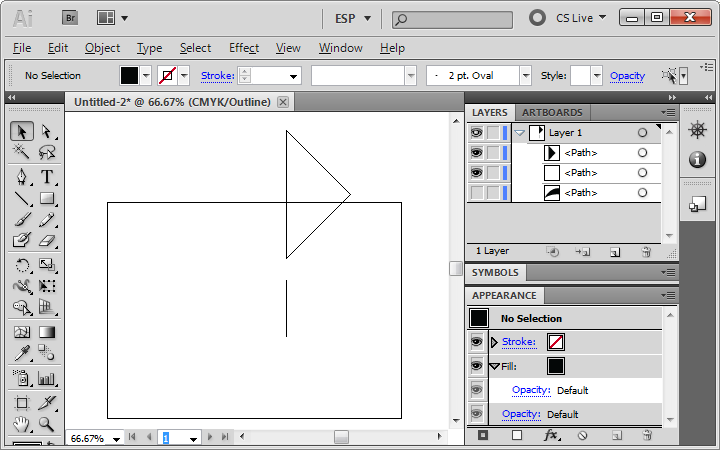
Copy the line, then Paste it in Place (Shift + Ctrl + V), and hide the curved shape so it's out of the way. You should be left with the triangle and a path like so (in Outline view for clarity):
Now, to align them. Select the triangle and the path using the selection tool, then Click on the path again to make it the key object for alignment. You should notice that it becomes a bit thicker which denotes that it is selected as the key object.
Now for the alignment. Click the Vertical Align Center button on the Align pane, and the triangle will be centered on the path. You can delete this extra path now and un-hide the original curved shape.
I answer accordingly to your example, thus it is not universal answer.
Press A (or click on Direct Selection Tool) and select right upper anchor point of your left shape (tail) - write down X and Y coordinates (let's call them X1 and Y1) from transform panel (window-Transform), then - click on right lower anchor point of your left shape (tail, X2,Y2) and subtract from Y2 the number of Y1 - now you get Y3 which you should divide by 2 and add to Y1 (or subtract from Y2) - this Y4 will give you the Y-center of the right border of your left shape.
(Y2-Y1)/2+Y1 or Y2-(Y2-Y1)/2 = Y4
(the numbers on this picture unrelated to the case - I show the positioning square where you get coordinates)
Now, select the right shape and in Transform positioning square click on LEFT middle quadrant, and Now - insert the written numbers of the X1 and Y4 coordinates and press enter (after writing the Y coordinate)
You're done
The fastest way I know is to move an object the "full" distance you would like to halve, then move it back by half the distance.
First align the objects by their highest points:
Then move one object to align the lowest points:
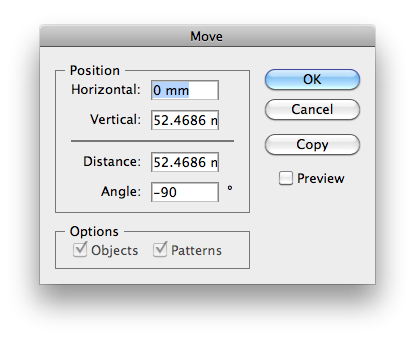
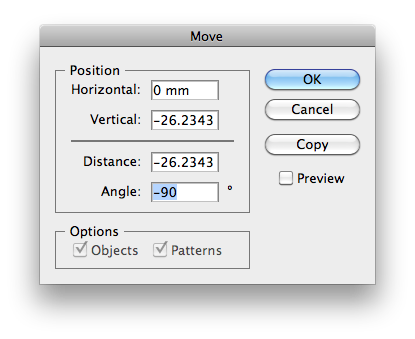
Open the Move
Modal dialog (if you have a Selection Tool
active, just press Enter
):
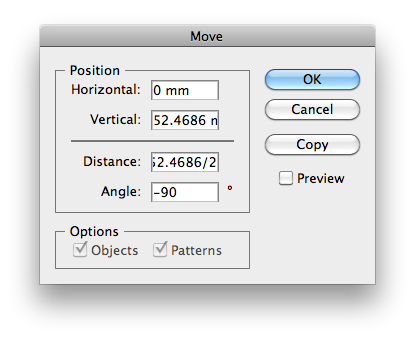
The last distance and angle used is displayed. You can use mathematical operators such as +
, -
, /
, and *
. In this case, I divide the distance by two, then set it to negative:
Hit OK and you're done:
-
Wow, I did not know you could do math in those boxes. Awesome.– JohnBCommented Feb 13, 2014 at 17:59
-
1
Centering objects (and graphic design in general) has a golden rule: When it looks right it is right. In all 'measured' answers the tail looks to low. You should place the tail a little higher to be optically centered.
If you have trouble with finding the right position you can:
- Make variations and compare (exaggerate and start narrowing down).
- Flip the image (have a fresh look and check your work).
Hope you achieve the desired result.
-
-
I agree with what you said but imagine people downvoted because instead of answering how to perfectly center you suggested doing something else entirely. But you're right that sometimes you have to use your eye for it to look right even if the numbers say otherwise because of volume and curvature– RyanCommented Feb 13, 2014 at 13:43
-
-
Thanks for the feedback! I don't mention Illustrator but the end result will look 'perfectly' right ;).– allcapsCommented Feb 13, 2014 at 16:07