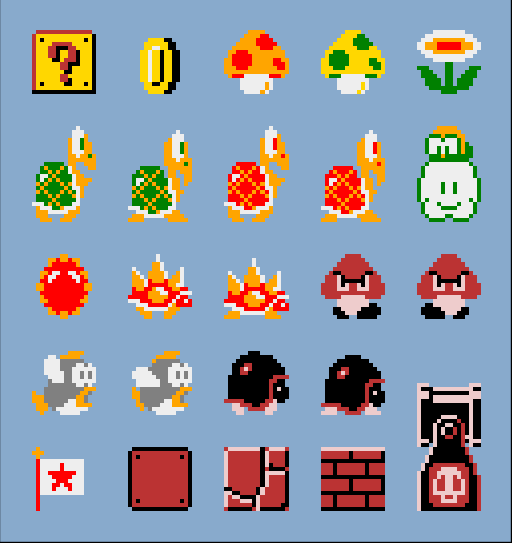
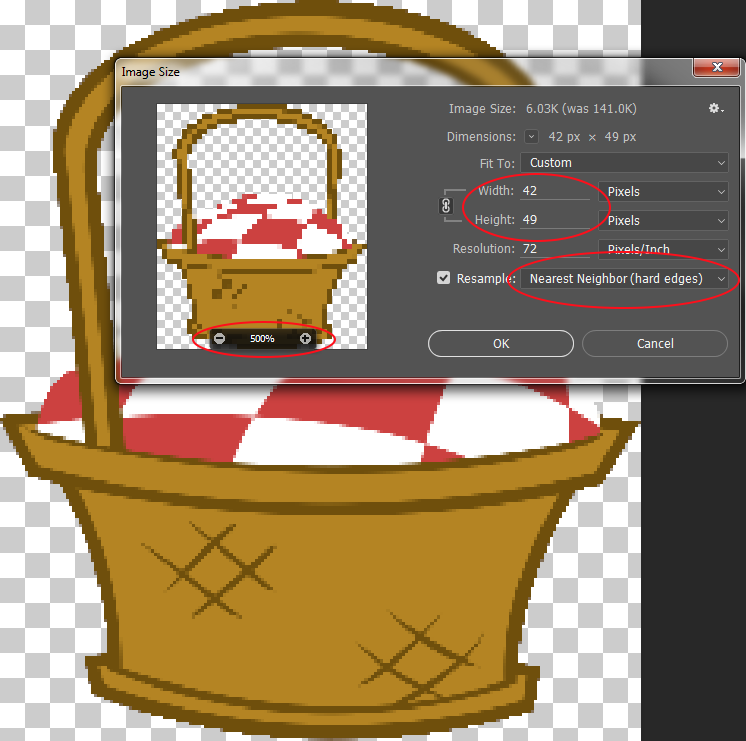
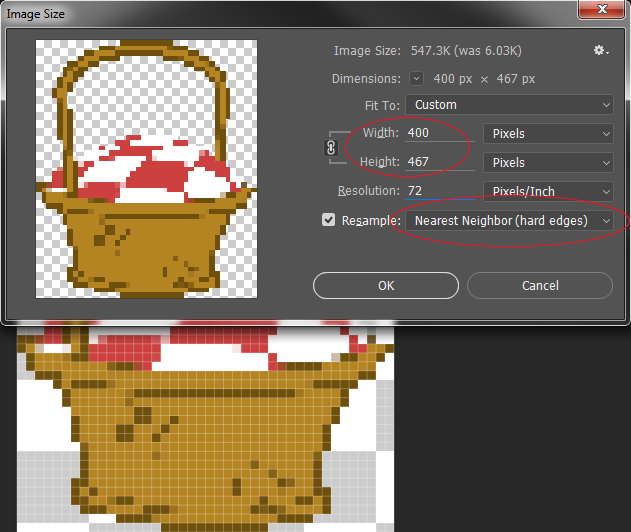
Before starting, look at the original graphics you're trying to emulate. You'll see the areas of colour are flat and bright because the shapes themselves - believe it or not! - are straight edged areas. The only time you get the pixellating effect is when the lines are slightly off-straight, sloping.
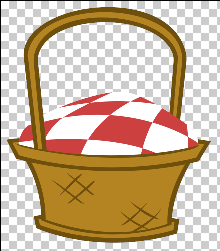
So you need a program that emulates this from the start - I've just done this so I know it works - you use Paint. That's right, the forgotten freebie that comes with Windows. It's in Accessories on XP, dunno where it is in other versions but it's prob. there somewhere. Even if it means doing a screen copy then cutting the basket out afterwards (if you need to do that, put a copy of the screen on the window, cut out the basket, open a new instance, paste basket in new instance.)
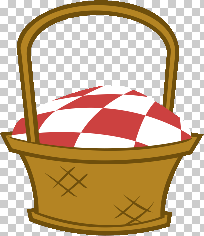
Then look at the picture. You'll see where the basket is SLIGHTLY pixellated. That's where you want to accentuate the effect. You do that by zooming in big (CTRL-Page Down or use View/Zoom from the menu)and using the eraser tool on smallest square mode (there's a list of squares on the left-hand side of the screen) to just take out an extra pixel here and there where the lines are vaguely pixellated already. You won't need to take out any pixels where the lines are vertical or horizontal because, if you look, you'll see there aren't any pixels missing from straight lines in the originals. You will need to nick one pixel from each corner of the square front of the basket. That's method 1.
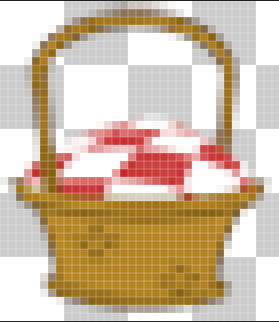
Method 2 starts off the same (using Paint, pasting in picture) but then just saving the picture in a really bad format. The plobrem with Method 2 is EVERYTHING will look blurry and pixellated. Don't forget, why Mario works is because the uprights and colours are flat and good, it's just non-straight lines and corners. If I was doing it, I'd go with Method One. Because I just DID and it worked! I'm even happy to send you my version if anyone can tell me a way of doing it.
Chris.

