I want to create skin retouching action in photoshop. I searched a lot but I couldn't find out anywhere. please let me teach for the same.
-
What is it that you want do with the Action? I mean like probably to smooth out the skin, but you can do that in many different ways already, without actions so...– JoonasCommented Dec 23, 2016 at 6:43
-
Want to create action for retouching of skin– itsmedesignerCommented Dec 23, 2016 at 6:44
-
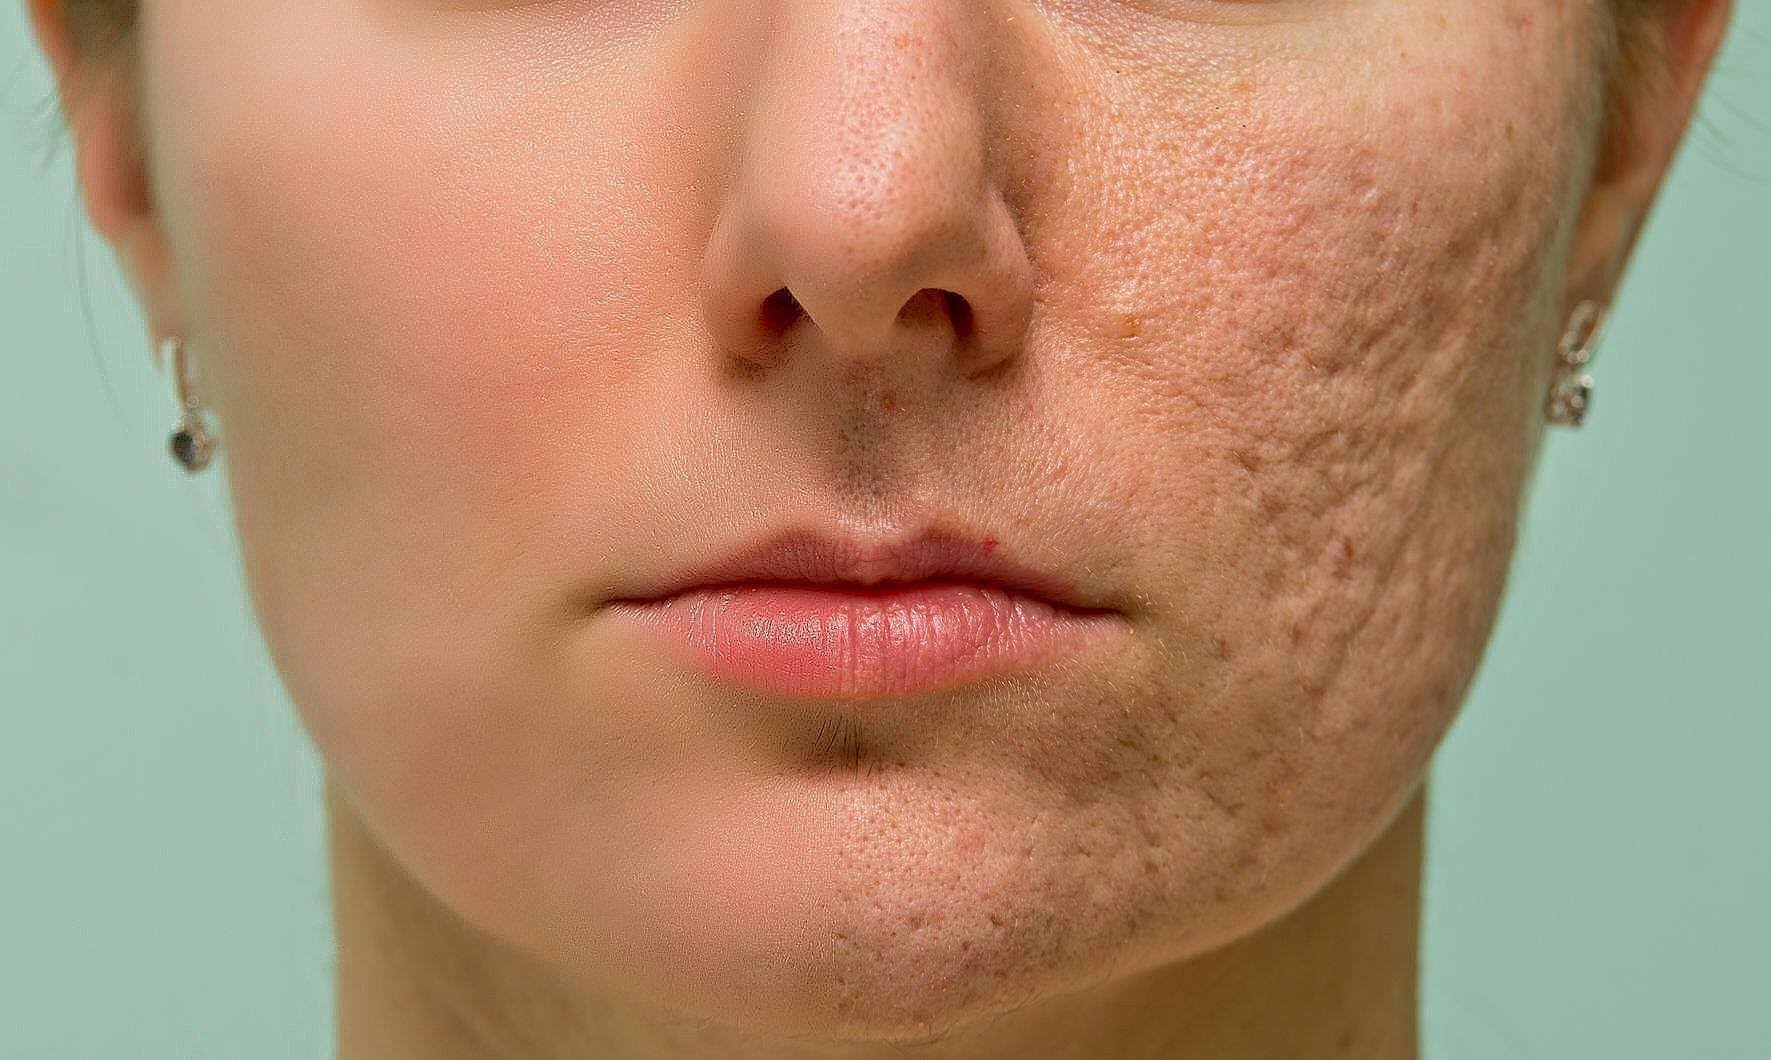
Ok! see I want to clean red marks. pimples dark marks from face. I got project to create action for the same– itsmedesignerCommented Dec 23, 2016 at 6:52
1 Answer
Retouching skins have so many plugins, software and even photoshop actions, some are paid and other are free, you can search for free photoshop retouching skin actions.
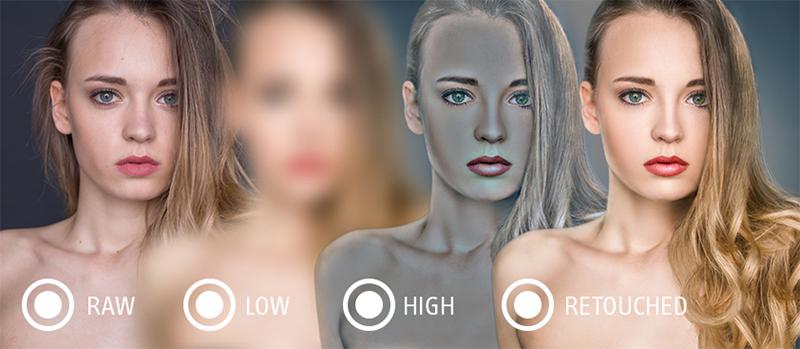
For me and in Photoshop using actions, I prefer using a technique called "Frequency Separation Retouching" which is a simple action to create two layers with different frequencies and retouching each frequencies separability without affecting the other layer and the result is just AMAZING!
here you are the steps to create "Frequency Separation Retouching" layers in photoshop and of course while you doing that you can record your steps in your own action.
- Duplicate your background into two layers
- Name the lower one "Low Frequency" and the higher one "High Frequency"
- apply a
Gaussian Blurto the lower (low frequency) layer. Choose a radius that blurs out the Skin texture, but don’t go too far as to make the Face unrecognizable.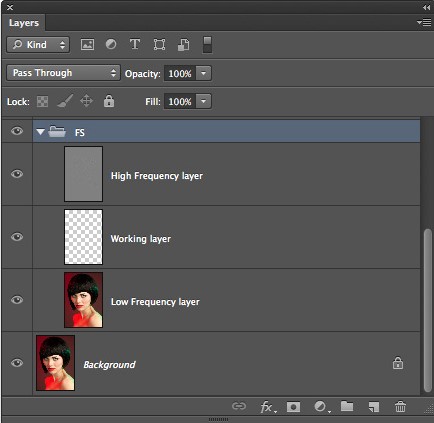
- choose your high frequency layer and go to
Image > Apply Image. Here you will want to see the Layer: to the low frequency layer. For blending chooseSubtractand forScale:2,Offset:128. These will be your settings every time, no need to change them.
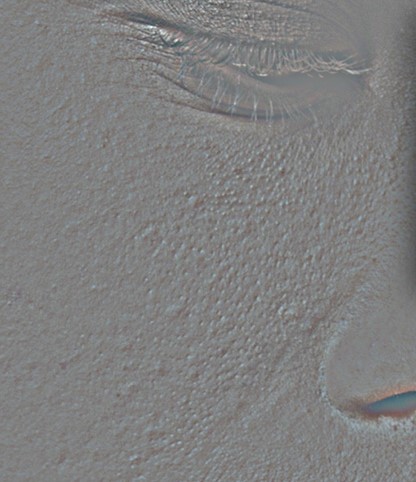
- what we did is separating the color of the skin in a layer (low frequency layer) from the texture of the skin (high frequency layer) you should have one layer with a blur (low frequency) and a layer above it that looks mostly gray (high frequency).
- Select the high frequency layer and change the blending mode to
Linear Light. now the layer will return to its original status. - Make the correction you need over the low frequency layer by using a soft-edged brush or using the
lasso toolto applyblurorGaussian Blurfilters, in this step you are correcting the colors and the tones defection of the skin. - now comes the turn of the high frequency layer, which is the skin bump texture only which is "the pores" of the skin. in this step you can correct the skin defections with the
stamp toollike red marks, pimples, blemishes, Wounds and Melasma. Of course if the skin defection is still presence in the low frequency layer you could correct to using thestamp tool - That's it.
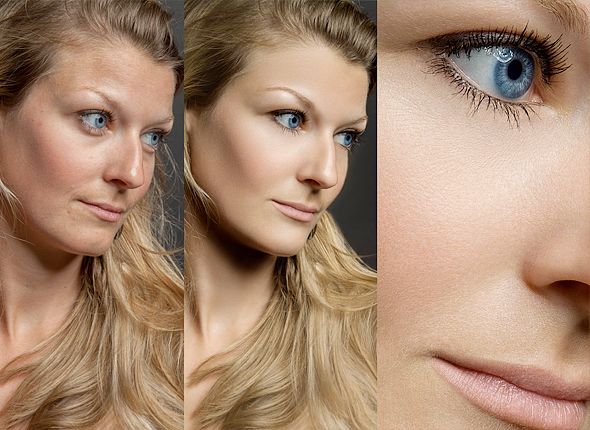
you will notice that you did a great job, you preserve the skin texture and the skin colors and tone didn't affect at all. some retouching are soft and so natural
other skin may need extreme retouching and the result are so amazing.
PS. of course you can group both layers in a folder to apply a mask for the group of layers to control the strength of your corrections over the actual image.
the best part in my answer: Actually there is a free actions over the internet for Frequency Separation Retouching and you can download it for free from here or you can do your own search for more.

