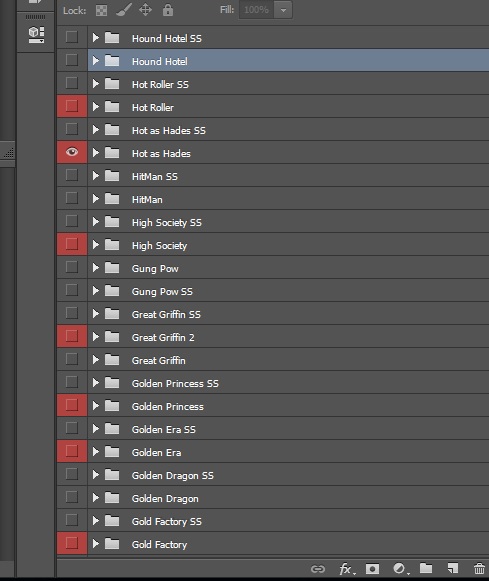
I dont know how to export multiple files for web (JPG) without having to press all the time the same thing File--> Export--> Save for Web... I could use the quick export which has the option to save groups with their names in JPG but I need to have optimized files for web! This is an image for you to see and understand better Thanks!
-
Have you tried recording an action?– Billy KerrCommented Jul 28, 2017 at 22:27
-
I don't know what to exactly record in the action for it to be correct– Katerina AlCommented Aug 3, 2017 at 9:04
-
Just record File > Export > Save for web, then follow through the process to save one image. Then stop the action. Then you can just play the action each time you want to save.– Billy KerrCommented Aug 3, 2017 at 17:34
1 Answer
You can just change your quick export preferences.
Change Quick Export preferences
By default, Quick Export generates assets as PNG with transparency and prompts you every time to select an export location. You can change these settings by selecting either Preferences > Export or File > Export > Export Preferences and then specifying the following:
Your preferred format for Quick Export: PNG, JPG, PNG-8, GIF, or SVG Format-specific parameters. For example, for PNG, you can specify if you want to export assets with Transparency enabled (32-bit) or export smaller-sized images (8-bit). Location for images exported using Quick Export. To do so, select one of the following: Ask Where To Export Each Time: Prompts you to select a location every time you export assets Export Files To An Assets Folder Next To The Current Document: Places the image asset in a subfolder named Assets within the folder containing the source Photoshop document.
Whether you want to include metadata—copyright and contact info—in the exported assets Whether you want to convert the assets to the sRGB color space
Taken from the adobe help article.
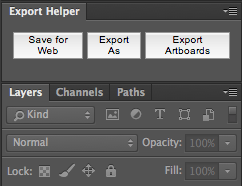
You also can install a wonderful extension panel that will create quick save buttons for you.

