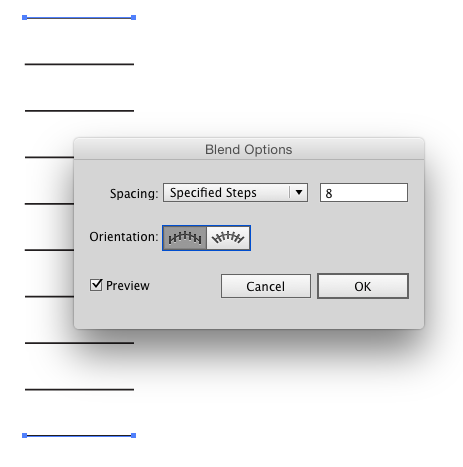
Object > Blend > Make
Then
Object > Blend > Blend Options and set it to Specified Steps entering 8 -- 8 because you start with 2 thus resulting in 10 steps including start and end.
Leaving the blend in tact means if you move either path at the end with the Direct Selection tool (white arrow), the spacing will adjust to accommodate any repositioning.
If you want each step to be an individual, selectable, path - Choose Object > Expand Appearance. Then you may need to also ungroup.

