3

I have been searching for this answer for a while, but haven't understood how to master exactly what I want.

Currently, I am working on a project on Inkscape where I have created an odd shape by connecting the top nodes of two circles together and repeating the process to the bottom nodes (to form a container shape.) I have also created an arrangement of objects that I would like to organically scatter throughout the shape, without overlapping, creating a grid look and filling the curved ends as well. I have read that using the "randomizing centres..." button in the "Align and Distribute" tab, will sprinkle my objects, and finishing it off with the "Unclump" button will prevent the overlapping. However, I cannot seem to spread it within my chosen shape.

Is there a way to perform this task so the assortment of objects will actually fill the shape itself?

4
  • 1
    Welcome to GD.SE. Consider adding some screenshots to help illustrate your set-up. Commented Mar 28, 2018 at 19:36
  • "Pack an outline with random shapes" must be a duplicate question (and I don't think there are good automatic solutions.)
    – Jongware
    Commented Mar 28, 2018 at 20:48
  • ... Here is one that basically says "can't be done".
    – Jongware
    Commented Mar 28, 2018 at 20:54
  • Read this: graphicdesign.stackexchange.com/questions/79936/…
    – joojaa
    Commented Mar 29, 2018 at 11:18

2 Answers 2

3

Only very loose fills are possible easily. There's no automatic "fill a shape with shapes -optimizer" in Inkscape. Someone perhaps can have programmed it as an extension, but I haven't seen it. If it existed, it surely would be enormously useful tool for both business and art.

Loose fill example:
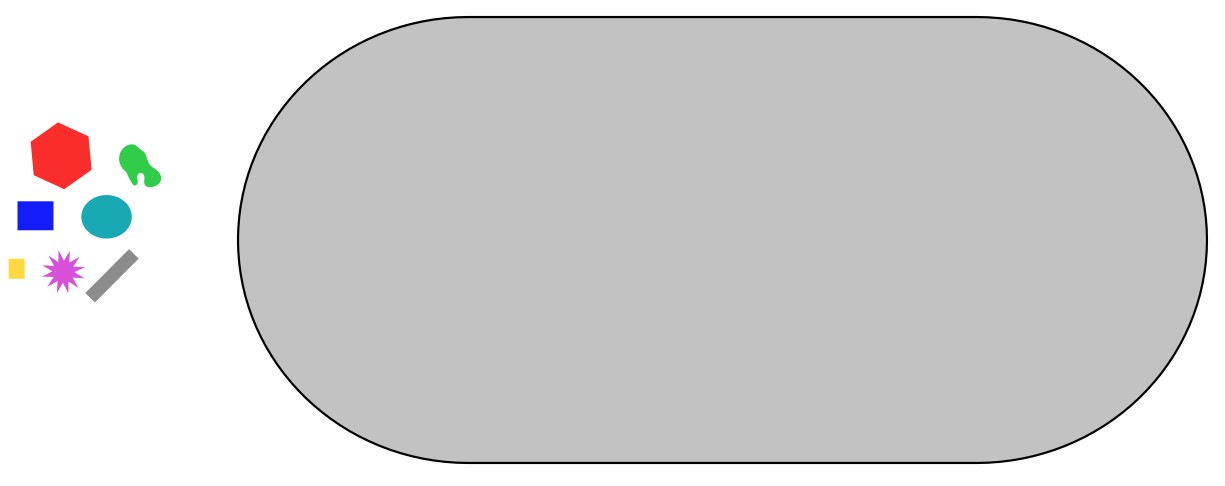
enter image description here

In the left there is a collection of random shapes and in the right there's the shape to be filled (=the container). It has temporary grey fill.

Select the small shapes and use the spraycan tool to spread the shapes. Have option "Apply over transparent areas unselected" . The sprayed shapes populate only the filled area. Unfortunately the centerpoints of the sprayed shapes respect the border, shapes wil go over the border partially:

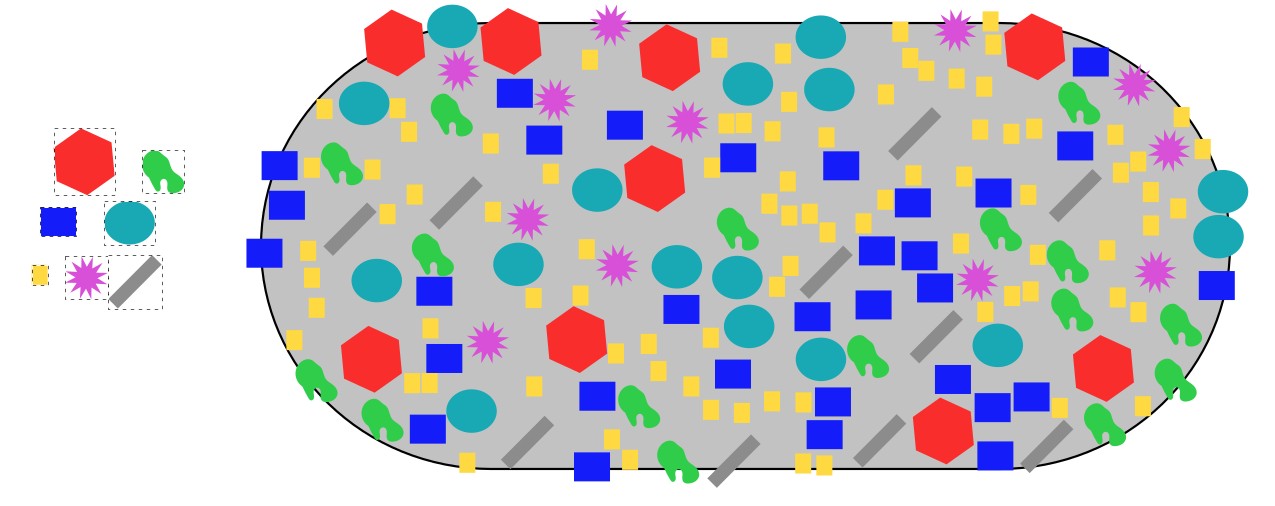
enter image description here

enter image description here

That can be fixed manually. You have following options:

  • drag the container bigger with Path > Dynamic offset -tool
  • use a little smaller container version during the spraying
  • move scale, rotate, and delete the shapes which cross the border
  • make a copy of the container, clip the fill shapes with it (

As you see, the yellow small shape is over-presented due its smaller size. Have several different smallest shapes to avoid one to be over-present.

Here is the final result. Some shapes are moved and the container is made bigger
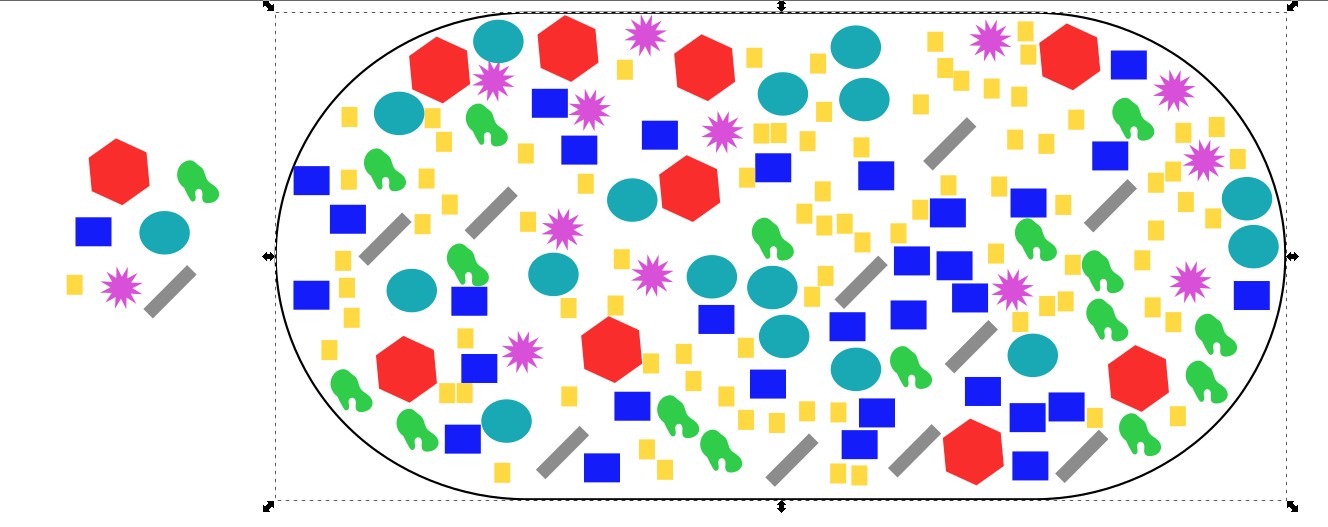
enter image description here

If you allow deformations and rotations to the fill shapes, you can draw a path which fills the container and place the fill shapes along that path. Only arrange them to a straight row and group. Then use Extension > Generate from path > pattern along path (see Inkscape manual). The result depends radically on the drawn fill-route path. An example (fill-route not deleted):
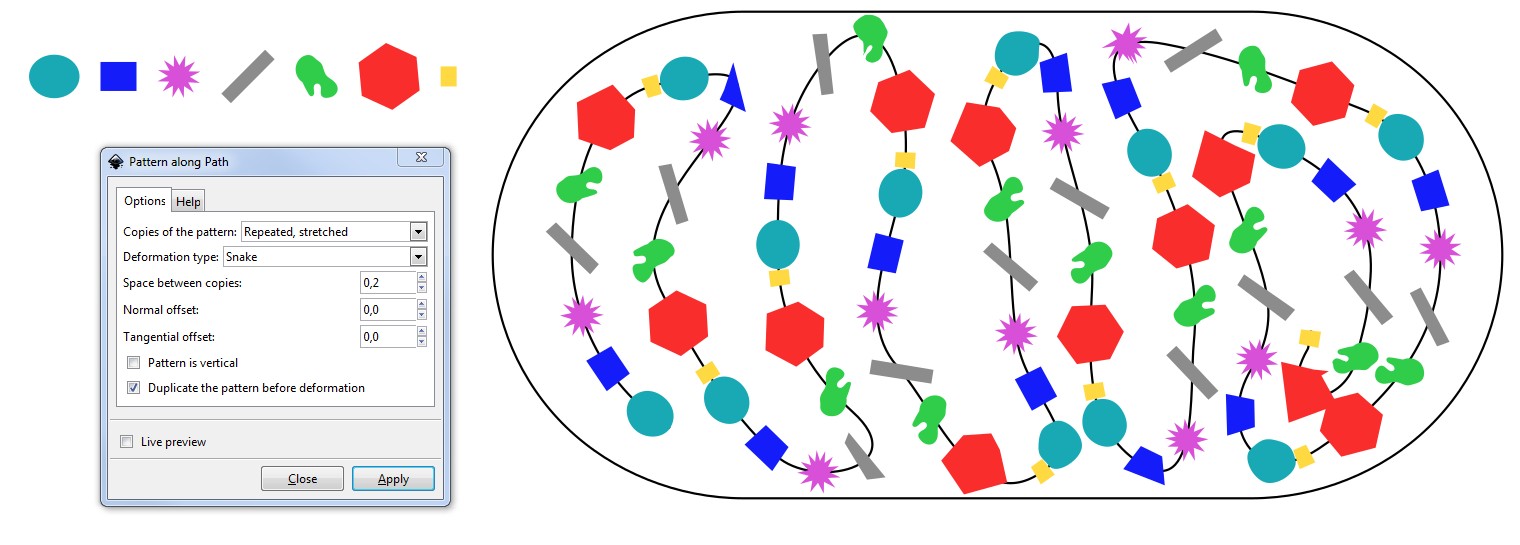
enter image description here

You must ungroup all and do Path > Break apart to get the shapes free for manual tuning.

A tuned version:
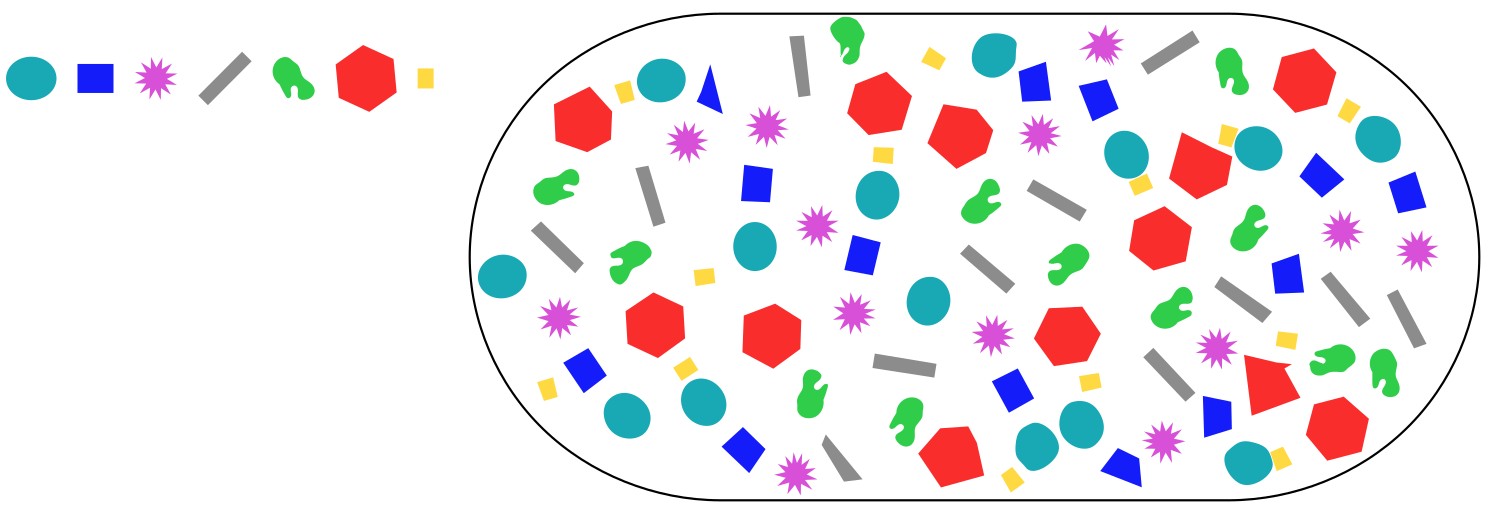
enter image description here

Conclusion: Both of these methods are quite little helpful when comparing to fully manual placing. Fully manual placing can produce superior tightness.

1
  • Try SVG nest ;)
    – joojaa
    Commented Mar 29, 2018 at 11:16
2

Another option could be https://svgnest.com/, an open source tool designed for CNC. It's a browser-based vector nesting tool. You can work with SVG. Check out the Git repo too here https://github.com/Jack000/SVGnest

enter image description here

Not the answer you're looking for? Browse other questions tagged or ask your own question.