Answer rewritten: At a glance that seems to work perfectly assuming you do not move the camera nor change the light. At screen resolution it's well possible that the movements are not a problem. But the light changes in the background when you insert an object, if there's not enough distance. At least in your photos the floor is definitely different near the object. That could be fixed by having some distance or a self-illuminating background.
There's another problem: Photoshop has no proper reasoning mechanism for "this is the same as in the plain floor image, so it's background". Photoshop's blending modes are calculated pixel by pixel and proper reasoning needs some area around every pixel. That's because a single pixel in the object can still be nearly same in both images or produce the same blending result.
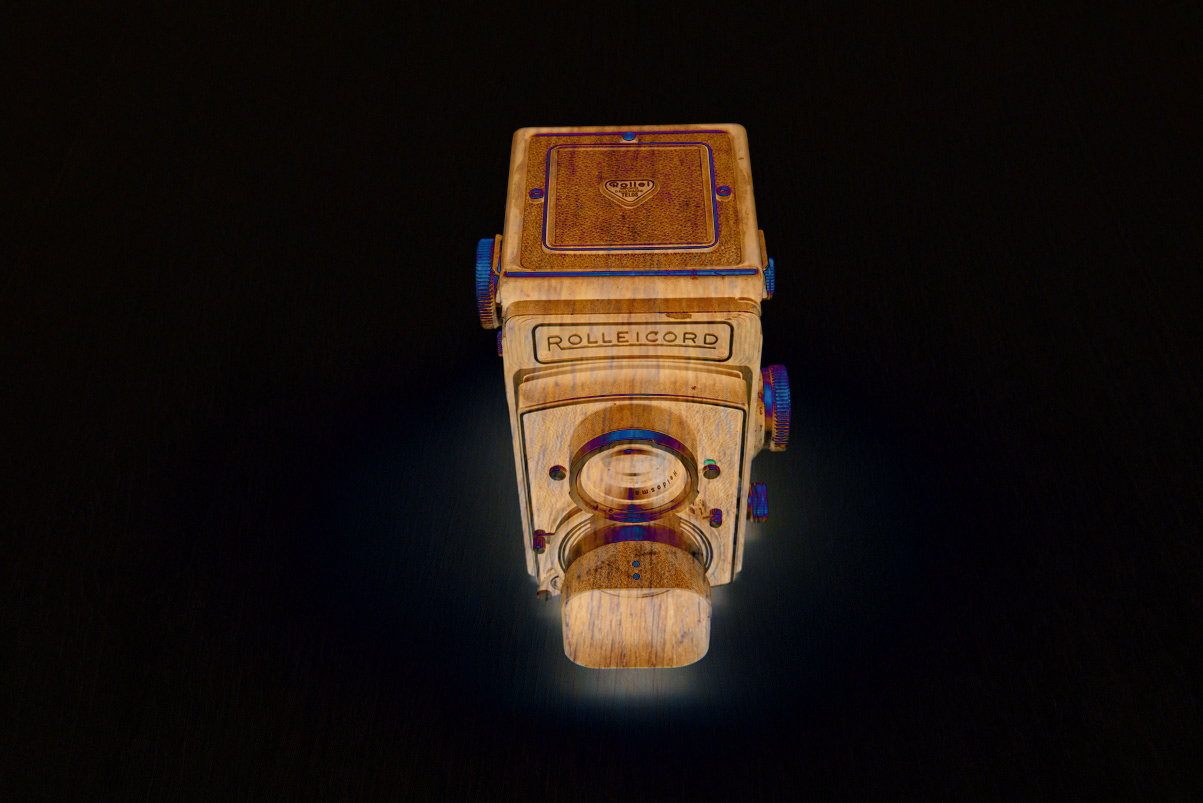
Here's your images blended with mode divide:
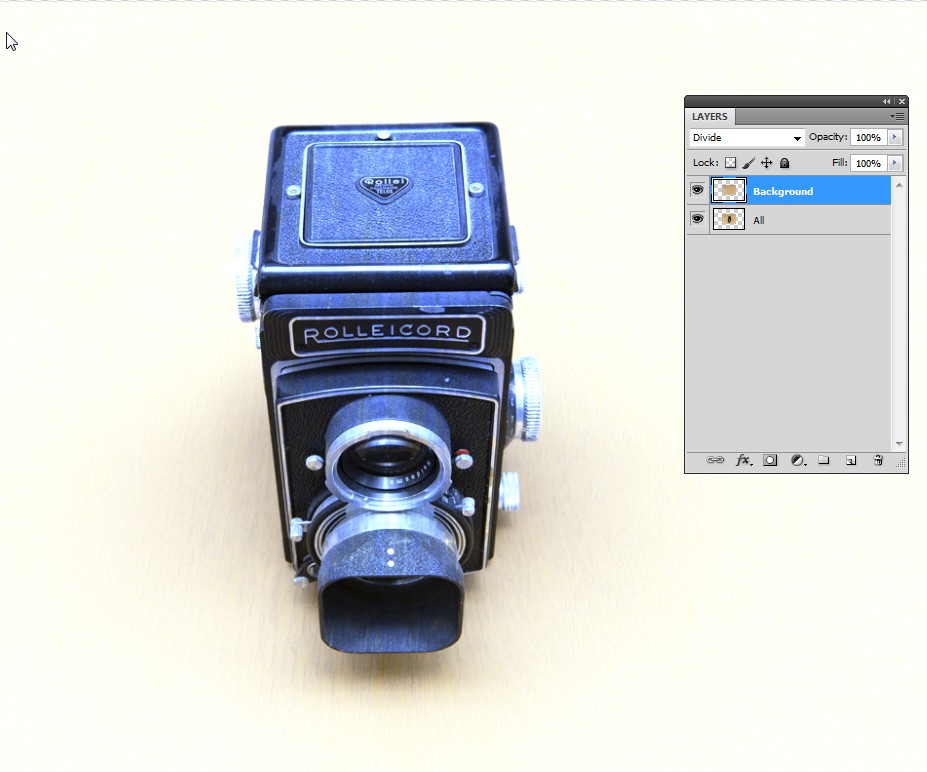
We see following faults:
- result is white also in the glossy areas of the object
- the background is well present where the object changes background light
- the background texturizes the object a little by division
Other blending modes will not help, subtract is even worse because the object is dark.
Actually one non-pixel by pixel reasoning method exists in Photoshop. We can detect edges and fill the outside or delete it (=fill with transparent). It will work if the resolution is high enough and there's no light differences An example:
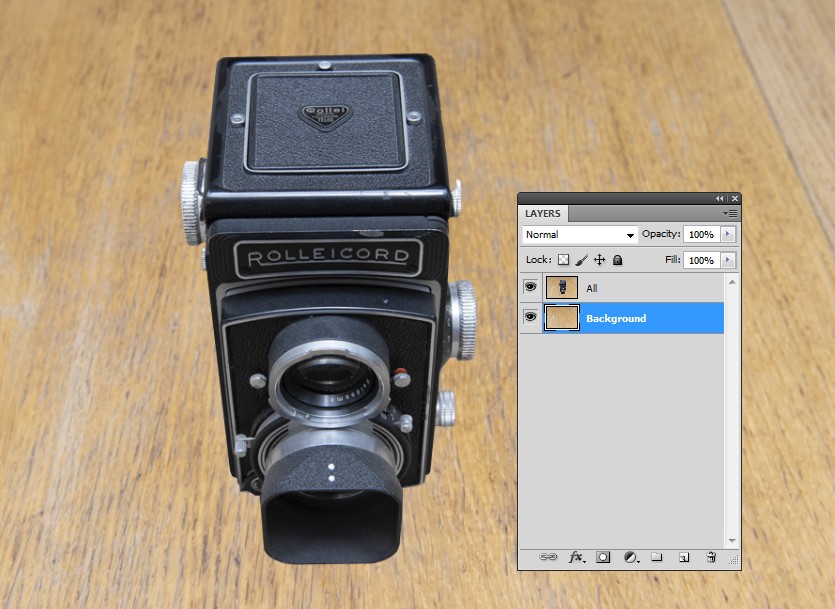
Here's a fake version of your image, one without object's effect to background lightning:
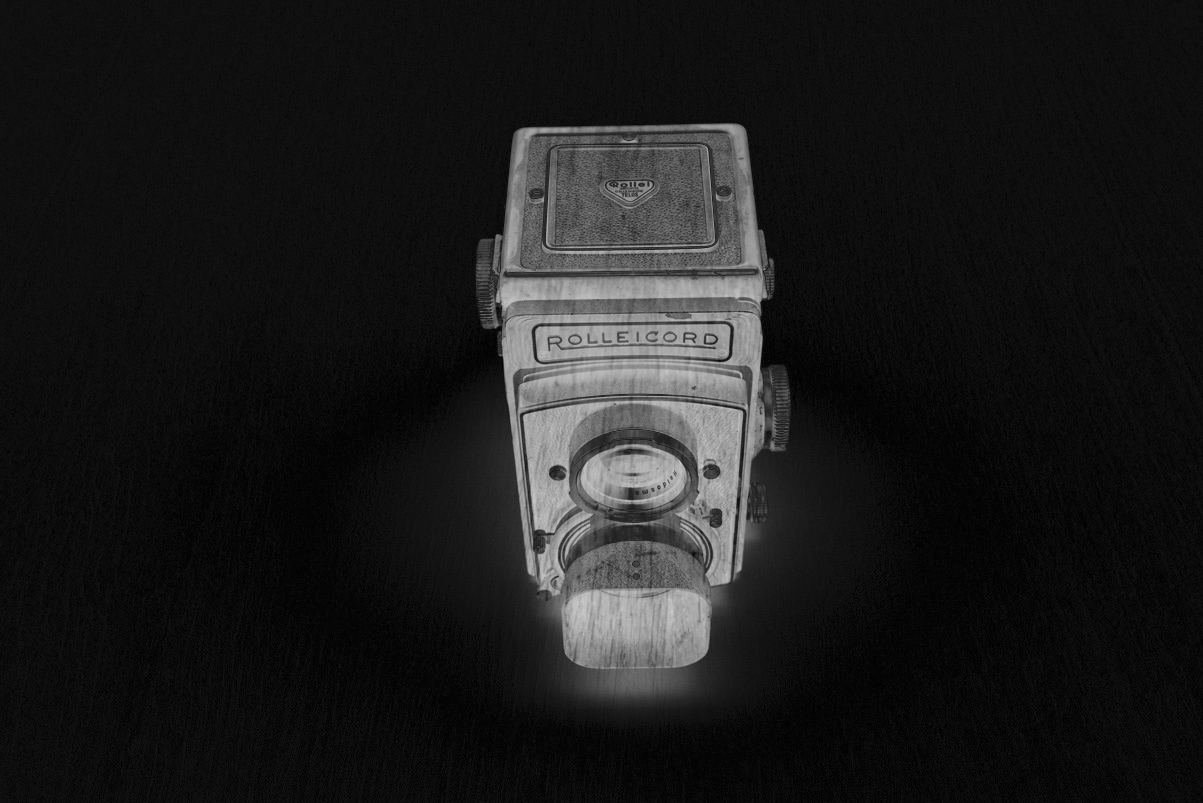
Detecting edges -filter leaves only edges:
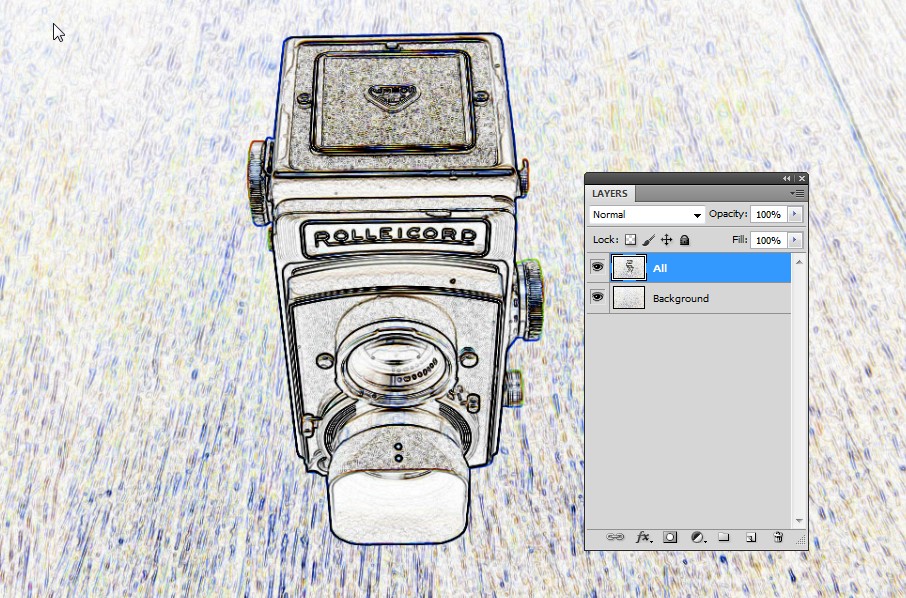
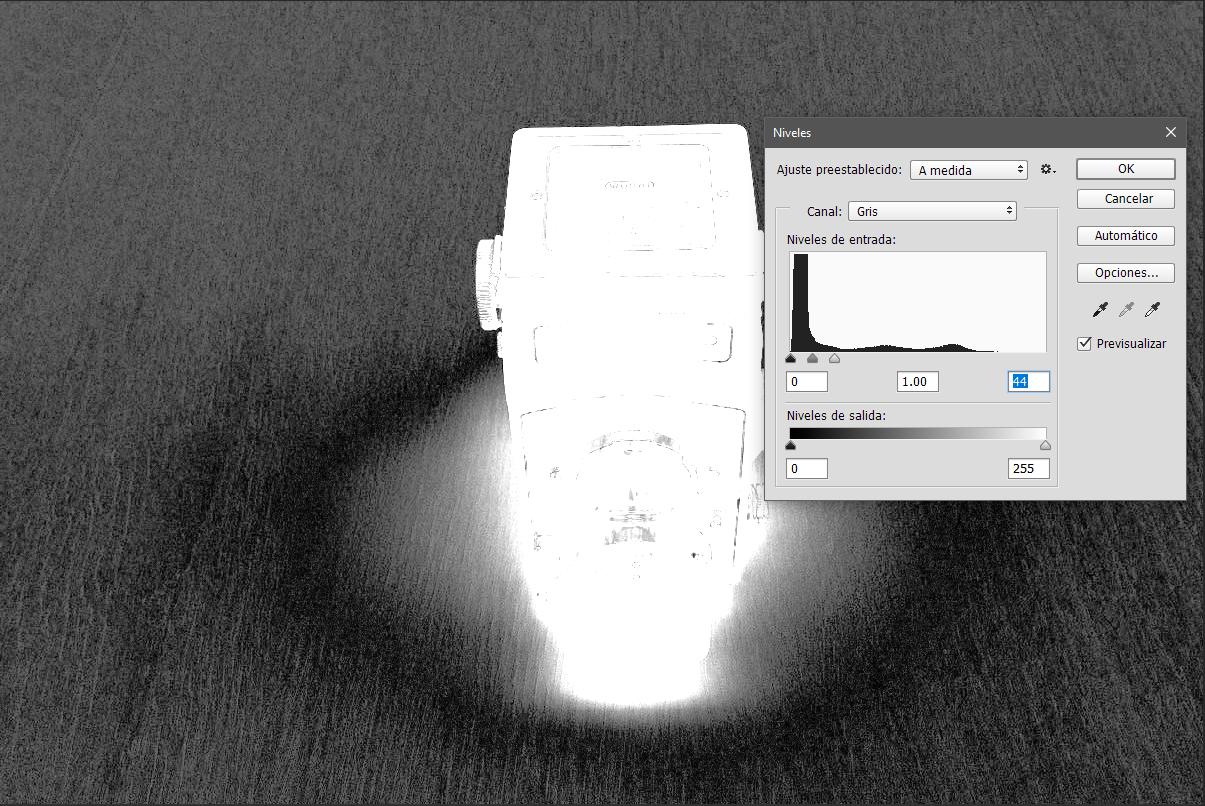
When the same is applied to the background and blending mode difference is selected, we get:
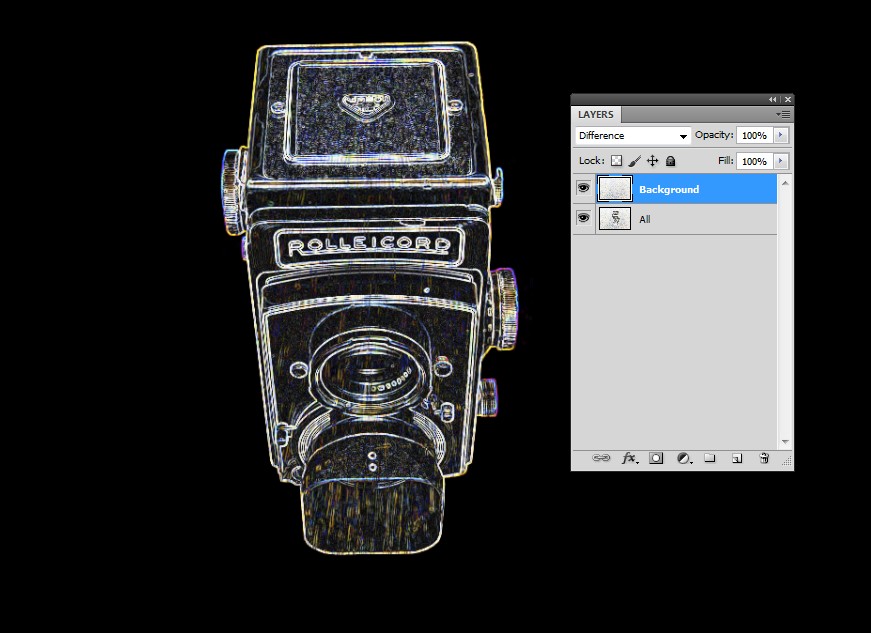
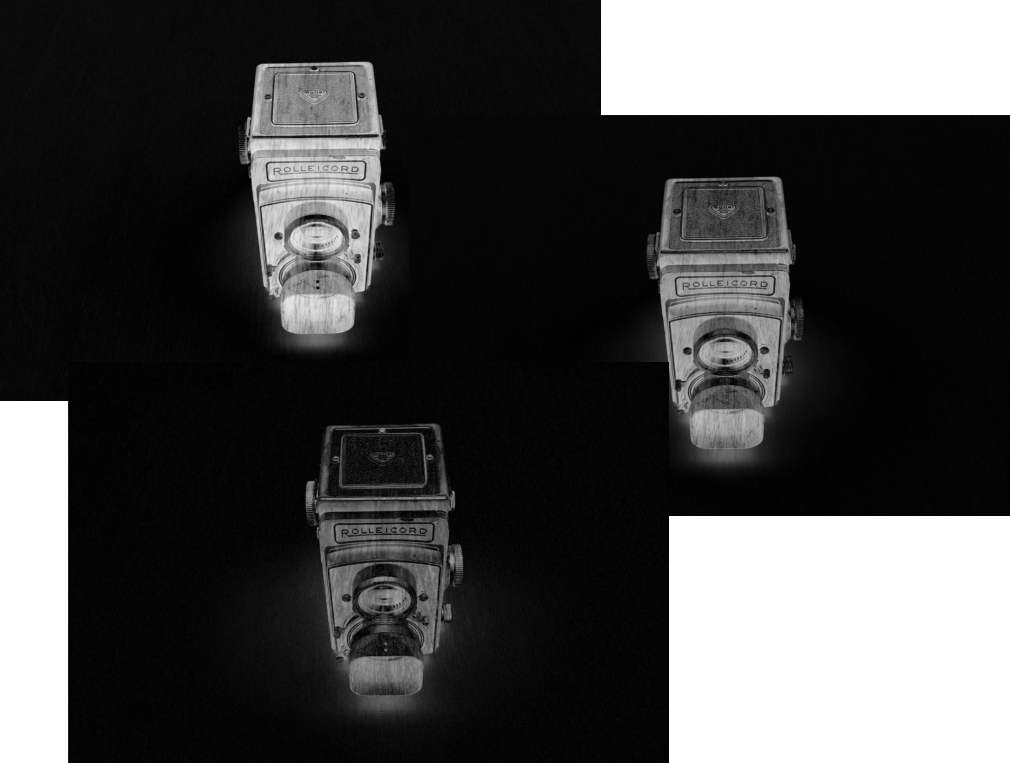
Black can be selected with magic wand. When one demands contiquous selection, that selection can be used to delete the background of the original image. The result:
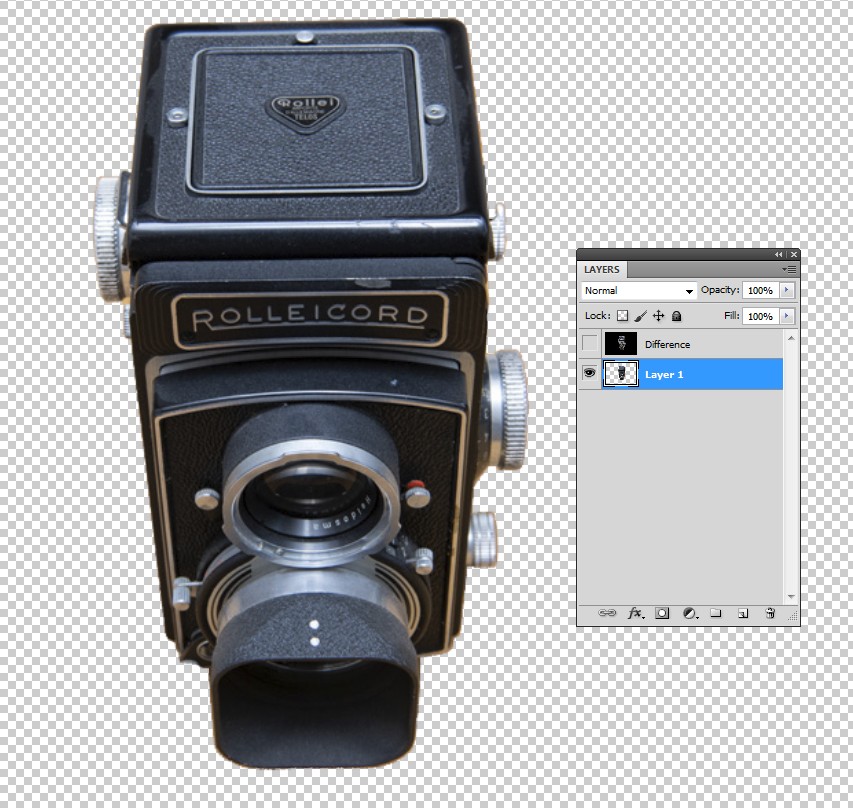
Only one hitch: You should desaturate selectively with Image > Adjust > Hue & Saturation the background color from the object. It's disturbing when the background has vanished.
Of course this all is quite theoretical, because if you have a background which doesn't get affected by the object, you probably can make it also bright or dark enough to use traditional methods.
I suggest you accept traditional methods. It's not so difficult to take the photos properly for background removal. Have a featureless background (=uniformly lighted one) and take a silhouette photo against it. Take another photo with foreground lights on. Use the silhouette to make a selection for background removal. If you have a sturdy camera stand, you do not move your feet and you use timed shooting, the silhouette will be perfect enough even for high resolution images.
You will still need clipping paths, if the object is transparent or makes strong reflections.
Green or other color keying methods need plenty of room to prevent the background color polluting the object.
Not asked: Those of us who have made some tests around the question have surely got also this:
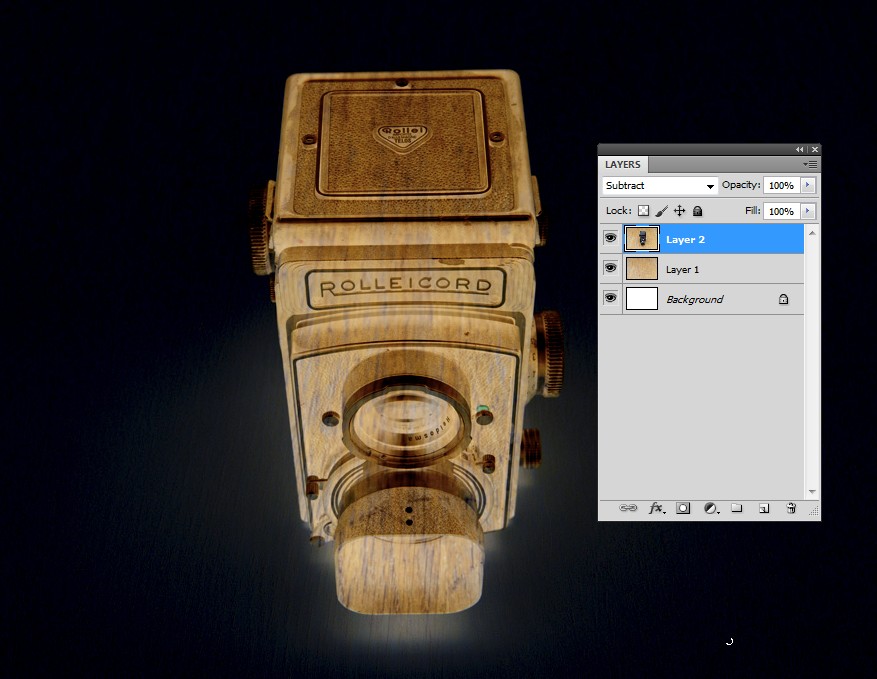
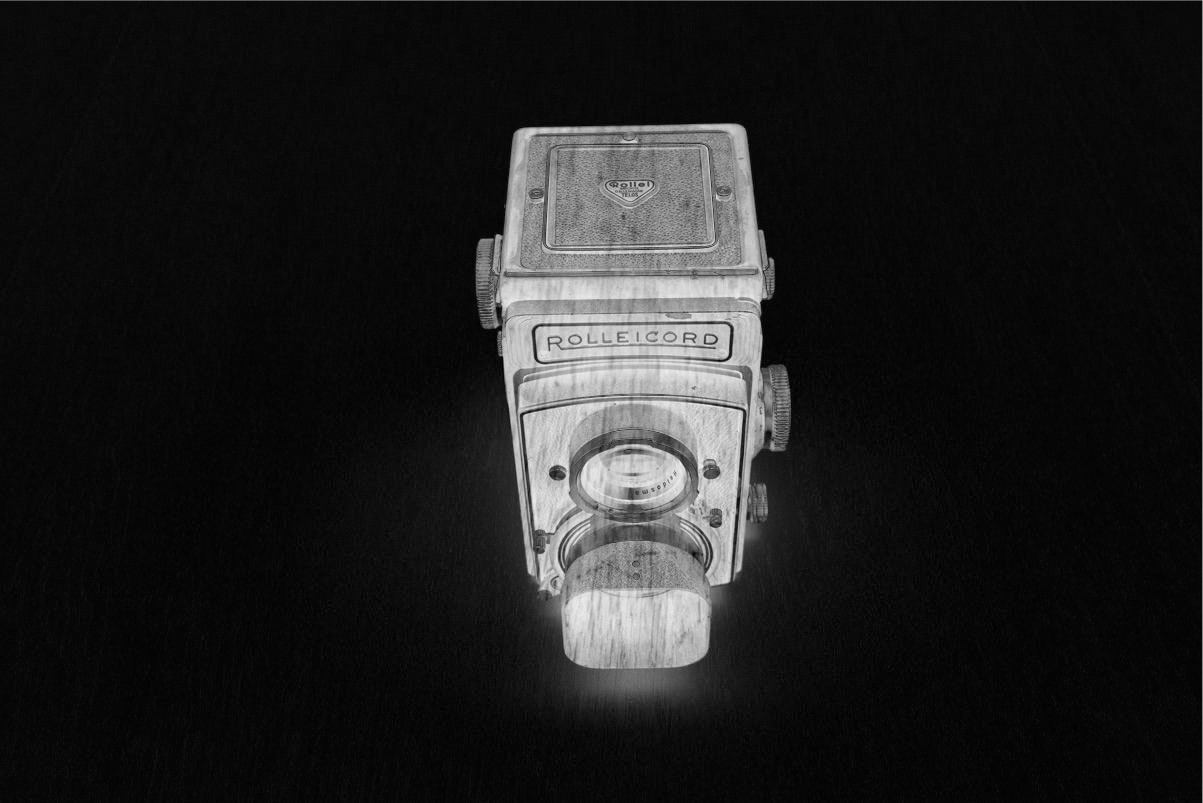
A perfect wooden camera! I bet this alone is worth the used time.
 This the empty background
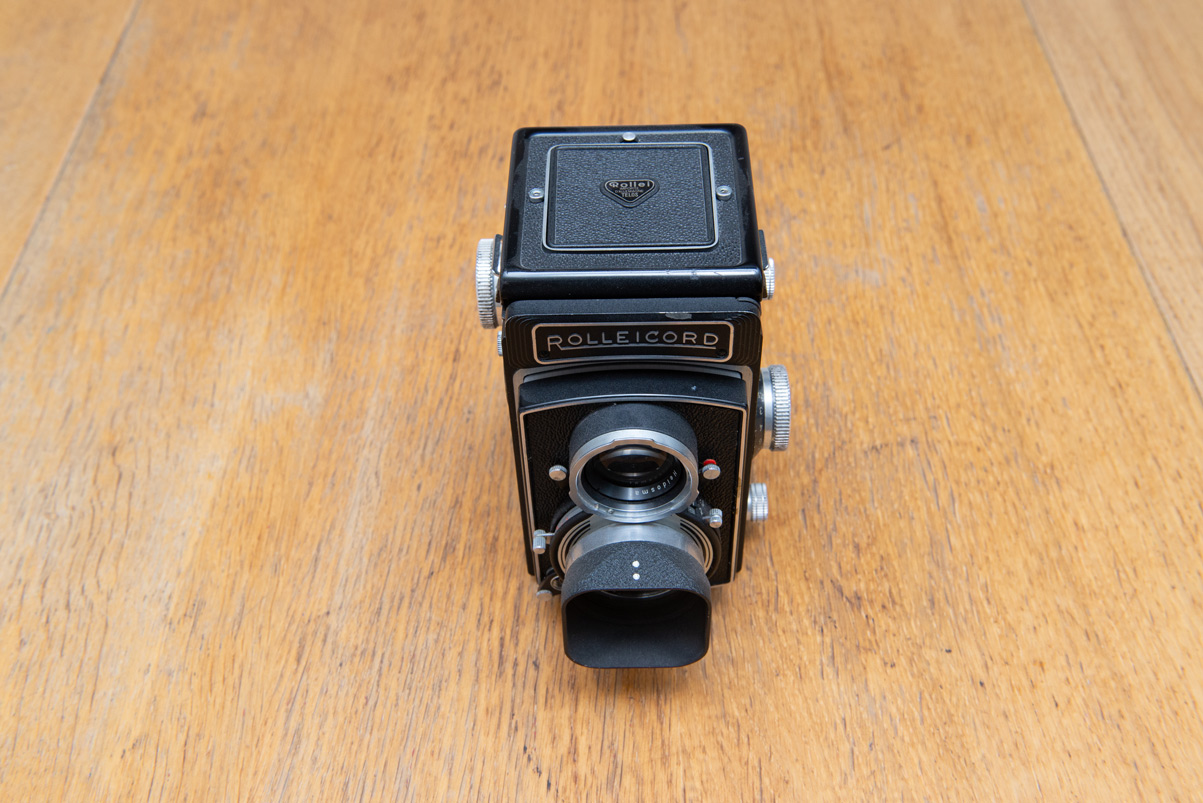 This is the background with the subject


