1

I am not in the graphic design business, and am a true novice in using Adobe Illustrator, which I have been using to create a design for personal use. Said design incorporates a heart symbol. I have spent an entire morning literally drawing dozens of hearts (if indeed most of them can be called that) using the mouse (as I do not have a pad and pen), until I finally got one which is acceptable to me.

The only thing that I want to remove from this heart is a small "spur" coming off of the path at the nadir of the heart figure. I should mention that there are a cluster of anchors and handles right in the area of this spur. Evidently, my hand was getting a bit tired and unsteady at this point in my drawing of the heart symbol.

I have tried using the eraser tool to erase this spur, including with fill, without fill, after having expanded the path, having expanded the path and fill, and being left with this spur after all my efforts, have at last come to my wits' end as to what to do next. If anybody can give me some guidance here, I shall be appreciative.

3 Answers 3

2

It is not very easy to know what your problem is without seeing it. Maybe this exercise help.

How to make a heart from a circle

After creating the circle:

  • Use the Direct Selection Tool, shortcut A, to select the vector points
  • Use the Direct Selection Tool + Shift, to move vector points vertically or horizontally

  • Use the Anchor Point Tool, shortcut Shift + C, to change the vector points from smooth to corner

  • Use the Anchor Point Tool click and drag to change the vector points from corner to smooth
  • Use the Anchor Point Tool, to move each handler independently

enter image description here

2

Adding to what Danielillo posted, there's a very easy method to create a heart in Illustrator, without any Pen Pool or Anchor Point experience.

It is very similar to this answer by Wrzlprmft, but with less steps, and for Illustrator instead of Inkscape.


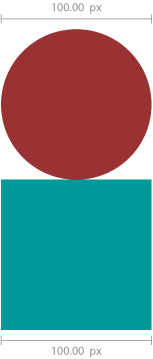
Create a square and then create a circle at the same diameter as the square

With Smart Guides on (Ctrl+U to toggle on/off) and while holding down Shift drag it down to the center point (50 pt).

Now, clone the shape and while holding down Shift drag it 45° SE.

You can also Right Click → Transform → Move and then do x 50pt and y 50pt. and hit Copy

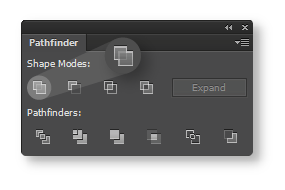
Now select all the shapes and merge them together using Window → Pathfinder (Ctrl/Command+Shift+F9) and the Unite option

pathfinder unite

You can now just rotate this back -45° (hold down shift and drag from the bounding box corner)

enter image description here


By creating the heart like this you would avoid your issue altogether.

1

There are many ways to create a heart shape.

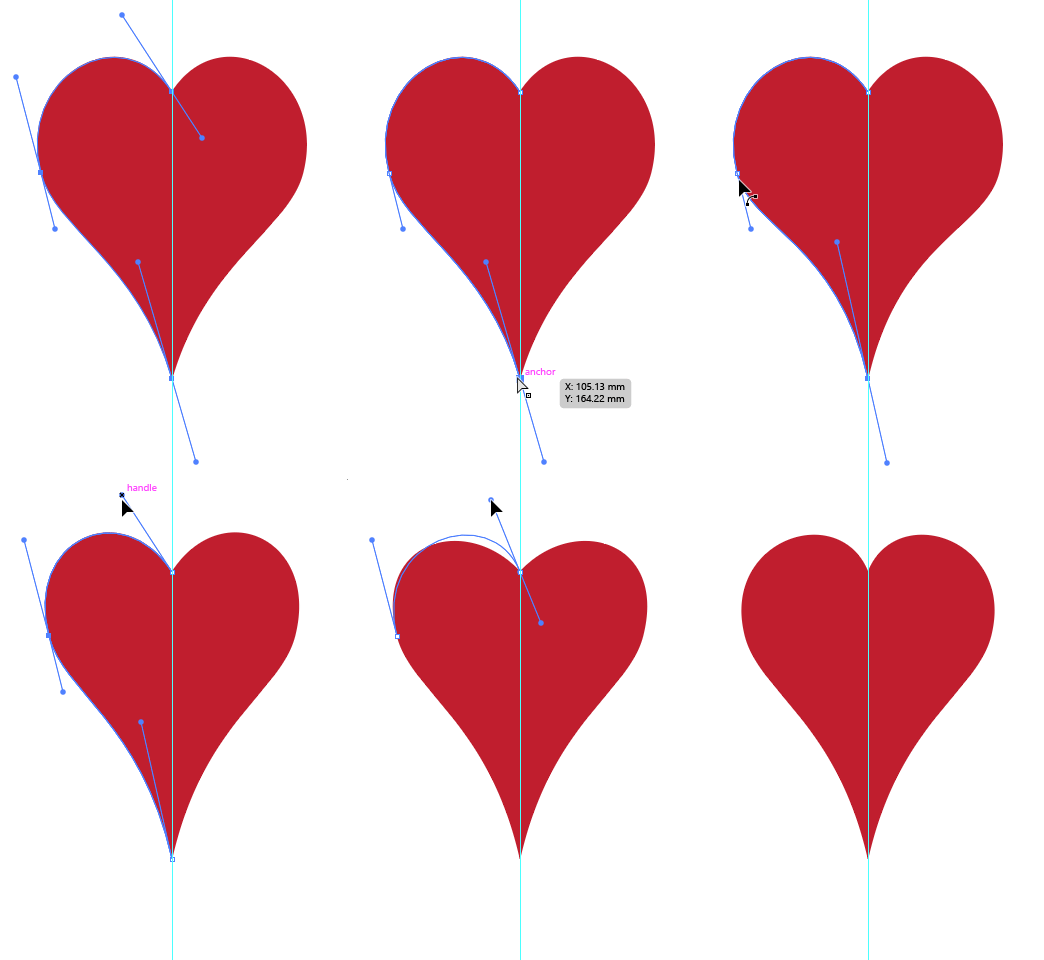
Here's one method which ensures the image is perfectly symmetrical, and it's kind of fun too!

  1. Drag and drop a vertical guide.

  2. Draw one half of a heart shape against the guide, fill it red, remove the stroke.

  3. With the shape selected click Effect > Distort & Transform > Transform

  4. Set the transform options like this, to reflect the X axis, 1 copy, and set the reflection control point to the centre right.

enter image description here

Now you can play with the anchor points and curves. Any changes you make will be reflected automatically.

enter image description here

Your Answer

By clicking “Post Your Answer”, you agree to our terms of service and acknowledge you have read our privacy policy.

Not the answer you're looking for? Browse other questions tagged or ask your own question.