7

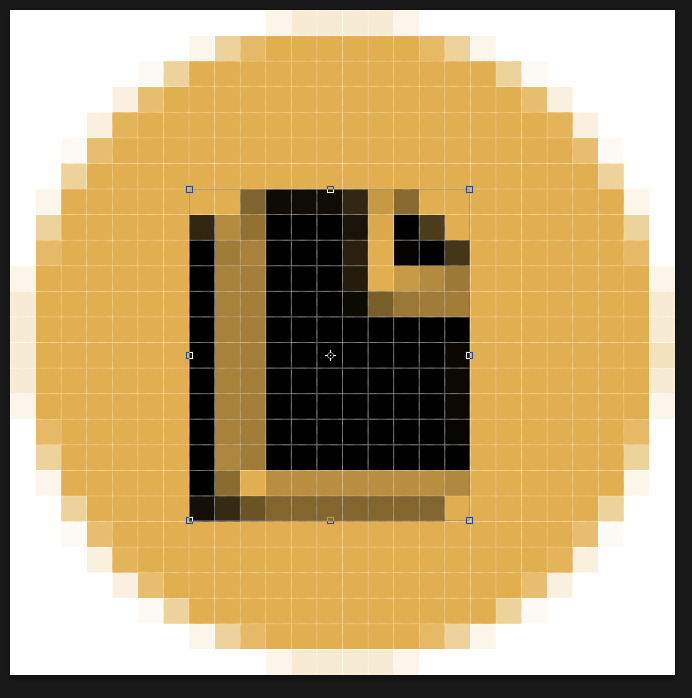
I'm trying to create an icon based on a 2 color png I downloaded from icon monster. It is placed in my document as a smart object. I want it to be crisp, but photoshop doesn't want it to be.. even though it directly taunts me by showing the perfect result when I'm trying to resize it and then throwing it away when I hit enter.

While I am resizing it is crisp, but when I apply the resize it is all mushy and smooth which I do not like.

Is there a way I can get it to remain as it is while dragging?

There is an 'anti-alias' checkbox when I'm resizing it, but it is unchecked and disabled.
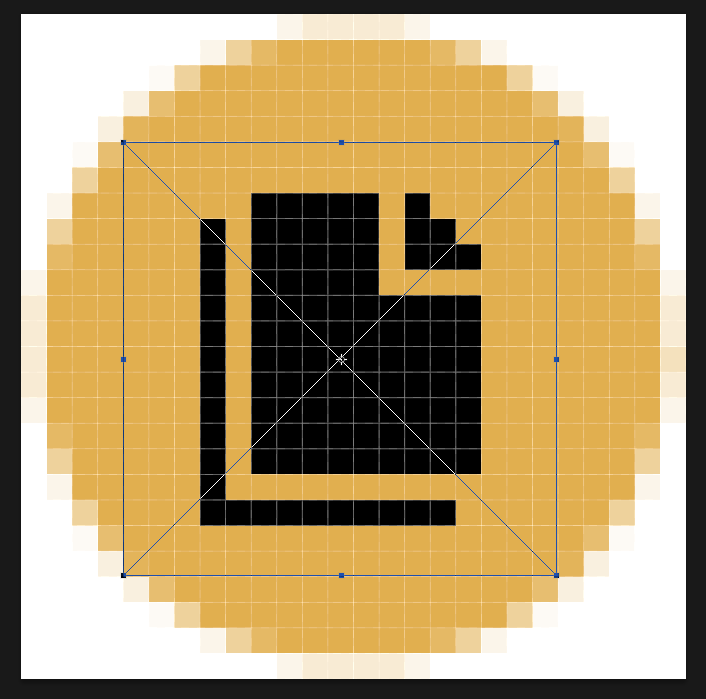
While I am resizing it is crisp

When I apply place it is all mushy and smooth, but I'd rather not.

3 Answers 3

1

Photoshop cs6 and CC lets you do it. Otherwise, you need to drag pixels manually.

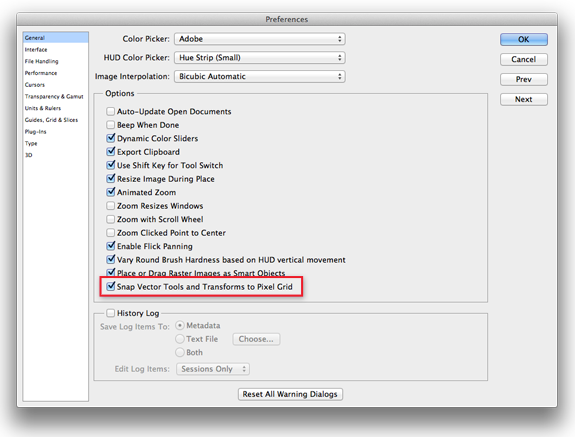
Edit : photoshop creates semi transparent pixels when resizing. In photoshop CS6 and CC, this feature disabled by default. So when you resize, the semi transparent pixels should not appear. (take a look to preferences menu of photoshop for this option, if it enabled, you can disable it.)

Another way is to do it, edit smart object's vector shape.(if it is a vector, otherwise you should draw it again) i Double click on to smart object's thumbnail and open it, move the content into actual file and try to resize. If it is a vector shape there will be no problems. If you are seeing semi transparent pixels, grab path selection tool and drag path nodes to get rid of them.

Edit
Detailed info: detailed info is here: http://blogs.adobe.com/jkost/2012/05/align-to-pixel-grid-in-photoshop-cs6.html

and this is the preferences option: enter image description here

2
  • I have CS6 apparently.. how do I do this?
    – Damon
    Commented Aug 29, 2013 at 19:38
  • I don't see an option in the preferences for this
    – Damon
    Commented Sep 5, 2013 at 15:33
1

Instead of resizing the smart object from the outside, open the smart object, then click Image->'Image size', pick your wanted dimension, and for the Resample Image pick Nearest Neighbor (preserve hard edges). This will preserve the hard edges.

1

You have to change interpolation method. Go to Edit > Preferences > General and change Image Interpolation as desired (Nearest Neighbor in your case). Than select your smart object and hit Ctrl + T (Cmd + T for Mac), than without any transformations hit Enter to apply. Your object will stay intact, only its interpolation method will change (refresh).

Note that this trick works only for one smart object at a time, if you select multiple smart objects and transform them all together they don't refresh (interpolation wise), so you have to transform multiple smart objects one by one.

Your Answer

By clicking “Post Your Answer”, you agree to our terms of service and acknowledge you have read our privacy policy.

Not the answer you're looking for? Browse other questions tagged or ask your own question.