The outline you're seeing is called the Target Path. There's a few behaviours that cause it to appear.
- Creating a shape layer.
- Selecting a shape layer.
- Merging shape layers.
- Pressing enter or return when the
Path Selection Tool or the Direct Selection Tool are selected.
- Selecting a path in the Path panel.
It can be turned off when it appears, but it can not be disabled completely. It seems like there's a chance the behaviour may be altered in a future update, due to the feedback Adobe have received since the Photoshop CS6 beta release — those who design for screen seem to find it fairly annoying (myself included).
It existed in Photoshop CS5 and older versions, but when it appeared has changed.
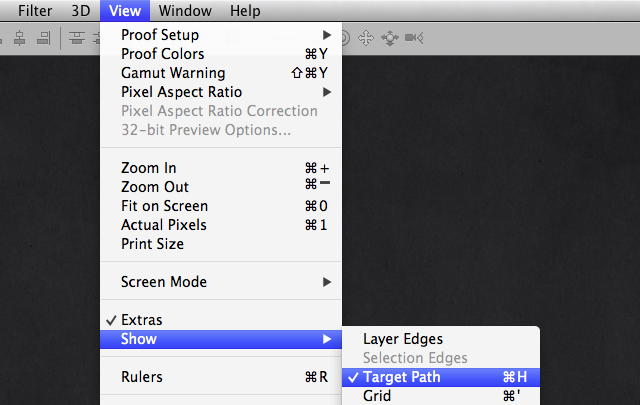
You can turn it off from the View menu.

I use the command to turn it off so often that I changed my keyboard shortcut to just Command-H, but the default is Command-shift-H (this can be changed via Keyboard Shortcuts under the Edit menu.
If you have the Path Selection Tool or the Direct Selection Tool, you can press return to hide the Target path.
In the Paths panel, clicking on the space below the path items will also hide the Target Path, as will shift-clicking the item itself.
Command-shift-H hides the Target Path, making it far easier to edit effects like inner shadow, that are near the edge of a vector shape. Hiding the Target Path works almost all of the time, even when the Color Picker or Gradient Fill window is open (but surprisingly, not when the Gradient Editor window is open).
Making a vector layer visible or clicking on the canvas with the Path Selection or Direct Selection tool will bring back the path outline, as will hitting Command-shift-H a second time. Being able to hide the path outline was possible in Photoshop CS5, but it’s so handy it deserves to be mentioned again here.
Source: Vector shapes in Photoshop CS6


