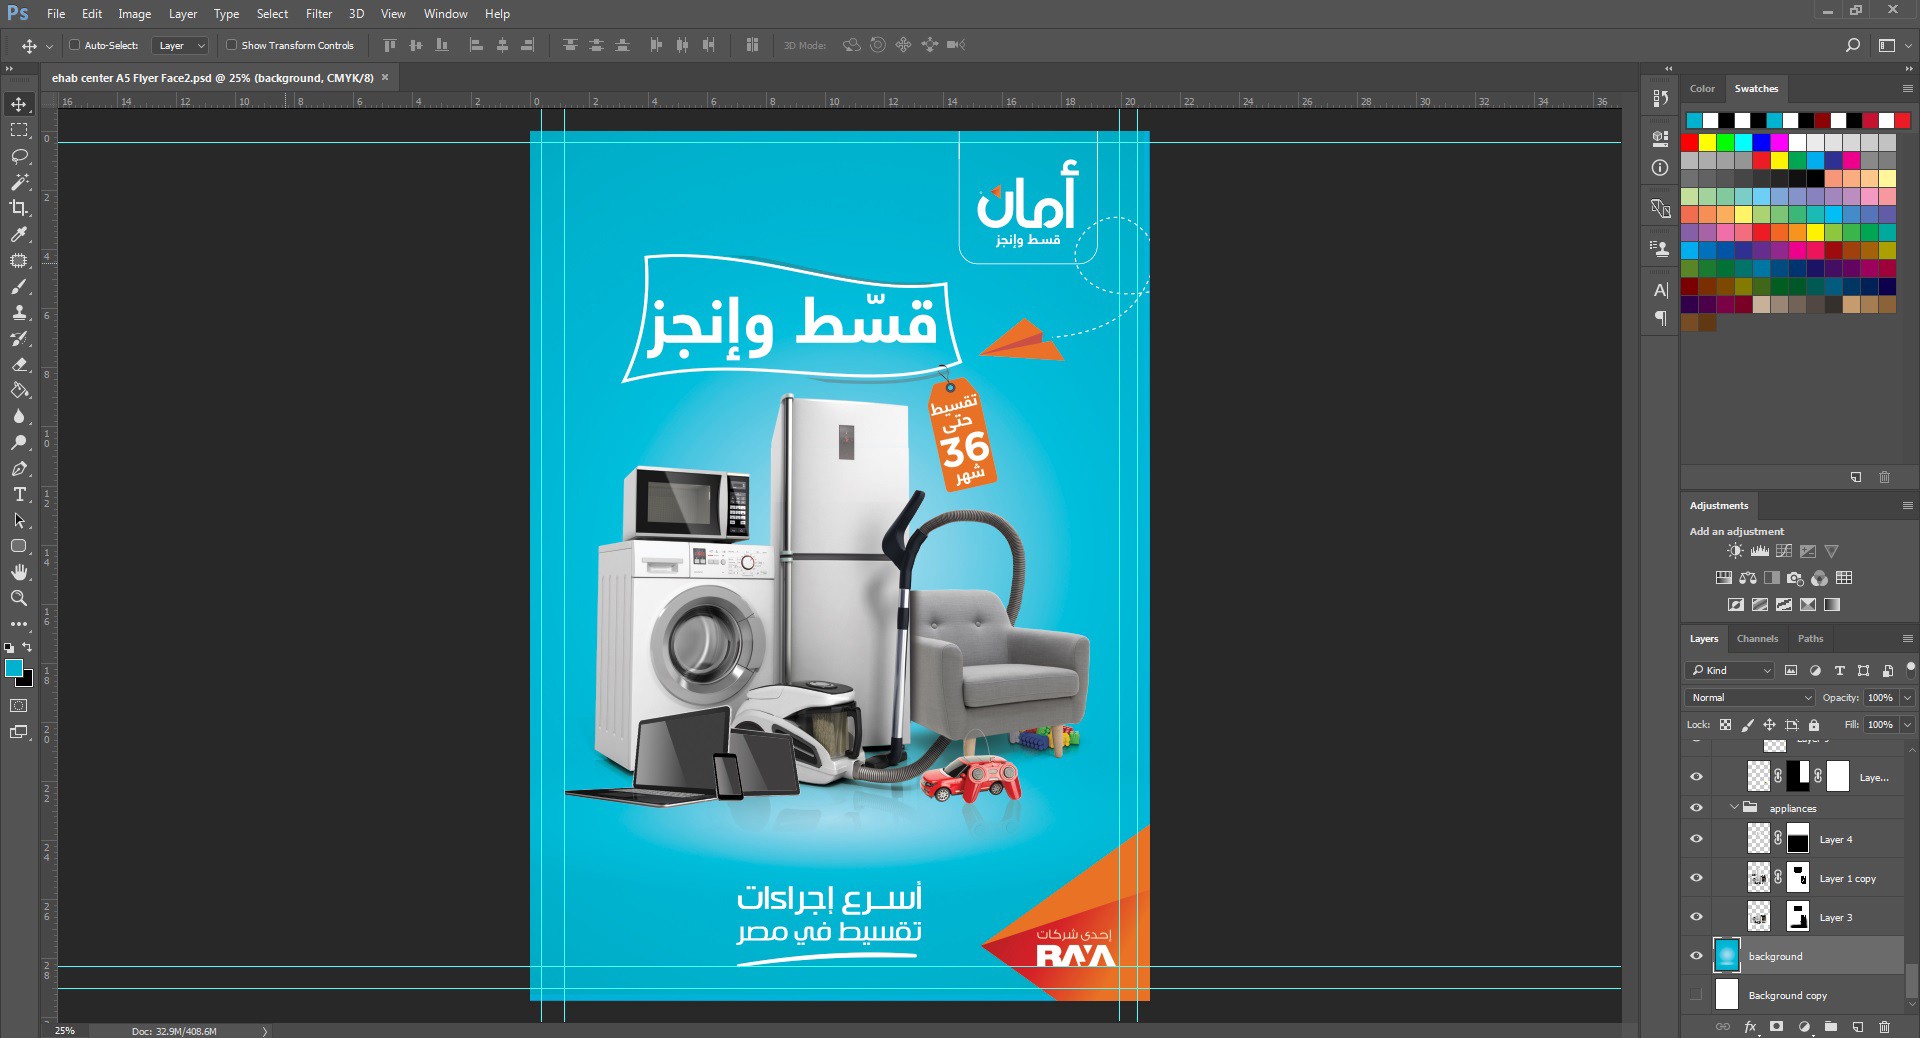
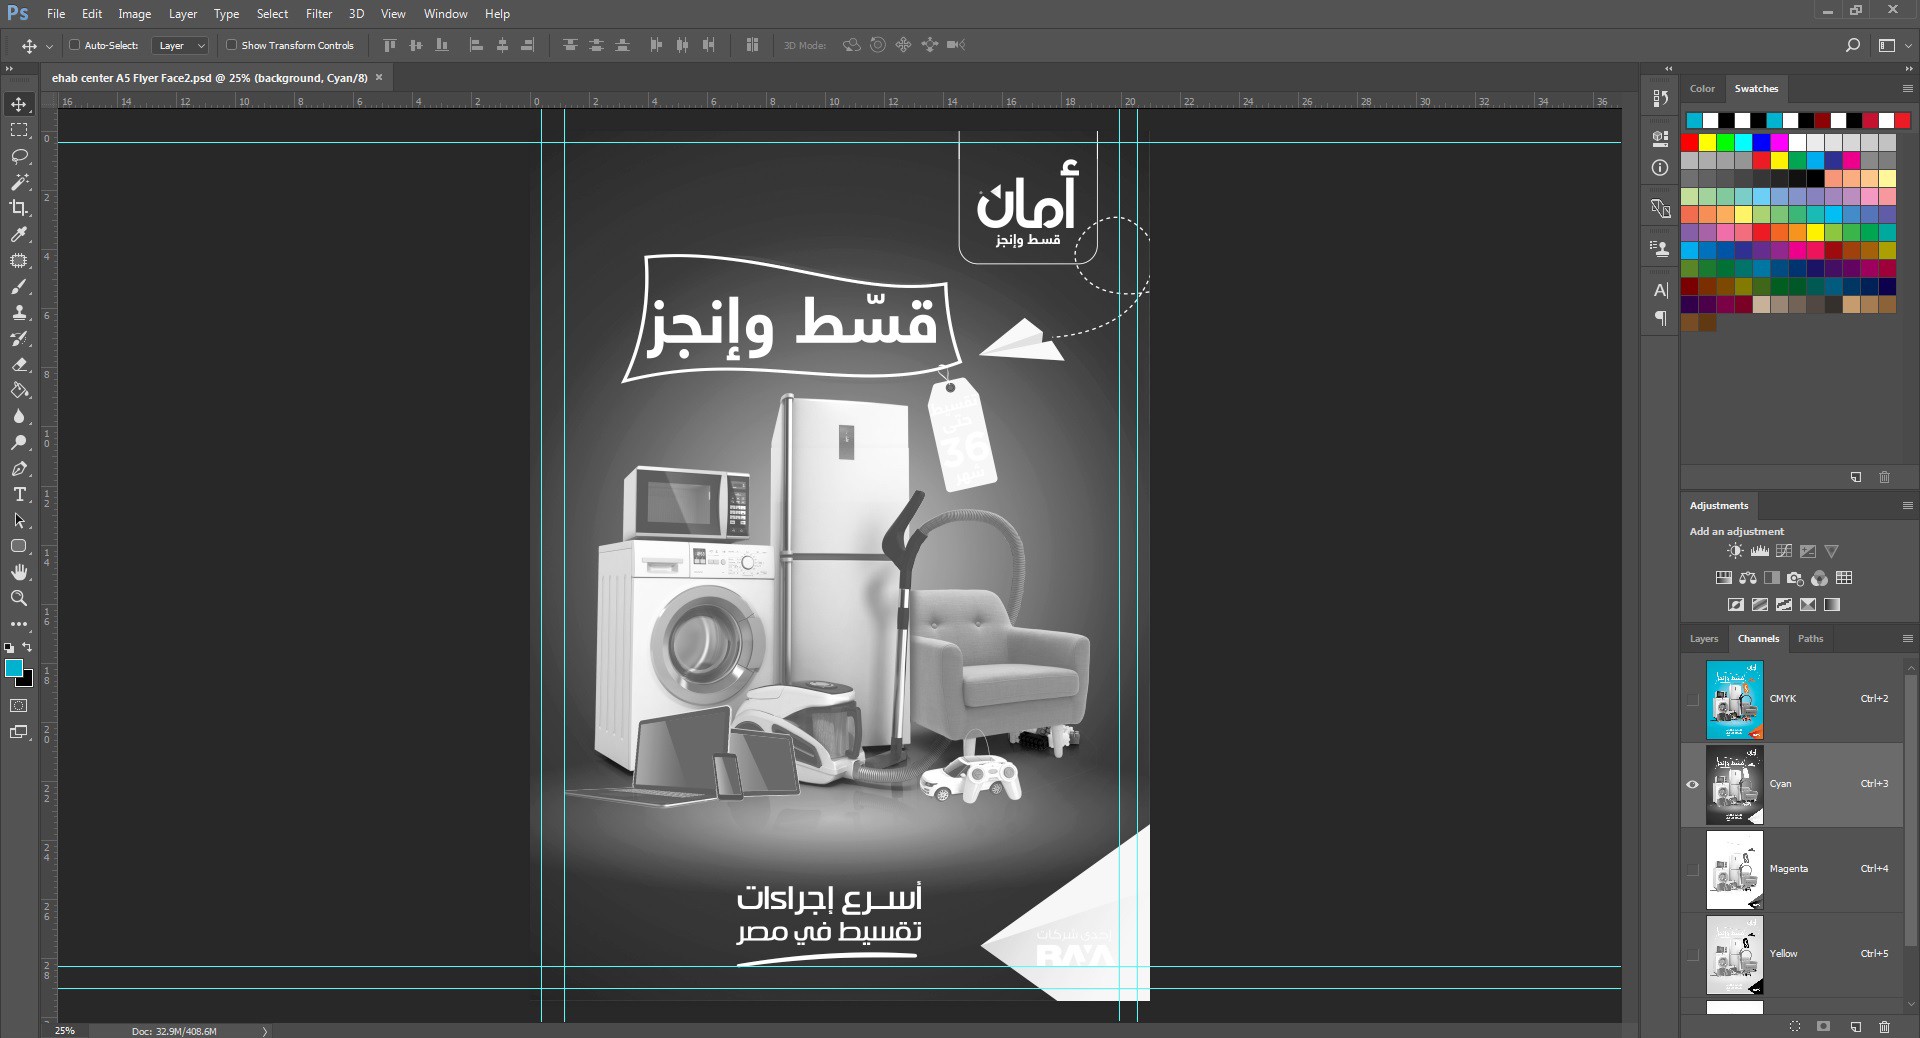
It's easy to separate colors in Adobe Illustrator by converting the desired color into a spot color from the swatches panel in order to get it on a separate zinc plate.. But the problem I'm facing is that I want do the same in Adobe Photoshop, I have a flyer designed in Photoshop but I want the color of the background to be one special color in a separate color channel instead of being a mix of color channels, so that I can get the background on one zinc plate for printing 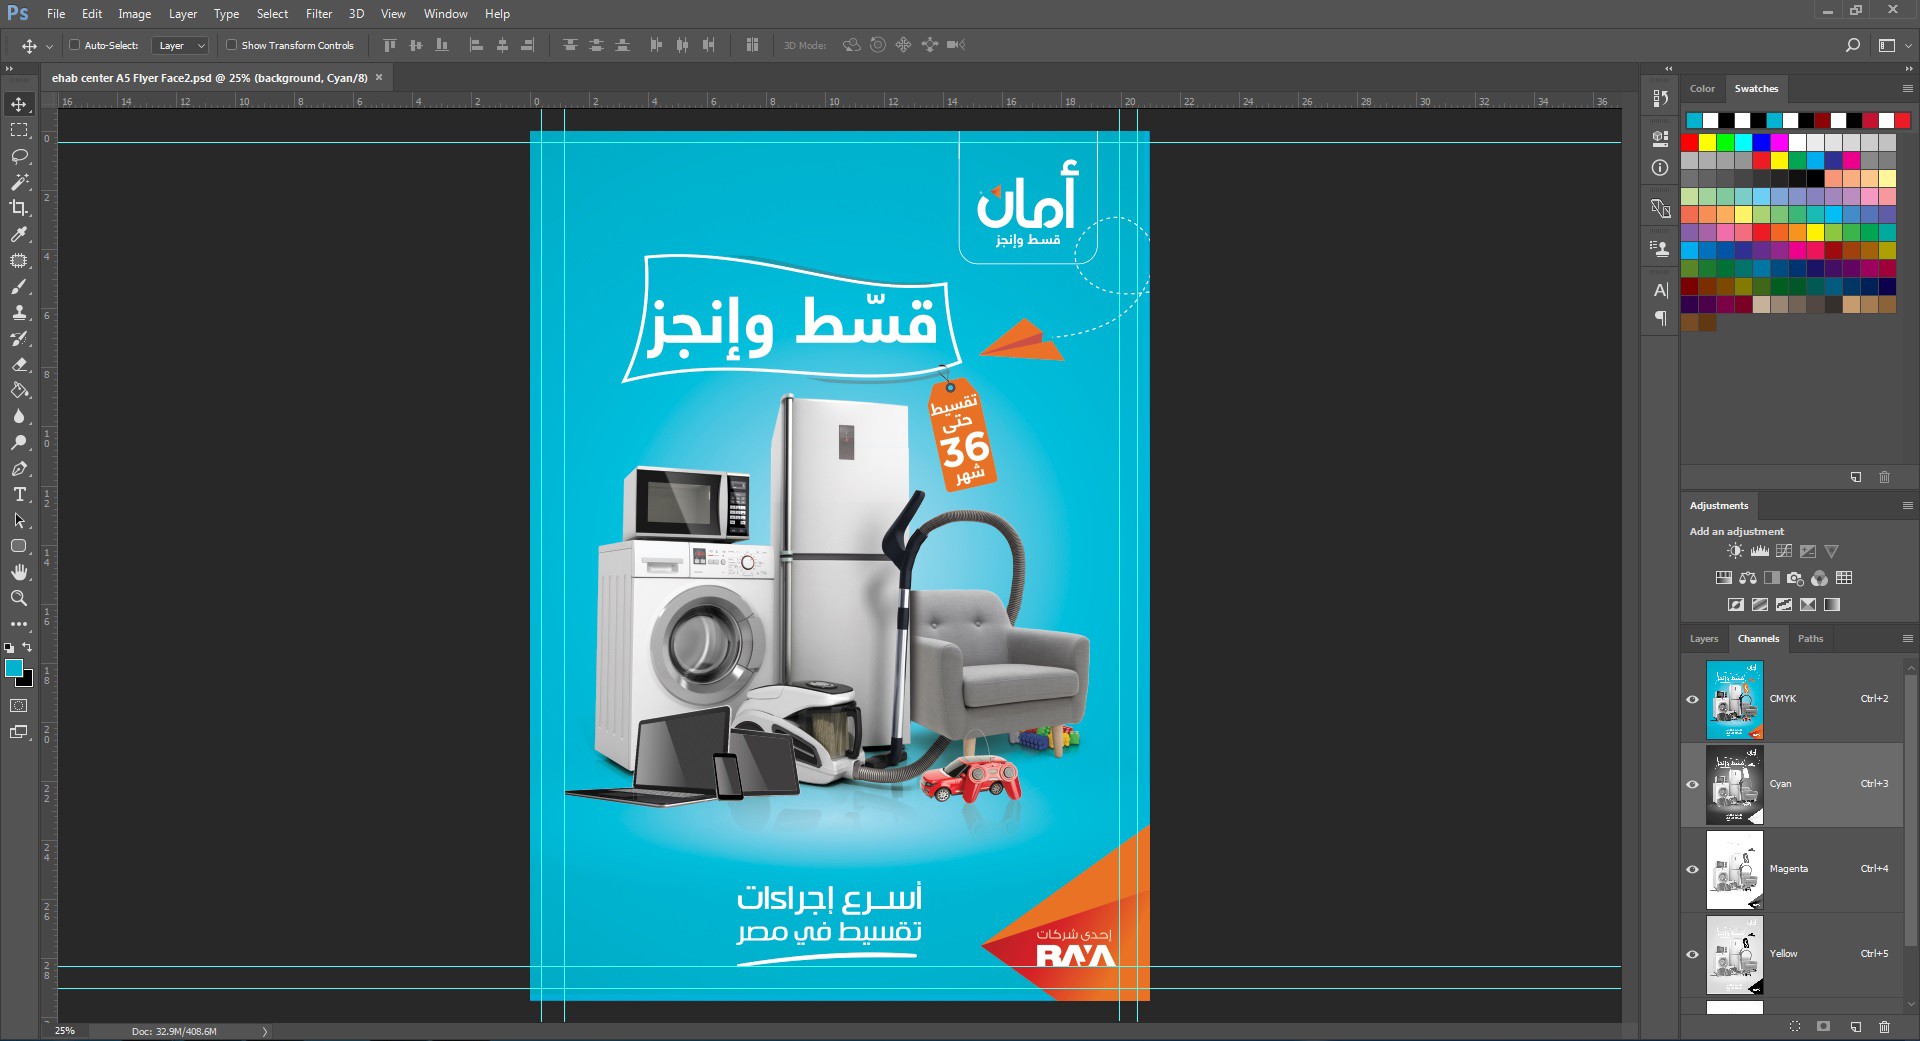
-
Is the background a single layer or group of layers? In other words, can you simply turn of visibility of the background in the Photoshop file? That makes things MUCH easier.– ScottCommented Mar 11, 2019 at 17:54
-
Background is a single blue layer– YayaCommented Mar 11, 2019 at 17:56
3 Answers
In Photoshop, each ink, including CMYK as well as spot colors like PANTONE inks, needs its own dedicated channel in the channels panel. If you want the blue background to print as a single ink, instead of a CMYK build, you need to "move" that color to its own spot channel. when editing individual channels, they will appear to be grayscale, where black is 100% ink, and white is 0% ink. Converting a full color piece to spot color channels is very tricky business. Be aware that it may not be possible to achieve the same full color look of your original with spot inks, unless you are going to use CMYK in addition to spots.
-
It's also important to know what formats to save your image in in order to retain the spot channels. PSD, TIFF, PDF, and EPS are your best bet. JPG and PNG will discard spot channels. Always ask your print vendor what format they prefer.– 13ruceCommented Mar 11, 2019 at 14:59
-
One more thing: If you are moving the blue to it's own separation channel, make sure to delete any of that color from the CMYK channels in that same area. When you turn off the blue spot channel in the channels panel, the image should look white anywhere the blue should be.– 13ruceCommented Mar 11, 2019 at 15:02
I have a couple of ways to do it.
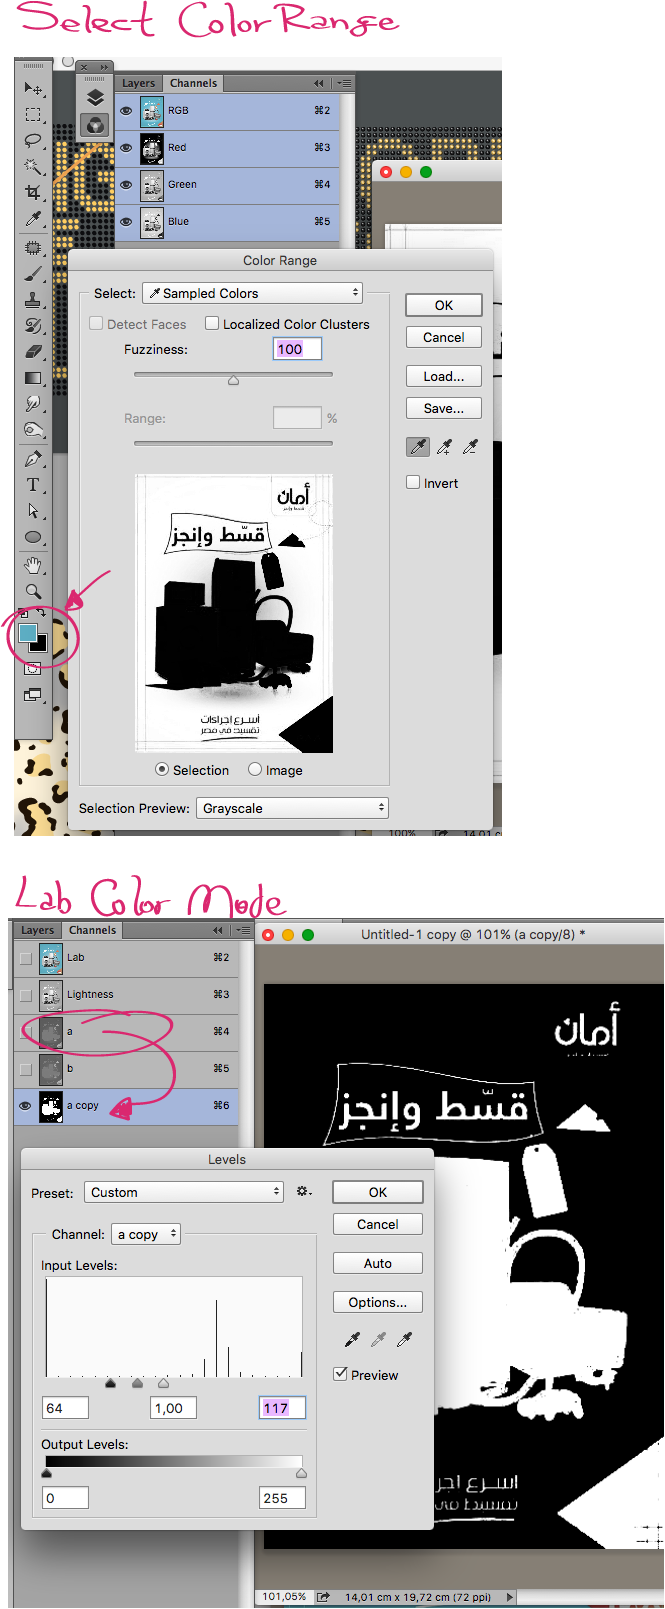
Frist using select color range. Use the eyedropper to pick up the color first.
The second way is Changing the color mode to Lab. Then duplicating the a channel and using the Levels or Curves to achieve the desired mask.
If you have all separated layers, then use them as masks for that special blue Layer.
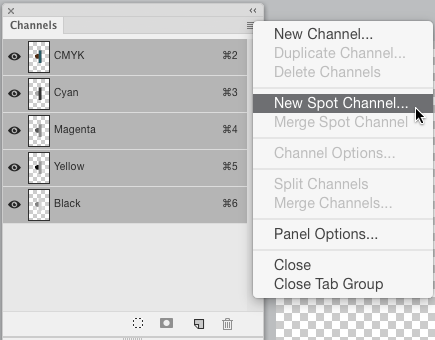
As mentioned before, convert the file in CMYK mode and create a new Spot Channel using that mask.
Important: Use Save As... to enshure that Spot Colors is checked in the Save As dialog. Is it's not, Photoshop will not save that channel.
See some images below:
-
Thank you so much.. But I face the same problem that I can't keep the shadows and the reflections when I merge the layers and use Color range... I also don't understand that Lab color mode– YayaCommented Mar 12, 2019 at 9:23
Background is a single blue layer
Simply remove the blue layer.
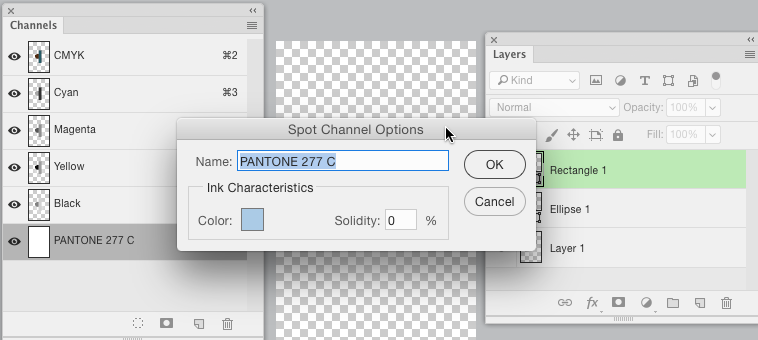
Add a New Spot Channel via the Channel Panel
Click the little color box in the popup to pick your spot color...
(Don't worry about the Solidity field, it's merely for on-screen only and won't really make a difference.)
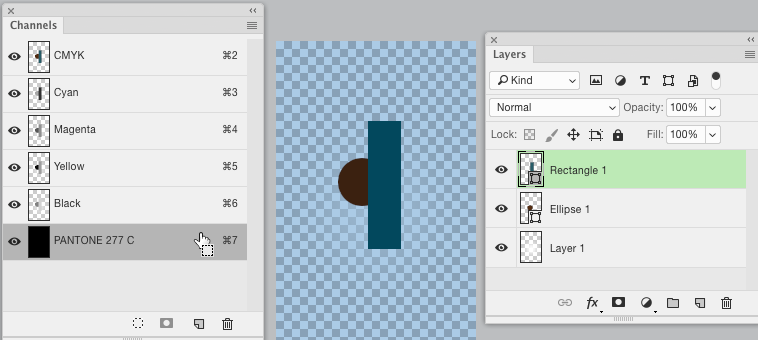
Fill the spot channel with black (so it is just 100% of the spot color):
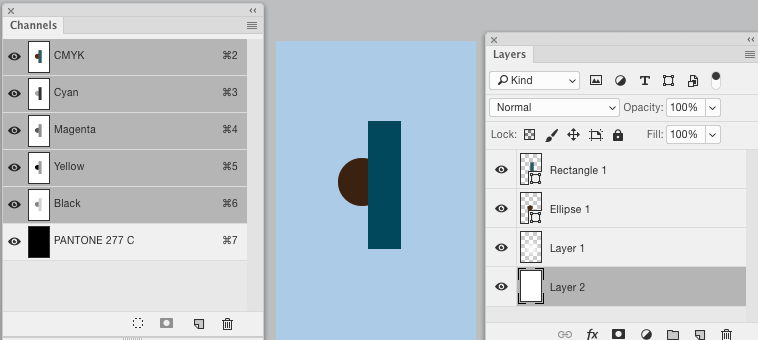
In the Layers Panel, add a new layer and fill it with 100% white and set it as the bottom (background) layer.
Here's the part that can be more involved....
How difficult or easy this is will depend entirely upon the layer structure of the file.
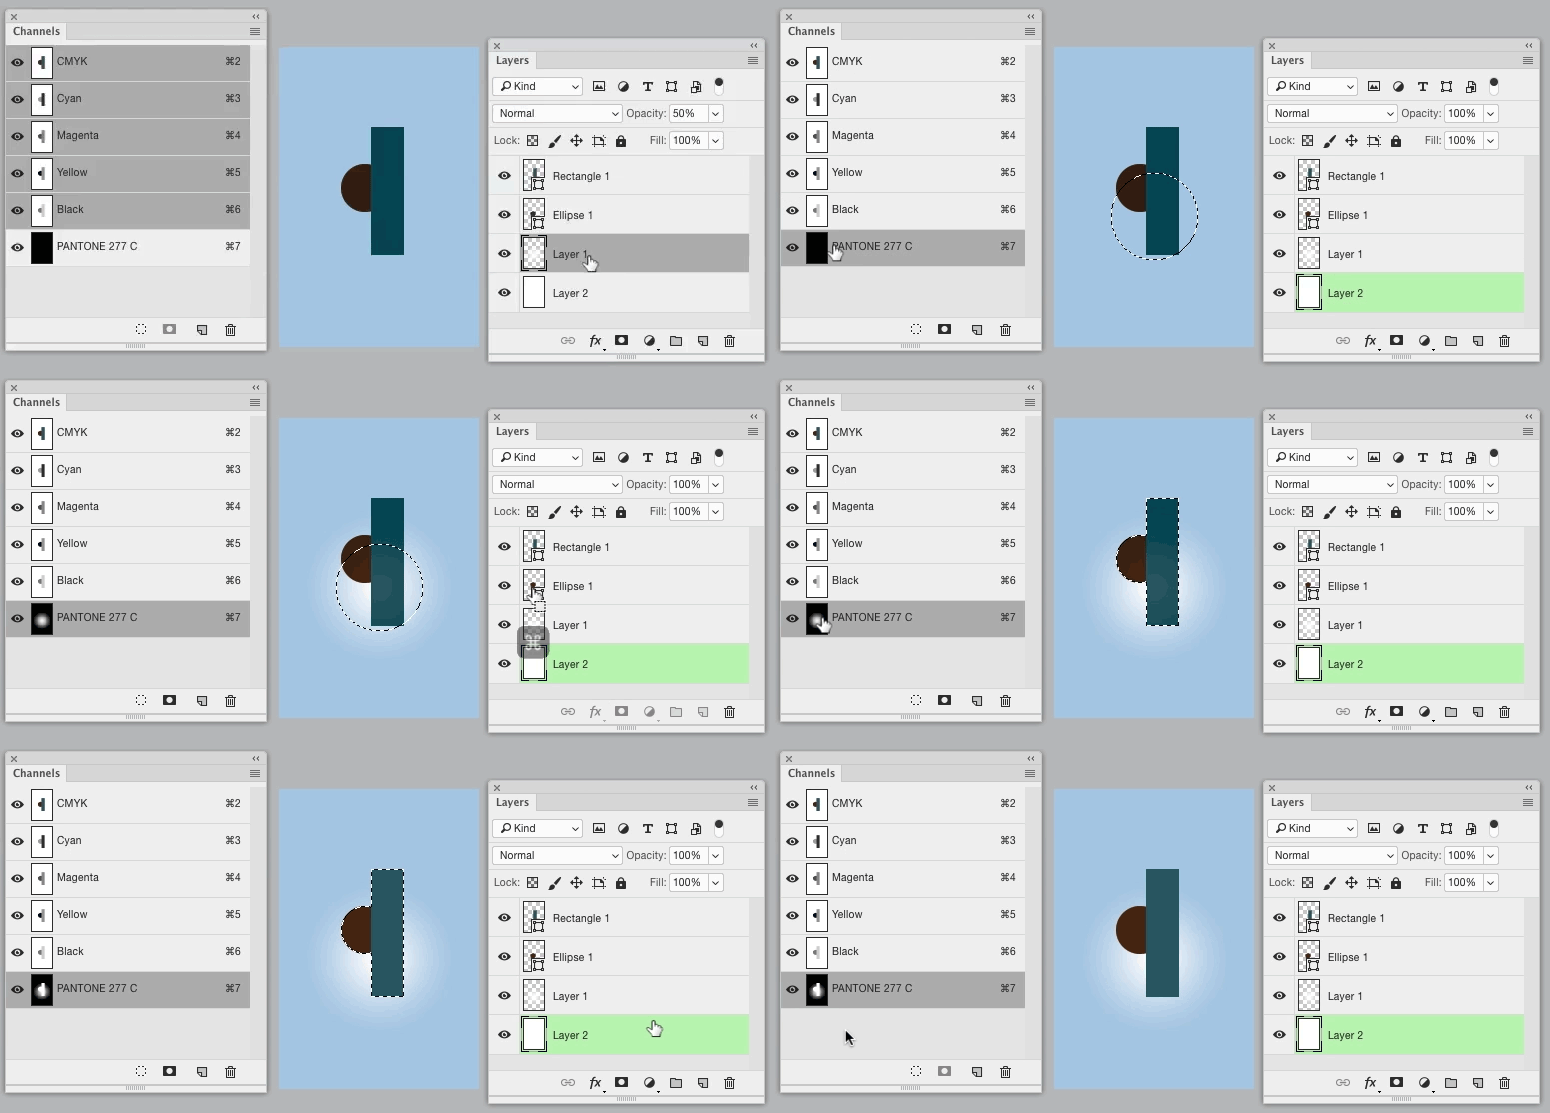
Basically, you need to edit the spot channel to remove areas where you don't want the spot color to print. This means making selections based upon layers and then filling those selections with white on the spot channel.
For some things, this can be easy by simply Command/Ctrl+clicking the layer thumbnail in the layers panel to load a selection based upon transparency. Then merely switch to the spot channel and fill with white.
When done, save to a format which supports spot channels — PSD, EPS, DCS2, PDF. This is now a 5 color file, CMYK+277.
If you intend to use this image in Indesign/Illustrator, then PSD may be best. If using QuarkXPRess or some other app, DCS2 may be the best option.
-
Thanks a lot for your effort. Yes I tried this but there's a problem that the guy who designed it has set the layers to different modes between Normal and Multiply, those layers set to Multiply are for the shadows and the reflections, I want to keep them but when making selection holding Ctrl+click their layers thumbnail it results in a square selection because he didn't cut them but just turned the mood to multiply– YayaCommented Mar 12, 2019 at 9:14
-
It can, and often does, require additional work to create the proper selections. There really is no "quick" or "automatic" method to introduce spot colors int a CMYK raster image after it's been created. This is simply one of those things that may require a great deal of work to get to the end result desired.– ScottCommented Mar 12, 2019 at 19:54
-
Yeah I knew it.. I already told the client to either accept whatever result after the print or separate the background himself.. Thank you Scott.– YayaCommented Mar 13, 2019 at 16:52

