6

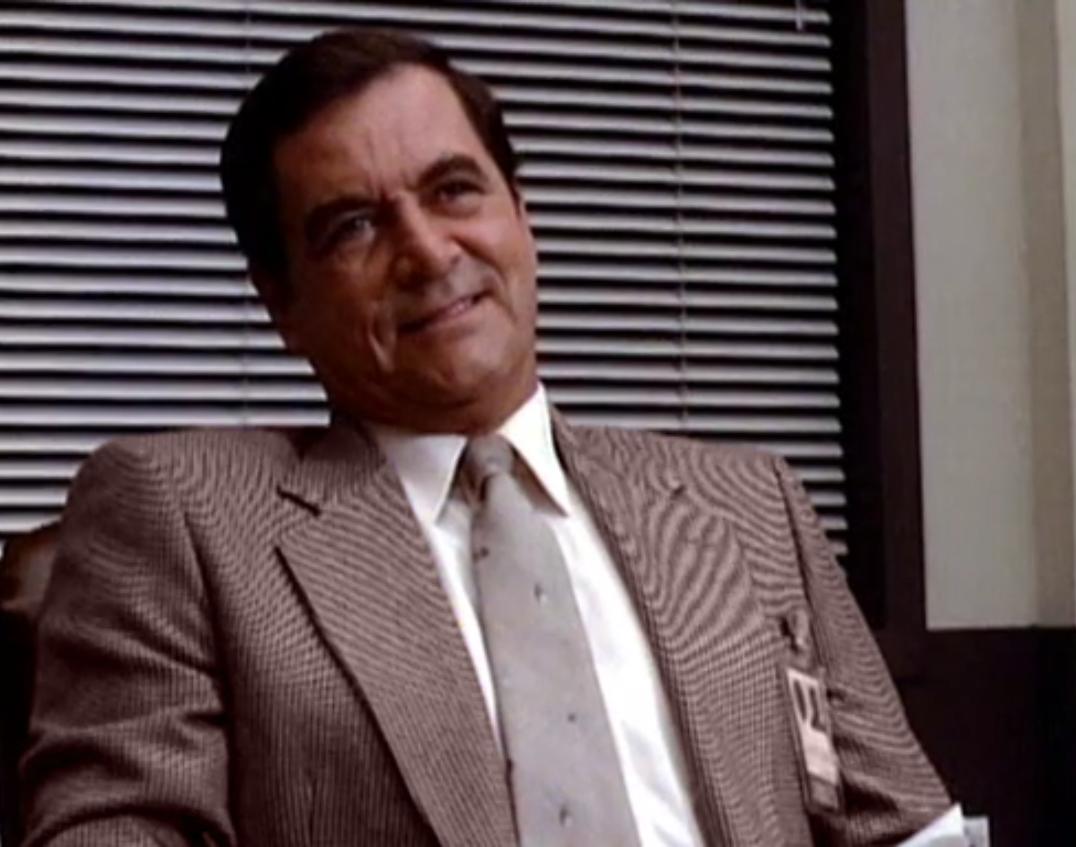
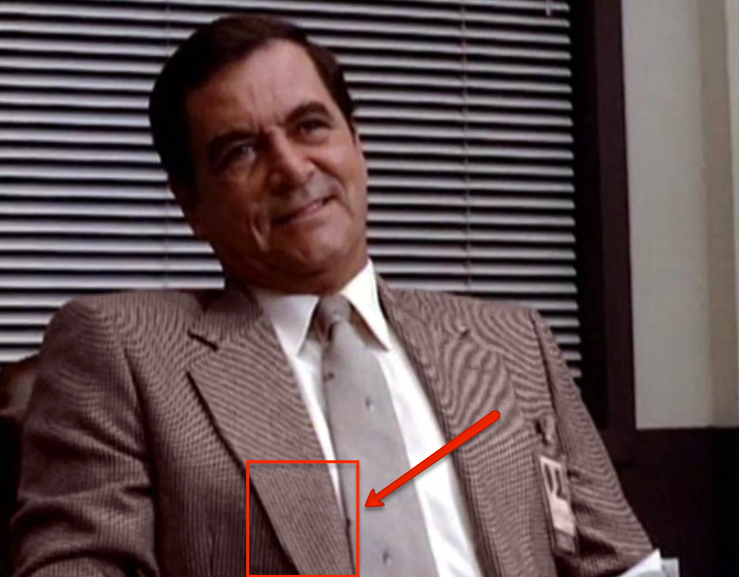
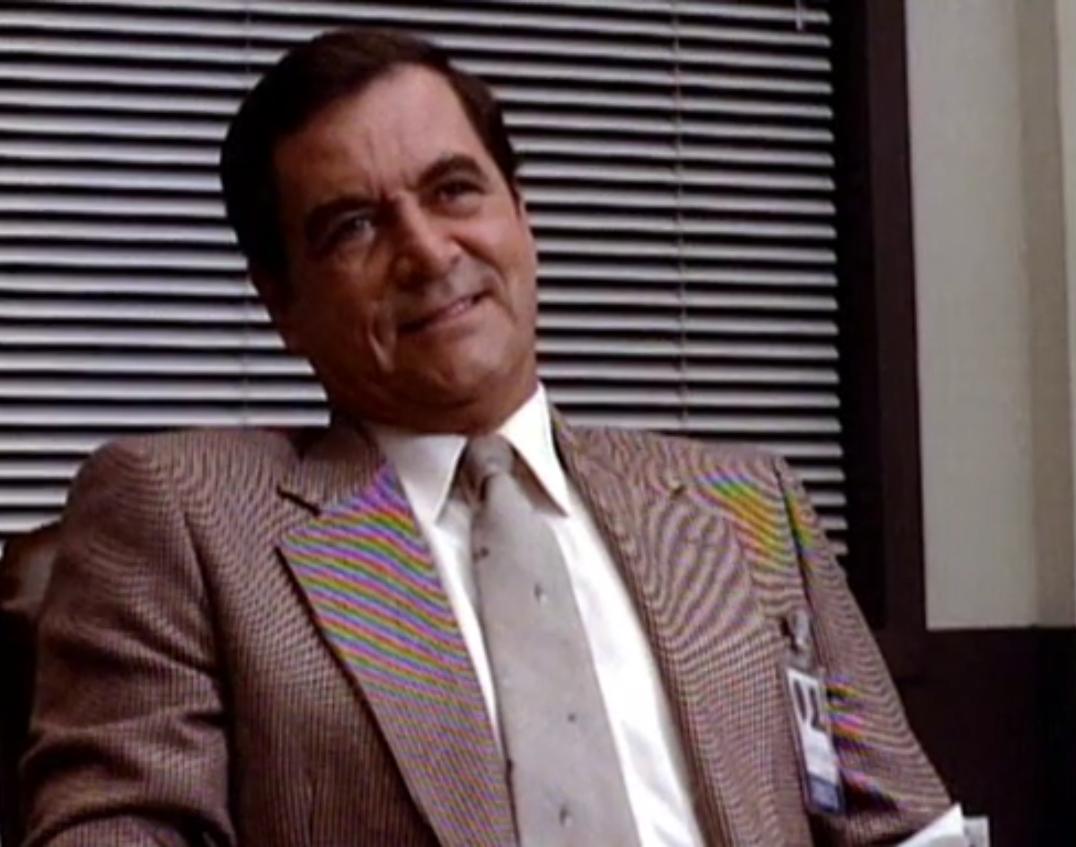
This sample image is a screenshot taken from the TV series Matlock (Season 1 episode 10) and exhibits a very strong moire effect. There is also additional composite artifacts which add a rainbow to the pattern.

enter image description here

The composite artifacts can be easily removed by normalizing the hue with a mask and matching it to the rest of the suit:

enter image description here

But what can be done about the moire pattern across the suit?

There is a lot of discussion about this in various parts of the internet but I wanted to discuss solutions here and to get feedback on this particular case.

While looking at artifacts in a picture, our brain can easily filter out the extraneous noise and see that this is still a brown striped suit. But the moire pattern destroys the original underlying pattern, replacing it with a new the emergent pattern.

I think the only way to approach this is to extract the shadows and repaint the light and darks by hand and then use that to recreate a surface.

Is this the right approach? After after removing all of the patterns from the surface, where do I go from there? I could try to recreate a matching texture of the pattern, how would I get it to contour the suit jacket?

3 Answers 3

2

I think there's not an easy way or filter to eliminate the distortion since you have to recover the fabric pattern deleted by the moire.

enter image description here

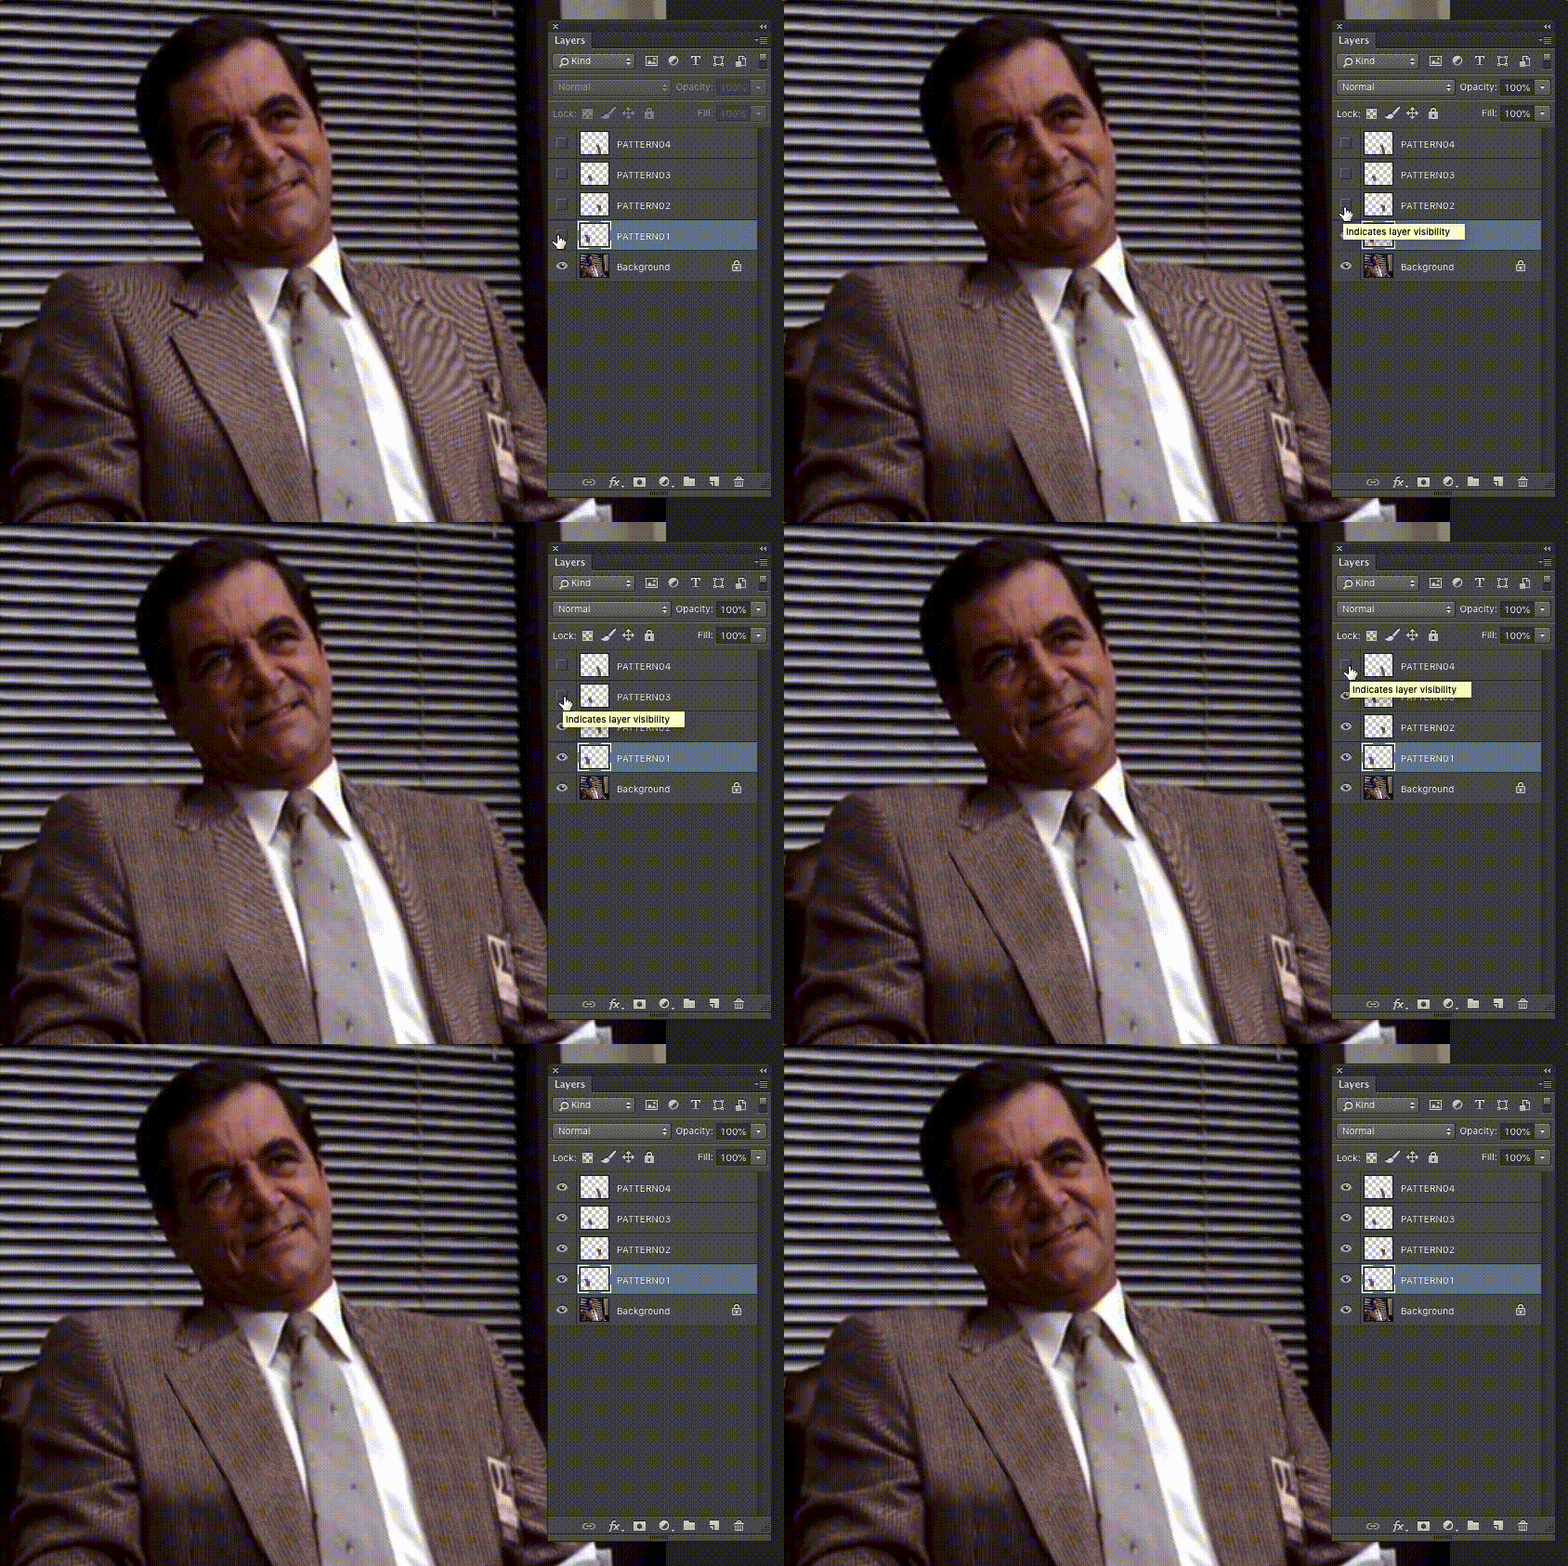
Here an approach making a photomontage duplicating, rotating and masking this part in different layers:

enter image description here

end

2

You have some idea, but there's possiblities to do more.

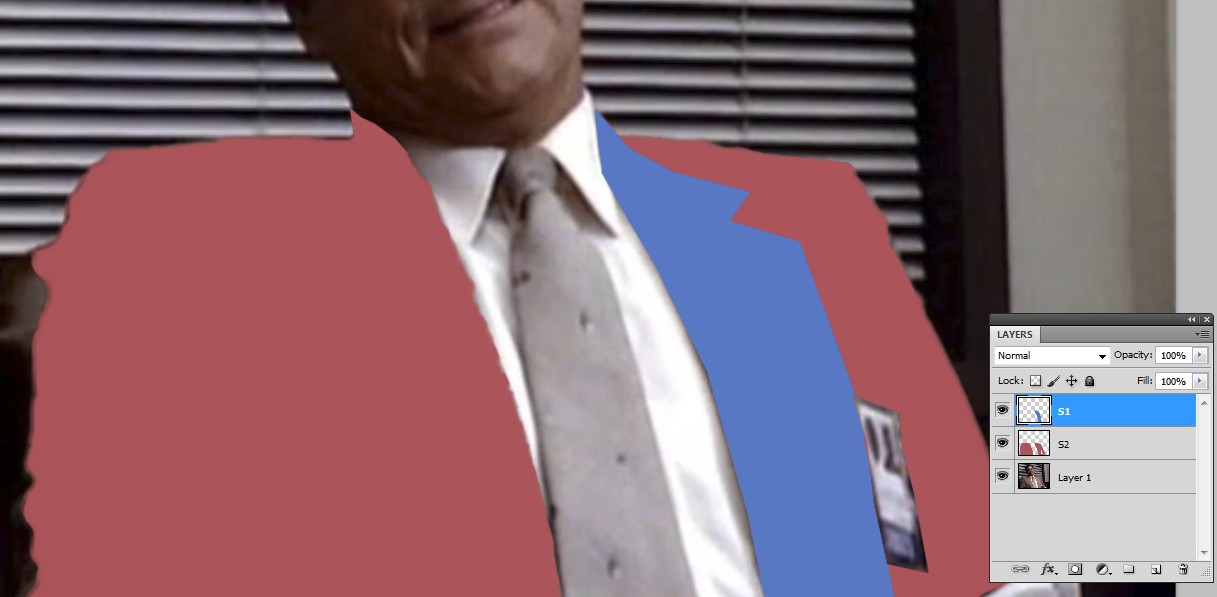
Make selections for the coat. Use polygonal lasso or other selection tools for the whole coat and separately for the right side folding. For easy recall I made two layers S1 and S2 and painted the selections there with red and blue. Recall = Ctrl+Click the layer icon in the layers panel.

enter image description here

BTW. Path selections or saved named selections are the pro way, they do not need extras such as colored recall layers.

Apply the following:

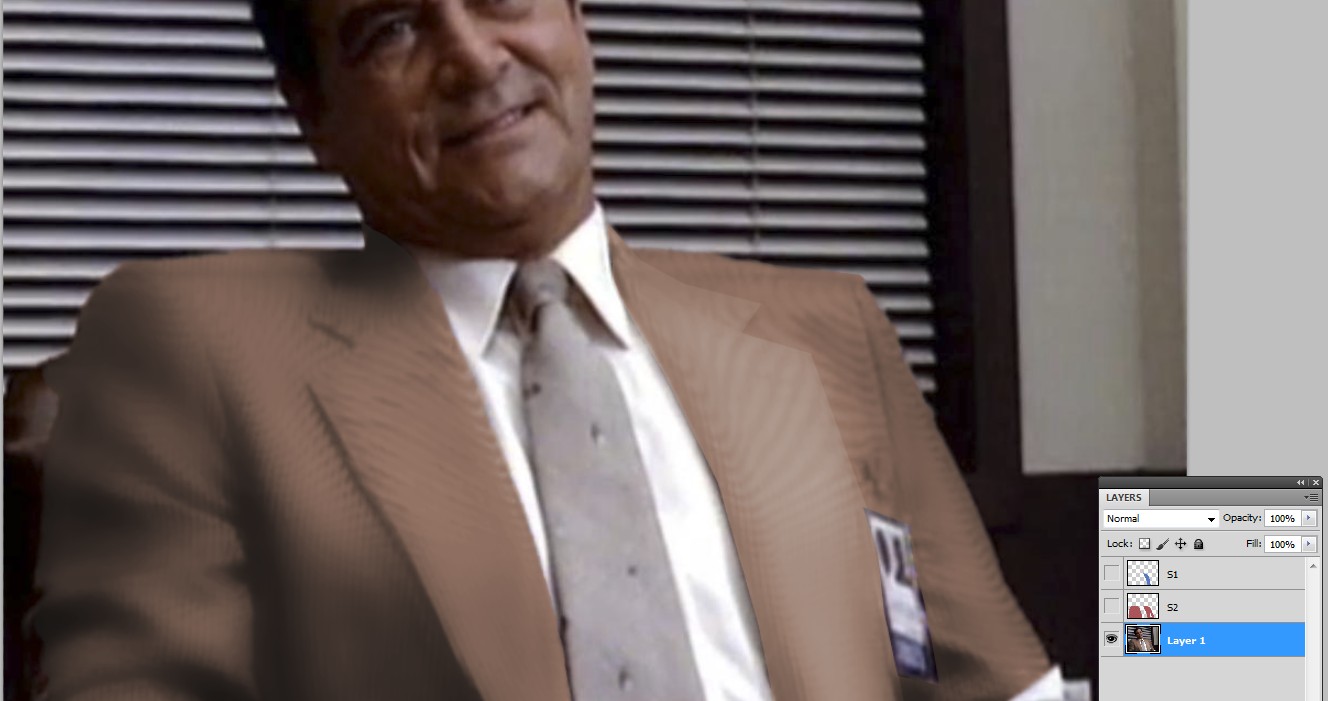
  • Filter > Blur > Surface blur to reduce the moire pattern
  • Image > Adjustment > Hue&Saturation > Colorize to fix the color
  • Curves or a little different coloring to the folding to make it visible:

enter image description here

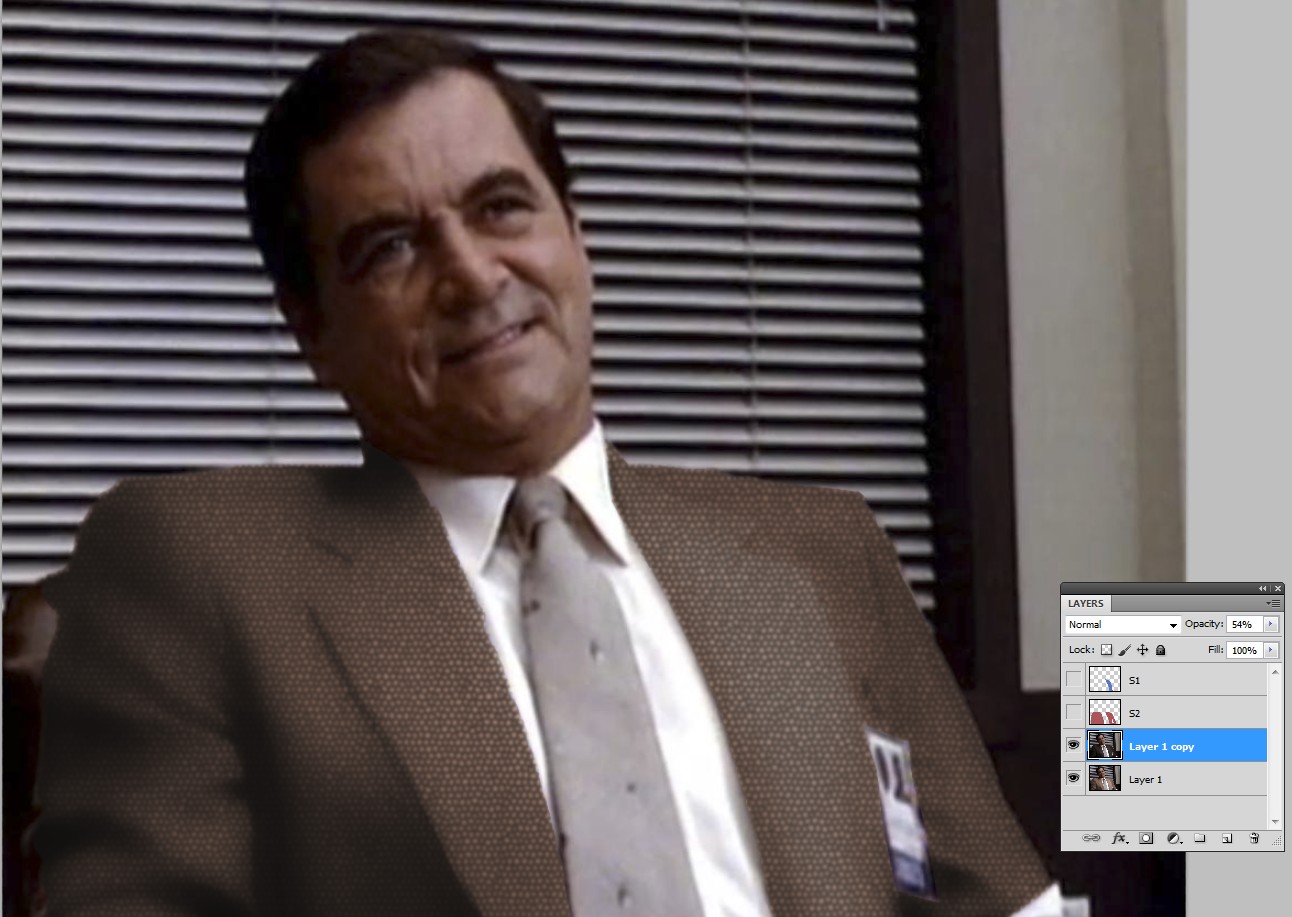
Apply some texture filtering to the coat. It must not have stripes because you cannot easily bend the stripes along the fabric surface. It's possible but extremely complex. An irregular pattern is more forgiving. I used "Stained Glass". I applied it to layer copy and reduced the opacity for more subtle effect:

enter image description here

The coat must be made quite dark to cover the remnants of the moire and to hide the fact that the new texture doesn't follow the surface of the fabric.

As you see, the selection made the corners of the shoulders too sharp. But that's fixed easily with a slight manual blurring.

If you need more realistic texture, you can for example add a piece of proper fabric (greyscale, clipped with the selection, having a blending mode multiply in a new layer). You must warp or liquify the surface curvature to it. As said: not impossible, but it will really need some effort. A highly skilled draughtsman could even draw in a right way curved lines to be used as the texture.

0

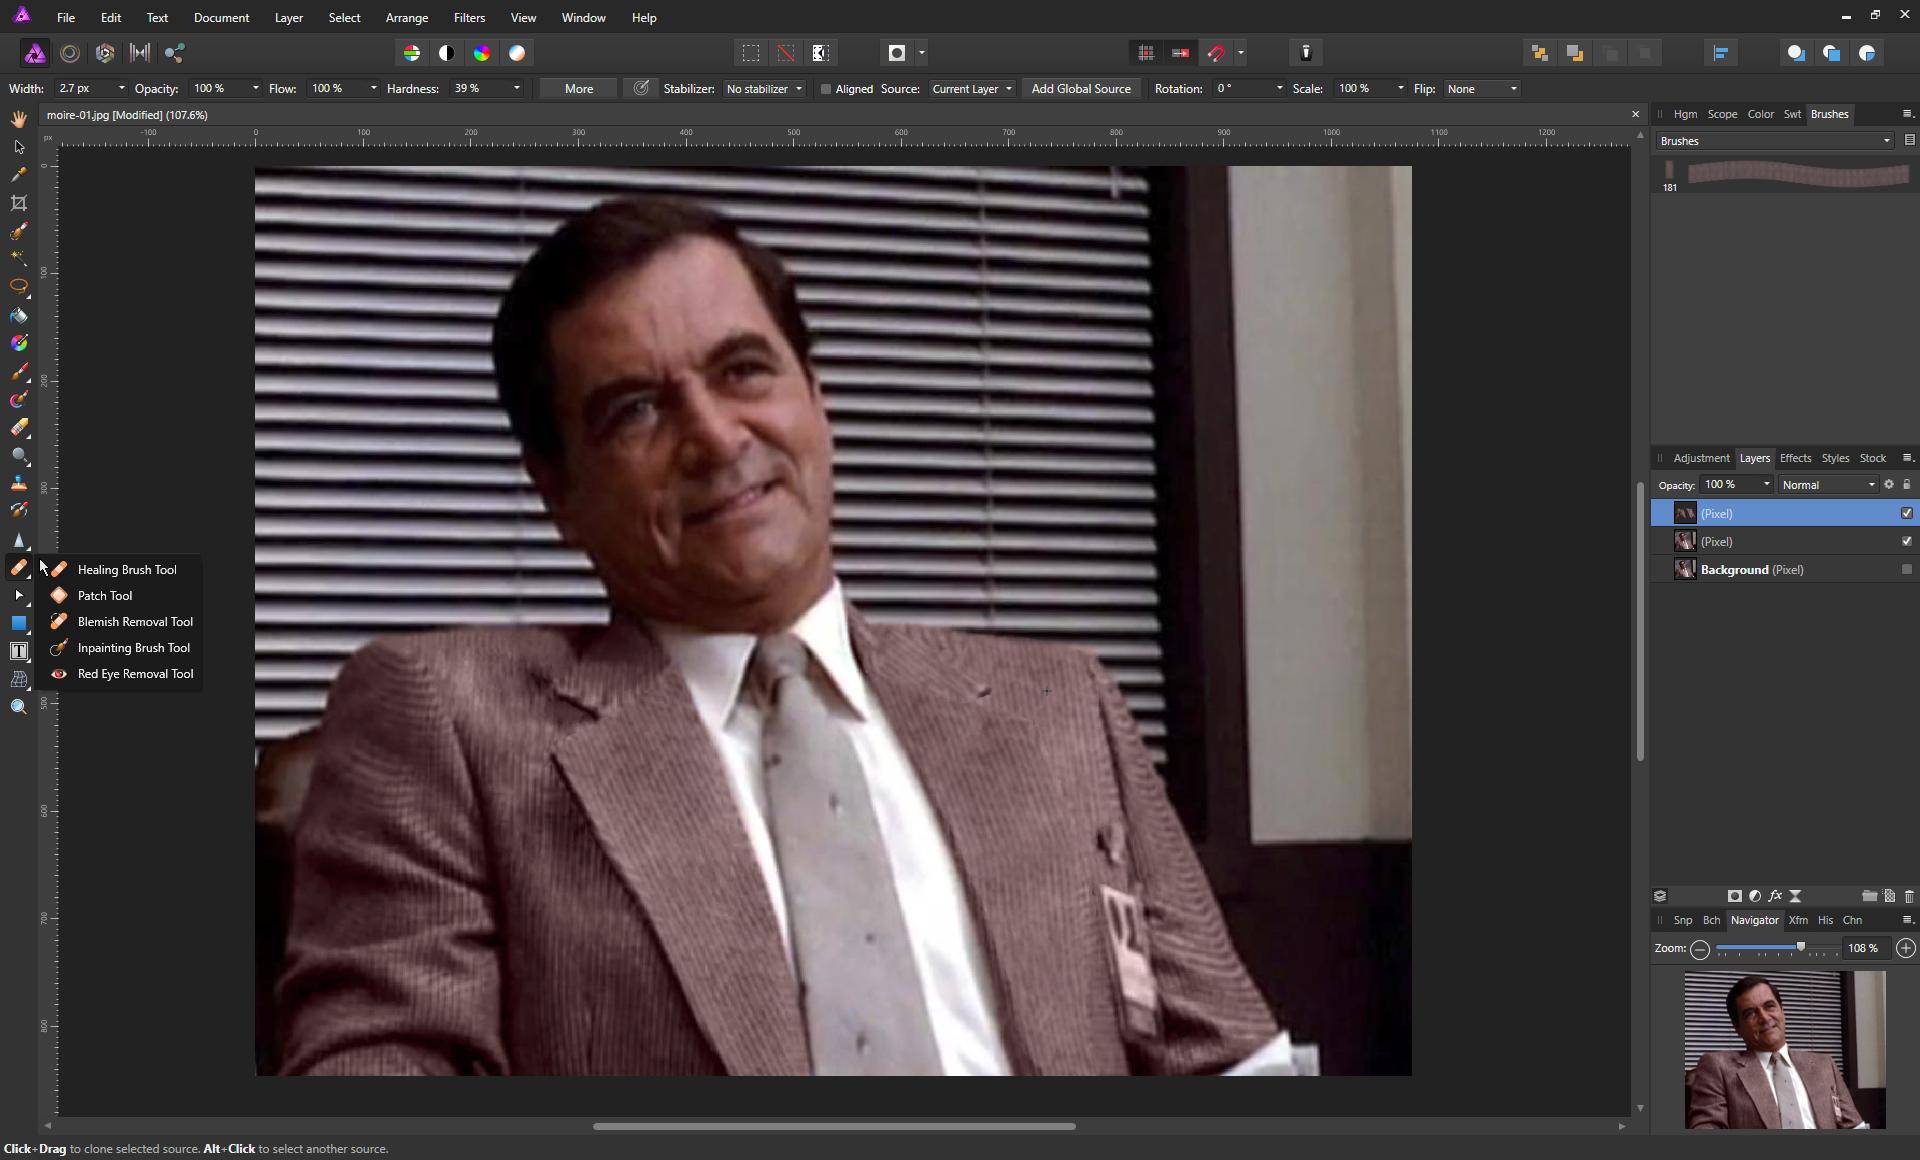
For myself in Affinity Photo I took basically three steps:

  1. Renorming the colour much as you initially did (Layer Effect Colour overlay, blend mode colour)

After the colour correction, I looked at the image enough to determine I didn't feel the need to correct the moiré everywhere on the suite - the sleeves would both be impractical to correct and are not essential to "selling" the corrected suit as a striped suit - in fact the moiré there adds to the sense of directional folding. Therefore I focussed on the lapels and the suite front elements.

  1. Sampling a section of the right lapel which is clear and clone stamping to complete left lapel
  2. Using this as source for healing patch and inpainting brush - overlaying these in sections to angle match, and blending down into a direction fix layer above the main image.

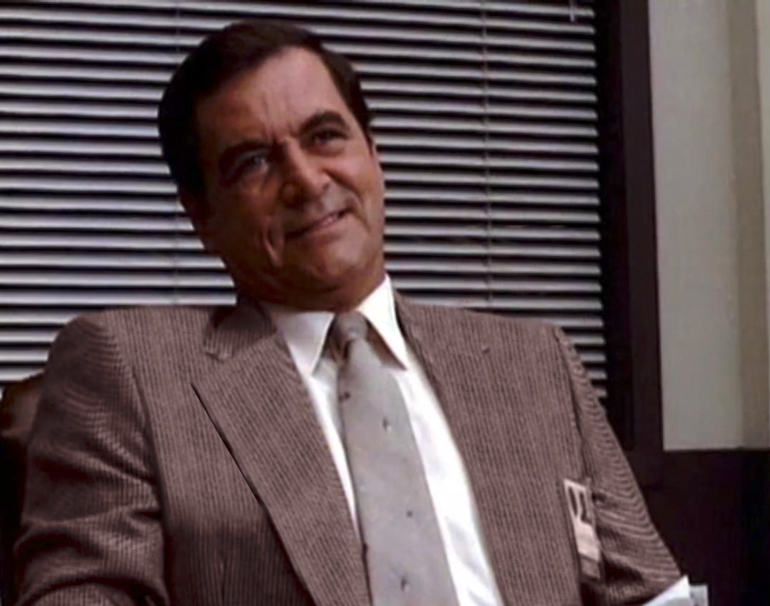
This ends up with a result like so:

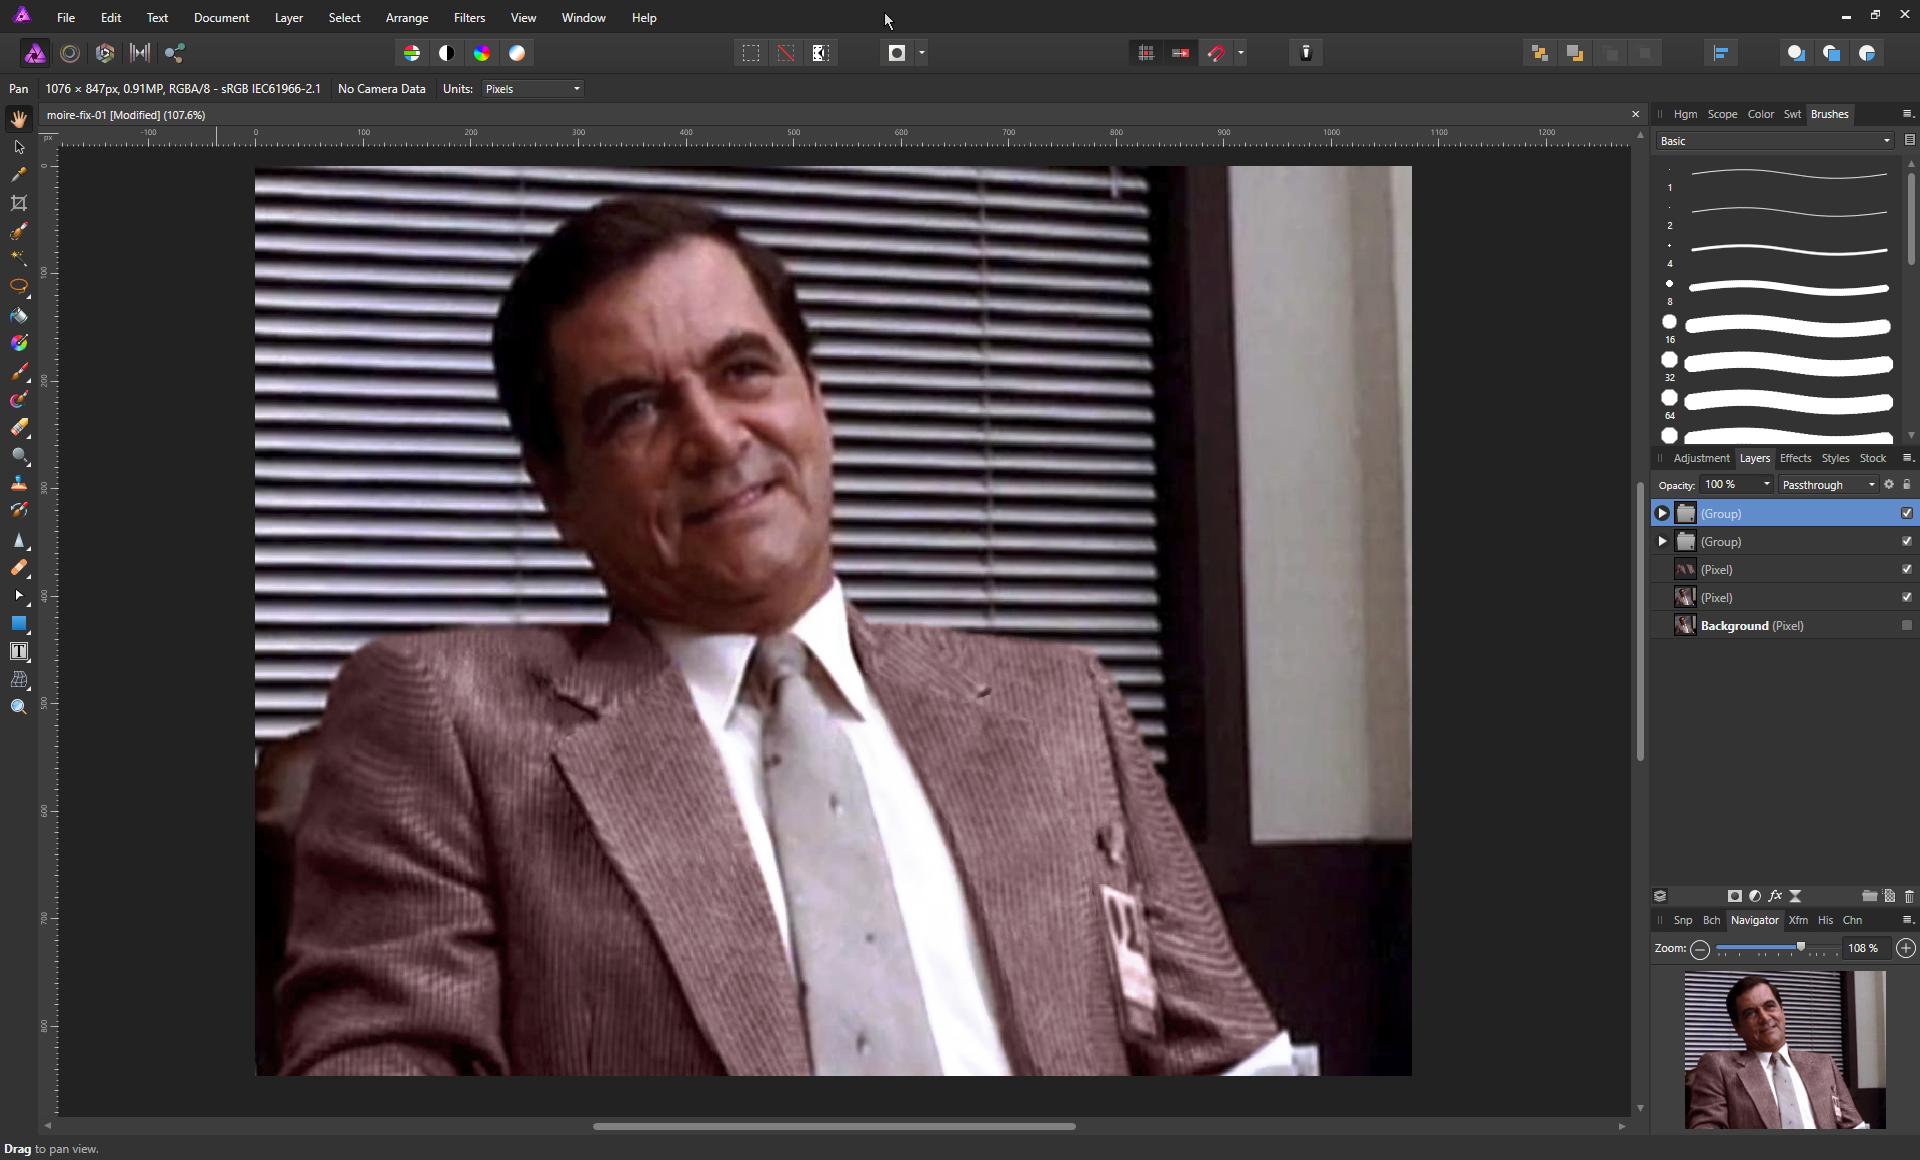
enter image description here

I then add some post colour corrections to the overall image (white balance, a filmic curve to levels etc) to end up here.

enter image description here Hope that helps.

Your Answer

By clicking “Post Your Answer”, you agree to our terms of service and acknowledge you have read our privacy policy.

Not the answer you're looking for? Browse other questions tagged or ask your own question.