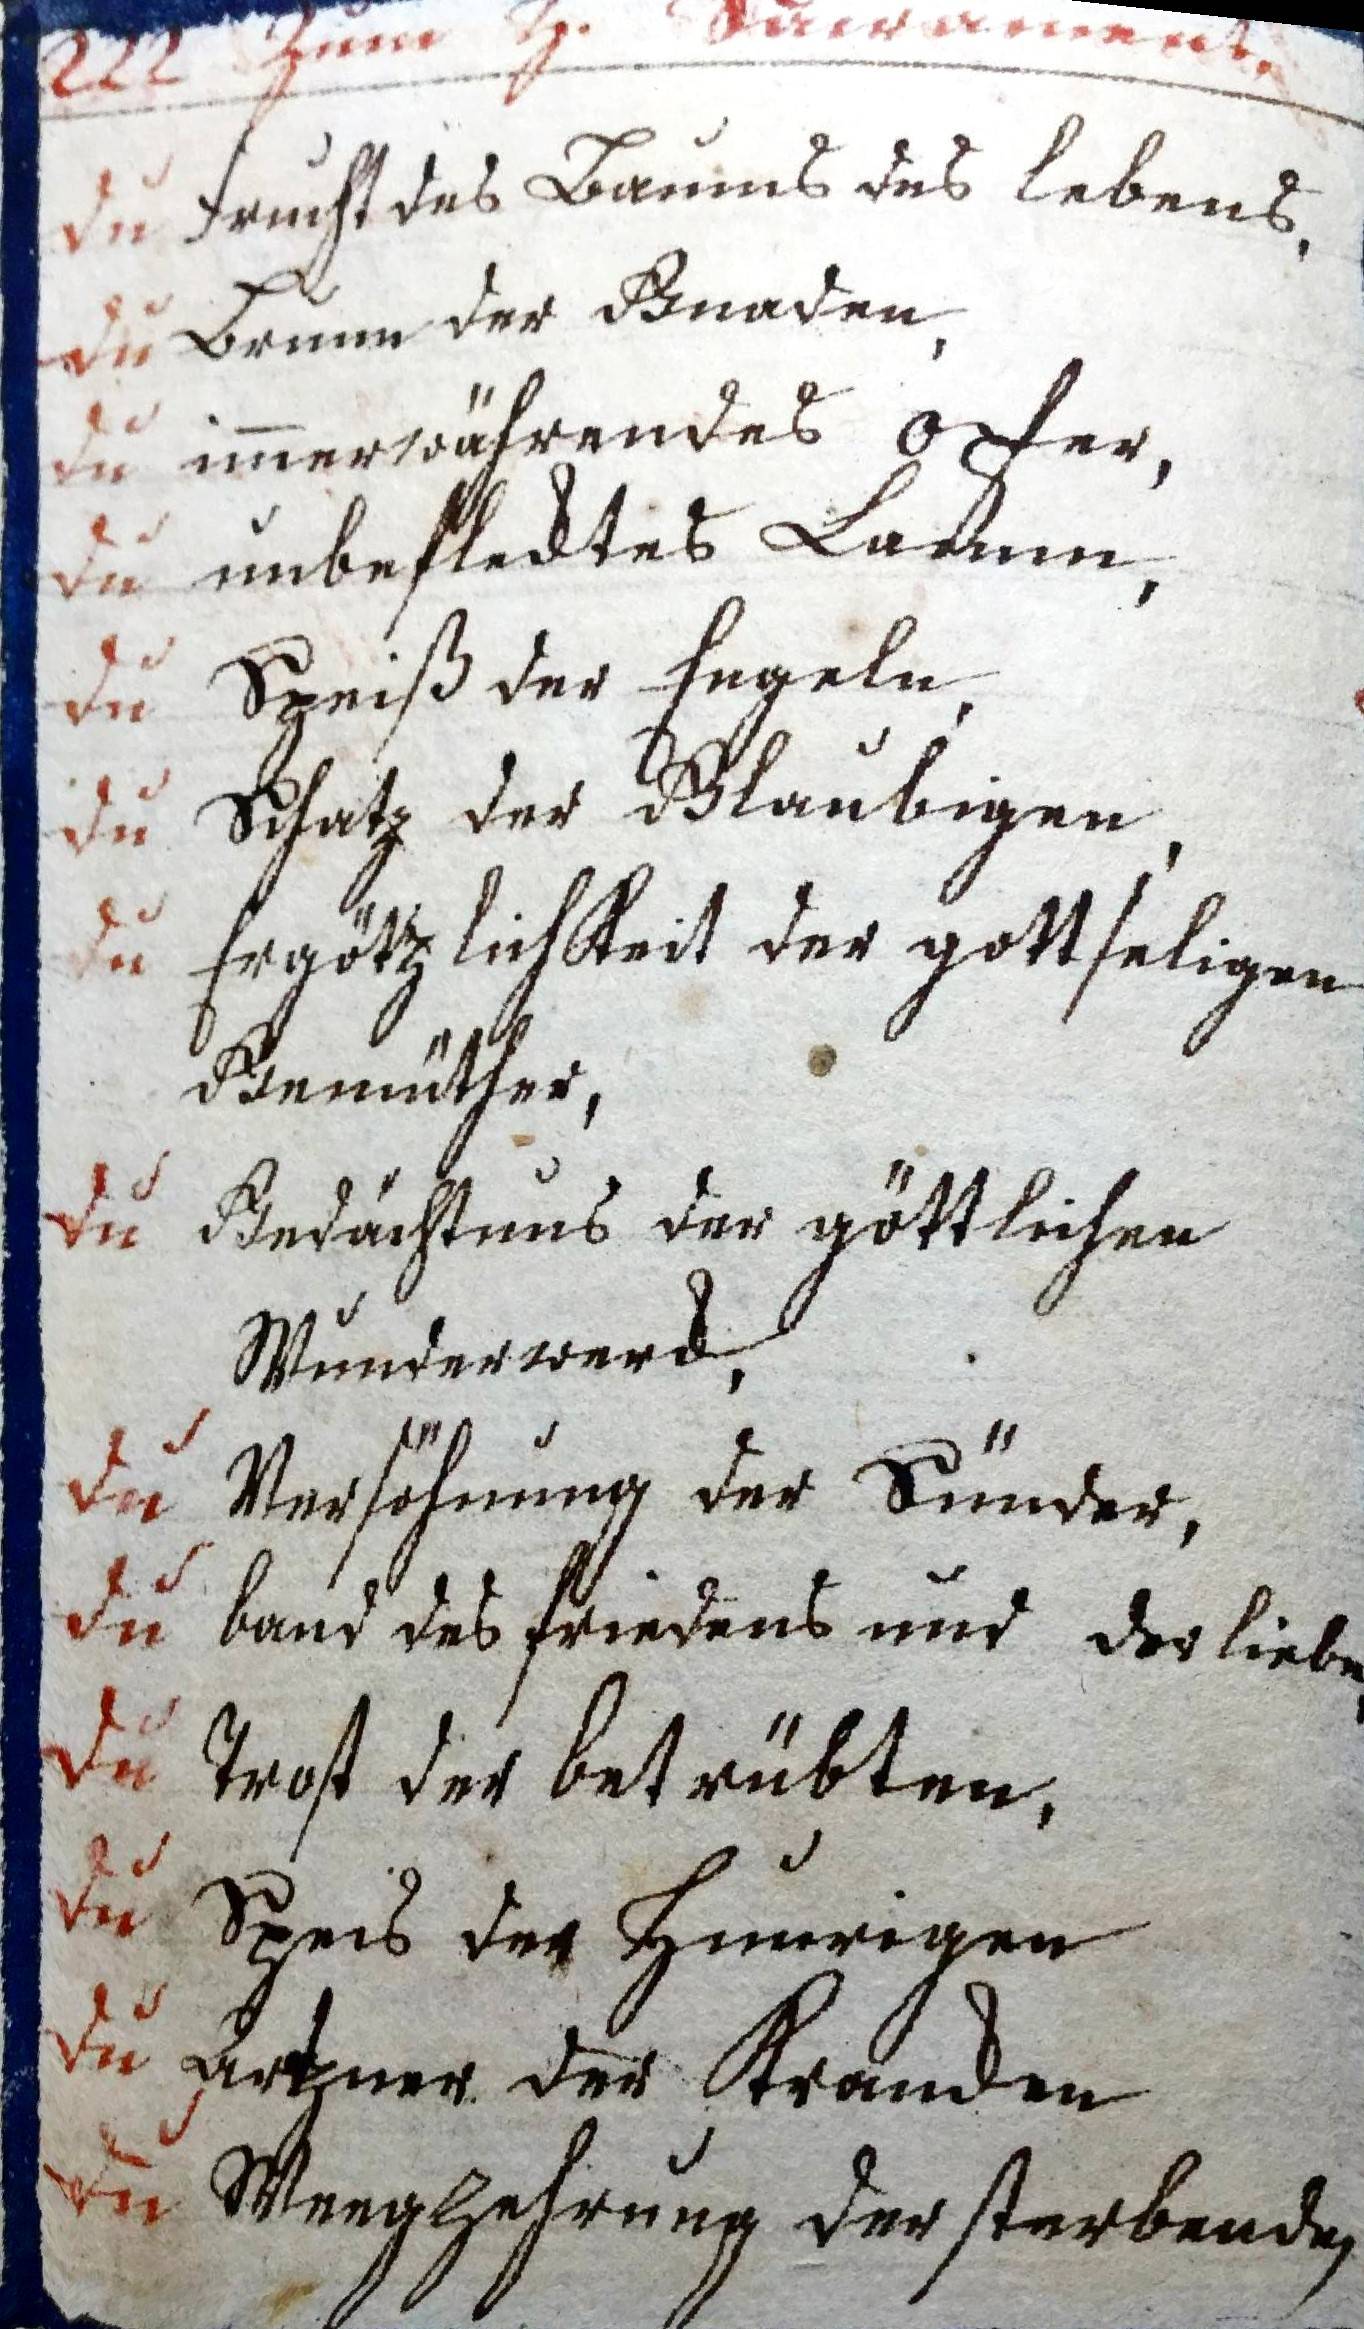
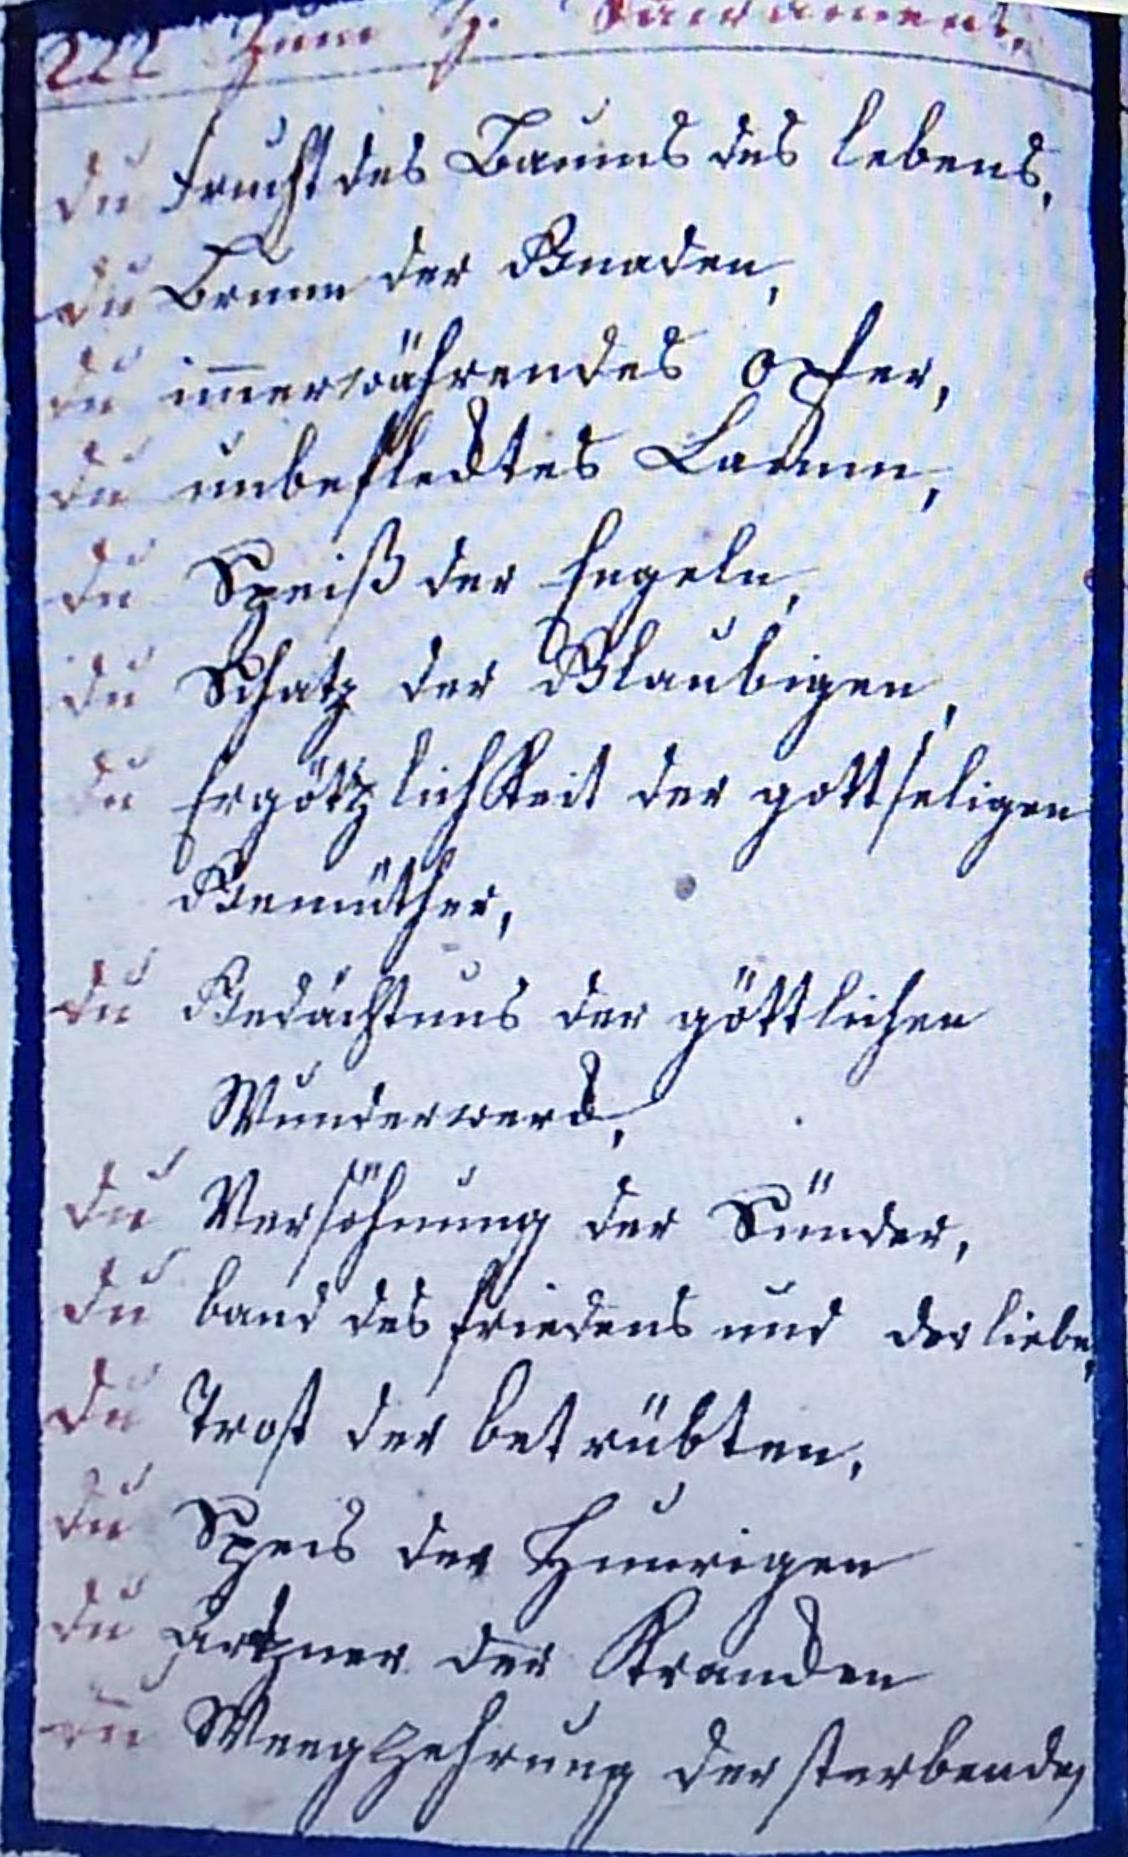
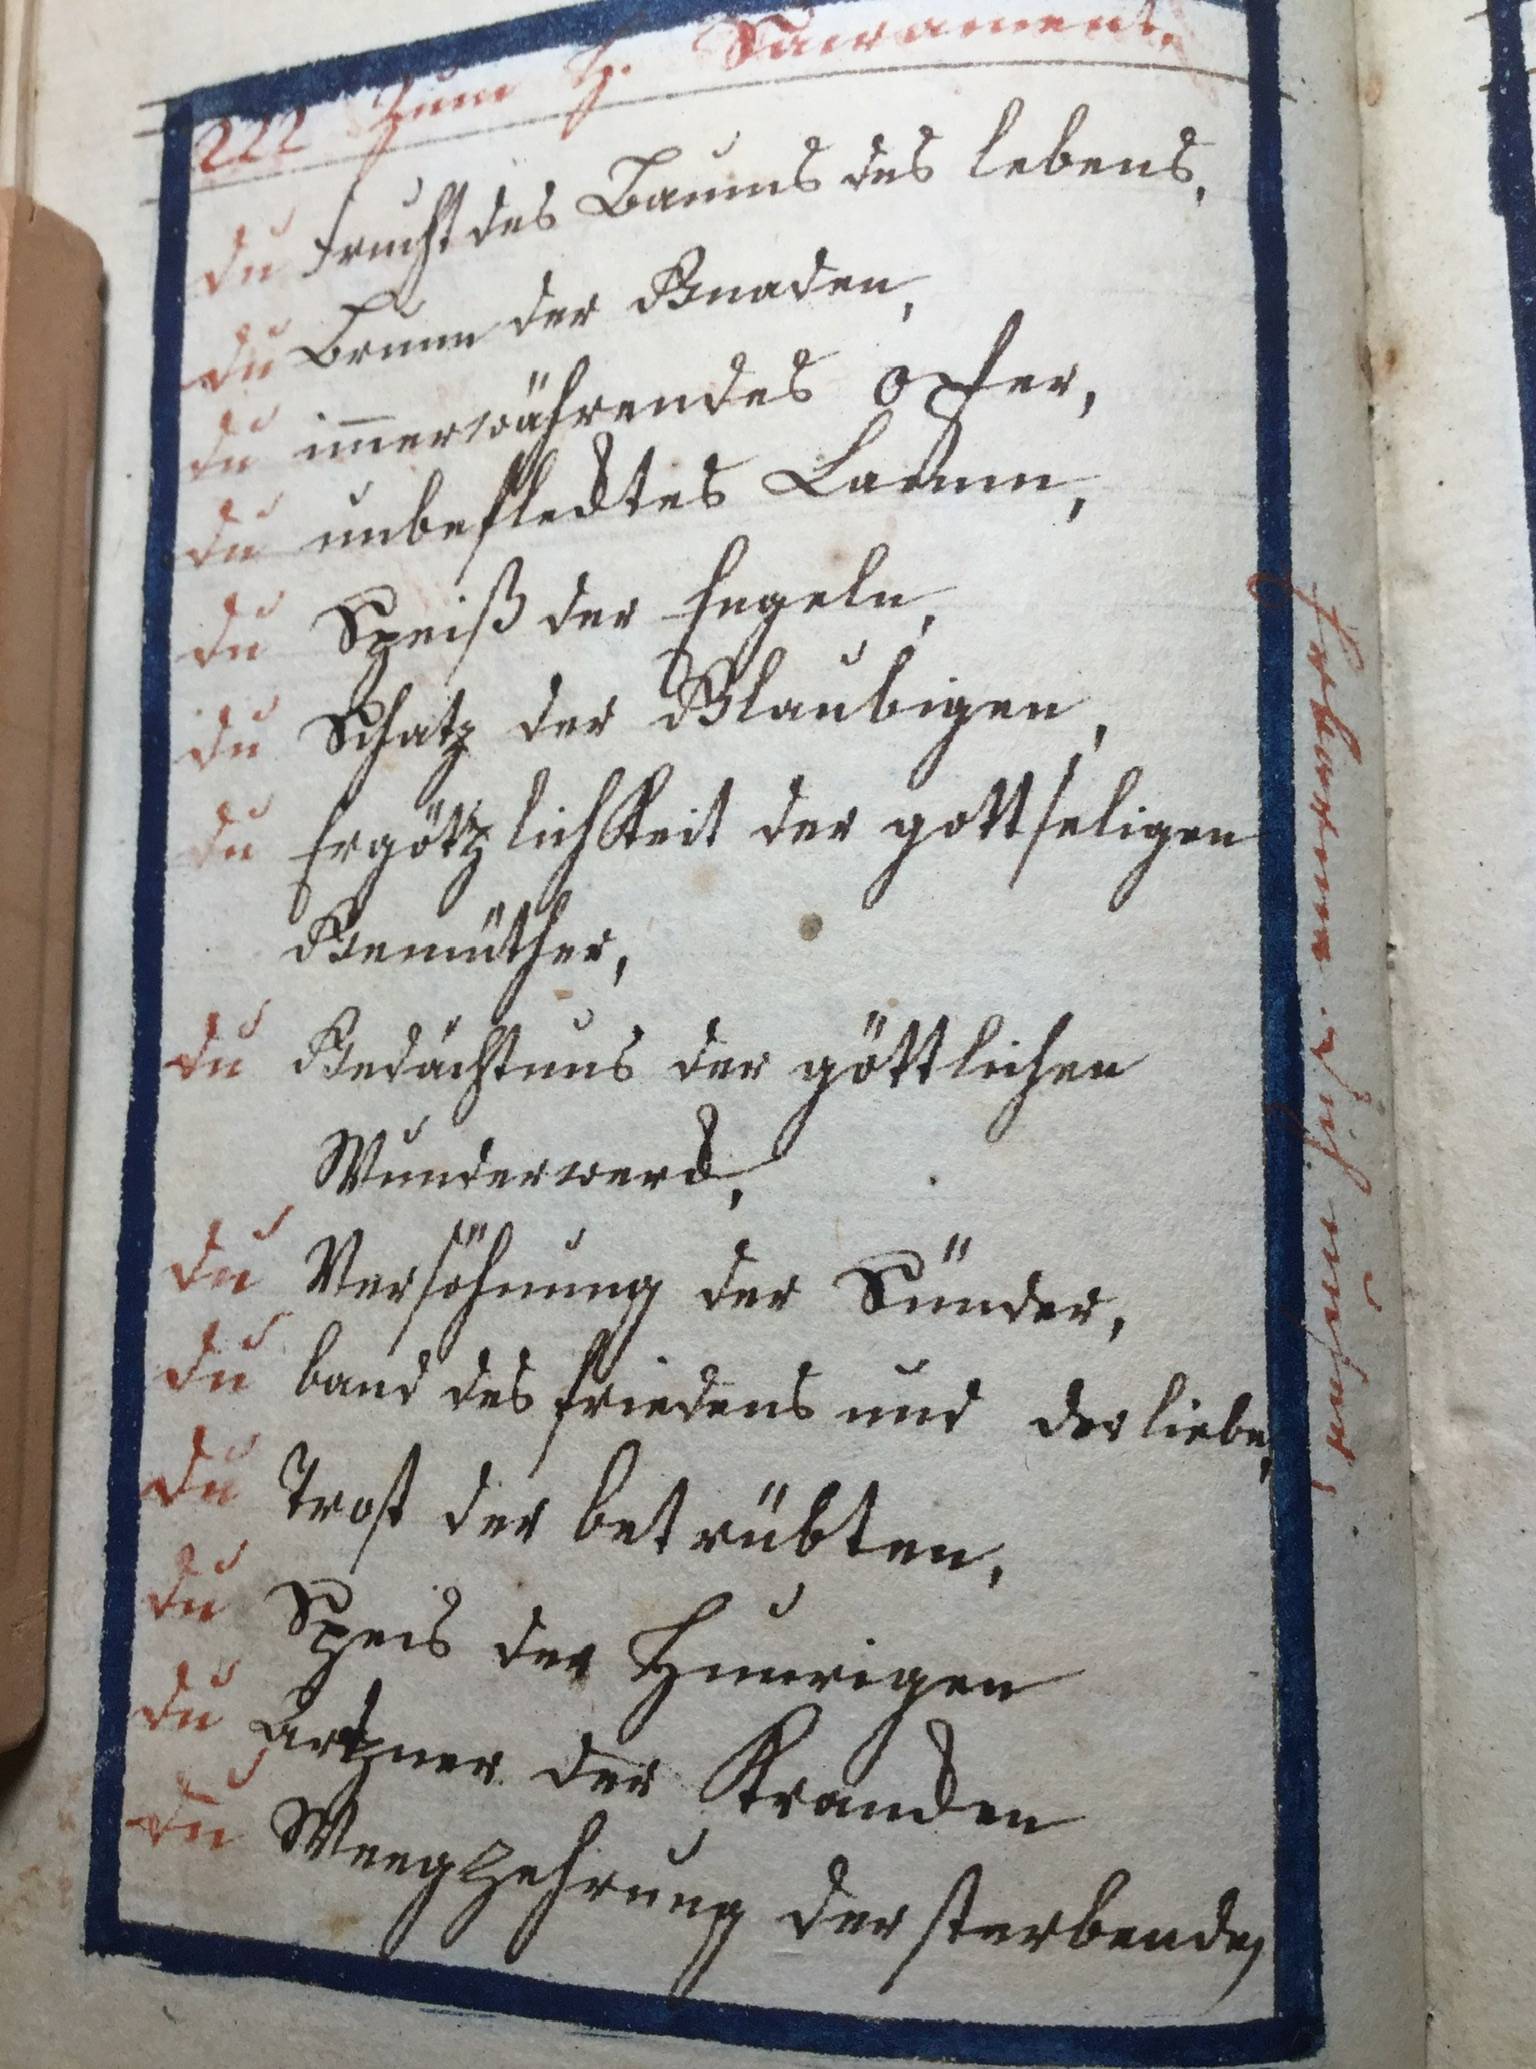
 I have a small (4x3 inch) Catholic prayer book handwritten in German gothic script. prayer book was written by a 4 Great grandfather. I plan to pass this prayer book down to younger relatives but I took jpeg photos of each page. As expected it was difficult to photograph the middle pages without a "curl" to the sentences. Is there a program to "uncurl" the sentences? Thanks Jon
-
36Professional archivists usually have apparatus that allows for photographically capturing books. Typically they hold the book open at about 90 degrees (to avoid damaging the binding) and use a glass plate to hold the page down flat while the photo is taken (see picture here -- en.wikipedia.org/wiki/Digitization). If you've taken the photos with curled pages then you've made life needlessly difficult for yourself.– WossnameCommented Apr 1, 2020 at 14:36
-
1Can I upvote a comment like 10 times?– RafaelCommented Apr 1, 2020 at 18:26
-
3That person had quite beautiful, clean handwriting!– NumeriCommented Apr 2, 2020 at 11:17
-
2I hope you plan to add a decryption to this. I'm German, with basic knowledge of Sütterlin font, but I can hardly read 2 words. Not catholic, however.– user151462Commented Apr 2, 2020 at 12:51
-
1For the record, Sütterlin isn’t normally referred to as a Gothic script in English – that refers only to typed blackletter/fraktur.– Janus Bahs JacquetCommented Apr 2, 2020 at 19:53
4 Answers
Yes it is possible. You'll need some raster image editing software such as GIMP (free) or Photoshop (not free).
This is for GIMP (works on Mac, Windows and Linux). It's a simple method using the Warp Transform tool to manually distort the image. Photoshop has a similar tool called Liquify. This method is not automatic, and requires a little manual work.
Open the image using File > Open
Select the Warp Transform tool
Set a large size in the tool option, perhaps big enough to make the tool cover around 6 or 7 lines of text, and reduce the spacing slider to its minimum.
Click and drag repeatedly on the image, a little at a time, to straighten out the curves.
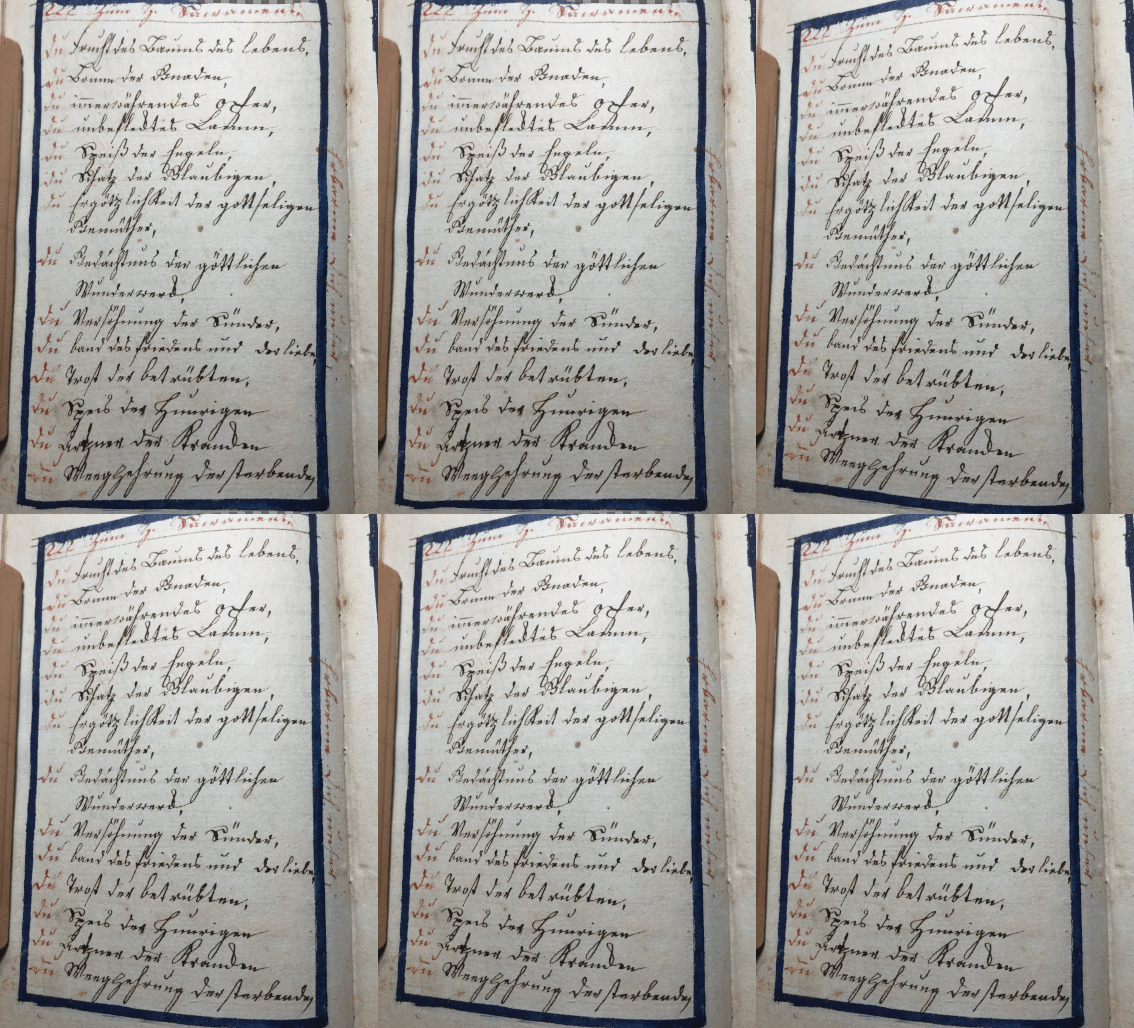
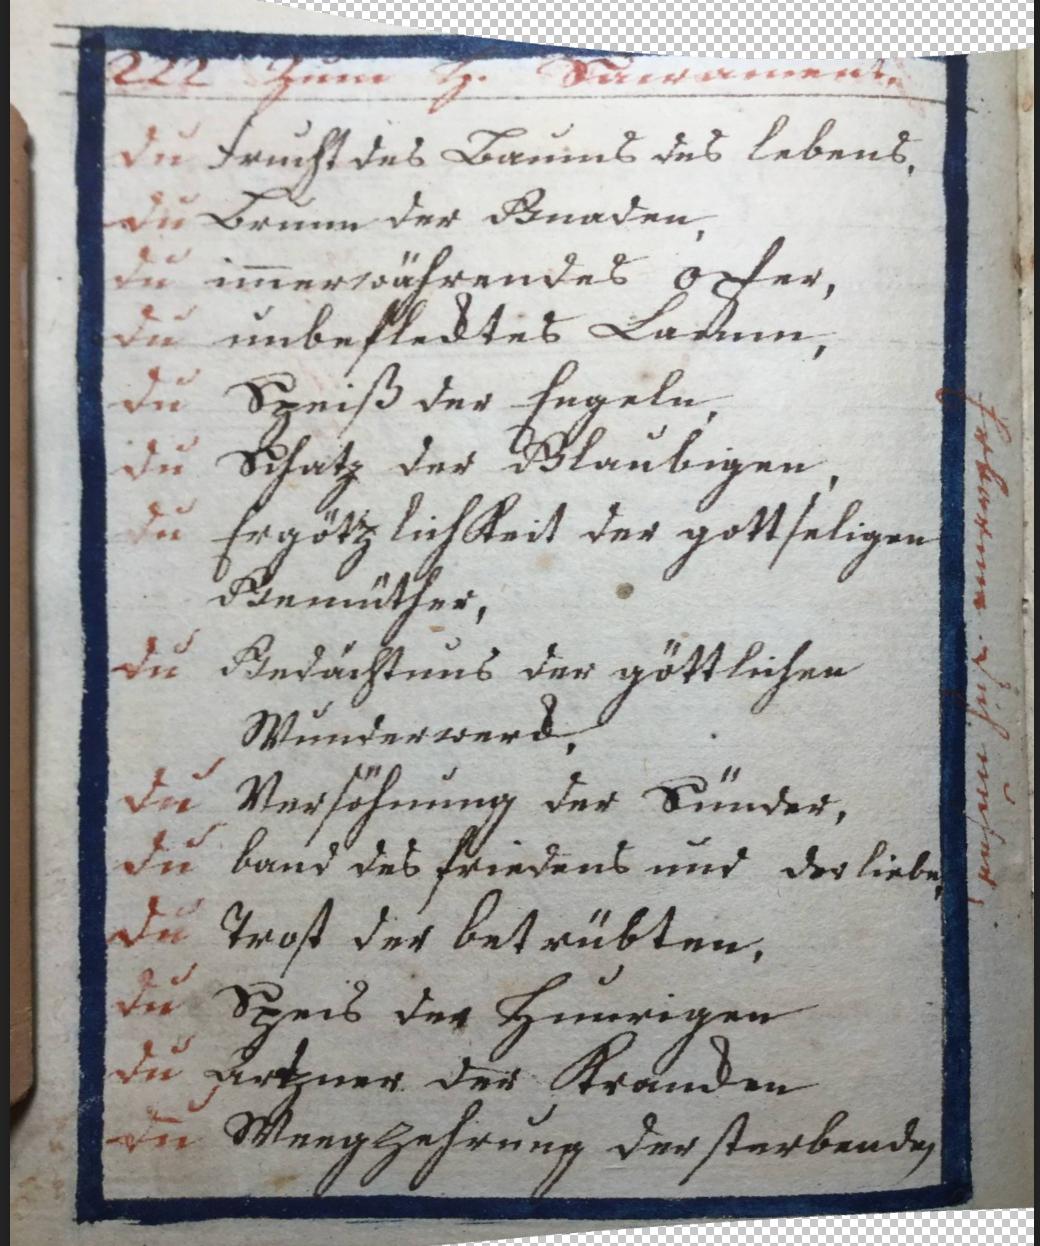
The example below took me a few minutes. Here's the before and after.
There are also other possibilities. In GIMP there's a also a cage transform tool, and in Photoshop a Warp Transform tool (which is a bit more easier to use than GIMP's cage transfrom).
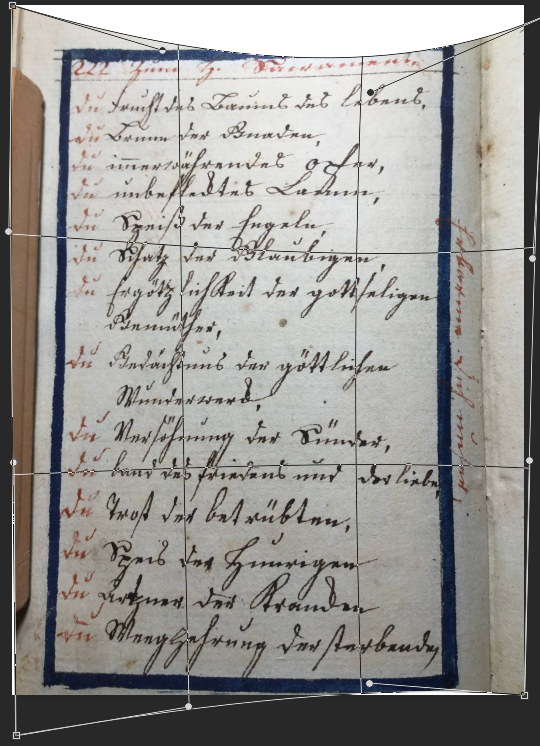
Here's an example in Photoshop using the Warp transform
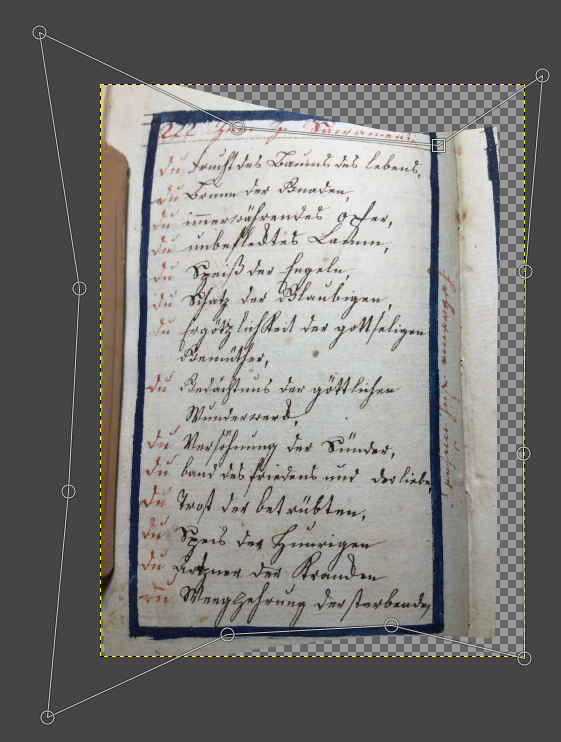
And similarly with GIMP's Cage transform
-
Although not free, for a small project finished within a month Photoshop could be used...– LucianoCommented Apr 3, 2020 at 8:06
https://www.photopea.com/ will do the job for free, but do consider subscribing, it's a very good resource. It works like Photoshop.
That was done with edit-free transform to fix the perspective (ctrl-grab or cmd-grab the corners to move them independently) and then edit-transform-warp to straighten the lines, about two minutes.
Here is what I got in 1min using the Office Lense app on windows. You can import old photos, not just take new ones.
Might be a little easier than gimp.
Almost automatic, some tweaking is possible. Curvature near top seems too tricky, however...
A worse quality, but practically easier, method is to make use of an app like Microsoft Office Lens. It's designed to let you use your smartphone as a scanner, and as such has some automatic functionality for straightening out an image.
I produced the below by opening up your image on my laptop, taking a photo of it with my phone, then manually dragging the corners within the 'crop' function in Lens to where the corners should be. It corrects that smoothly to a rectangle, so doesn't perfectly deal with the curve, but it was fairly quick to do (and would be better quality if I just loaded the original image file in the app rather than taking a photo of my laptop screen).
-
5beat me by seconds, however note the possibility to import old images, no need to snap again– user151462Commented Apr 2, 2020 at 12:27
-
I mentioned that in the post, the part in brackets at the end of the second paragraph.– dbmag9Commented Apr 2, 2020 at 12:35

