You seemingly plan to take the right exact geometry from your high resolution version which unfortunately looks badly overexposed and to take only the brightness levels and colors from the low res thumbnail.
Because the low res thumbnail is better exposed your high res version must have been converted from RAW image to JPG in a wrong way by the software. The thumbnail proves that in some phase the captured levels have been acceptable.
The plan is brilliant but unfortunately there doesn't exist such thing as right high resolution geometry. All forms are made by the flesh between our ears. That flesh has only different pixel brightness levels and colors and our vast memory content as a reference to build the geometry. If you want to transfer the right brightness levels and colors from the low res thumbnail to the high res image your software must be able to guess the relationship between the high and low res versions. I guess no such software is available for ordinary users. But Artificial Intelligence scientists can have it. And, of course, those who make jobs for NSA or CIA.
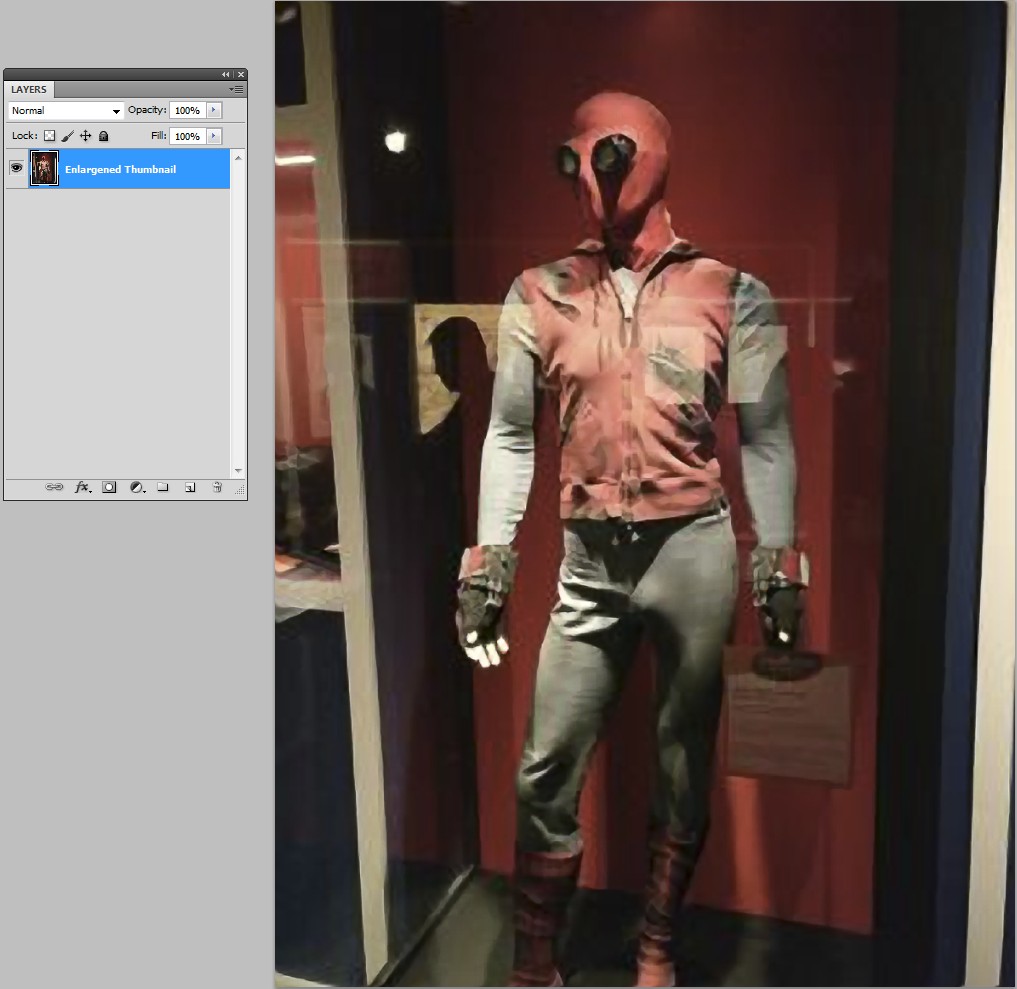
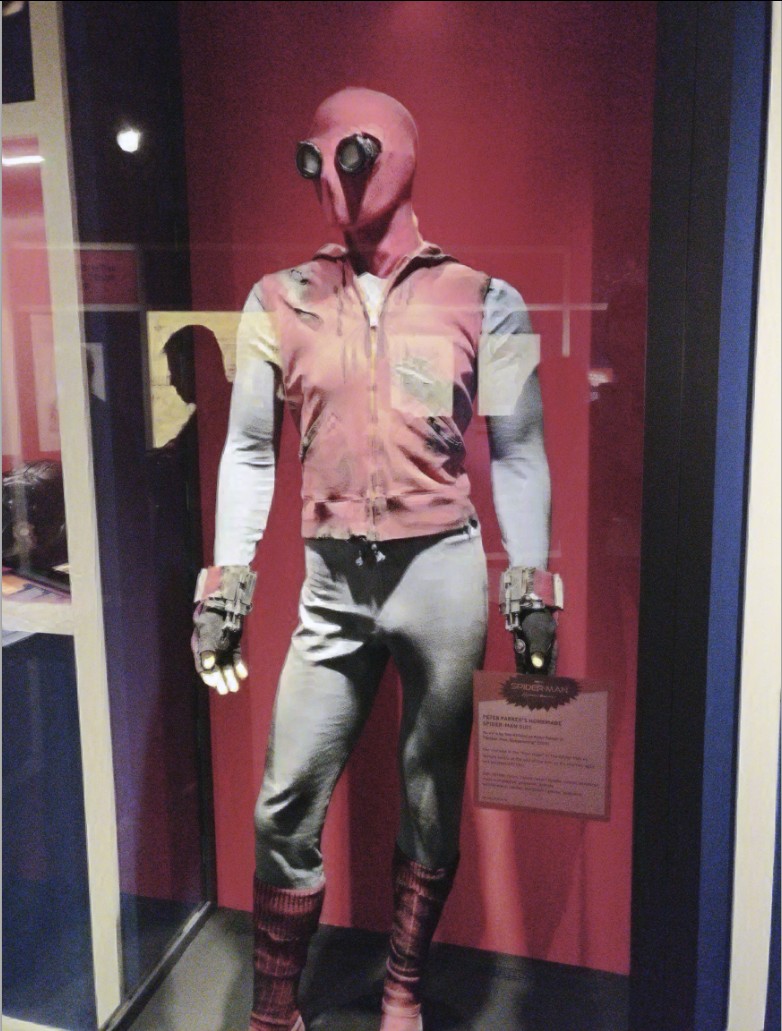
The case isn't totally hopeless. We have some image enlargening software which try to guess the high res version of a low res image. They guess where are the sharp edges and where a smooth gradient is wanted. I must admit they have succeeded quite well. The next is your thumbnail enlargened with one of them (see NOTE1) to the high res size:

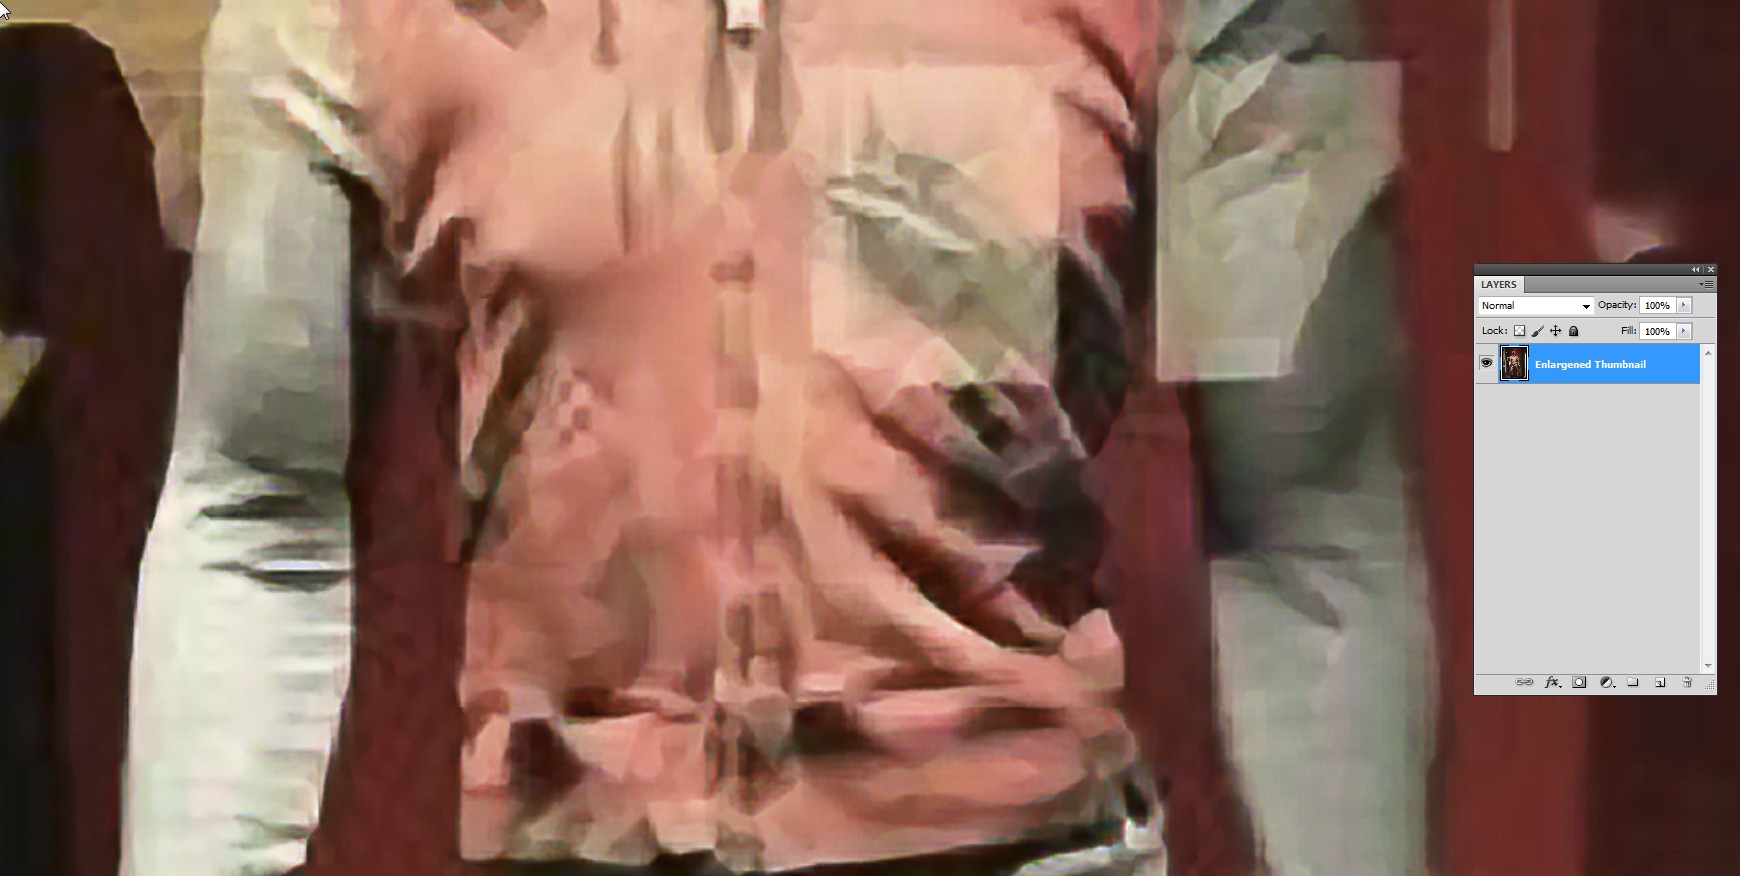
Zoom in reveals that it's not perfect. It cannot guess those details which are missing from the thumbnail. The enlargening is several hundreds of percents:

The contrast of the high res version can be stretched to cover the full brightness range 0...255 with curves or levels. The result has lost all details in bright areas:

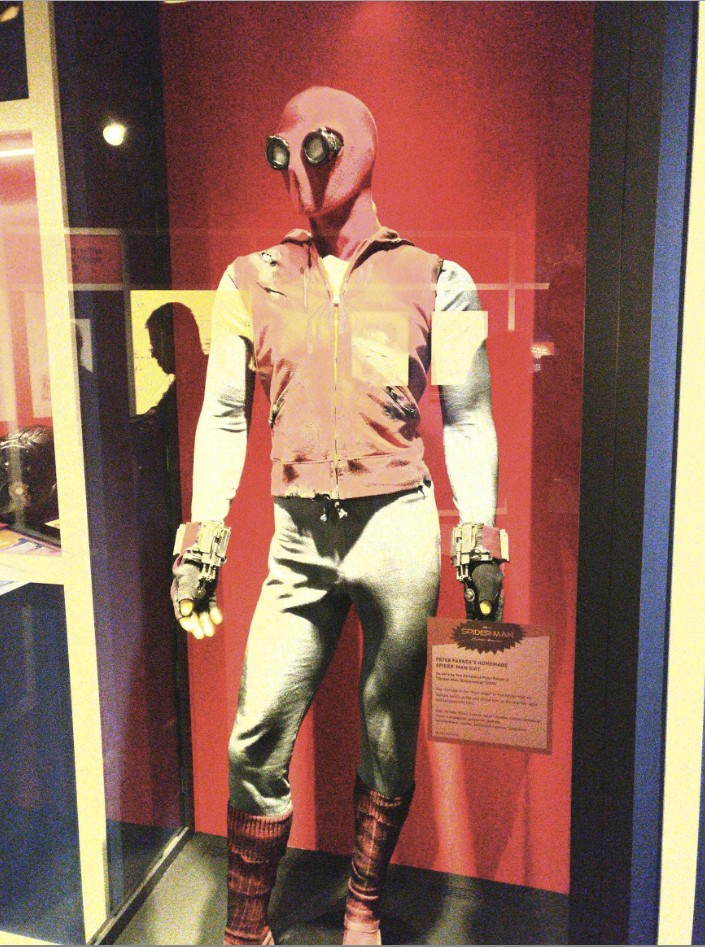
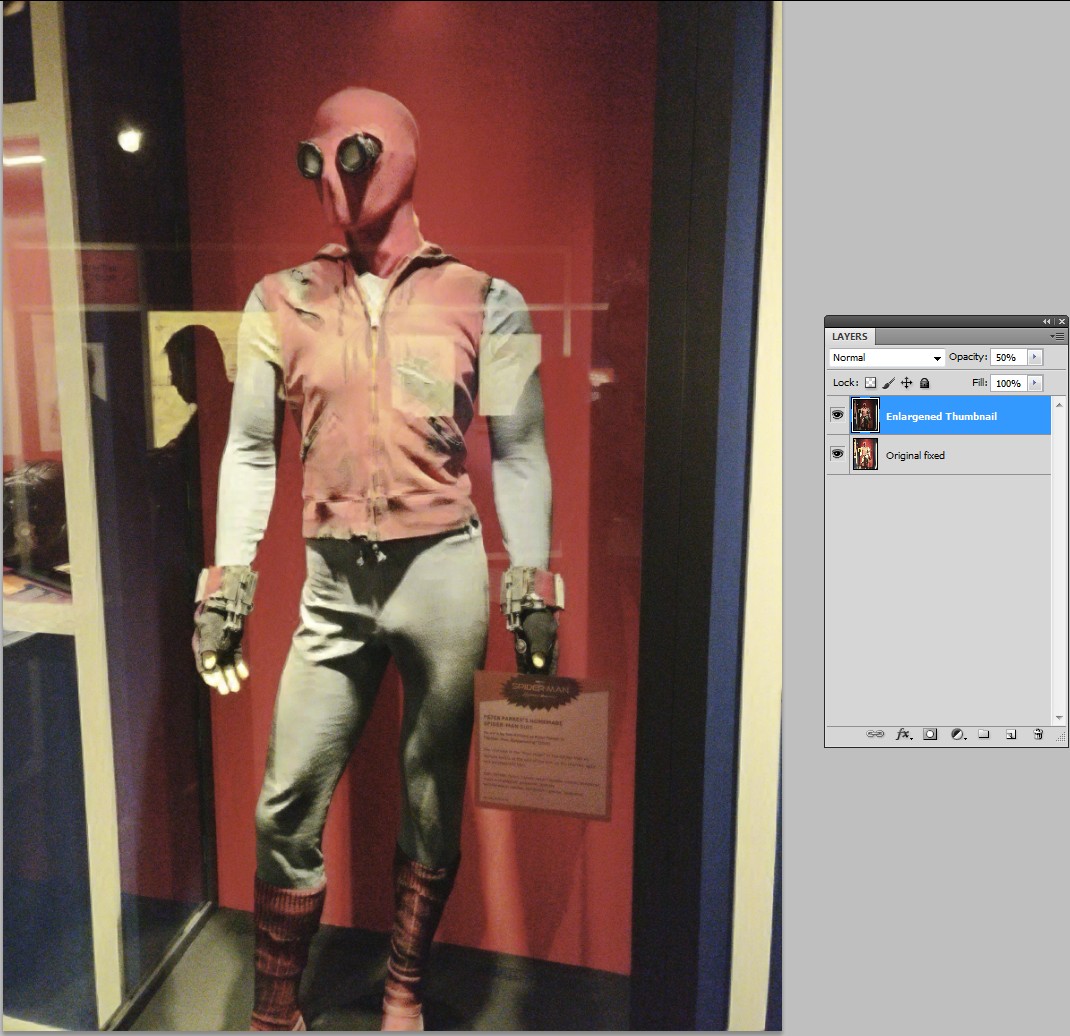
I tested does an average of the fixed images be more pleasing than any of the fixes alone. For me 50%/50% average looks better. It's made simply by layering both versions and by making the upper layer have 50% opacity:

For best result you should not use 50%/50% average, but select with a layer mask where the enlargened version really is used. That's because it's needed only where overexposure has wiped off too much details.
There's still some yellowish color cast due the light conditions. It can be corrected by white balance adjustment or by using a plugin which does the same. This is my guess of the right color:

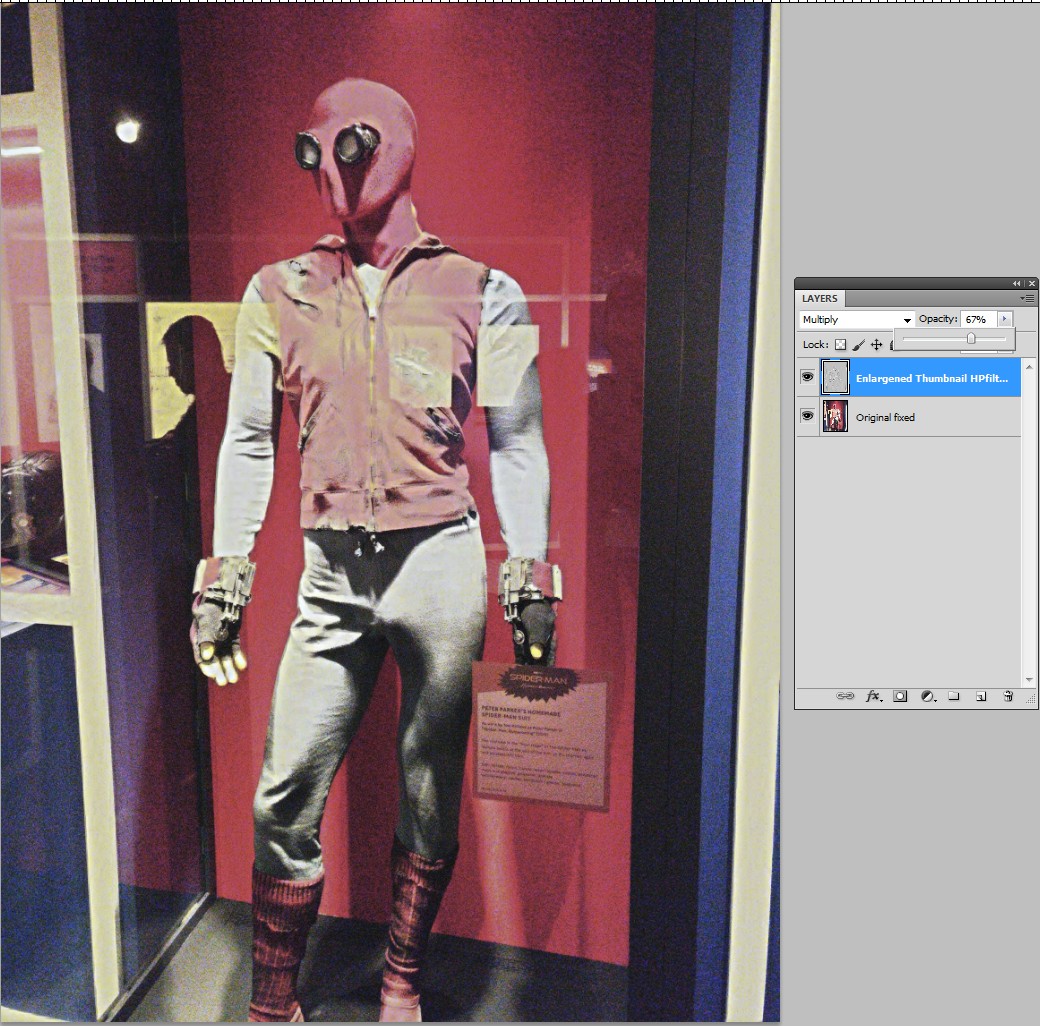
One possibility to extract details from the enlargened version to the high res, but overexposed version is to high-pass filter the the enlargened version and blend it with blending mode Hard Light or multiply with the high res version. here's one attempt:

NOTE1: I have tested 2 image enlargeners and both of them work well. they are Smilla (=freeware) and On1 Resize (=commercial). There are many others.
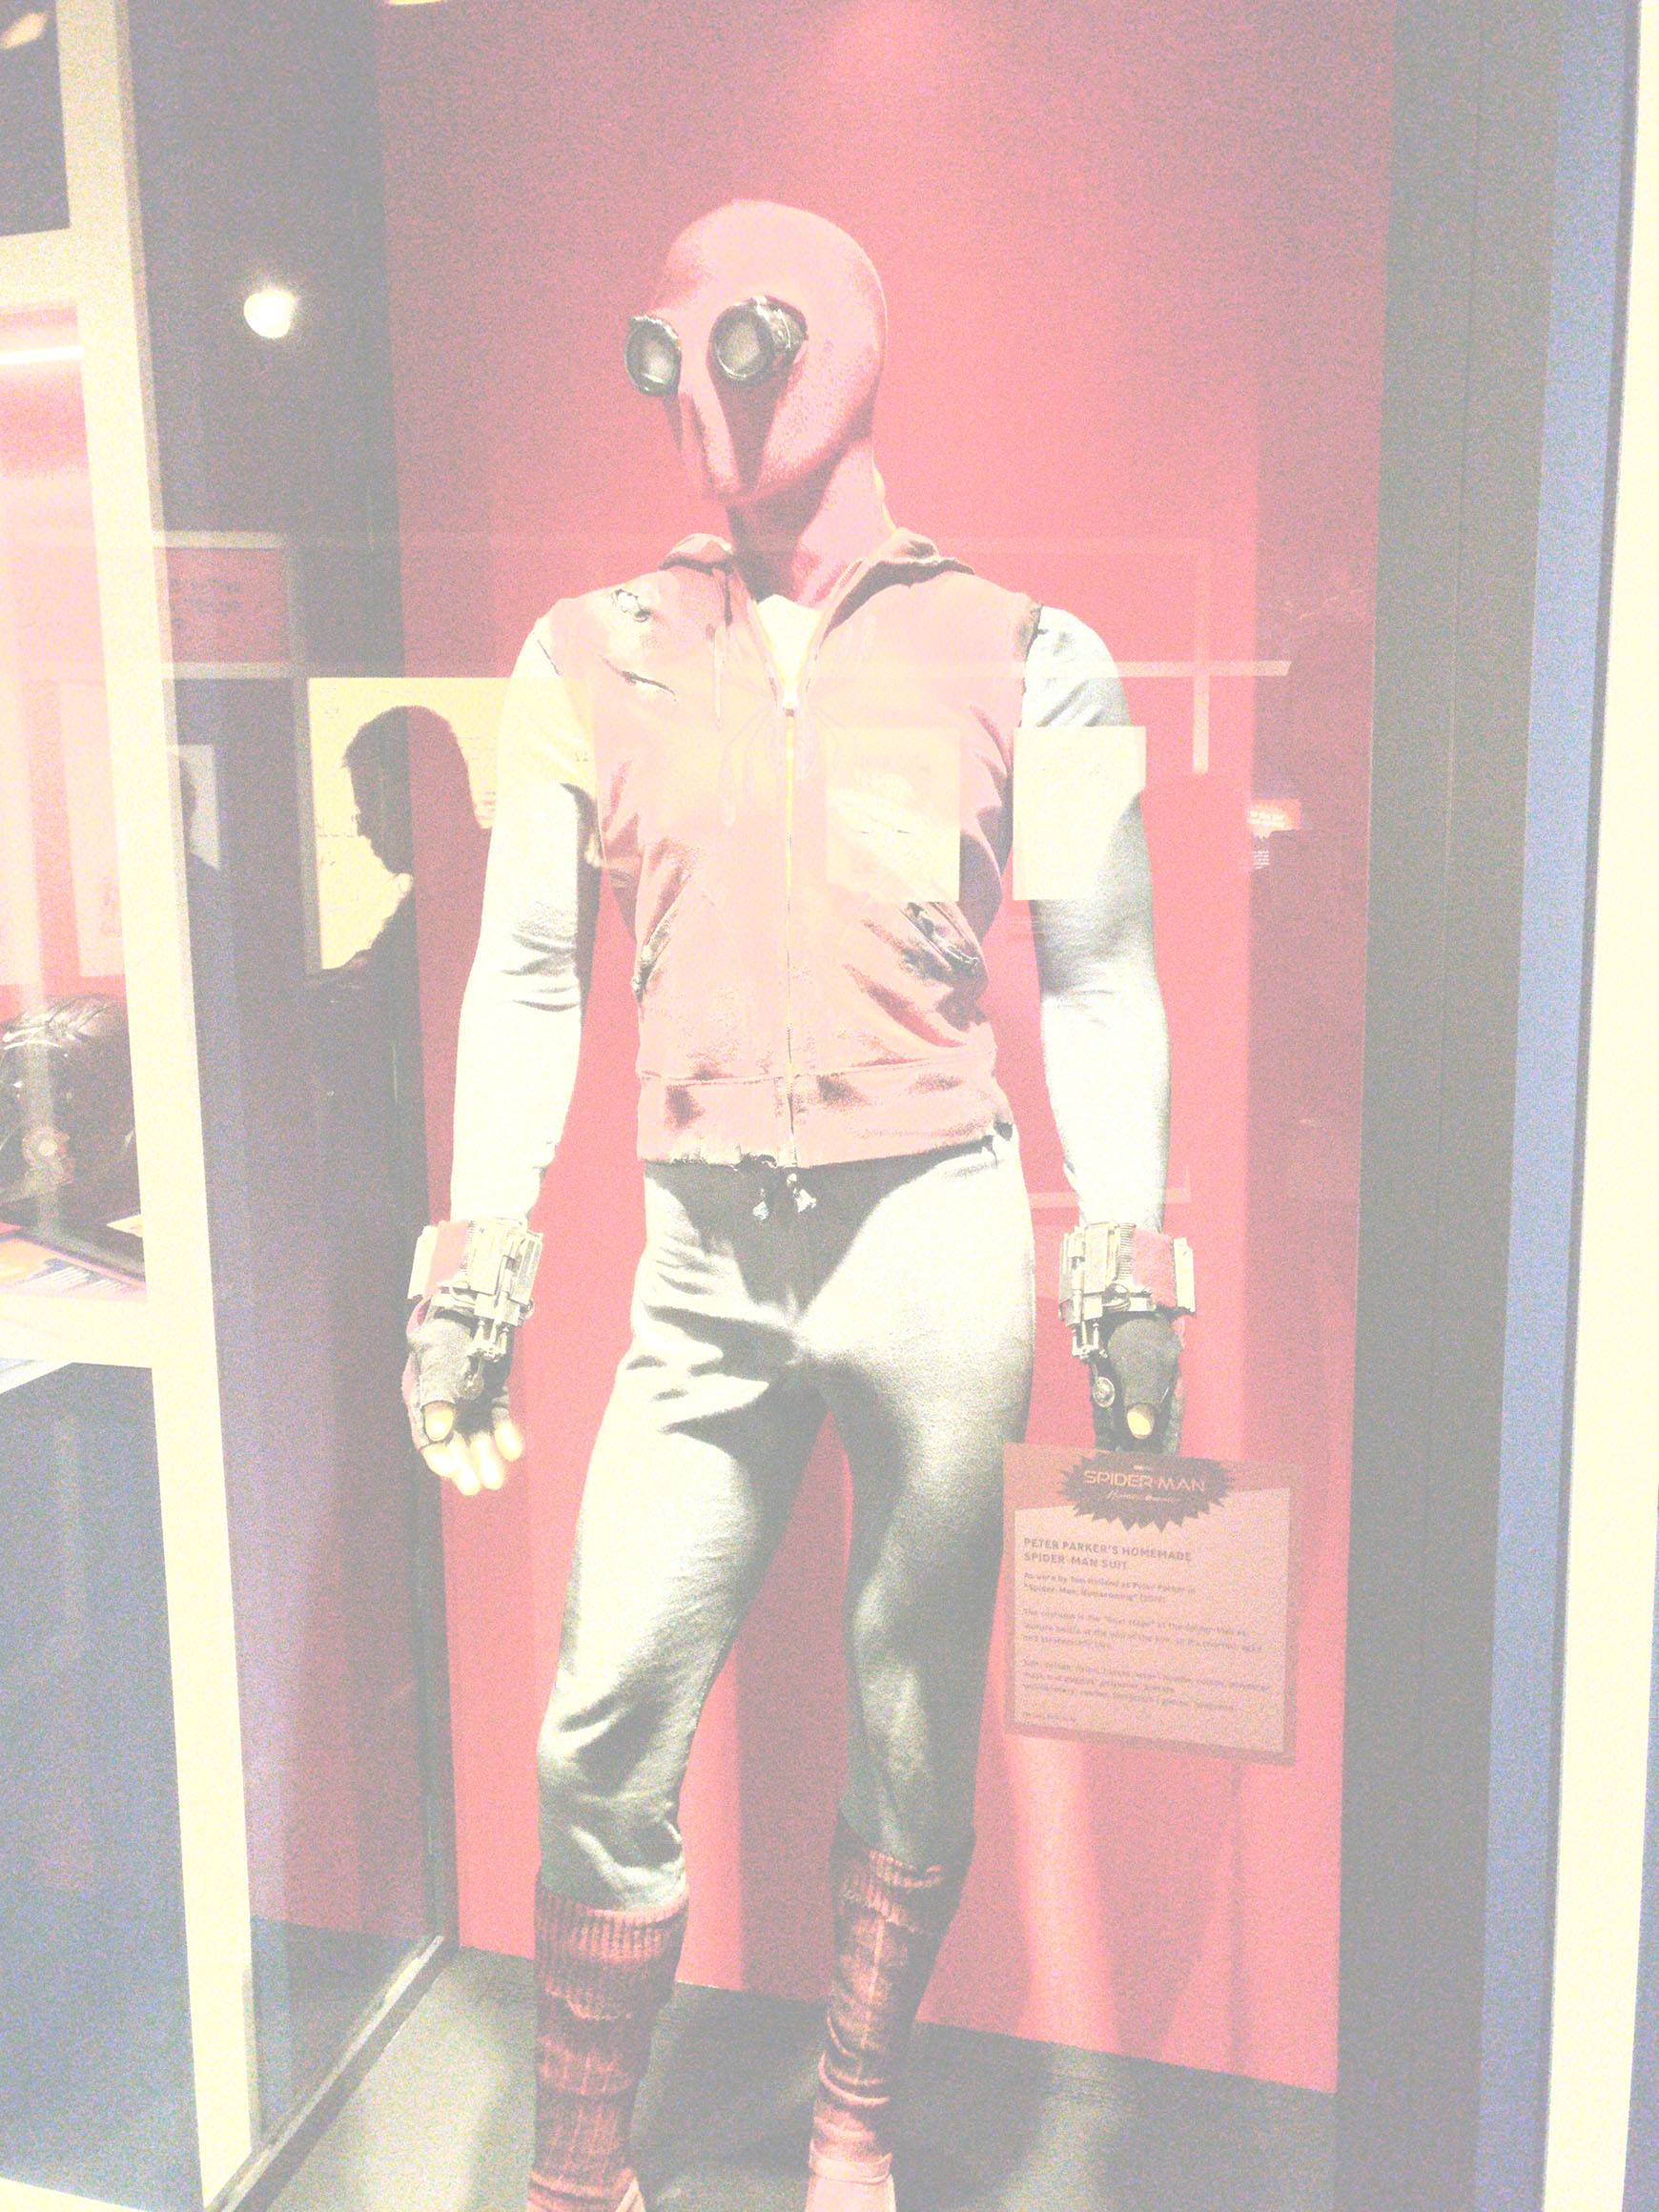 Thumbnail extracted from EXIF:
