There is an easy Illustrator trick that'll get you 3/4 of the way, but relying on tricks like this might not be the best way. You will need to do at least some hand-drawing, for the bits that stick out from the sphere (unless you use a serious 3D application... but that might not match the cartoony aesthetic so well...), and it might turn out to be better to just hand-draw the whole thing with perspective.
Here's the trick anyway, because it's a good one. Suppose we had a flat image we wanted to wrap around a sphere, like this old cartoon map for example...
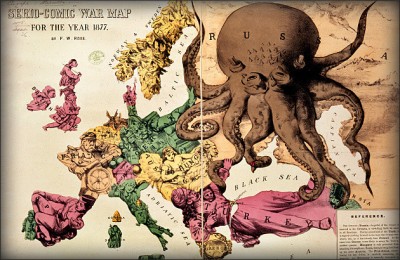
Make the original image into a Symbol by dragging it into the Symbols window. Ideally the image should be short and wide.
Create a 'sphere'. Make a half-circle (create a circle, then select and delete one of the points on one side). No fill, no stroke. Select it, then Effects > 3D > Revolve.
In the box for the Revolve effect (you can access it from Styles window if you've closed it), click Map Art at the bottom. Choose your image from the drop-down list of symbols, and scale it for the best fit.
Tick 'Preview' in the Revolve settings, and rotate the sphere using the big cube until the face you want is facing forward. Experiment will all available settings, particularly Perspective (I find 110 works pretty well), and try different scalings and placements of the image.
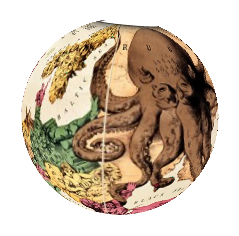
You'll notice this works pretty well, but maps the image to a perfectly flat somewhat artificial and lifeless looking sphere. You'll probably want to use this as a base and a guide, and draw details and add effects over the top of it - definitely don't just use this as a finished product. It also gives slightly nasty jagged (un-antialiased) edges around the circle - you might want to add a no-fill circle over the top with an outline stroke.
If you want to use Illustrator's in-built 3D shading effects, give the original image less than 100% opacity or a blending effect influenced by underlying shading / highlighting like multiply or screen before making the symbol, then tinker with shading options under 'More options' in revolve.
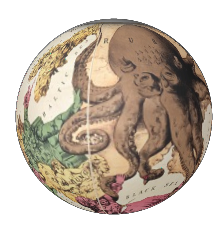
Finally, when doing the original 2D drawing, you'll probably want to draw it then distort it so that it scales and maps in a more appropriate way (thin at the top, fat in the middle). Notice how our Russian octupus has developed a pointy cone-head that isn't in the original, due to the way the image is distorted in the mapping. You'll want to avoid this.
One way to do this off the top of my head (not particularly tested), is to do the drawing in an ellipse, then use Object > Envelope Distort > Make with mesh (enter a 2x2 grid), then stretch the corners, so that it is more like a rectangle. Something like that might work - stretching the the top and bottom out, so that the mapping shrinks them back down. Might work better if you stretch the corners only left and right, not up and down as well.
Something like this:
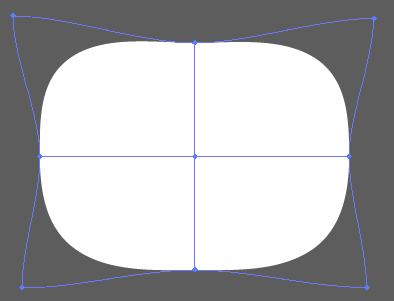
...or this:
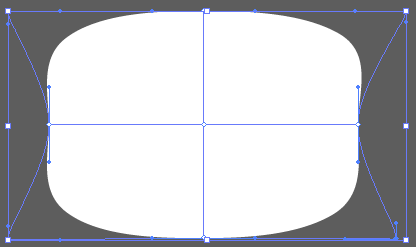
Or, you could try getting better at perspective drawing. Not sure which is going to be easier. It's always tempting - and also always a bad idea in the long run - to use technology as a crutch to avoid tackling something you can learn to do, but don't want to :-)


