I managed to make these corners in Illustrator but I cannot seem to do it anymore. I tried finding how to do it online but I couldn't find it anywhere. Anyone have any idea? 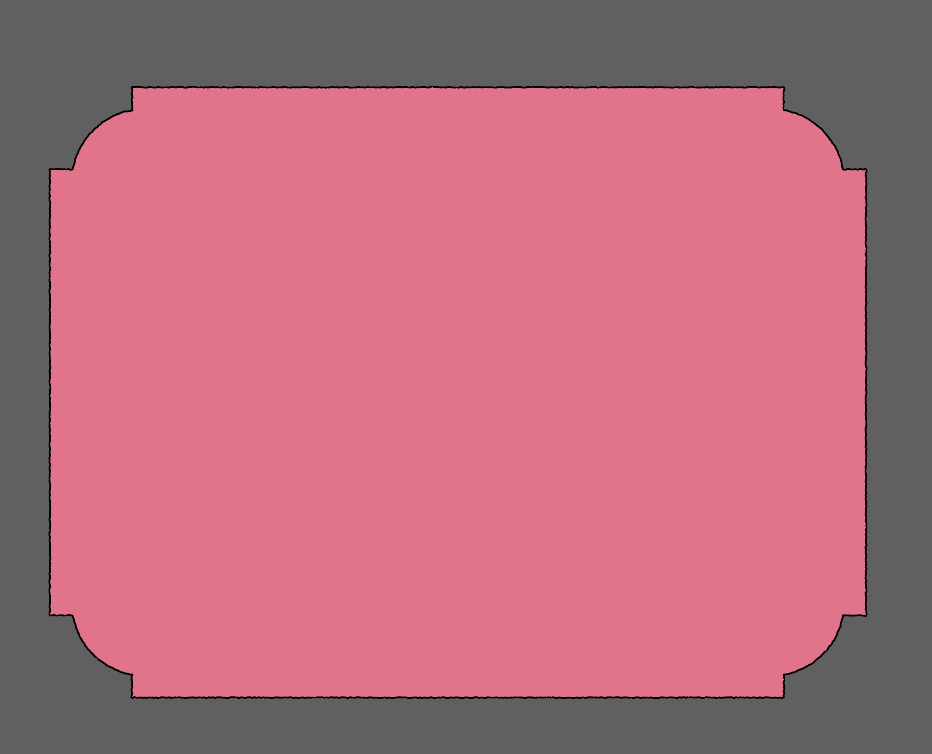
2 Answers
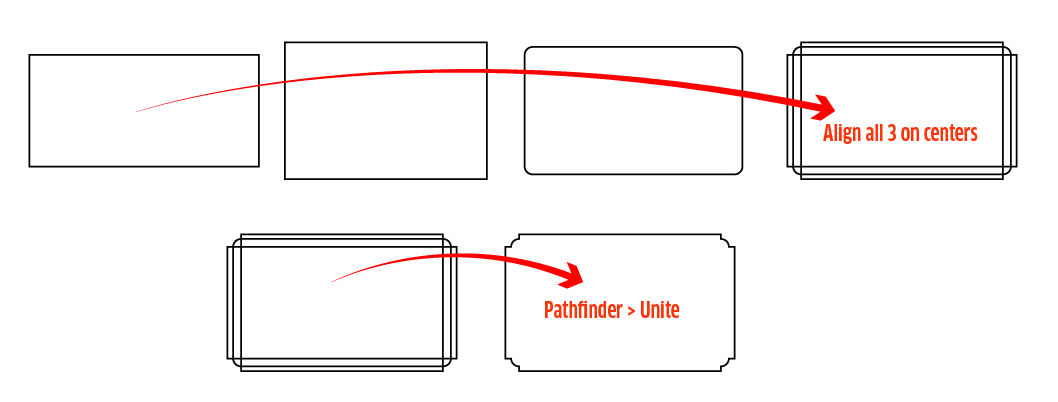
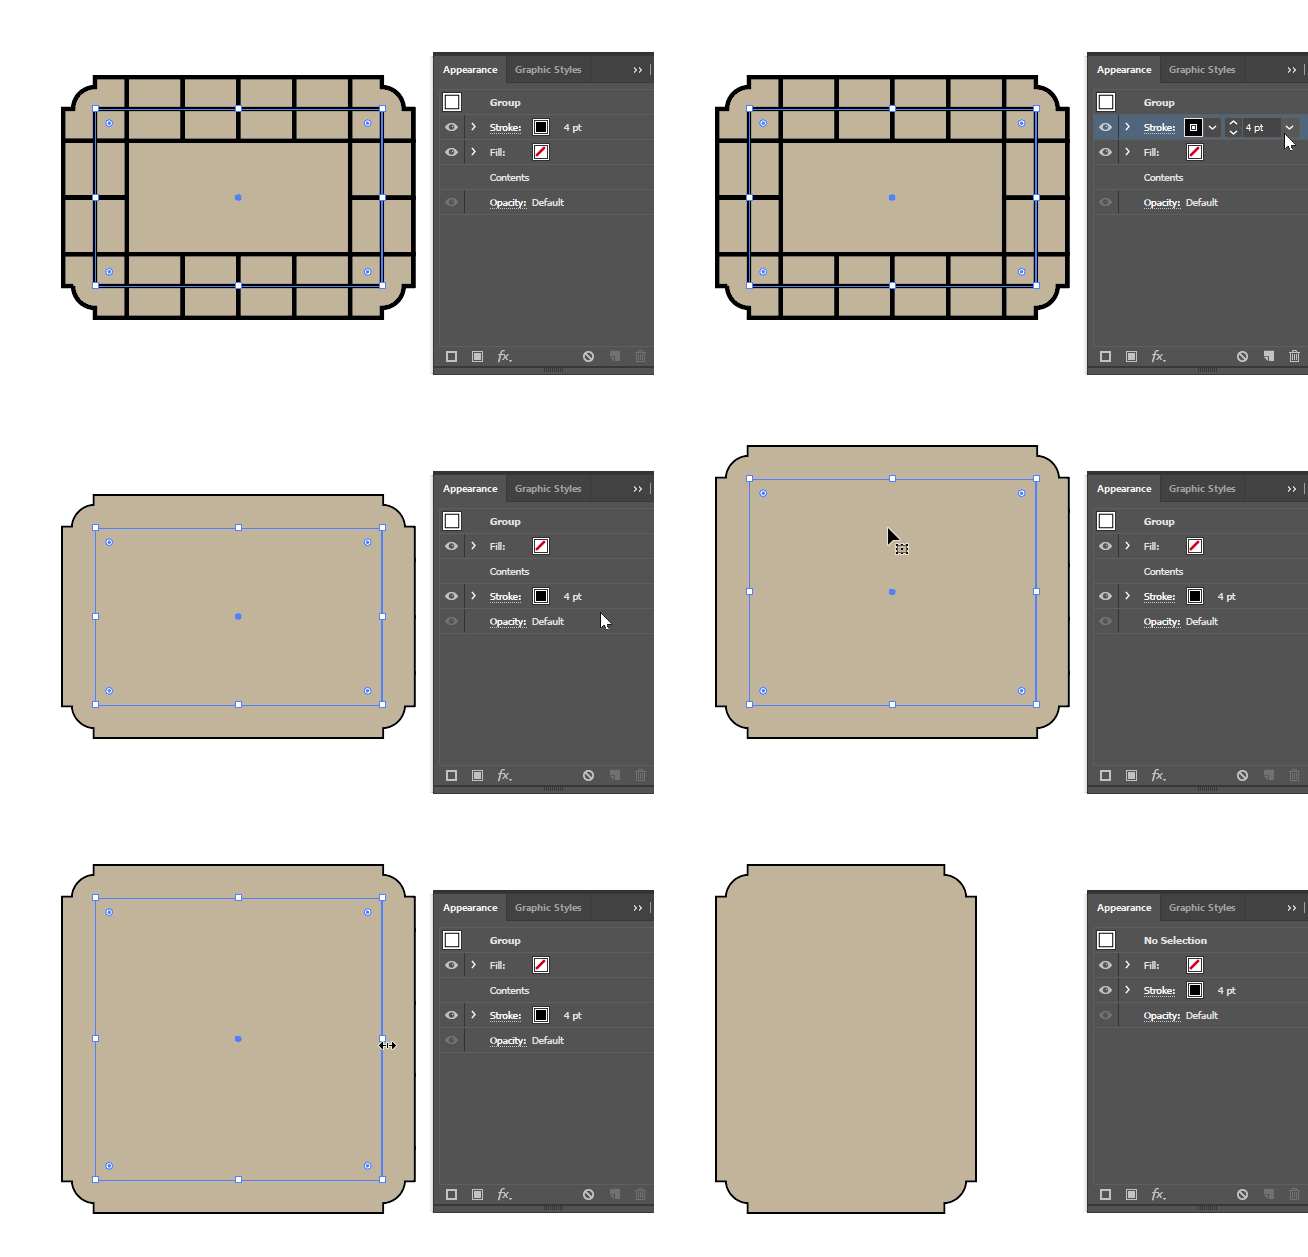
- Draw a rounded rectangle
- Draw a regular rectangle slightly wider and shorter than the rounded rectangle
- Draw a regular rectangle slightly taller and thinner than the rounded rectangle
- Align all 3 of these rectangles on center horizontally and vertically
- Select all 3 rectangles
- Hit the Unite button on the Pathfinder Panel
-
Thank you! That helps tons, really needed to recreate this! When I managed to do it I had 3 rectangles with an offset path set on them and then I just somehow managed to do it on the third outer rectangle with just the live corner widget. If I manage to recreate it I will post here. Meanwhile will use your technique. Thanks again! Commented Sep 21, 2022 at 10:40
Here's one method by creating and using a custom pattern brush.
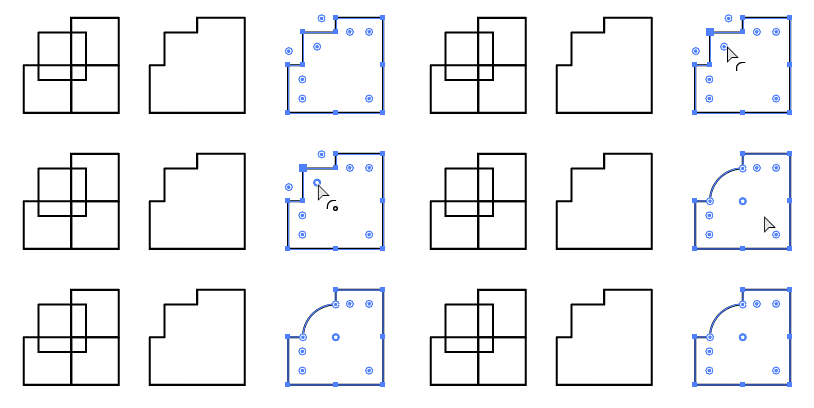
First start with four squares and move one inside a little
Do a pathfinder Unite on these
Click and drag the corner widget to round it.
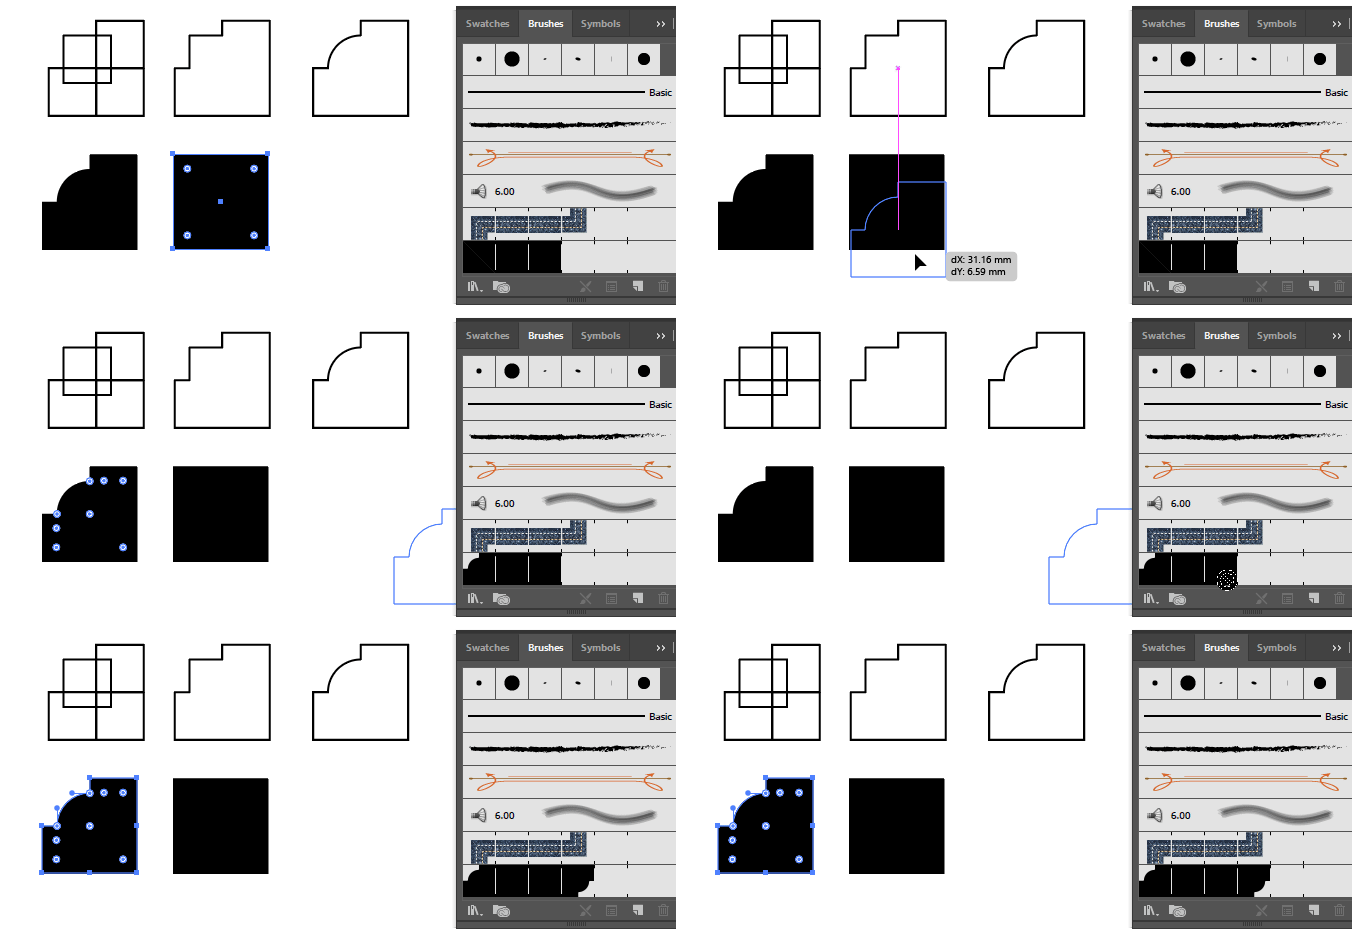
- Next draw a square the same size, select both pieces, add a black fill and no stroke, now we can use these pieces to make a brush
To make the custom pattern brush
Click and drag the square into the brushes panel, and choose to make a "Pattern Brush". At this stage you can also set the colorization method to "Tint" so you can change the colour if you want. In the brushes panel you will see your new brush
Click and drag the chamfered corner segment, and hold down Alt as you drop it on the first corner tile in the brushes panel. Repeat for the other corner tile.
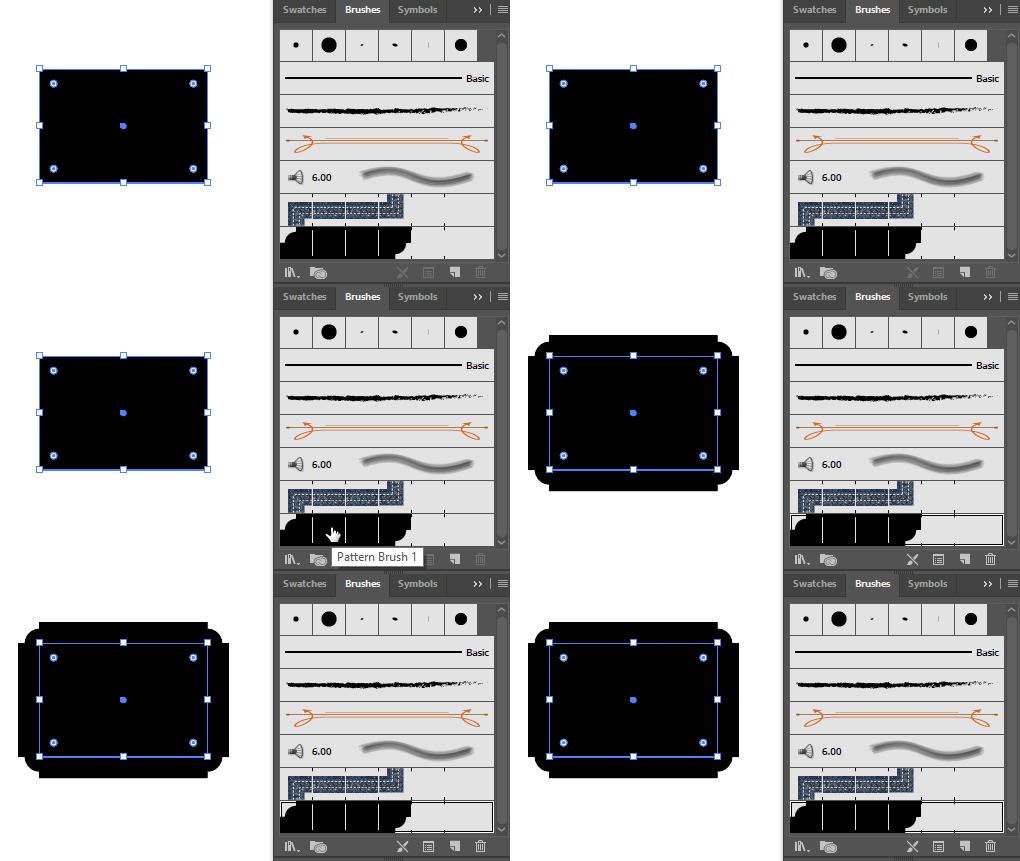
- Now you can simply draw a rectangle and apply the brush
Note: If you need this shape to be a single path, you can Expand Appearance and do a Pathfinder Unite on all the pieces.
If you leave the shape as just a rectangle with the brush applied, and you want to add an outer stroke, you can do it in the appearance panel. First group your shape. Then in the appearance panel, add a stroke and drag it under the contents. Now you have a fully non destructive border, which can be resized as you wish.

