2

I wonder how to efficiently create a photo collage in Photoshop that isn't a plain grid. Currently I follow this tutorial:

  1. Create a rectangle
  2. Insert an image via File>Place Embedded
  3. Layer>Create Clipping Mask
  4. Move and resize the image within the rectangle.

Then repeat for each new image to add in the photo collage, and properly align all rectangles. Is there any more efficient process to do so?


What I've found so far:


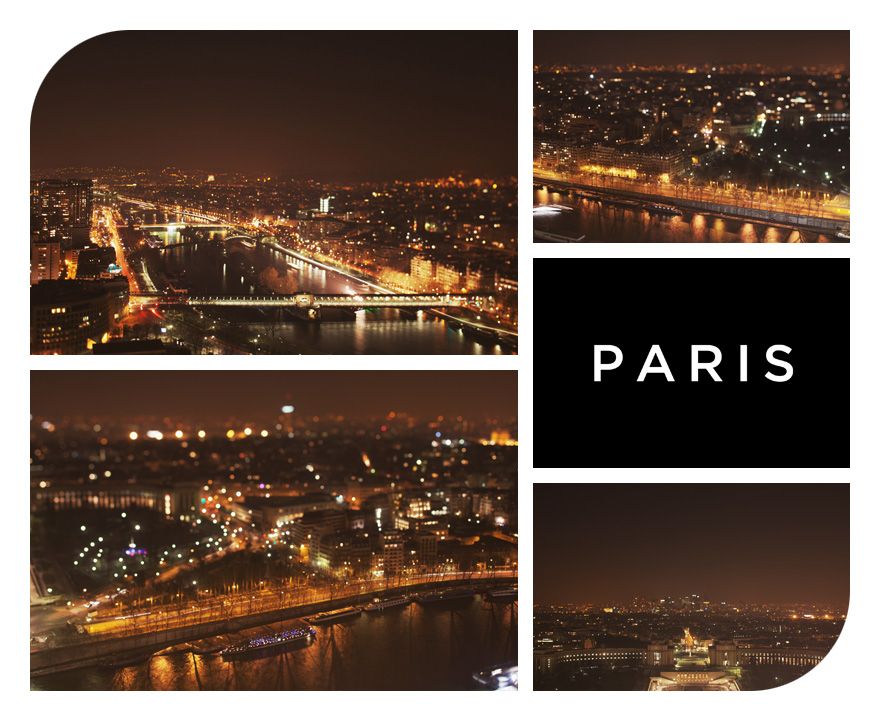
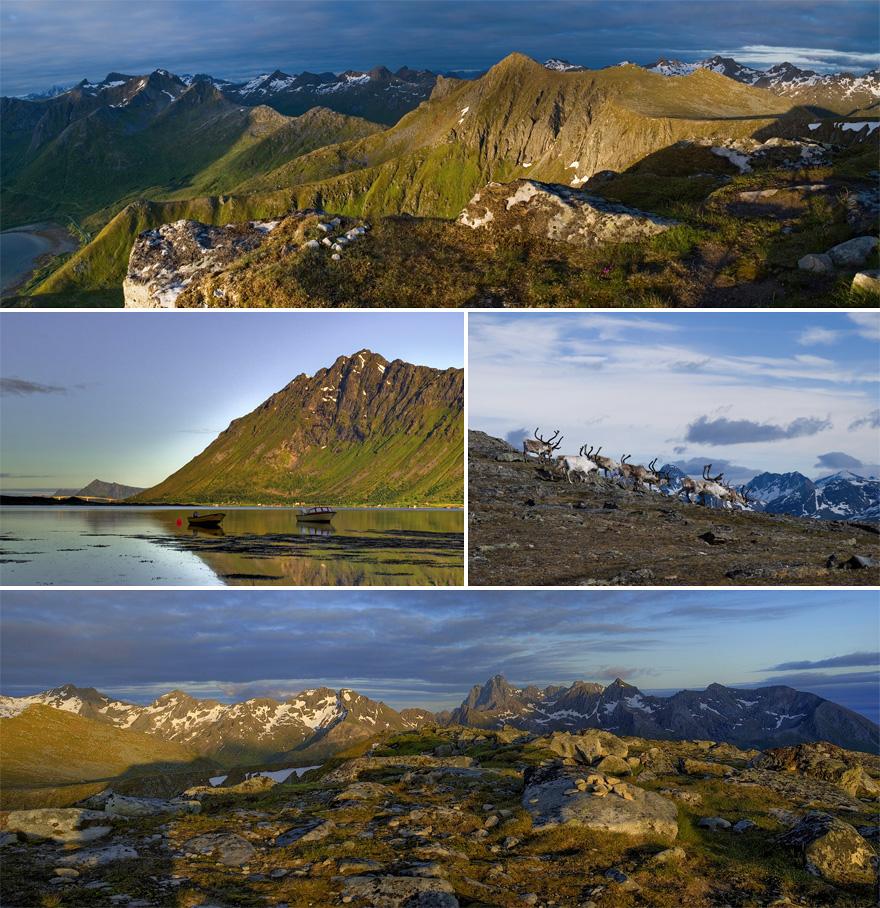
Examples of collages that I'd like to do:

enter image description here

enter image description here

5
  • 2
    If you are looking for ways to kind of automate this, you might be able to find some Photoshop templates - then you could just replace the images. Templates often use smart objects, so replacing images is easy, you just change the image inside the Smart Object.
    – Billy Kerr
    Commented Oct 11, 2022 at 22:59
  • @BillyKerr Thanks, good point, any recommendation of go-to websites hosting many Photoshop templates? Commented Oct 11, 2022 at 23:02
  • 1
    DeviantArt has some, also Adobe Stock has collage templates (not free though).
    – Billy Kerr
    Commented Oct 11, 2022 at 23:20
  • 3
    For me it would be much easier to do this in InDesign. Easy to draw and align image frames. Easy to crop images like you want it. Easy to place and exchange images in an existing grid.
    – Wolff
    Commented Oct 11, 2022 at 23:25
  • @Wolff thanks, that's great advice. You're very welcome to post it as an answer. Commented Oct 19, 2022 at 3:59

1 Answer 1

1

I would suggest using templates if you want to speed this up a little. Adobe Stock has many Photoshop collage templates to choose from if you need a ready made one. These aren't free unfortunately, but you may also be able to find free templates elsewhere.

Note: I am not affiliated with Adobe or Adobe Stock in any way, I include the above link for reference only.

Many (probably most) templates work by using Smart Objects, so all you would need to do is go into the Smart Object, and paste a new image. The positioning, scaling, and masking are already done in the main document.

It would be also be very easy to create your own templates (and much cheaper), which you could then re-use by just editing the Smart Objects.

Your method of creating the grid is how I would set it up. However, to make it into a template you need just one more step, convert the images to Smart Objects before resizing and moving them. To convert to a smart object, right click the image layer and choose "Convert to Smart Object".

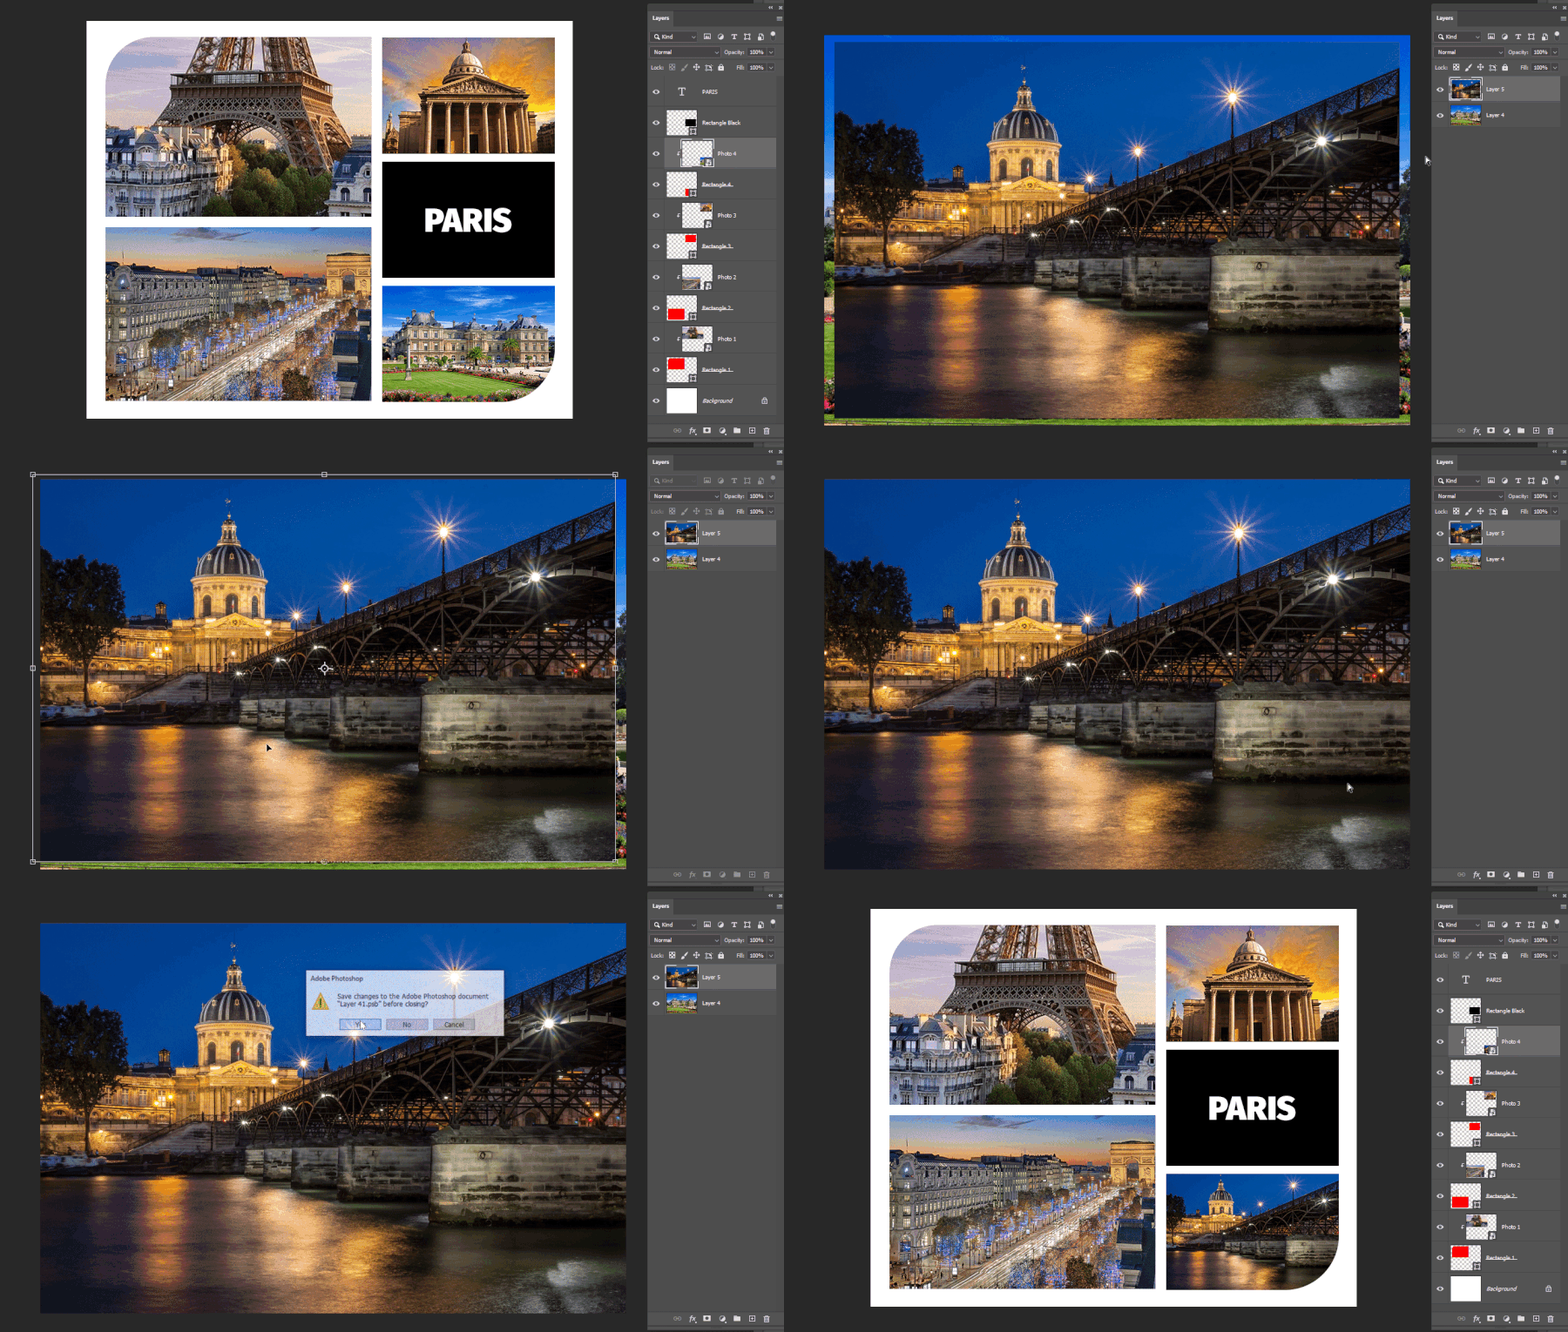
When you want to re-use the template, double click a Smart Object in the layers panel to open it, and copy paste/place a new image,resize if necessary to make sure it fills/overlaps the canvas, close and save the Smart Object. Repeat for all Smart Objects.

Here's an example that shows all photo layers as Smart Objects, and clicking into a smart object layer, pasting a new image, resizing the image to fill/overlap the canvas, and closing and saving the smart object.

enter image description here

(HD version too large to post here.)

2

Your Answer

By clicking “Post Your Answer”, you agree to our terms of service and acknowledge you have read our privacy policy.

Not the answer you're looking for? Browse other questions tagged or ask your own question.