Adjusting the coloring:
If your friend photographed the tea box in raw format, open Adobe Bridge, find the image, and double click on it. This will open up a Photoshop plugin called Adobe Camera Raw. You can use the sliders to adjust the white balance (e.g. making the tea box more yellow and less blue), increase the vibrancy, and increase the amount of saturation of the yellows, oranges, or any color family in the image. You can adjust the brightness too by adjusting exposure. You can do a lot of this with a jpg image too but you can do a lot more with raw format.
Another option is to open the file in Photoshop and add adjustment layers. Add one adjustment layer to increase the exposure, you can add a layer for curves, vibrance, saturation, several to add a slight tint, etc.
Selecting your object:
I would use the pen tool to select the area I wanted to cut/copy. There are lots of tutorials on the pen tool, but essentially you create a new path on your paths palette, go back to your layers palette and use the pen tool to create selection points around the image. You can move each of these points with the white arrow. Then you right-click, choose "make selection", and your area is selected. You can than duplicate that layer to another document or select inverse and hide the rest with a mask, etc. You can select the shadow in your image but I might not select it and the add it later with Photoshop and maybe add another light source in Photoshop. You can experiment to see the results you prefer.
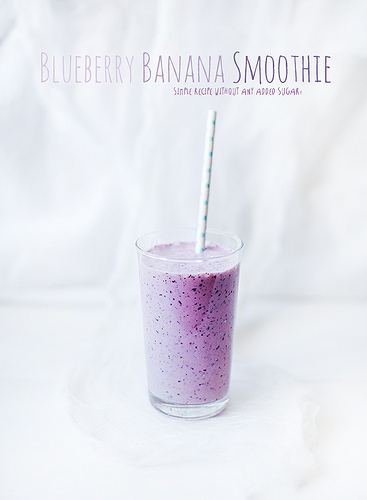
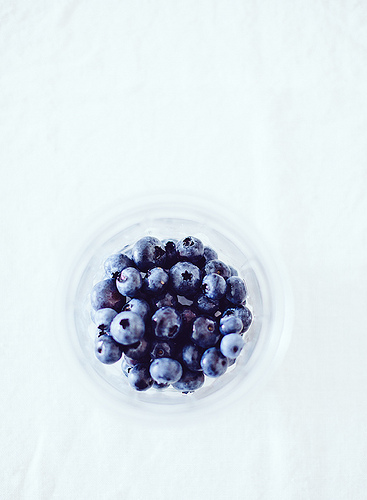
Just a side note: the white back drop in the photos you're emulating is called a lightbox. They are relatively inexpensive. You'll get the best results if your friend re-photographs the tea can using a lightbox and a few more lamps if possible. You may want to try photographing it standing upright too to see if that look suits you better.


