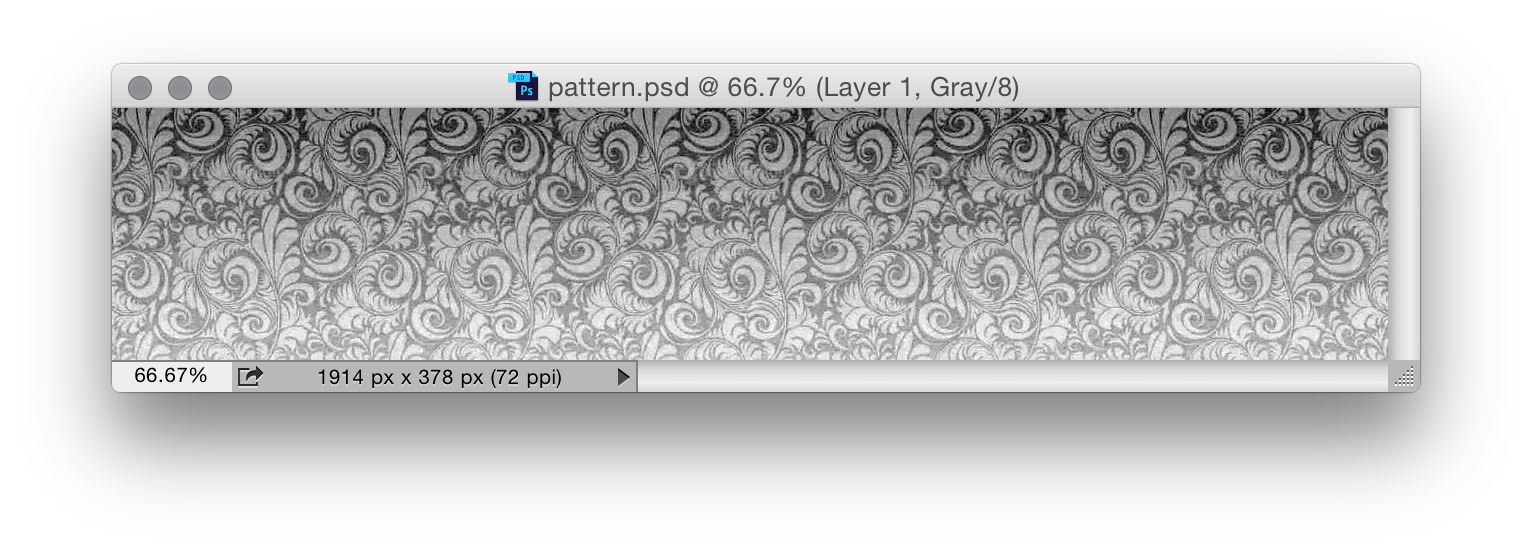
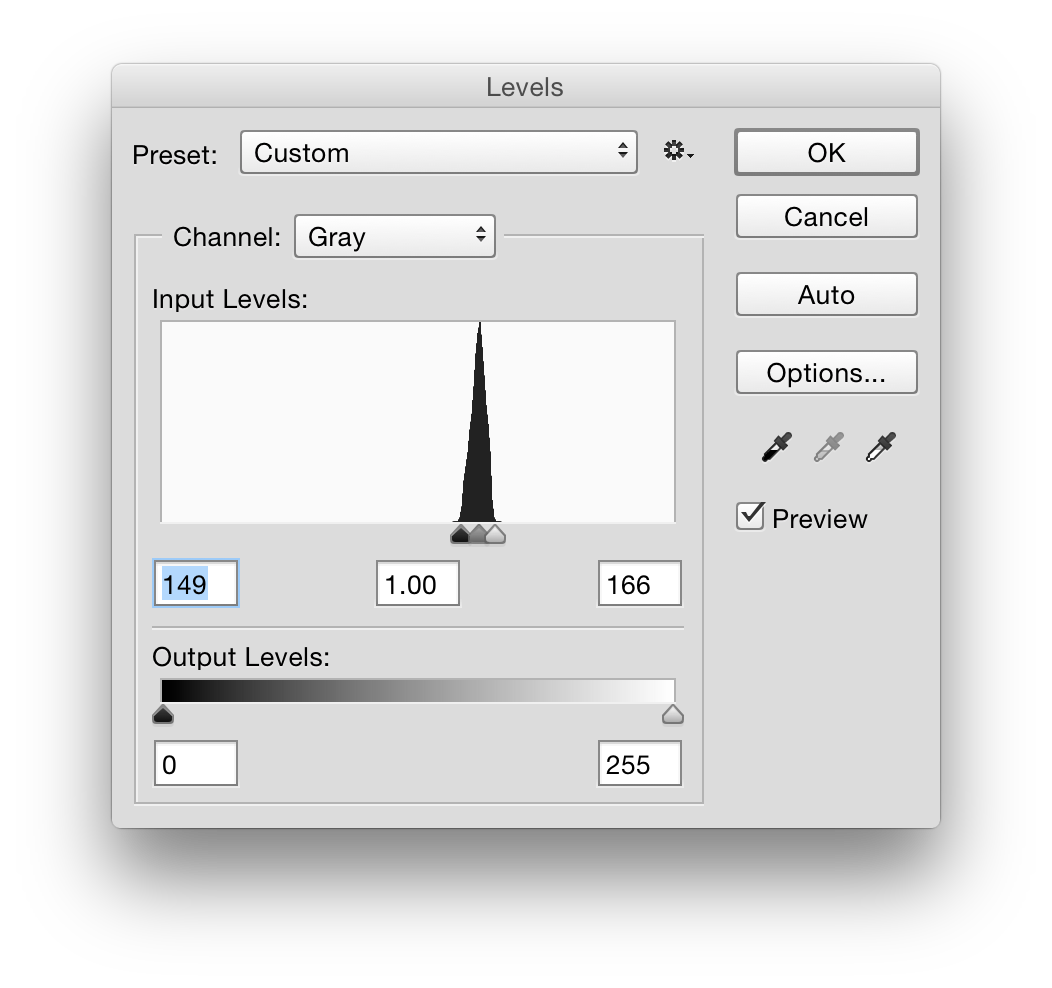
There’s a few ways you could approach it, but I think the easiest is to convert a copy of the image to greyscale, then make it really high contrast by using levels (clicking auto should do it).


From there, you can make a gradient selection of the bottom portion (hit q to enter quickmask, press g to select the gradient tool, make sure you have a black and white gradient selected, then draw from the top of your image to the bottom and press q to exit quickmask).
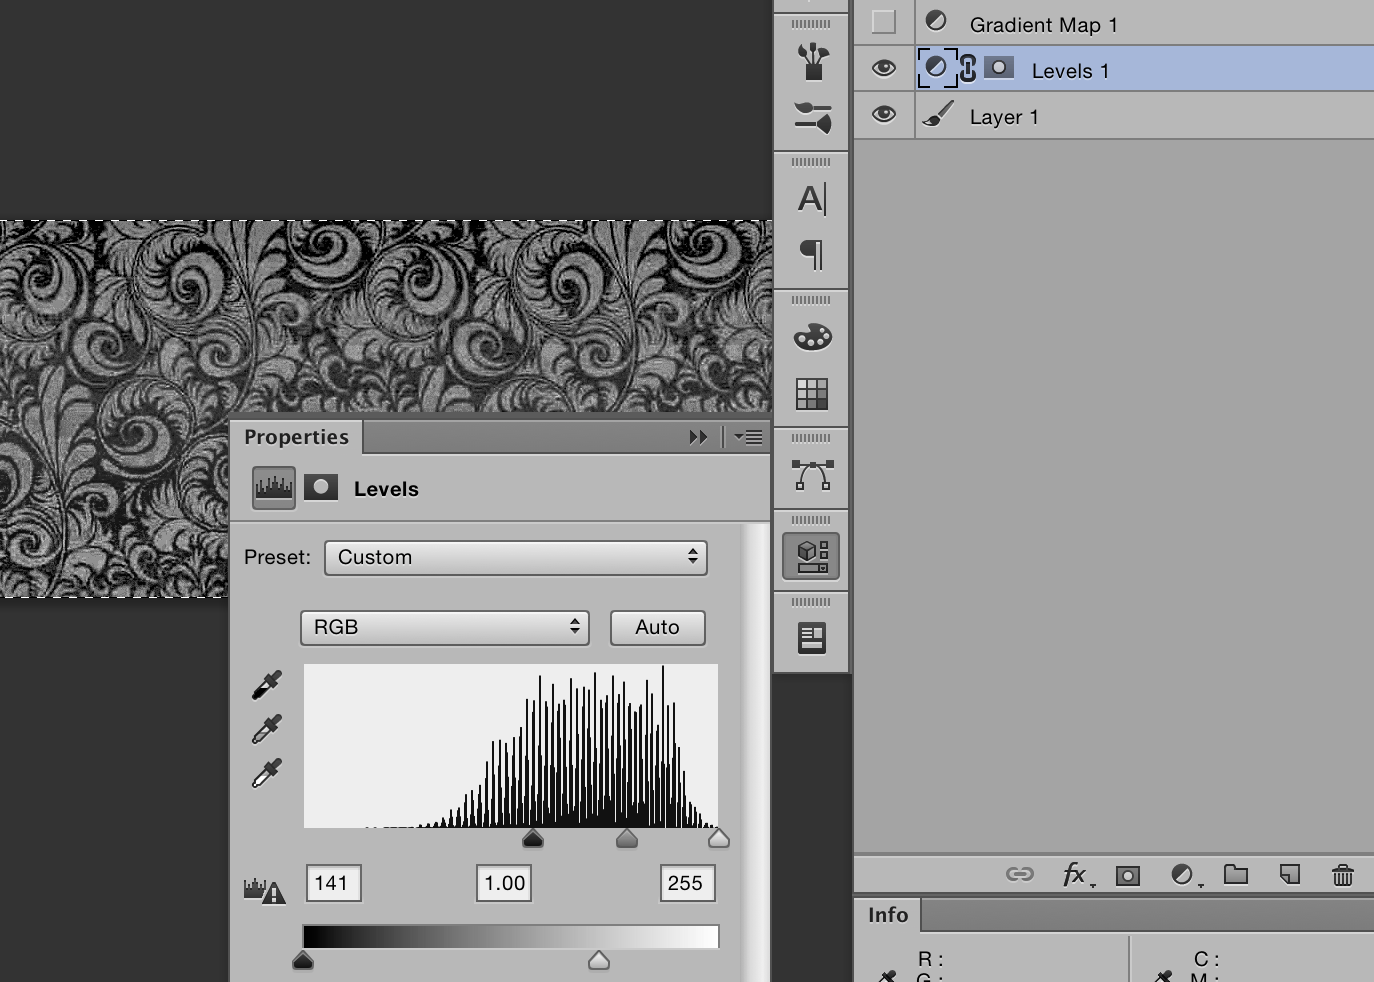
And now, you can use levels to adjust the bottom part of the image. I’m using a levels adjustment layer.

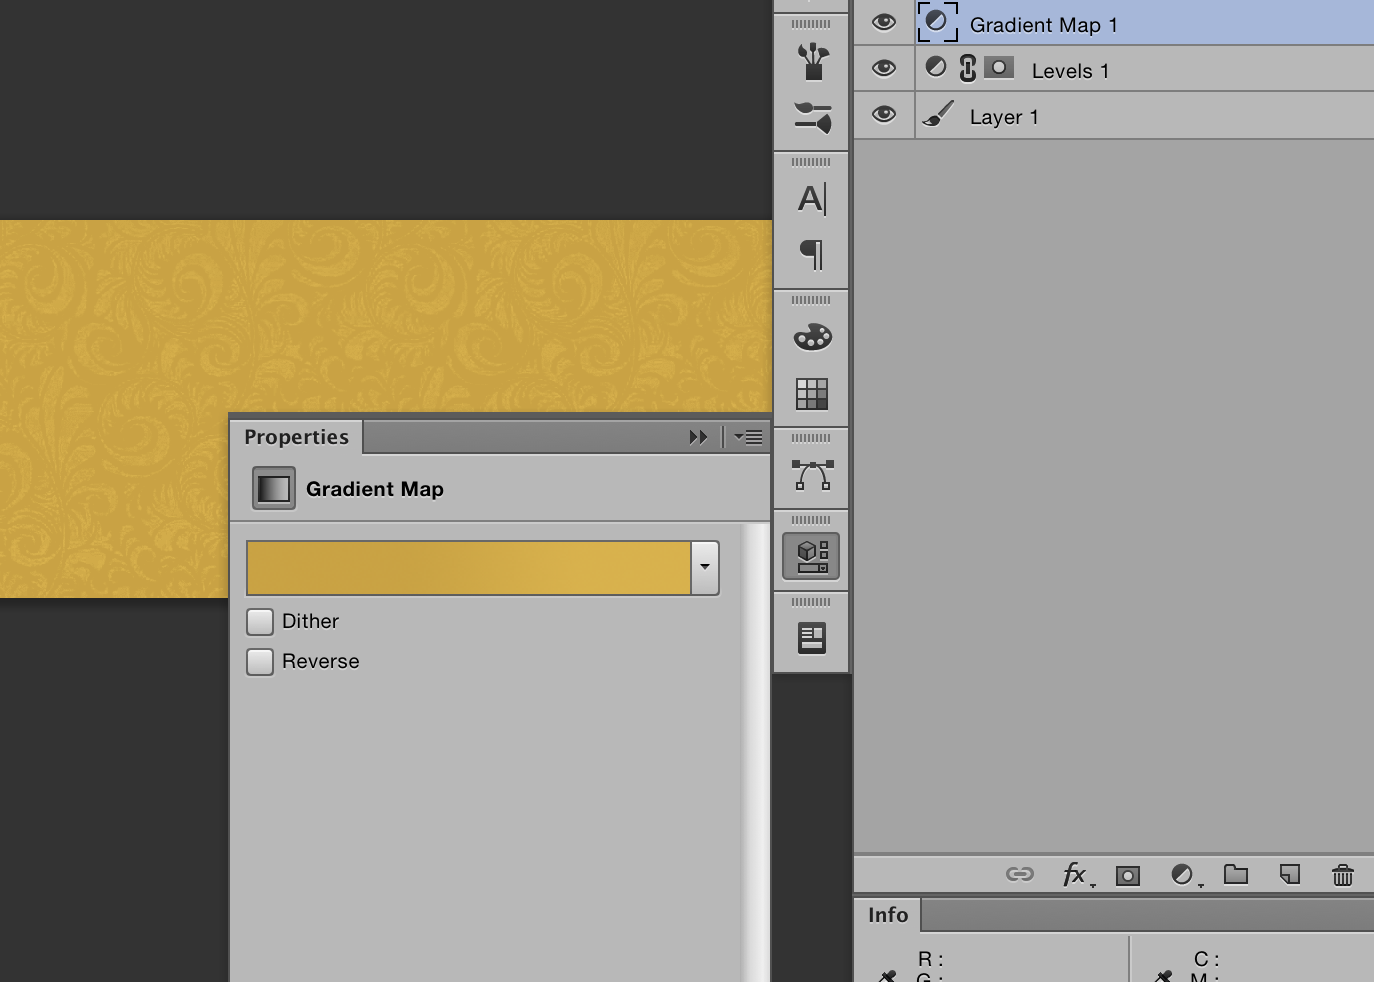
We now have a high contrast, version that will loop correctly, but is the wrong colour. A gradient map can be used to accurately choose replacement colours.

It now repeats pretty well.

For even better results, more care could be taken at the greyscale stage.


