2

I am trying to create a custom image overlay on leaflet.js. For sake of learning something new, I am trying to lay over the co-ordinates on a 3D-looking map. For example (the map inside the red rectangle):
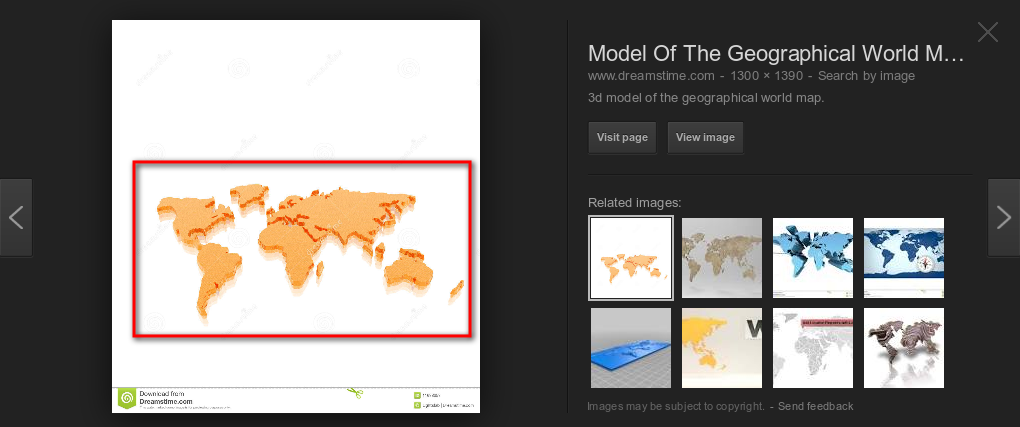
enter image description here

So, far I have tried the perspective tool and 3D edge extension on inkscape, which are giving a bit of hacky result.

My main confusion so far: what is the thick edge (or height) at the bottom called? and, most importantly, is it possible to simulate this on gimp or inkscape? I have heard of blender, but might be a severe overkill.

Thanks a lot.

1

2 Answers 2

3

Blender might be overkill, but it certainly can do this.

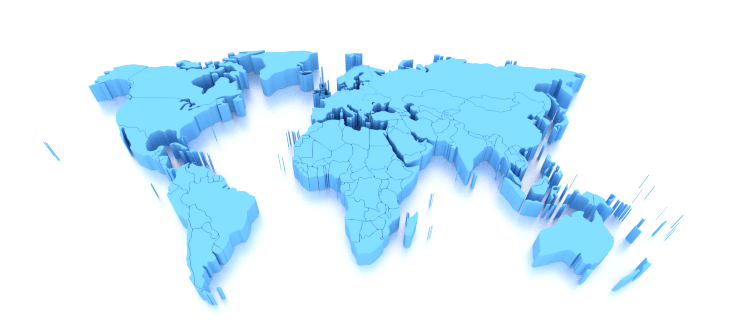
enter image description here

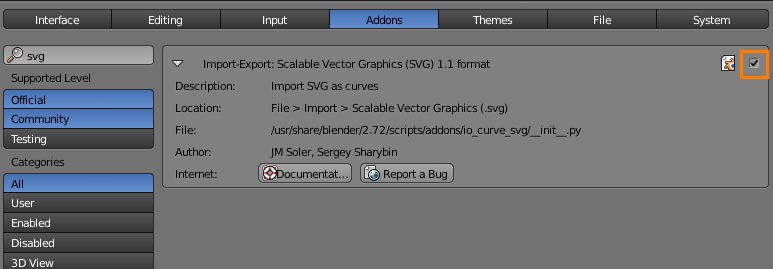
  1. Import an SVG map. There is an addon bundled with blender which allows you to do this. If SVG not listed in File > Import, you must enable it in File > User Preferences > Addons:

    enter image description here

    Then click File > Import > SVG and select your map (I used this one)

  2. Unfortunately the importer isn't perfect, and imports Russia as a non-closed shape (at least it did for me).

    Update: This is now fixed. The fixed addon will be bundled with the next version of blender (2.73), or you can download it here and install it into the current version.

    Original solution:
    Select the problem curve with RMB RMB, ↹ Tab into edit mode, select everything with A, and press ⎇ AltC to toggle the curve closed. This will allow it to be filled.

  3. To add thickness, normally you could set the extrude value of all the curves to a value > 0. I haven't found an easy way to do this on many curves at once however (idk why, but the copy setting to selected operator doesn't seem to work on curves). A bit of python can come to the rescue:

    for curve in bpy.data.curves:
        curve.extrude = .01
    

    Provided the only curves in your scene are the ones in the map, you can just paste the above into the python console.

0

Have you tried switching the mode of your overlay layer? I've been playing with this feature in GIMP lately with amazing results.

For example, I took a print of roses and put it over a 3D rendering of a Victorian dress in grey (created in DAZ3D) and it appears to map to the curves and maintains the shading. You may have to do two layers, one for the oceans and one for the continents, but that might be worth trying.

To use it:

  1. Add a new layer with your coordinates in the correct locations.
  2. On the Layer - Patterns sidebar, select your layer.
  3. Right under the Layers tab is the Mode. Default is Normal.
  4. Click the dropdown to the right and select the various options until you find one that matches what you're looking for.
0

Your Answer

By clicking “Post Your Answer”, you agree to our terms of service and acknowledge you have read our privacy policy.

Not the answer you're looking for? Browse other questions tagged or ask your own question.