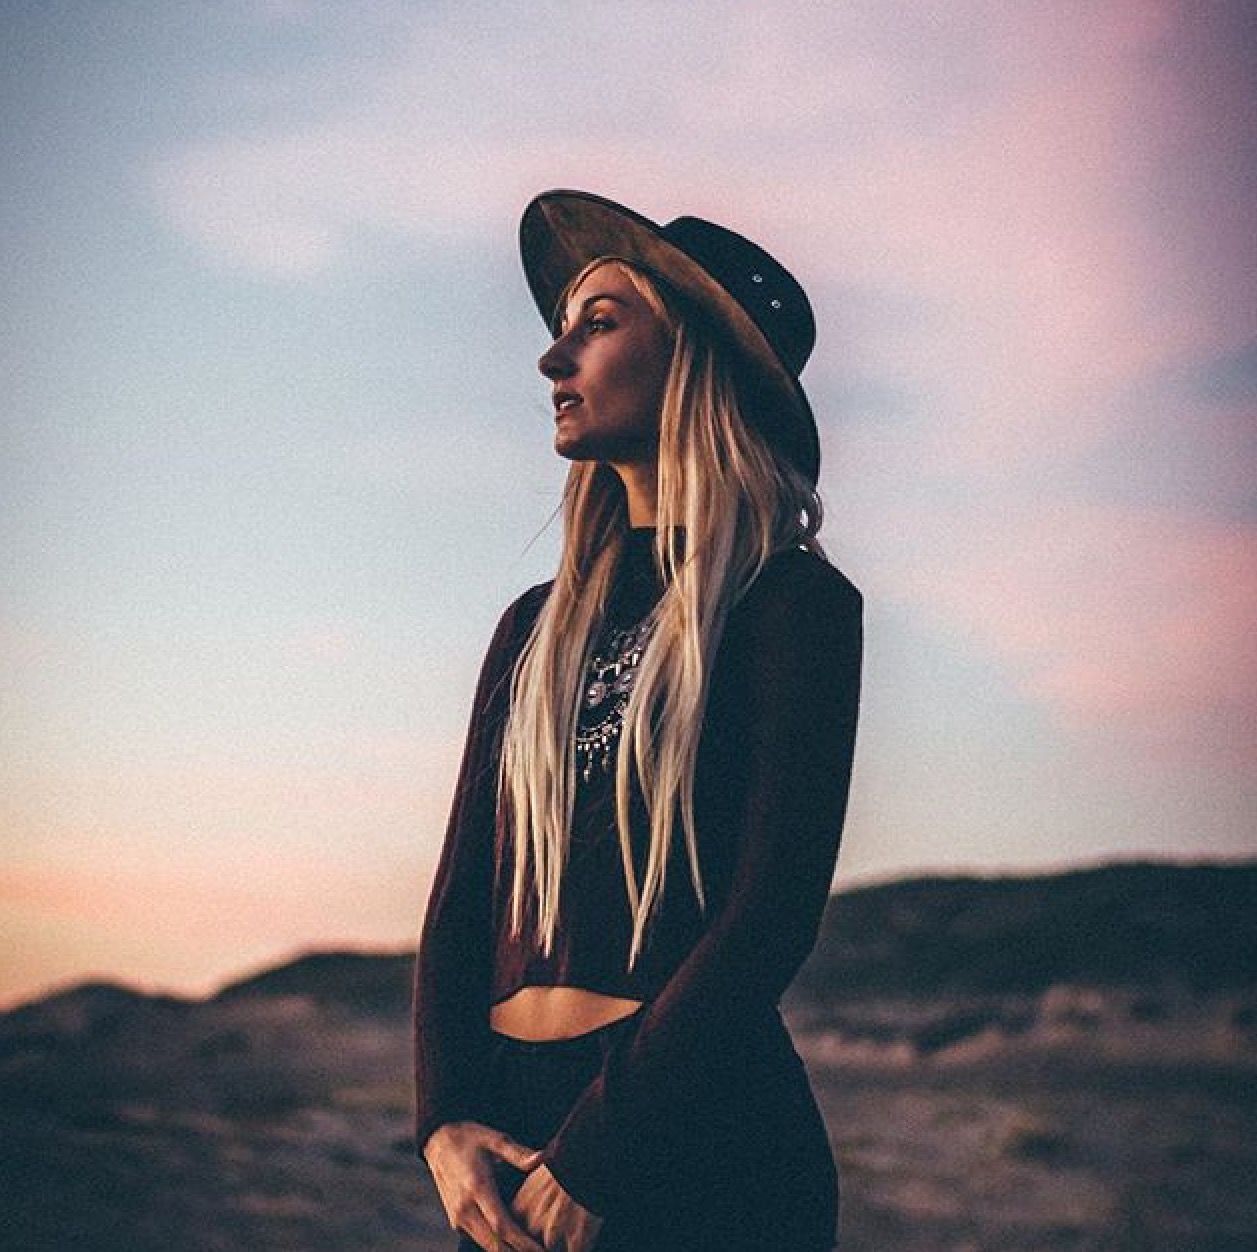
There's a few things going on in your example. A bit of noise, high contrast, few highlights, and the skin seems to have a bit of red to it. I'll see how close I can get for you just using a jpg. Using a RAW file would of course be ideal. Using this photo by Alexander Shustov courtesy Unsplash
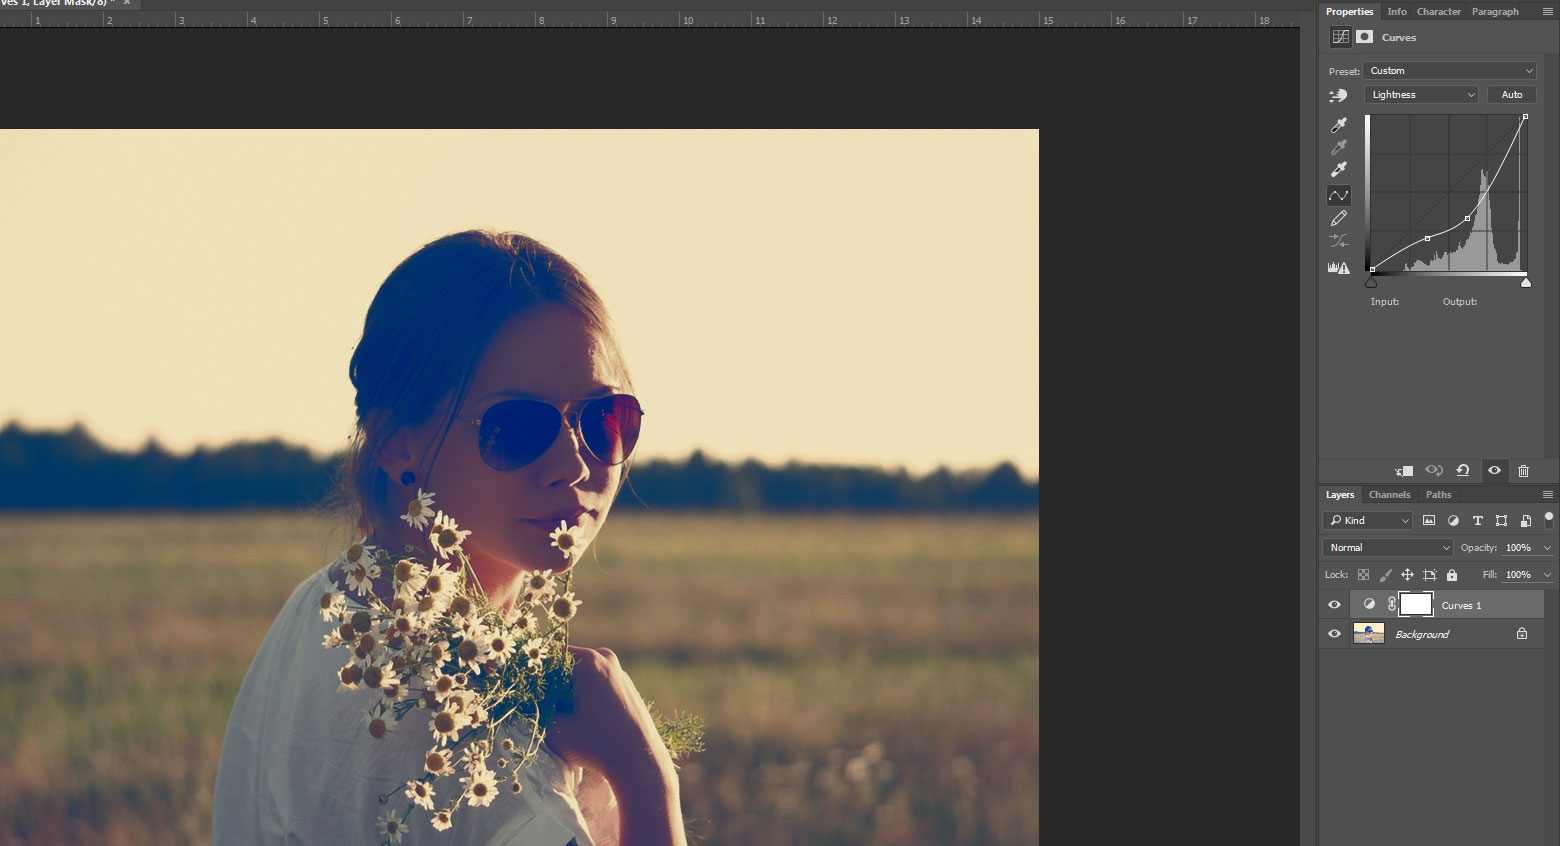
To start I'm going to pull down the midtones but in this image I lost a bit of detail from her hair so I brought back in some shadows on the curve:

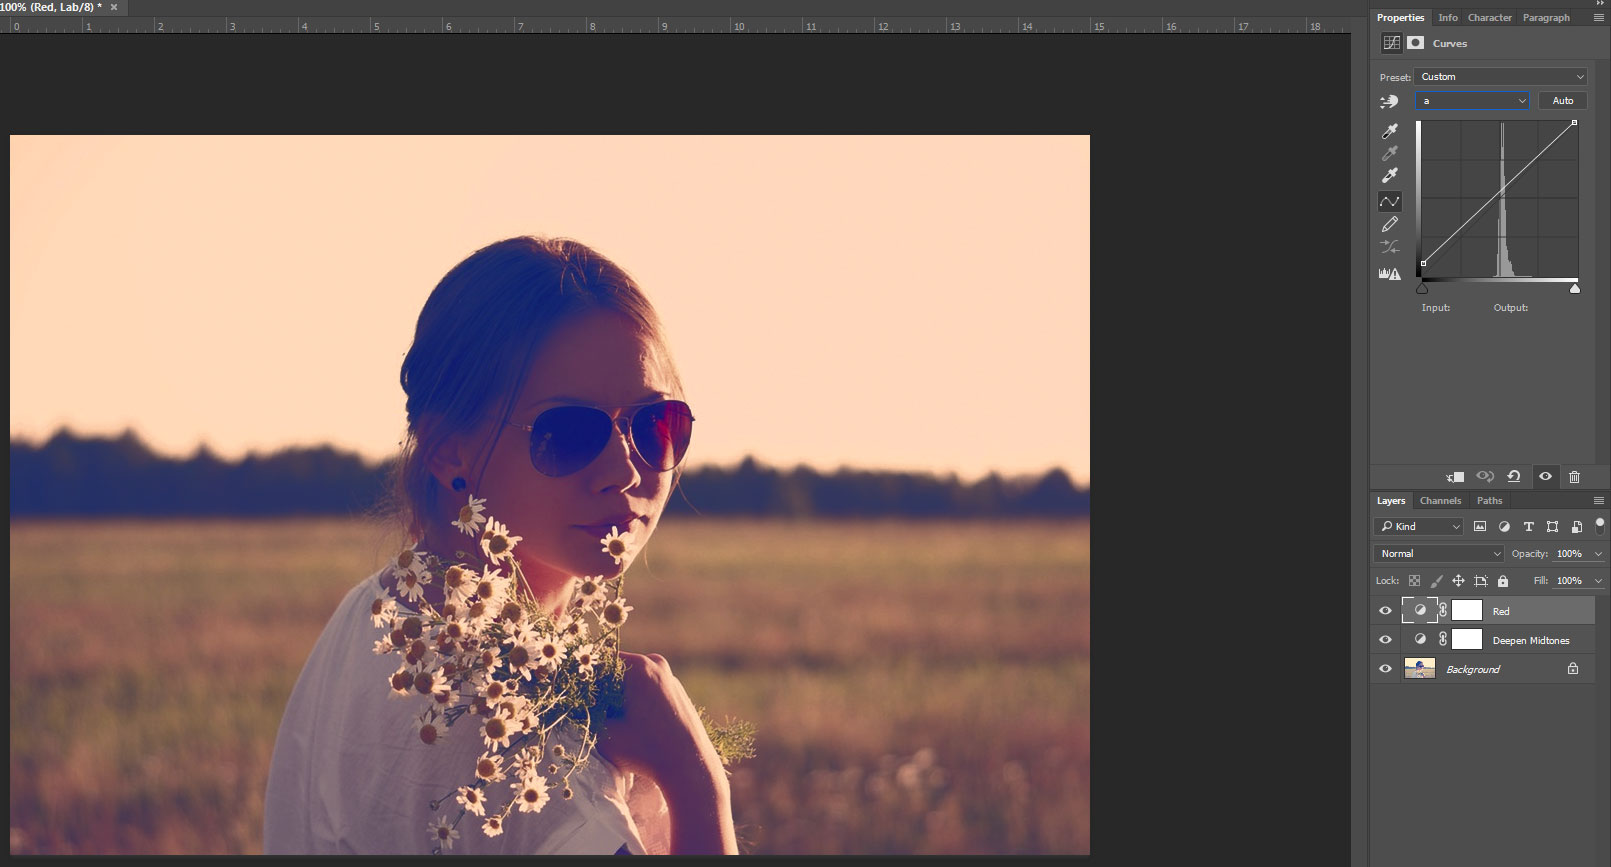
Then I pushed a little bit of red into it. Slightly more in the shadows than the highlights

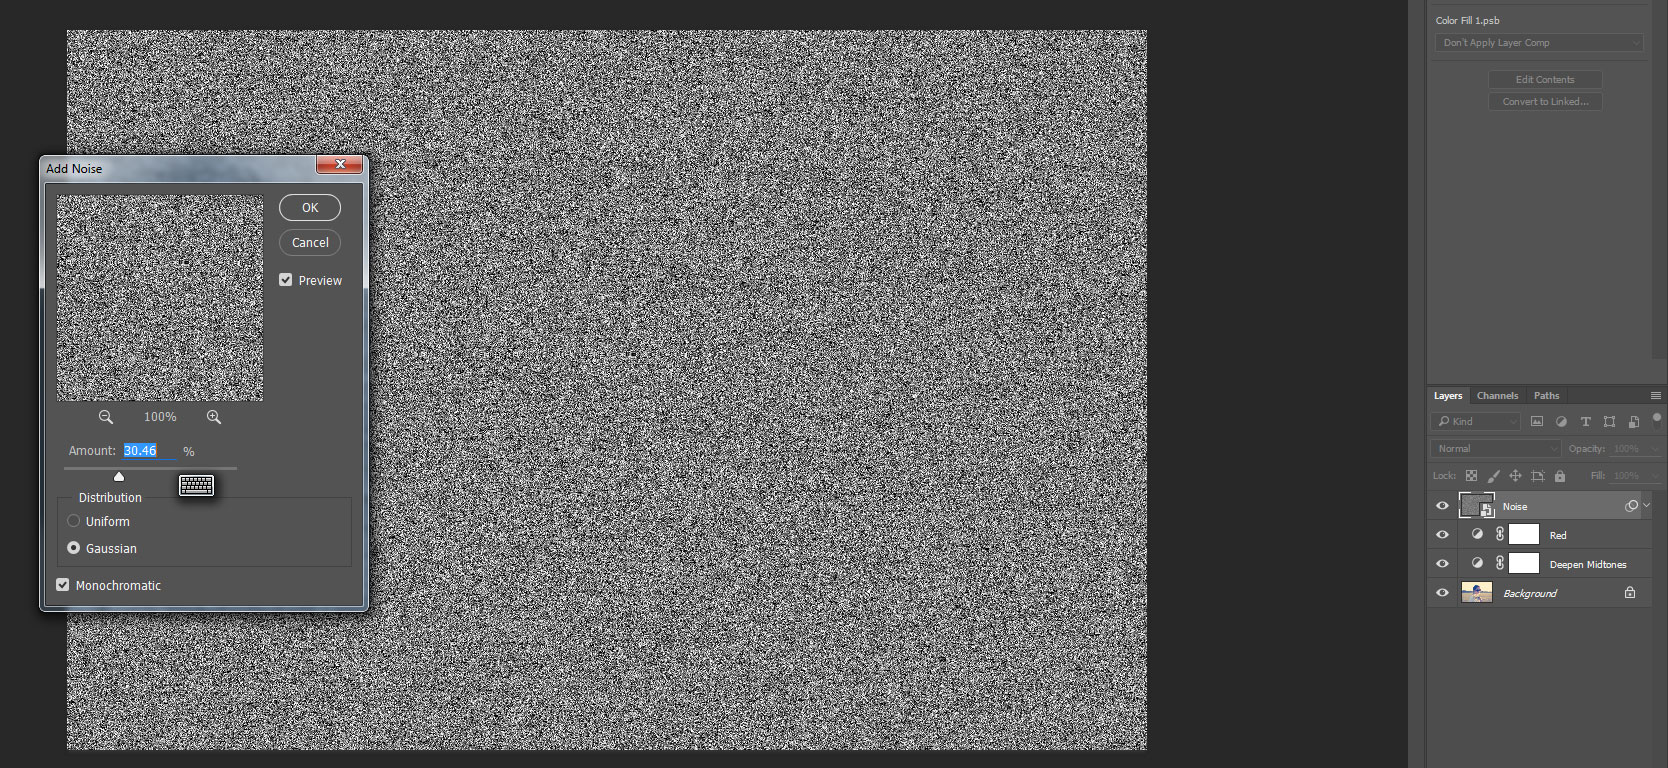
Then I create a solid Gray adjustment layer and rename it Noise then use the Add Noise Filter set to Monochromatic and adjust the settings to taste. Since we're using a Smart Object Filter we can always change this later.

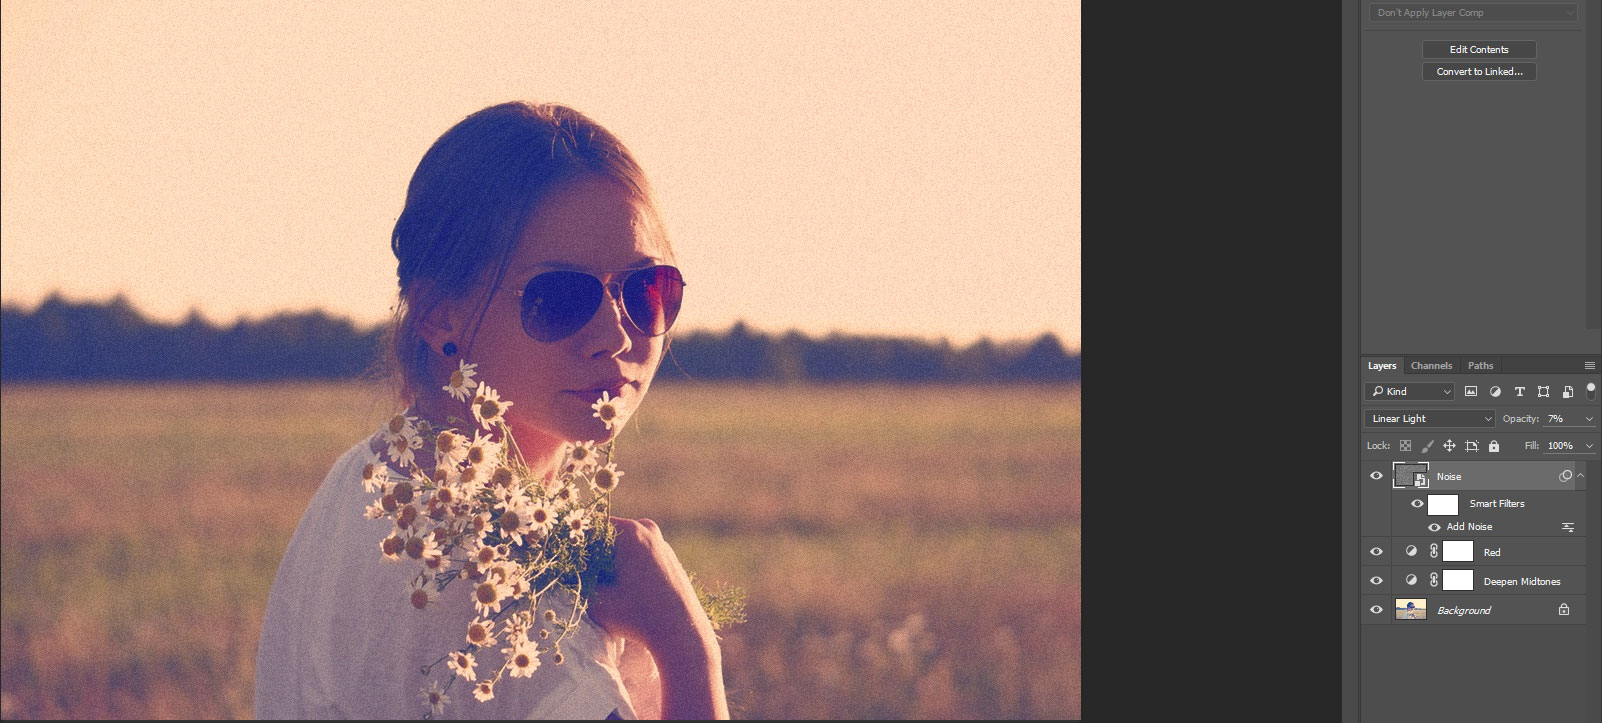
Change blending mode to Overlay, Soft Light, Hard Light, Vivid Light or Linear Light and then lower the opacity. I kinda like Linear Light with Opacity 10 for this:

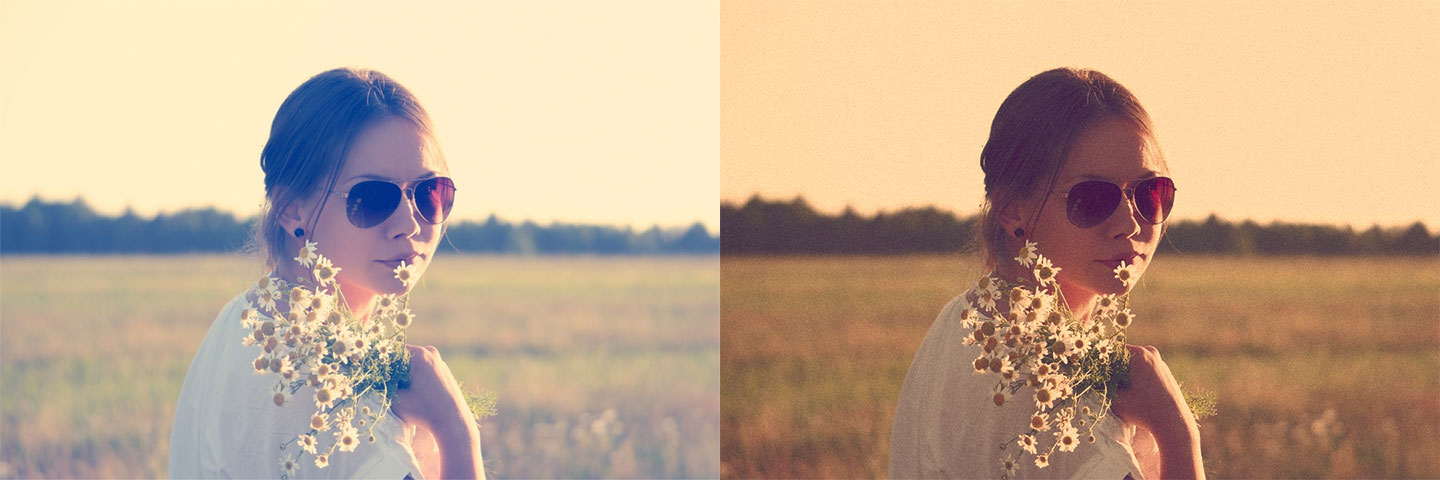
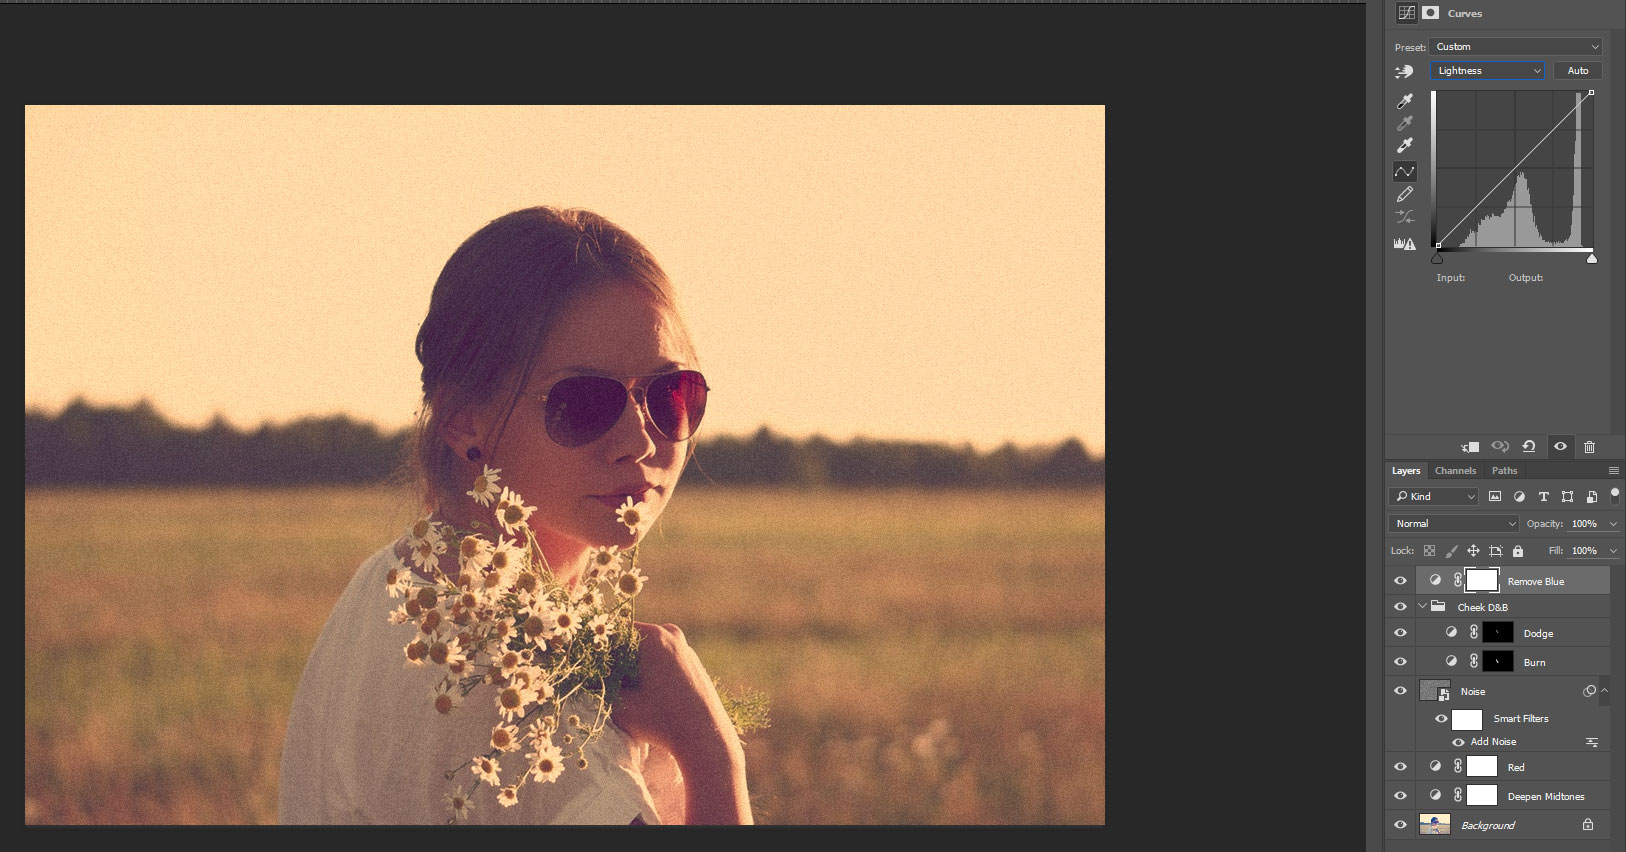
This is pretty much done. I think we've got a bit too much blue in it so I added another curve to get rid of it. And cause the sky was kinda plain the image I was using I added a little color to it too. Could probably replace the sky entirely easily enough in this one but I don't feel like it. Final result with layer panel:

Final Before and After:
