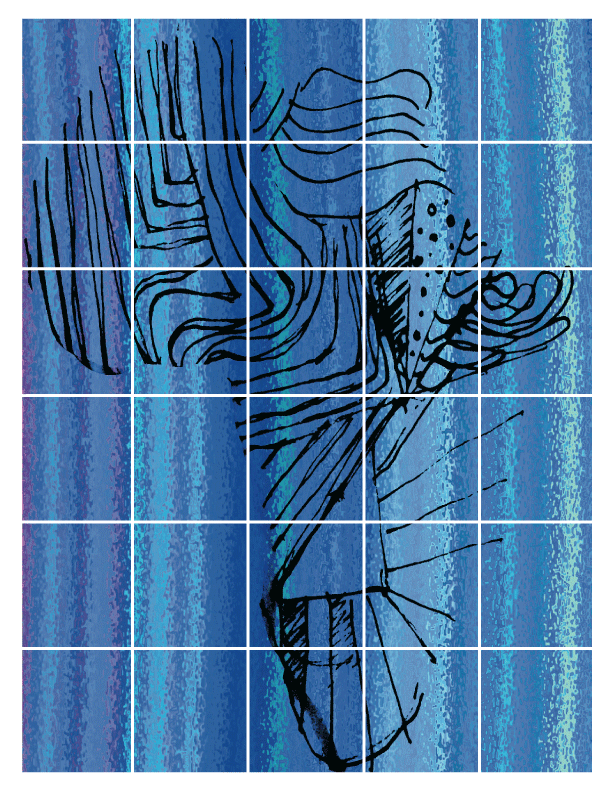
The goal is to export automatically every frame of the 5*6 grid in a new folder with 30 single files.

Select the slice tool (under the crop category), with the slice tool select your entire image.
Right click on your selection and choose 'Divide Slice', enter the horizontal and vertical dimensions of your choice.
Now choose 'Save for Web', select all your slices and choose your format and compression. Click save and make sure it says 'All Slices' under 'Slices'.
You could record all this in an action to re-use it.
Edit: Forgot to mention this is for Photoshop.
I answered a similar question before, to be done with a script in Photoshop:
Advice on batch exporting sections of an image
You'd just need to adjust the values at the beginning of the script:
var cellWidth         = 240; // The width, in px, of your image cell
var cellHeight        = 240; // The height, in px, of your image cell
var xOffset           = 240; // The space, in px, between each cell in a row
var yOffset           = 240; // The space, in px, between each row. Set to 0 for traditional checker board effect
...to be something like:
var cellWidth         = 500; // This is a guess. It will be image width in pixels, divided by 5
var cellHeight        = 500; // This is a guess. It will be image width in pixels, divided by 6
var xOffset           = 0; // The space, in px, between each cell in a row
var yOffset           = 0; // The space, in px, between each row. Set to 0 for traditional checker board effect
I have no idea how this could be achieved either in Photoshop or in Illustrator but InDesign has a solution to your problem.
Create a document with a custom size (the size of one of your cells) and uncheck the "facing pages" feature towards the top of the dialogue box.
Once your document is created, open the Pages panel, and from the flyout menu, uncheck "Allow document pages to shuffle".
Once that's done, select the page (in that same Pages panel) and drag it slightly to the right until a bracket shape appears (just like this " ] " )
Afterwards, select the page tool (Shift+P by default) and click on that second page. You will then see the page's coordinates appear in the upper left corner of your screen (x, y and anchor points). Select whichever anchor point and offset that second page to the right by the gap you want to have between them (so let's say a 3 inch cell & a quarter inch gap means you have to enter +.25 to the value that is already present in the x coordinates).
Then right click that second page in the Pages panel and select "Insert Pages..." A dialogue box will appear. Insert 1 page after page 2.
Adjust this third cell's coordinates and repeat this process for the next two pages (to get five cells)
Once that's done, select all your pages in the Pages panel and drag and drop them on the small "Create New Page" icon next to the trash can at the bottom right corner of the Pages panel. This will push the pages (cells) in a different section (below).
Select those newly created pages and drag them back on top of the original five pages (cells). The will be pushed to the right with the gap width preserved.
With the page tool, select these pages and move them below and to the left by giving them new coordinates (just like when creating the first row of cells/pages)
Repeat until you achieve a 5x6 grid.
Then create a frame (F keyboard shortcut) that will sit precisely above those frames.
Place your image in the frame by first selecting it (the frame) and pressing Cmd or Ctrl D. Make sure things look the way you want them to look. Otherwise right-click the image and play with the options in the "Fitting" section of the menu (please comment if you need assistance with this)
You can then press Cmd or Ctrl E, select your destination folder or create one, select the JPG format from the drop down menu, and enter a generic name in the "Save As" dialogue box (img 01 will generate img01.jpg / img02.jpg /img03.jpg etc.)
Voilà